Make a DIY Terracotta Bead Garland with Air Dry Clay
Want that Pottery Barn look without the price tag? Create your own DIY terracotta bead garland using simple air dry clay for a rustic yet elevated look.
This beaded DIY garland is fun and easy to make for a beautifully textured home decor accent to display in your home.
(This post contains affiliate links, so I may earn a small commission when you make a purchase through links on my site at no additional cost to you. As an Amazon Associate I earn from qualifying purchases.)
I have the easiest DIY project for you to try!
If you can play with Play-Doh, you can do this project!
I love to pour over a new Pottery Barn catalog. Even if I’m not planning to make a purchase, I get lots of creative ideas looking through pages and pages of pretty things.
I also have a bit of an “I think I can make that myself’ spirit, and it’s fun to see if I can duplicate some of the home decor items I find while perusing. It adds my own personal touch, and this approach has saved me a lot of money through the years!
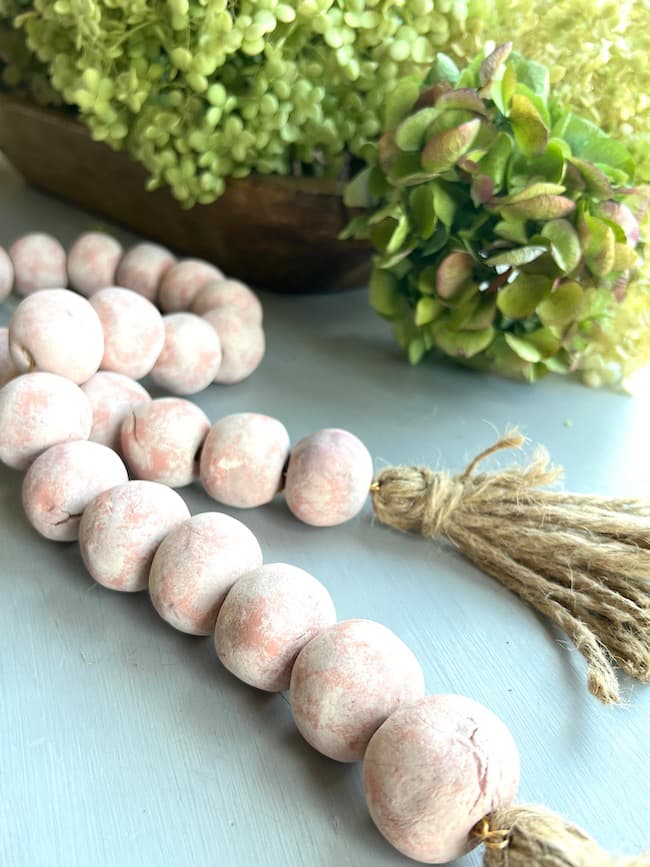
Pottery Barn’s natural terracotta beaded garland is quite a statement piece, and makes a lovely addition to your seasonal decor. The beads are large and chunky and textural, and quite substantial strewn across a bowl or in vignette.
So with the help of my inner Play-Doh loving child, and a little air dry clay, I made my own look-alike beaded garland at a fraction of the cost!
How to Make the Terracotta-Look Beaded Garland Using Air Dry Clay:
This terracotta beaded garland is so much fun to create with just a few simple supplies.
Materials Needed for the DIY Garland:
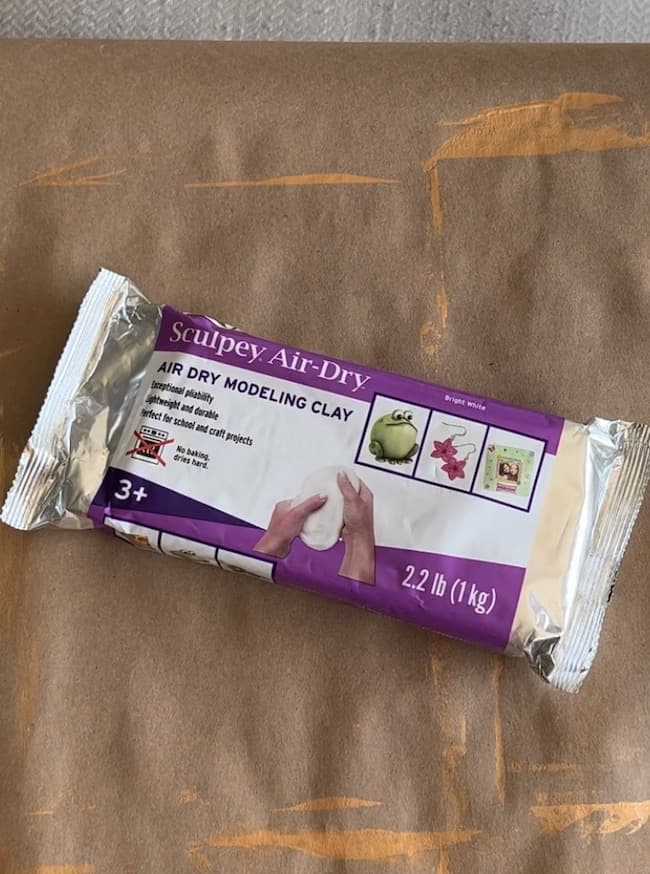
- Air dry clay
- Pencil, wooden skewer, or straw (for making holes)
- Baking sheet
- Parchment paper
- Oven (This is optional if you’re in a hurry!)
- Acrylic paint — terracotta, off white
- 1 inch foam brush
- Stiff stencil paint brush
- Jute twine
- Sealer (optional to protect the beads)
- Pliable gold craft wire
- Scissors
- Rubber gloves
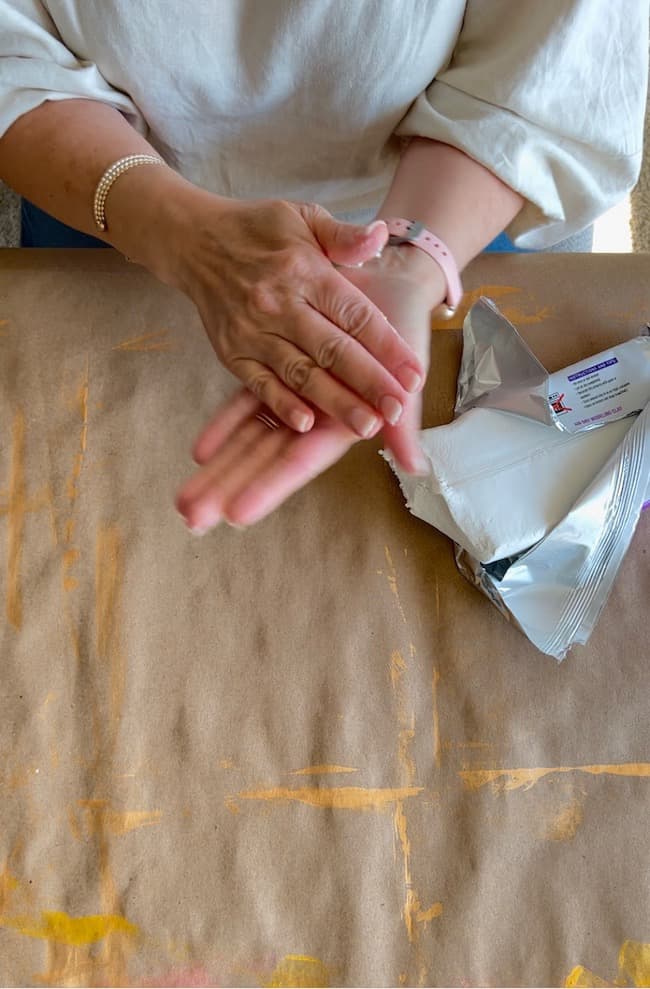
Step 1: Making the Air Dry Clay Beads
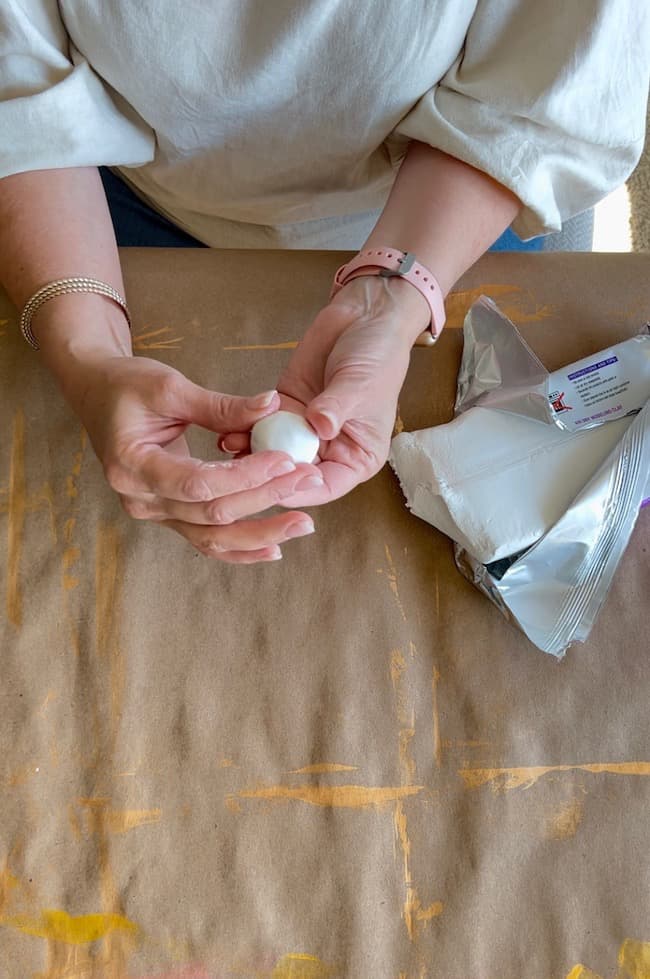
If you can roll Play-Doh into balls, you can certainly complete this step! Simply tear off pieces of the air dry clay, roll between your palms to shape into balls.
The Pottery Barn beaded garland has 2 inch beads, but mine are closer to 1 1/4″ – 1 1/2″ in size. You can create any size you wish. Obviously the larger the beads, the fewer you can make with a single package of air dry clay. It’s entirely up to you to determine how long you want your strand to be, how large you make the beads, and the number of beads you need. For this project, I used a single package of air dry clay.
I also wasn’t too particular about shaping perfectly round balls. I like the organic natural look of a terracotta bead, so a few imperfections in the shape of the bead justs adds to its charm!
I simply tore off sections of the clay and just eyeballed to make sure the beads were similar in size. You can certainly section off the clay and pre-measure to make sure all of your beads are the same if that’s the look you prefer.
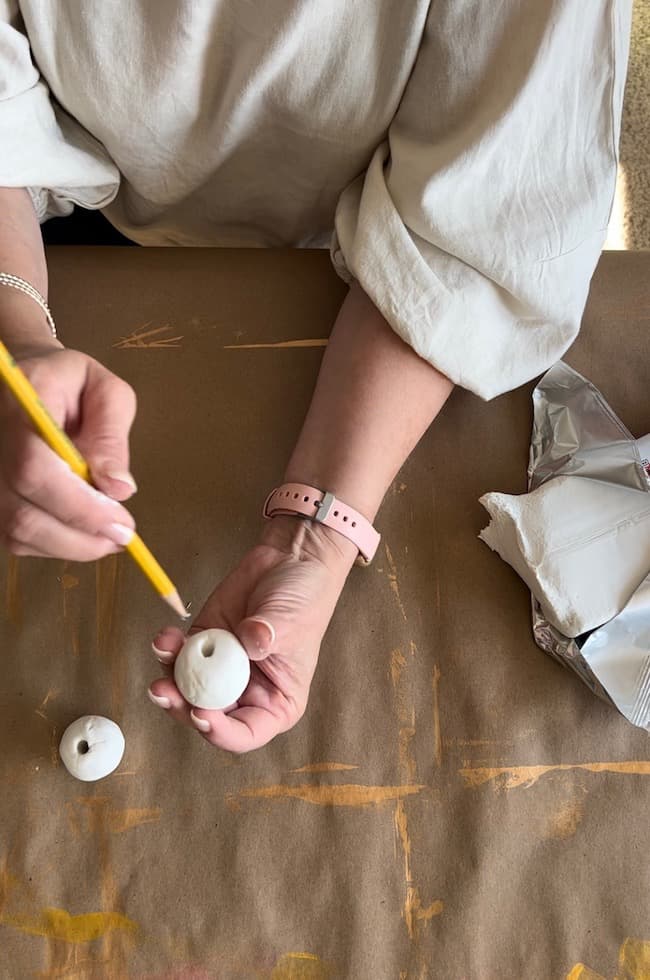
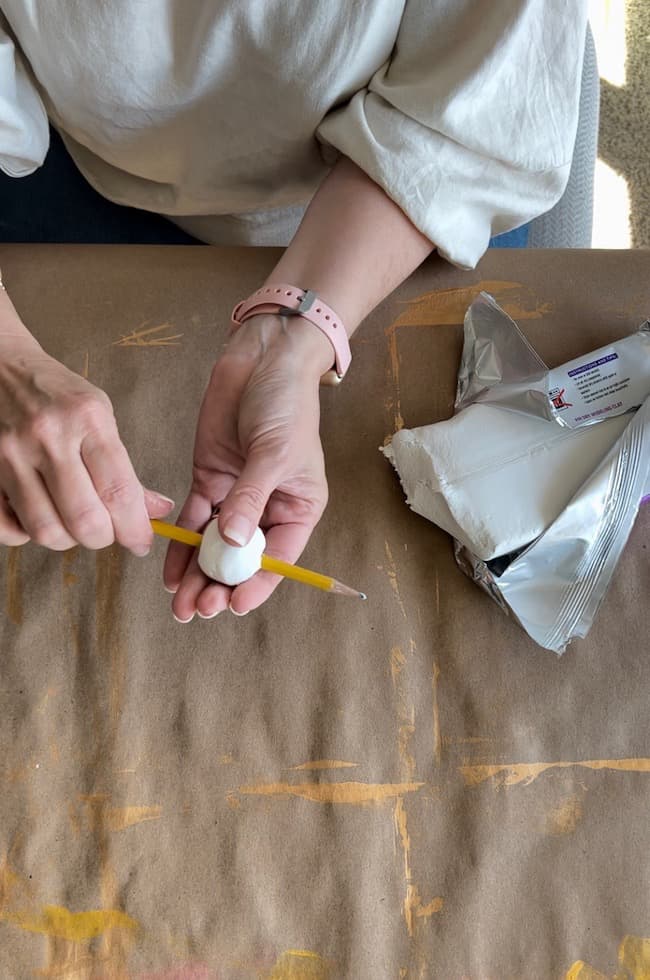

After I rolled each bead, I created the hole using a sharpened pencil. You can also use a straw or wooden skewer or dowel for this process. Insert the pencil and give it a little twist. After you remove it, you might need to tidy up the hole a bit.
It’s important to make a large hole because it will shrink some as the clay dries.
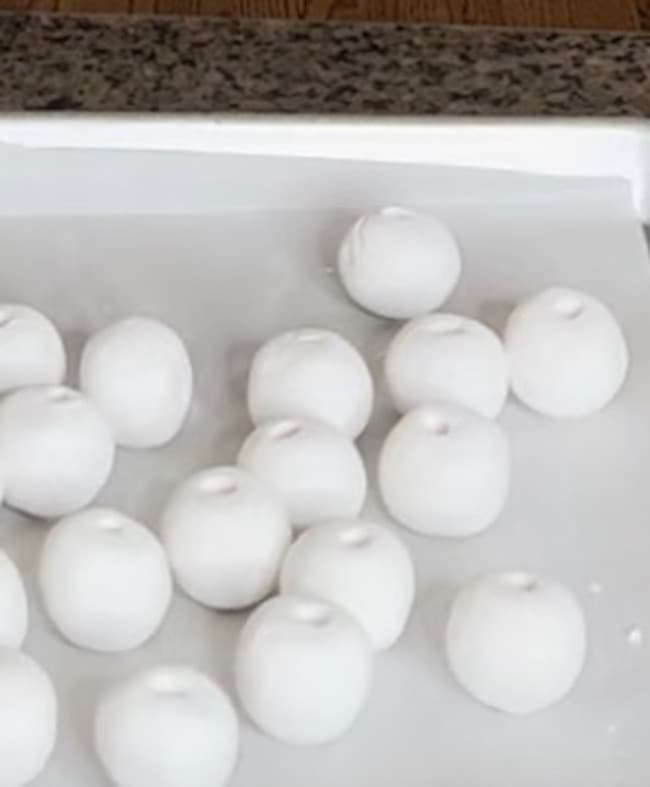
Spread your beads out on a surface to air dry. You can rotate the beads around as they dry to maintain a rounded shape.
Step 2: The Drying Process
For best results, it’s recommended to allow the air dry clay to dry completely at room temperature. This will help insure the clay doesn’t develop cracks as it dries.
The dry time will vary depending on the size of the beads. You’ll probably need at least 48 hours for the beads to dry completely with this method, and possibly a little longer due to the thickness of the beads.
While this is the recommended process, I was in a bit of a hurry so I sped the process up a little by placing them in an oven to dry faster.
I strongly recommend that you check the brand of air dry clay you’re using to make sure it recommends it.
The brand I used did offer instructions for drying in the oven.
I covered a baking sheet with parchment paper and baked the air-dry clay beads at 200 degrees for 20 minutes. At the end of this time I checked the firmness of the clay. I gave mine just a few extra minutes, checking several times, before turning the oven off. I allowed the beads to remain in the oven while it cooled to avoid an extreme change in temperature.
Once the beads cooled they were ready to paint.
Step 3: Painting the Beads
You can actually use air-dry clay that is already the color of natural terracotta, but the clay I used was white.
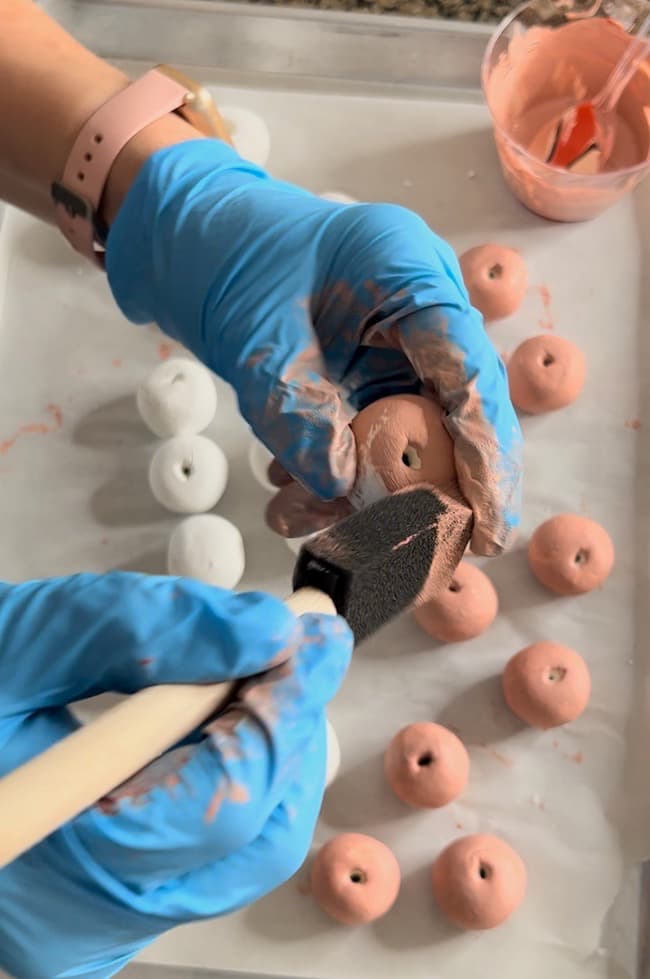
The first step in painting is to paint a base coat in a nice terracotta shade of acrylic paint. I actually mixed a little orange, off-white, and burnt umber paint colors together to achieve the color of natural terracotta, but you can certainly just use this terracotta color to simplify the process.
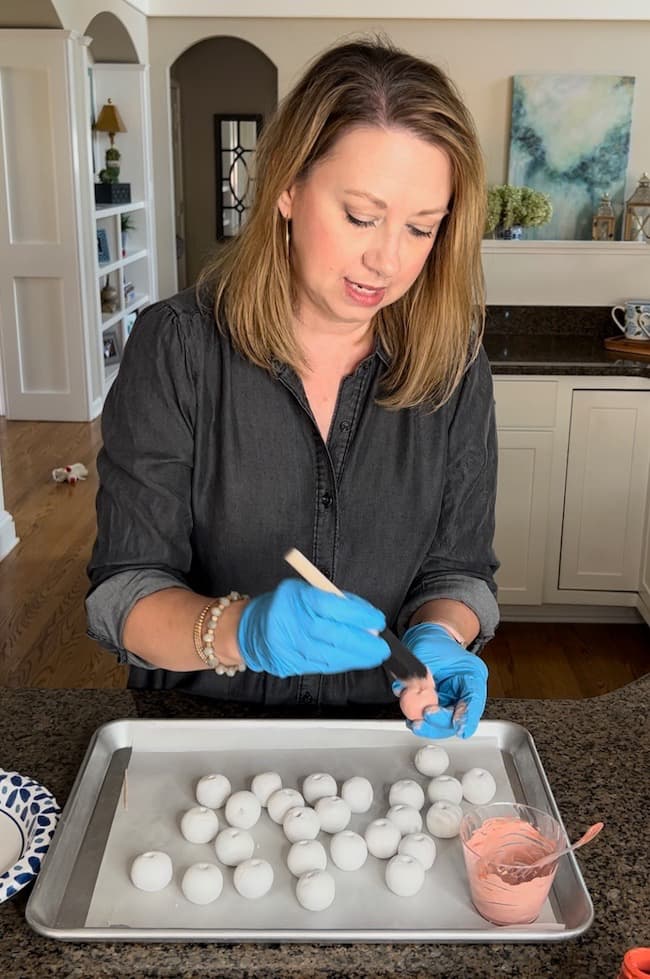
I recommend wearing rubber gloves since this process is a little messy. Use a 1″ foam paint brush to quickly paint a single coat of paint on all of the beads. A single coat of paint was all that was needed. The acrylic paint dries very quick on the air-dry clay.
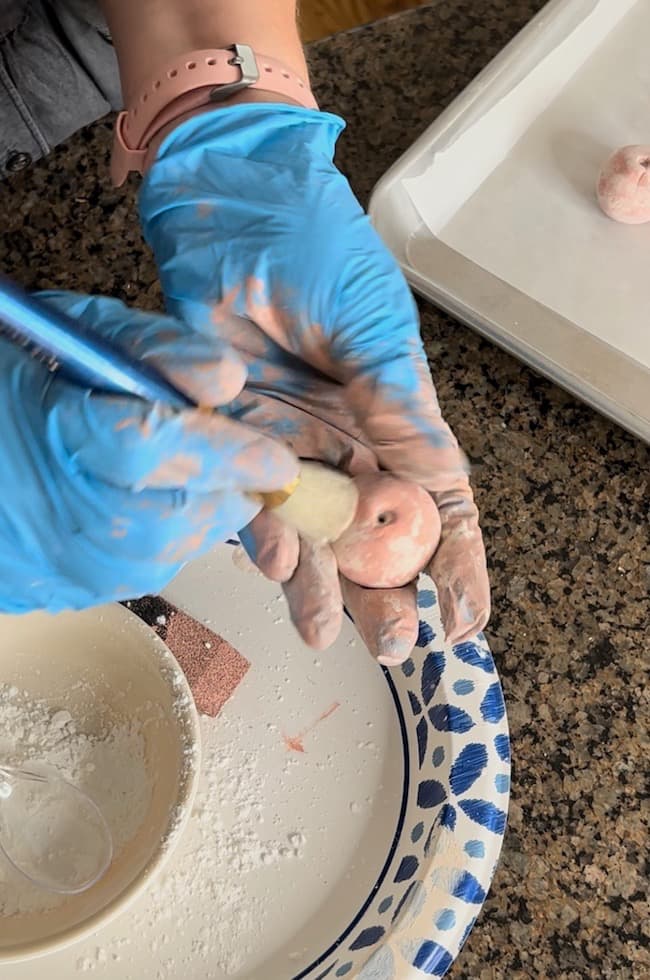
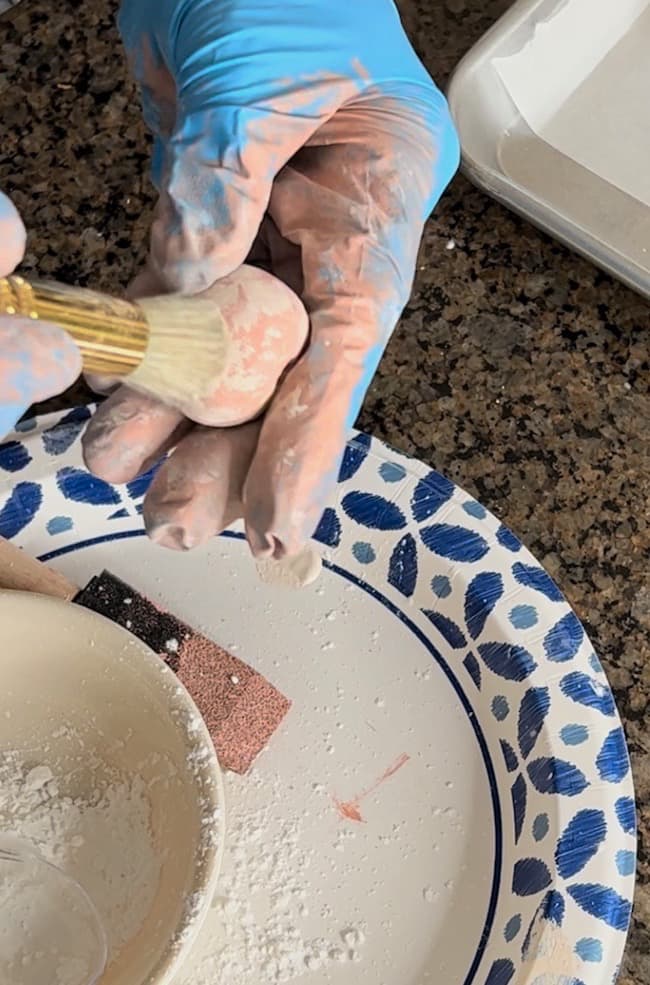
The handcrafted nature of this item calls for a more vintage and aged look on the beads. To achieve this look I used a firm stencil brush and a dry-brush technique to create a textural design. Dab off most of the paint from your brush before applying. I quickly dabbed on the off-white paint around each bead in a haphazard manner. Don’t be too particular with this step, just dab it on quickly and sporadically for the perfect distressed and age look.
Note: The images above show corn starch in a bowl. I first tested sprinkling a bit of corn starch on a bead while the paint was still slightly damp to achieve the aged look. I didn’t like the result as well as the one the paint technique yielded. But, that’s why the corn starch is in the photo.
After the paint dries, you can add a sealer to protect the paint if you prefer. If you choose to do so make sure your sealer has a matte finish. I did not seal my beads, but it’s entirely up to you if you prefer to.
If you’re interested in creating a faux aged look on terracotta pots, you might enjoy reading this post.
Step 4: String the Garland
This step in the process required a little trial and error on my part. The openings in my beads shrank quite a bit during the drying process, so my original plan to string the beads with jute twine had to change.
If your openings are large enough, and your jute string will pass through your beads, then feel free to use that for your garland.
Mine, however, would not so I had to improvise.
Fortunately, a few weeks ago I just happened to pick up a roll of gold craft wire in the Christmas craft section at Hobby Lobby, and it was just perfect for stringing the heavy beads.
The gold wire I used is very pliable, yet stiff enough to easily glide through the holes of the beads. I actually like the support it gives the heavy beads for the garland.
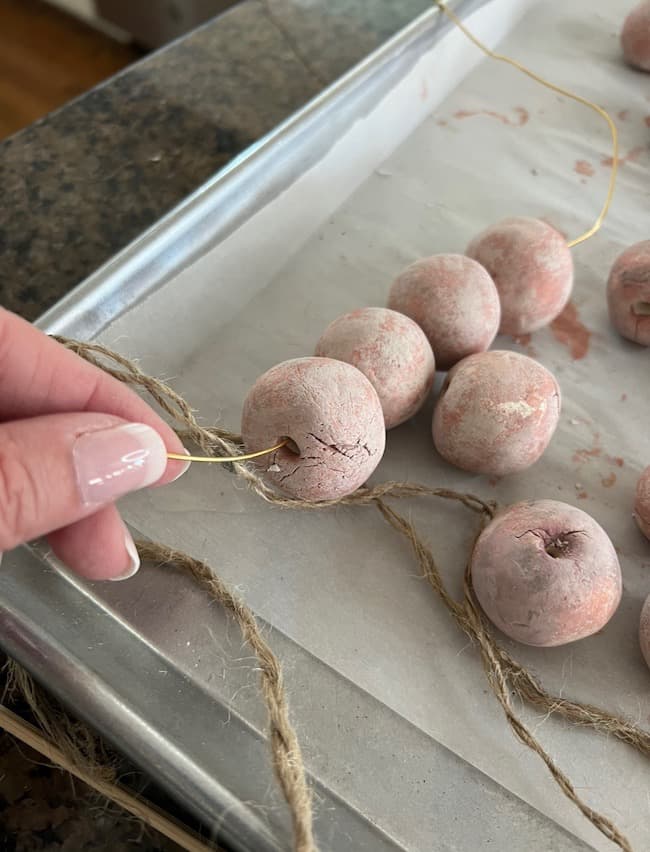
Simply string the beads onto the gold wire. If using wire you can twist a little loop at both ends of your garland and then push any excess wire back through the last bead.
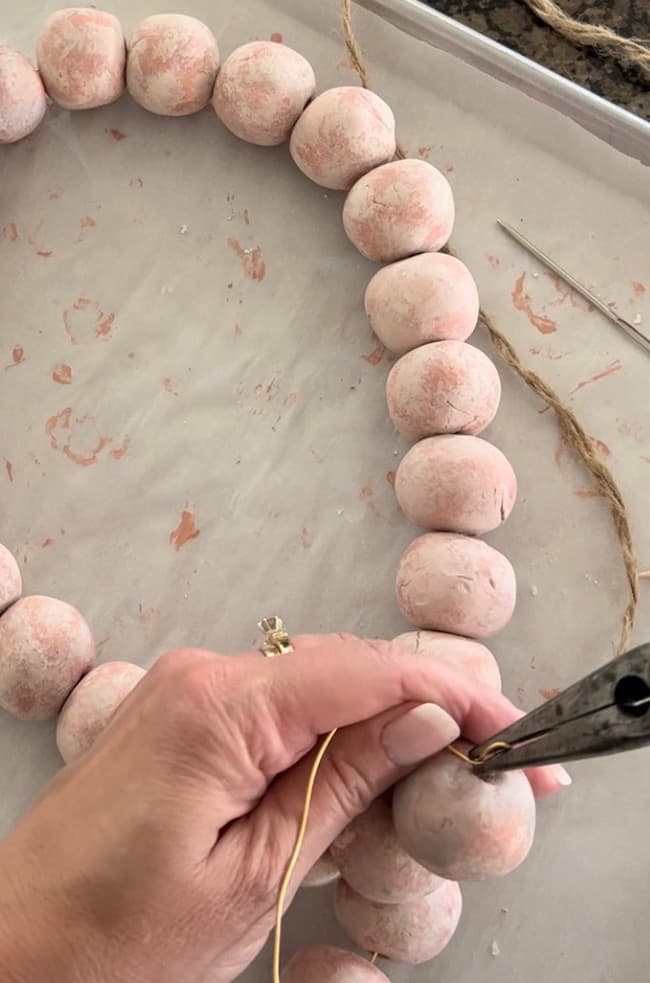
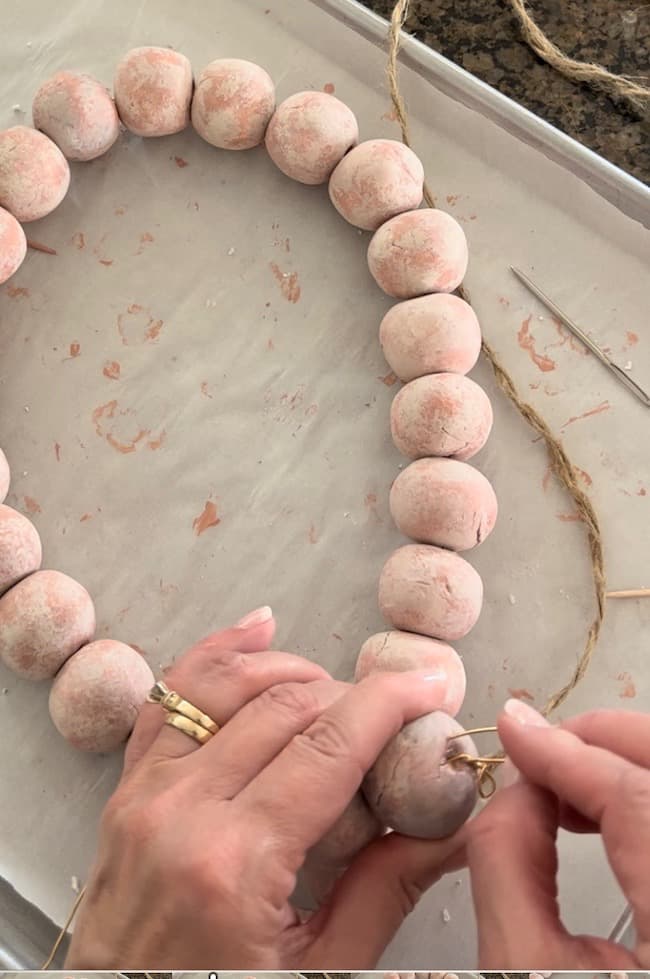
I used these small loops to attach a jute tassel on each end of the garland.
Step 5: Creating and Tying the Jute Tassel for Each End
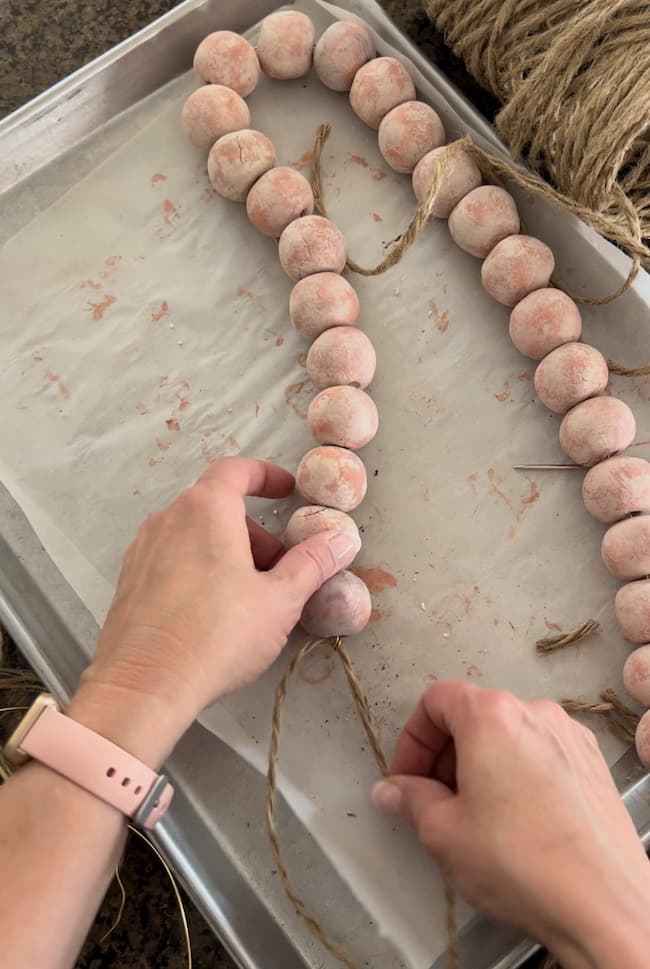
To create and add jute tassels to your garland, start by inserting a piece of twine through your gold loop. Give yourself about 12 inches of twine to work with. You can always trim any excess later.
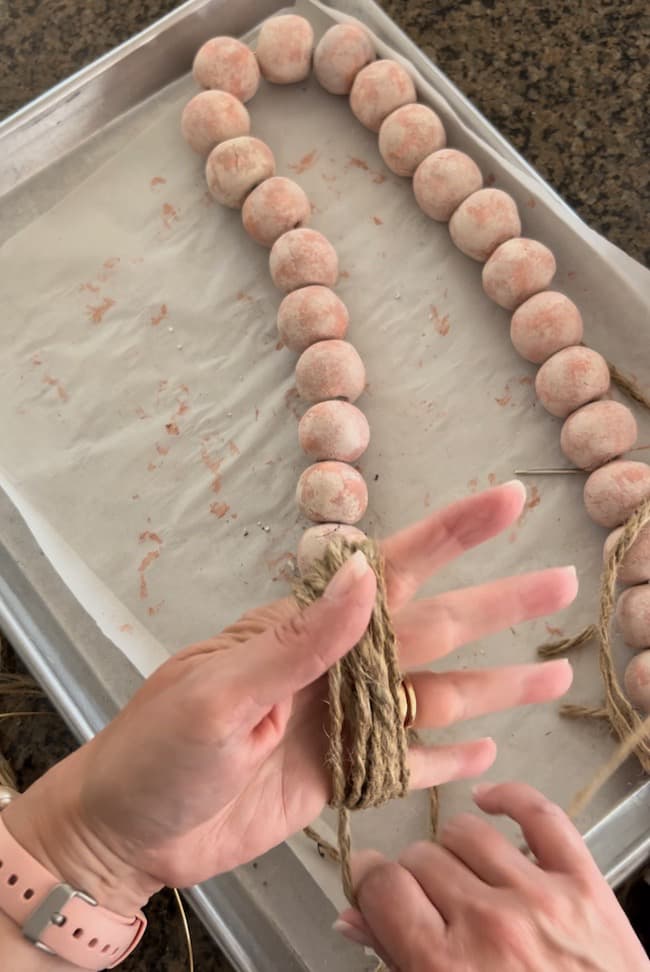
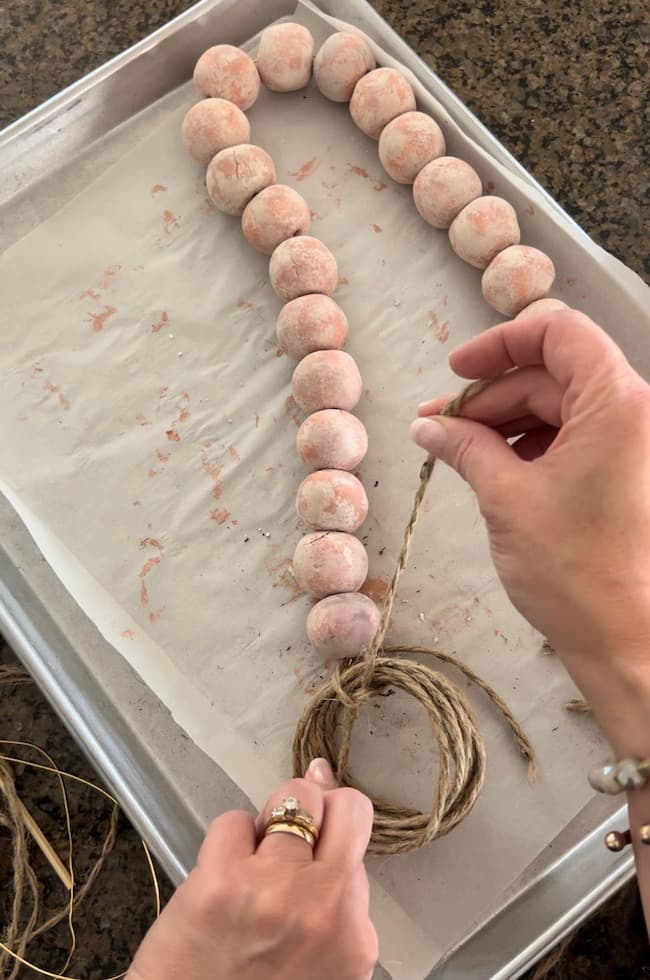
Next, create the tassel by wrapping the jute string around your palm 7-8 several times creating a large loop, then cut the string.
Use the 12″ string that you’ve already inserted through the gold wire loop to tie the loop of jute to the garland. Double knot this tie-off.
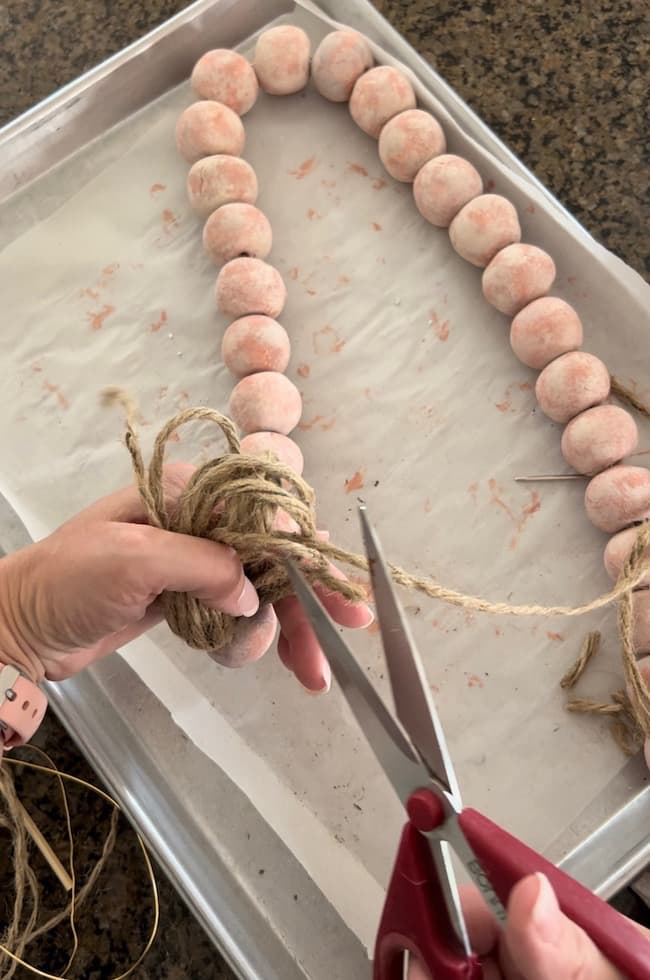
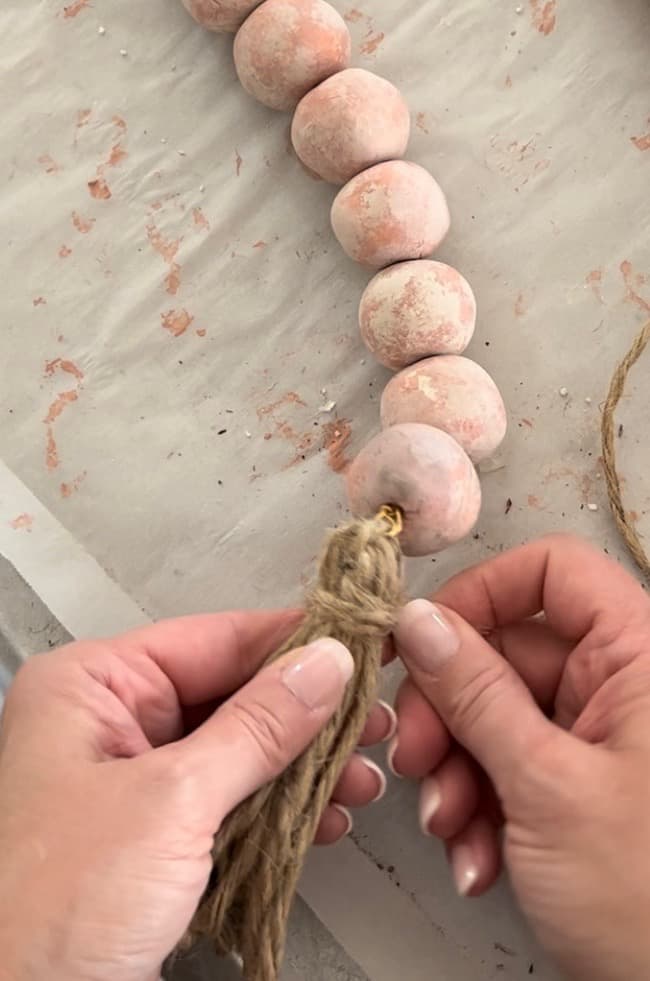
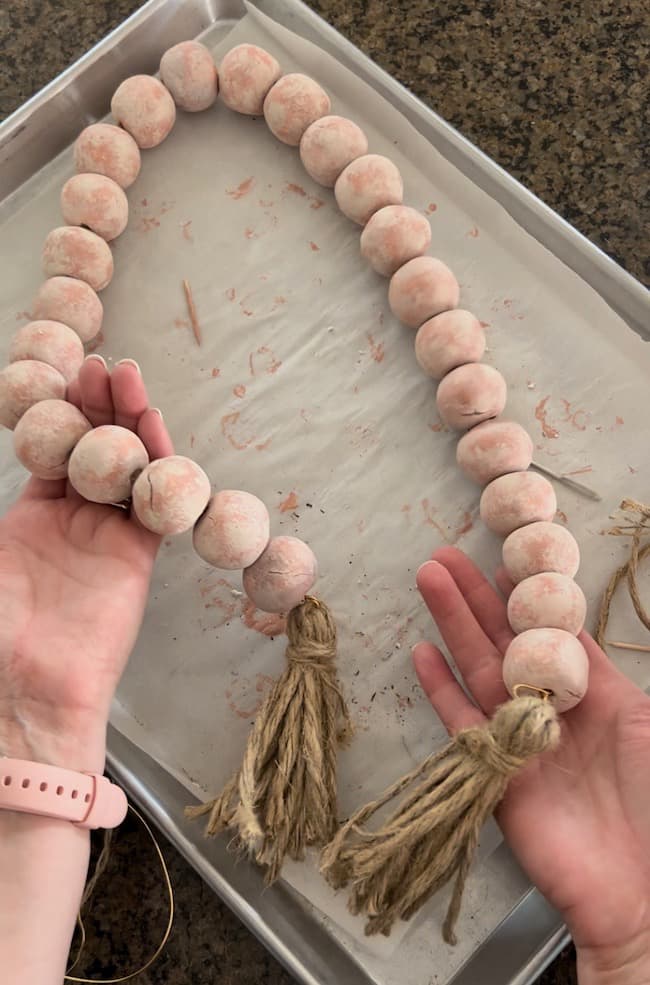
Use scissors to cut through the bottom end of the jute loops and trim the ends of the twine.
Use the original 12″ piece of string to wrap around the top of tassel and tie it off.
Now your first tassel is complete, and you can repeat these steps to complete the second tassel.
For more DIY garland ideas you might enjoy:
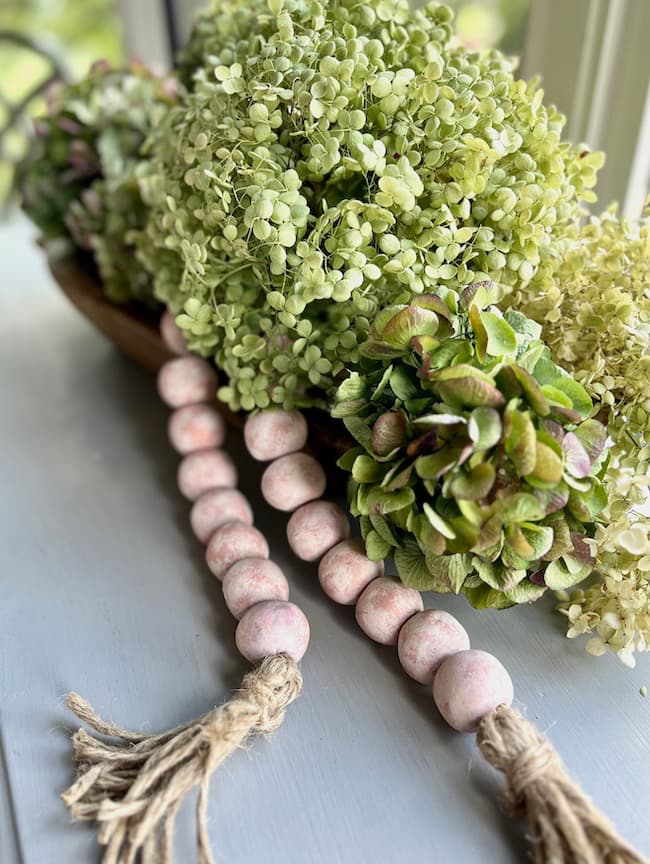
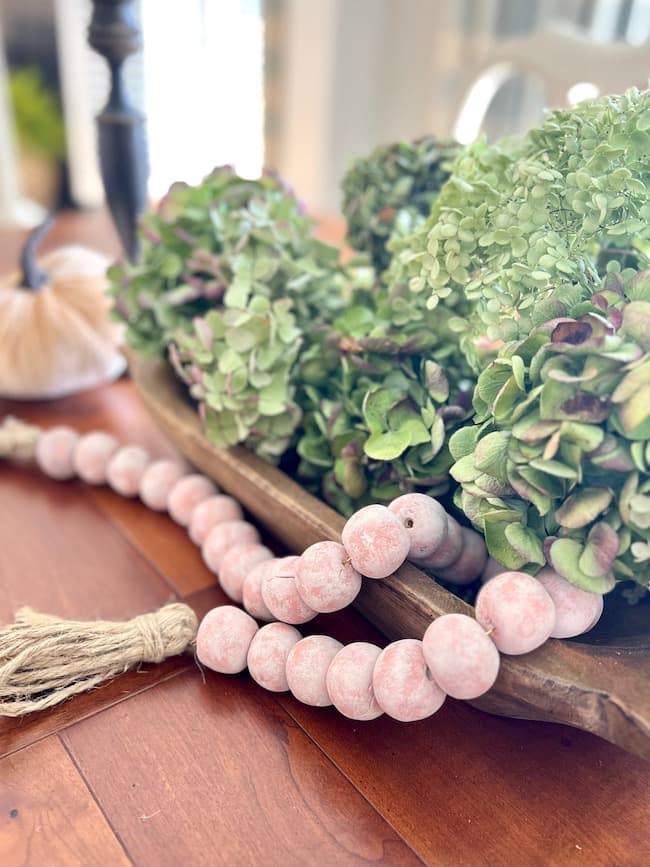
Step 6: Styling Tips for your Terracotta Bead Garland
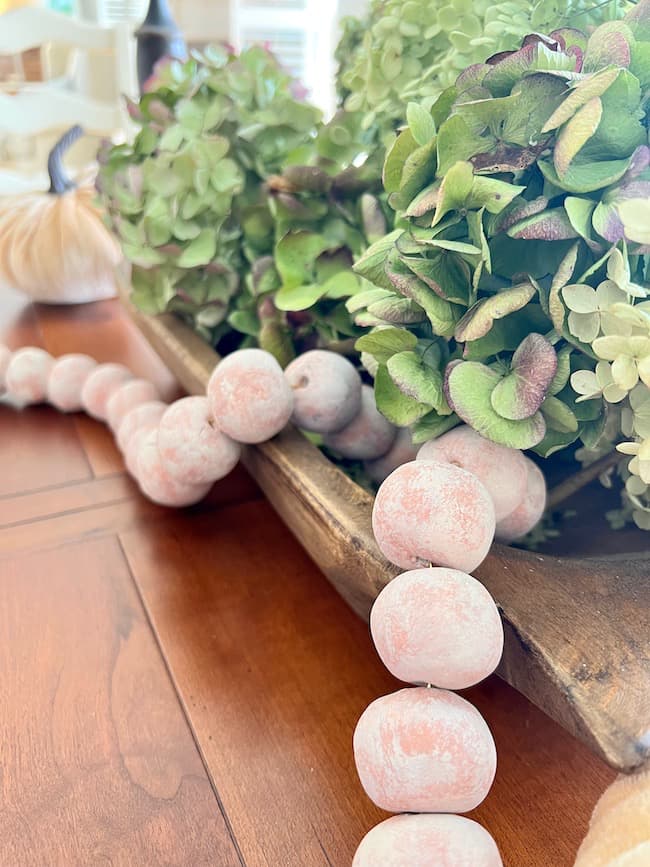
There are so many pretty ways to style your beaded garland. It adds such a lovely textured element to any tabletop or vignette.
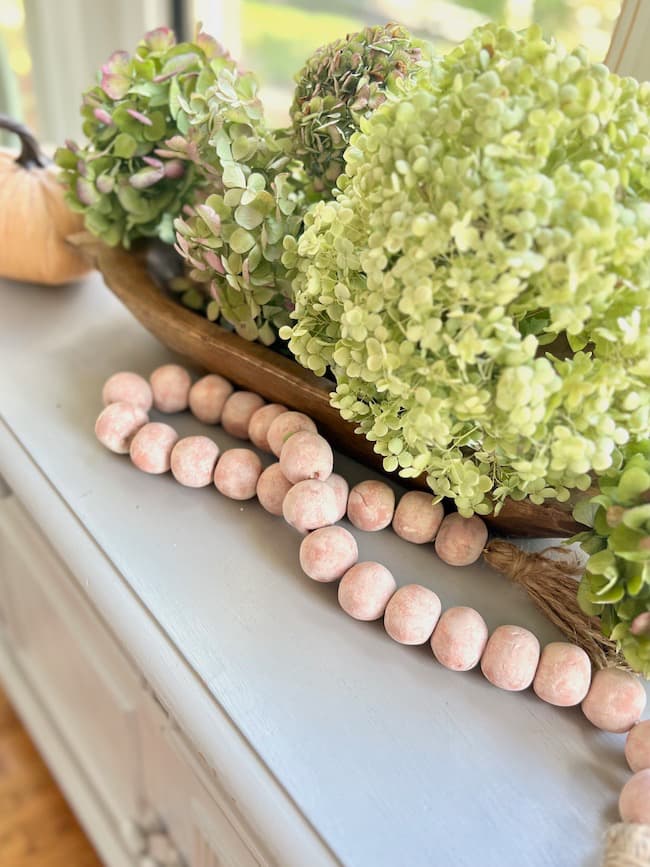
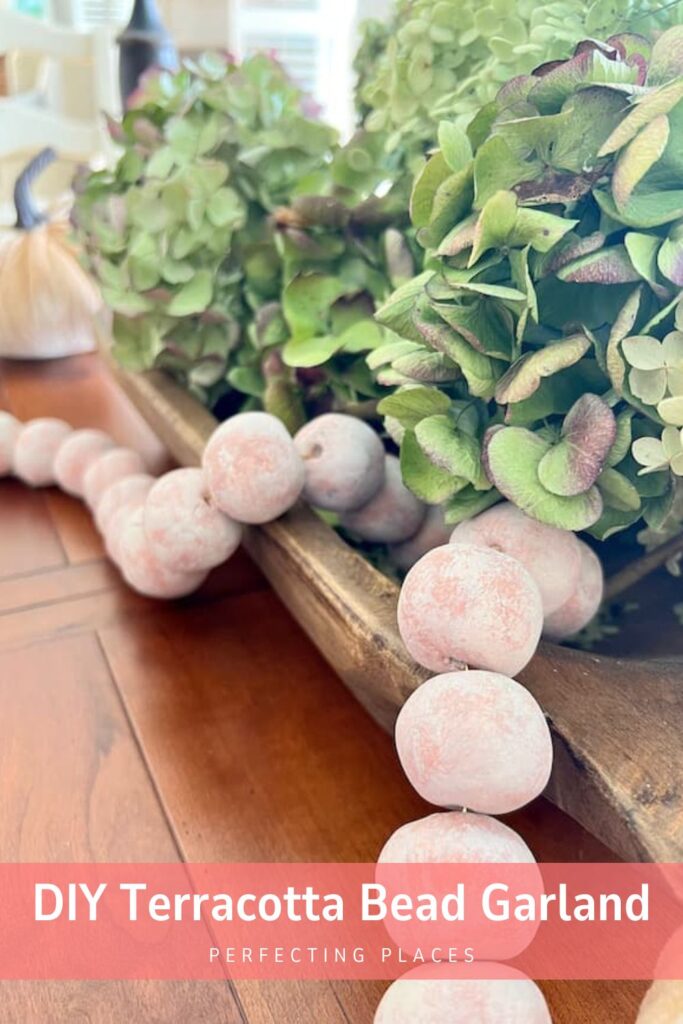
I grouped it with a dough bowl full of dried hydrangeas from our garden. The texture and natural elements are so pretty paired together in our kitchen sideboard tablescape.
More Ideas for Styling Your Garland:
- Drape the garland across a stack of books on your coffee table.
- Add the garland to a tiered tray in your kitchen.
- Allow the garland to pour out of a pedestal on your fireplace mantel. Intertwine it with candles and seasonal greenery.
- Wrap it around the posts of your bed or drape it along the headboard.
- Stretch the beaded garland along the center of your dining table, weaving it between vases, bowls, or candlesticks.
DIY projects like this terracotta bead garland prove that achieving stylish home decor doesn’t require a hefty price tag. With just a few materials and a sprinkle of creativity, you can craft elegant additions for your space that are both easy and budget-friendly. And in the process, your home will be filled with your own personal touches!
I hope you’ll give this beaded garland a try!
Happy Decorating!


My goodness, what a lovely job you did ,they look beautiful..❤️