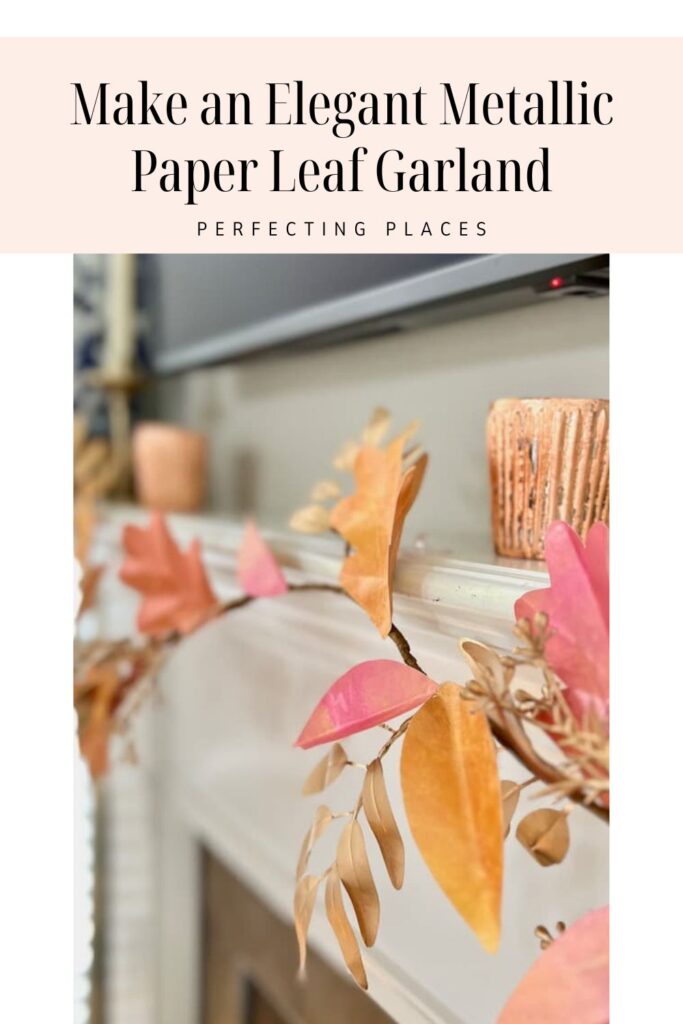
DIY Paper Leaf Garland: A Simple, Stunning Fall Craft
Want to add an elegant touch to your fall decor? Learn how to create a stunning fall paper leaf garland for your home with this easy DIY garland tutorial.
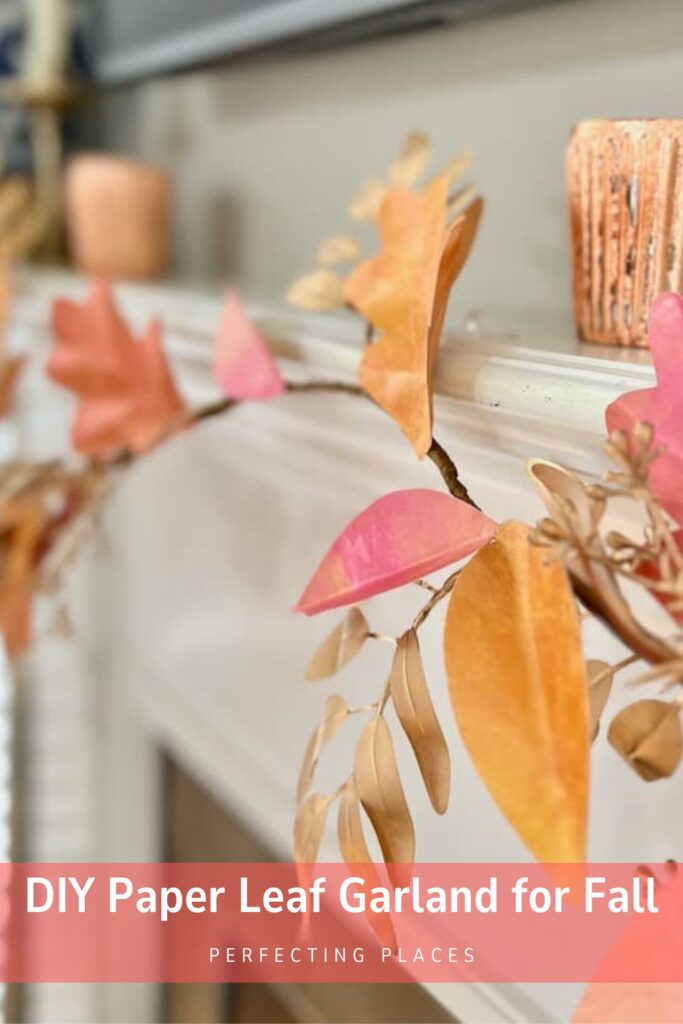
I used shimmery shades of pink, rust, gold, and terracotta metallic paint along with some craft paper to make this easy colorful leaf garland. Just follow the detailed instructions below!
(This post contains affiliate links, so I may earn a small commission when you make a purchase through links on my site at no additional cost to you. As an Amazon Associate I earn from qualifying purchases.)
Have you started decorating for fall yet?
I’ve been sprinkling bits of fall goodness around our home for a few weeks, but now that the calendar says it’s officially fall, I’m all in!
If you enjoy paper crafts, you’re going to love this fall DIY. The best part about this little fall craft is just how much fun I had creating it. Not only is it fun to make, but it’s such a simple way to spruce up your home for the season.
My inspiration for this metallic leaf garland comes from two places.
The first was a trip to Bullseye’s Playground at Target a year ago where I discovered these pretty metallic wreaths.
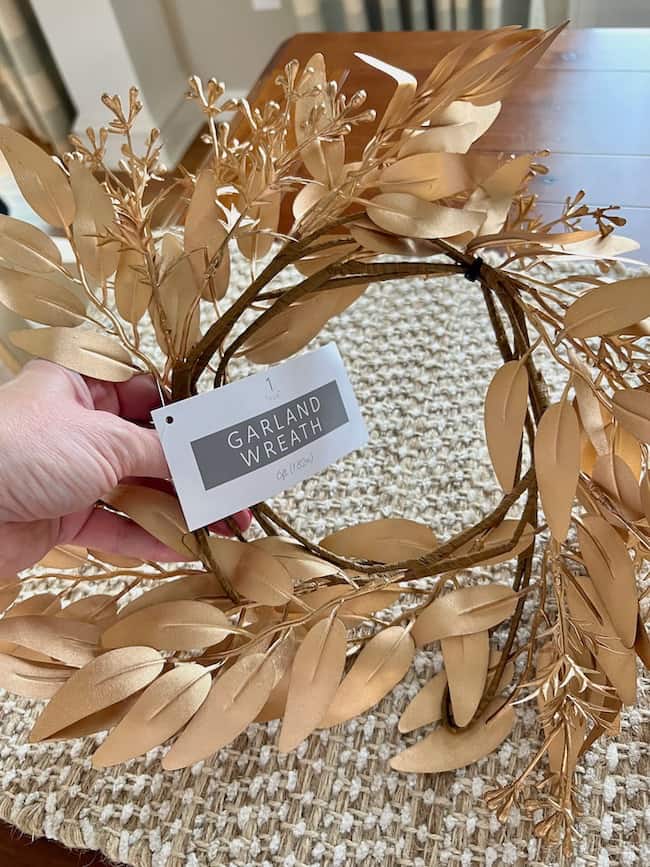
Target called them wreaths, but they’re pretty much just garland fastened together by one little plastic band. I snatched up a few of these to use for various fall decor projects around our home.
Unfortunately, I haven’t seen these little wreaths at Target this season; however, you could use this garland from Amazon to create a similar look.
My second source of inspiration is the very talented Leslie Saeta of My 100 Year Old Home. Leslie shares the best DIY projects that are always so inspirational and lovely, and when I read how she created a beautiful paper wreath using the most gorgeous paint technique, I just had to give it a try. I decided that some larger metallic leaves in beautiful fall colors would be a great addition to the Target garland, so I had the perfect excuse to try Leslie’s fun paper-painting technique.
How to Make a Metallic Leaf Garland for Fall:
This is really an easy fall DIY decor project to make! You just need enough time for the paint to dry on both sides of the paper, but otherwise it’s pretty quick to complete.
You’ll need a few supplies to create this fall leaf garland.
- White cardstock paper or heavy scrapbook paper
- Metallic acrylic paints in shades of orange, rust, pink, magenta, and gold
- Rubber brayer for rolling on and blending the paint
- Leaf pattern template
- Pencil
- Scissors
- leaf garland (This one is similar.)
- hot glue gun and glue sticks
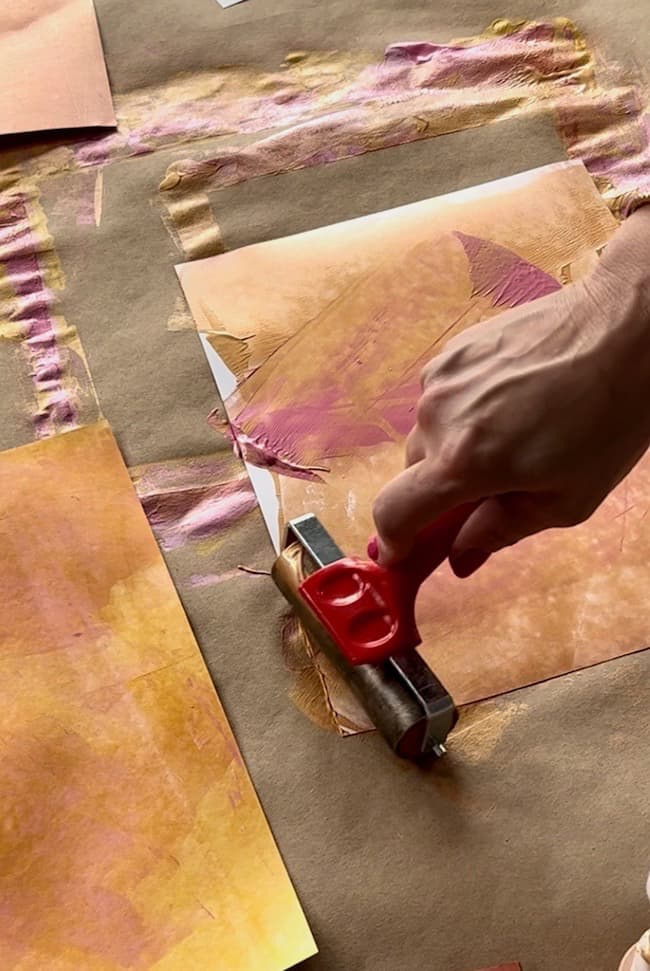
Step One: Paint Your Paper
This is my favorite part of this project. It’s so fun to mix the colors together with the brayer to see what lovely color combinations and blends you can make.
Be sure to cover your work surface with paper or newsprint to protect it as you roll the paint.
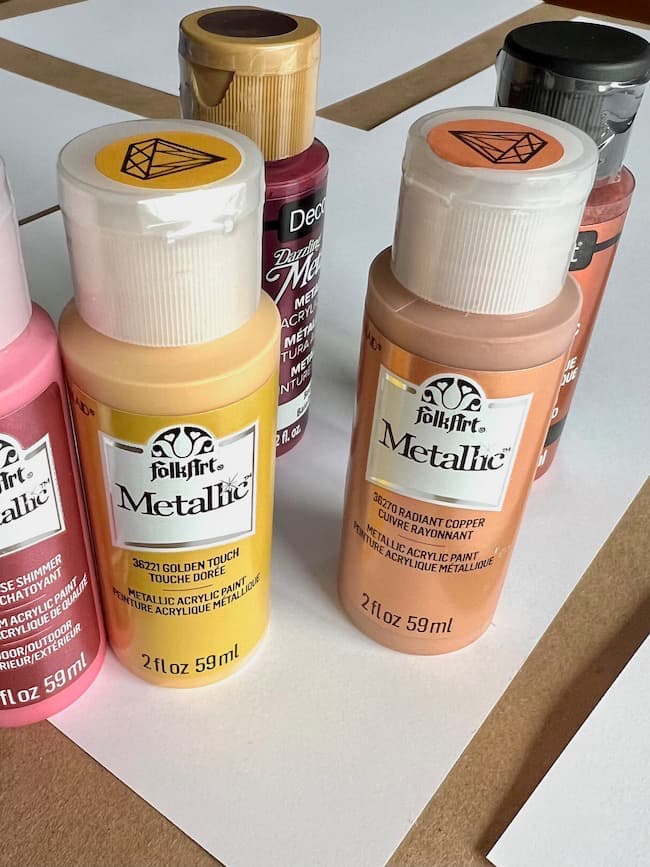
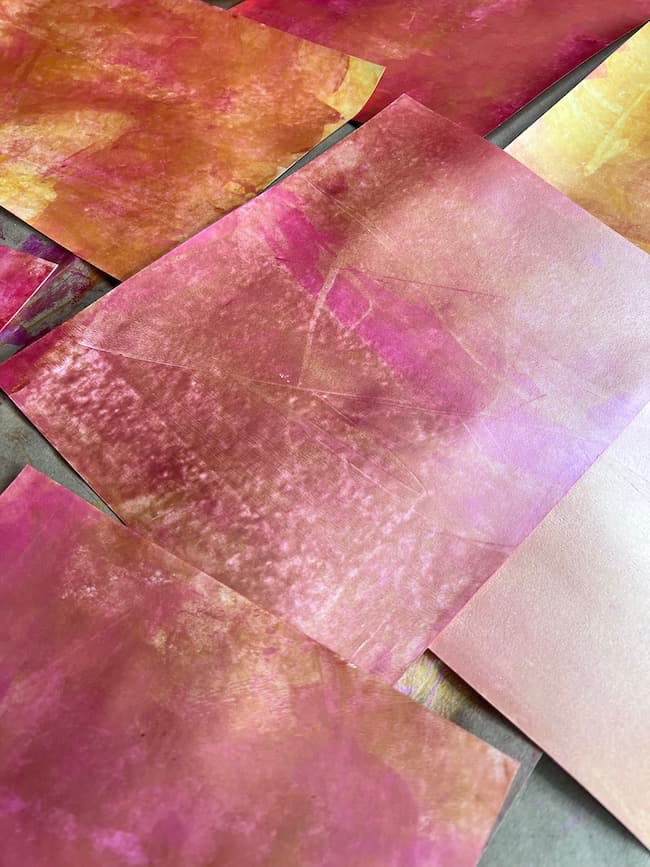
I used acrylic craft paints with a metallic finish in the prettiest autumn shades of gold, pink, rust, and copper!
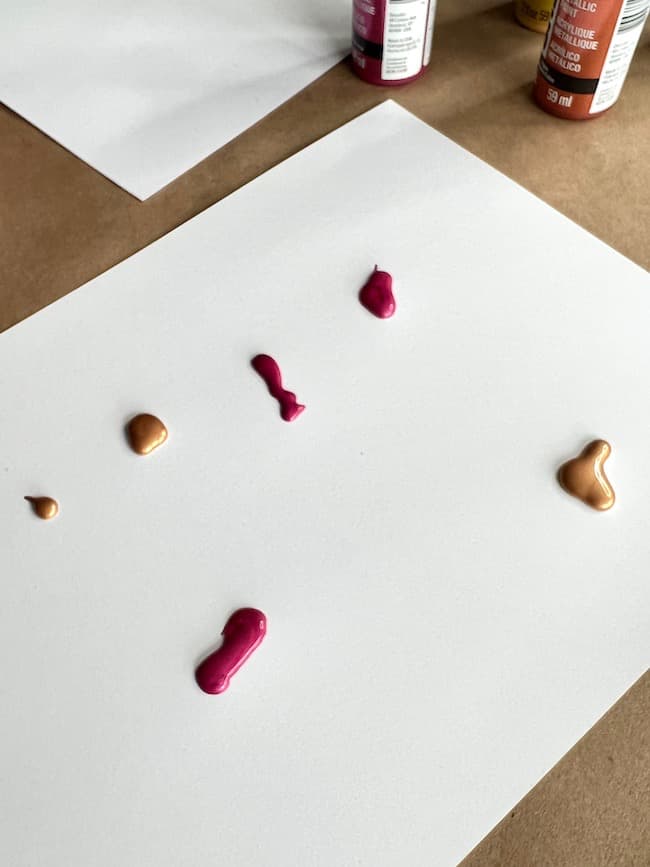
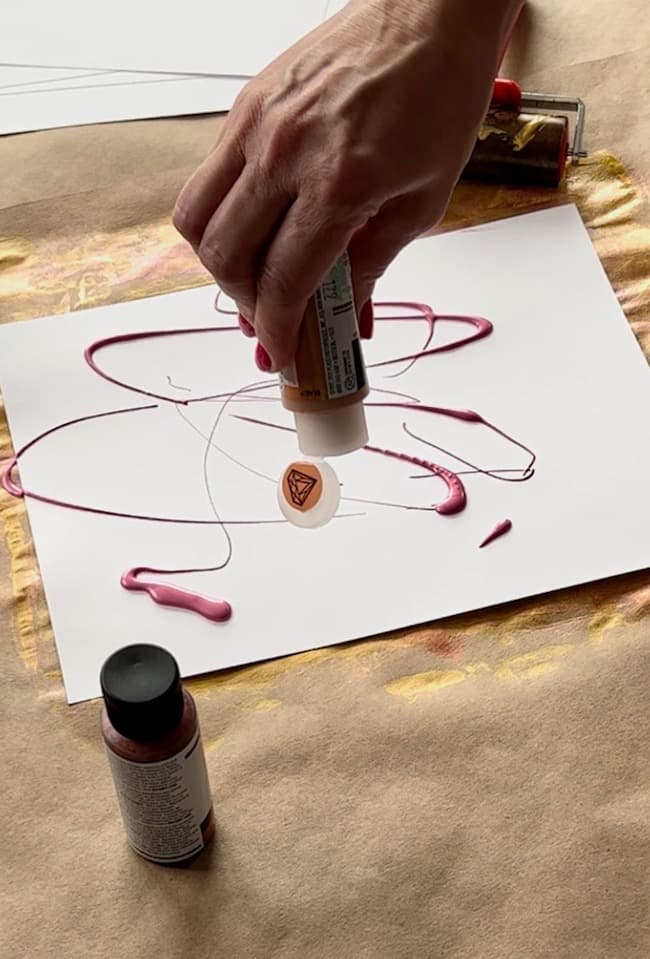
Squirt drops and squiggles of paint around the front side of a sheet of card stock. Per Leslie’s recommendation, I mainly used only two colors per sheet of paper, but on some pieces I blended in a few other colors.

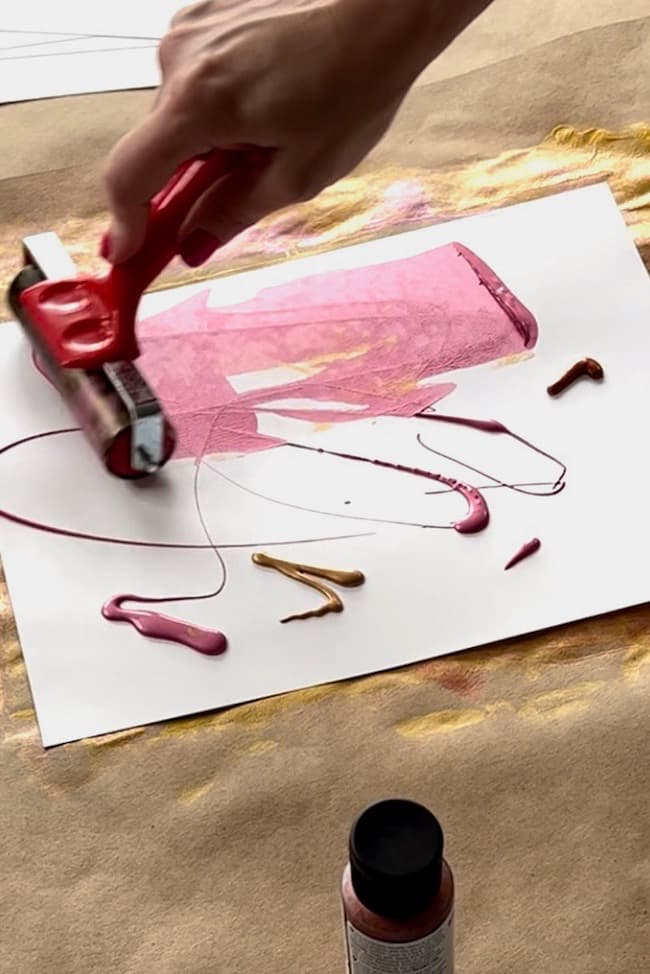
Use a rubber brayer to roll the paint all over the piece of cardstock. The paints will blend together to create the most beautiful shimmery paper. This is the first time I’ve ever used a rubber brayer, but it won’t be the last. It creates such a gorgeous look and texture.
Roll out all of the pieces of paper. I rolled several more than I actually needed for this particular garland, but I will be sure to use these papers for more fall projects. I have a few pumpkin-themed ideas swirling around in my head, so stay tuned!
Allow the paint to dry completely on this first side. I let mine dry overnight. Then flip the sheets of paper over and paint the backsides.
Step Two: Cut Out the Leaves
I used a leaf template to trace and then cut out two different shapes of leaves to add to the garland.
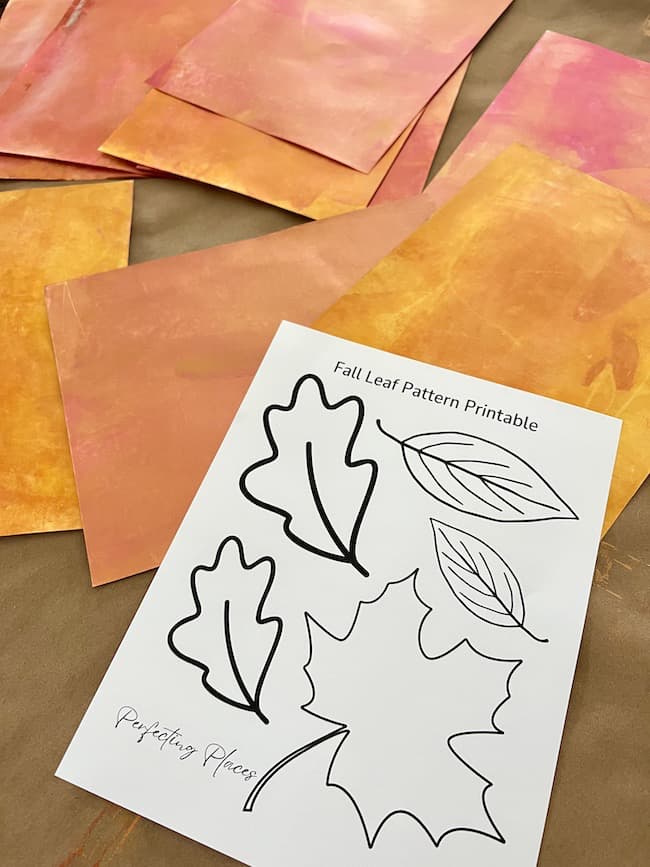
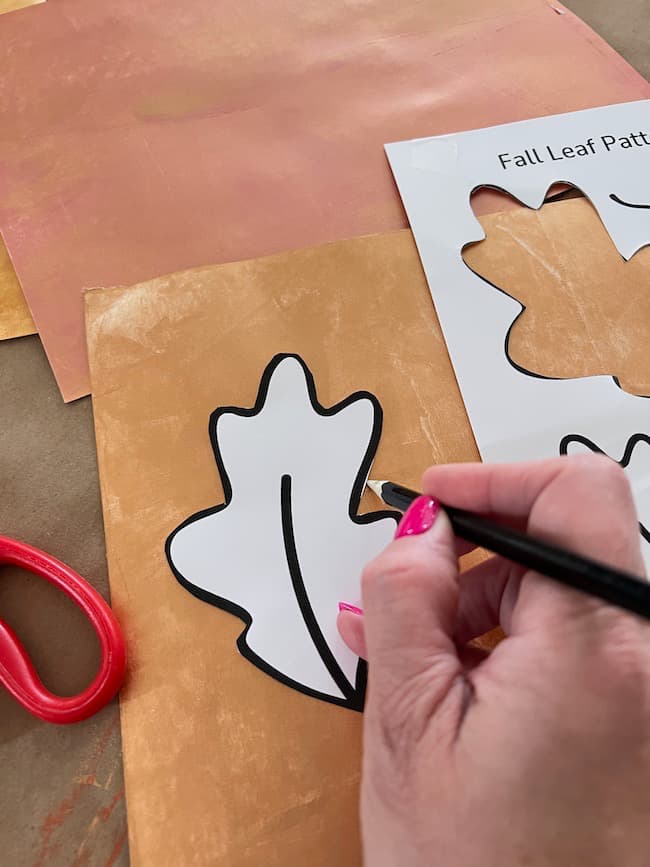
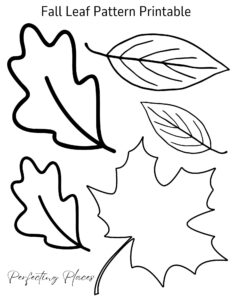
If you’d like to use this leaf stencil, you can download it and print for your own designs.
Step Three: Crease the Leaves to Add Dimension
This step really takes the leaves up a notch and adds lovely dimension to the garland.
For the smaller oval shaped leaves, I simply folded down the middle of the leaf.
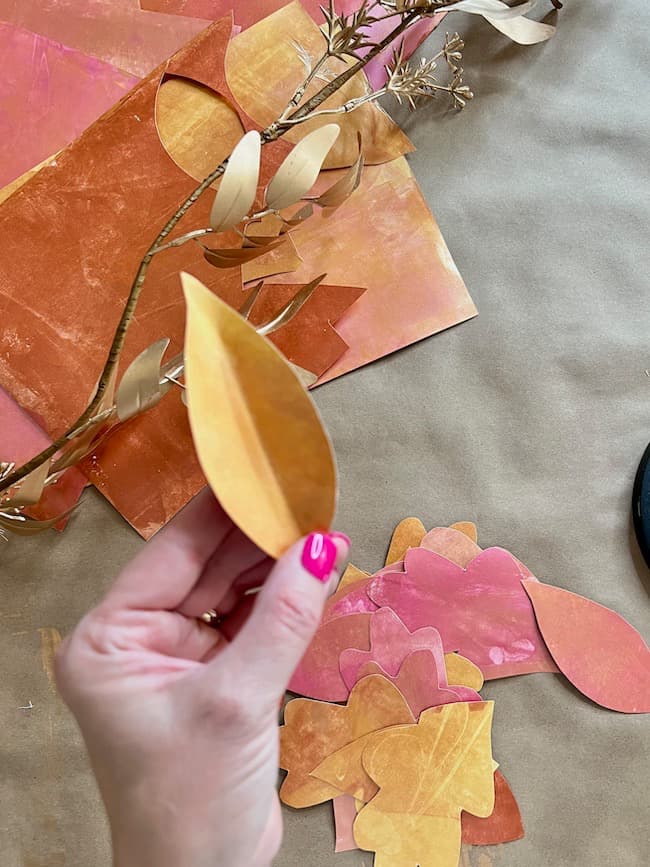

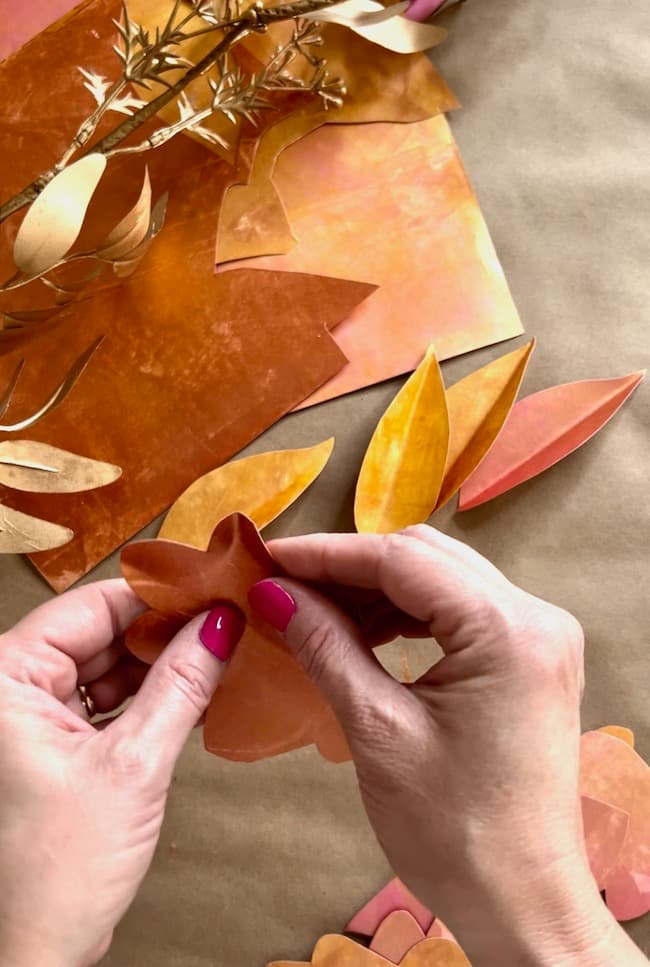
The larger leaves need a few more folds. Begin by folding down the middle lengthwise. Then fold along each section of the leaf.

This not only adds dimension to the leaves, but also mimics a veining pattern.
Step Four: Glue the Leaves to the Garland
Before you attach the leaves to the garland, plan where you want to place each leaf.
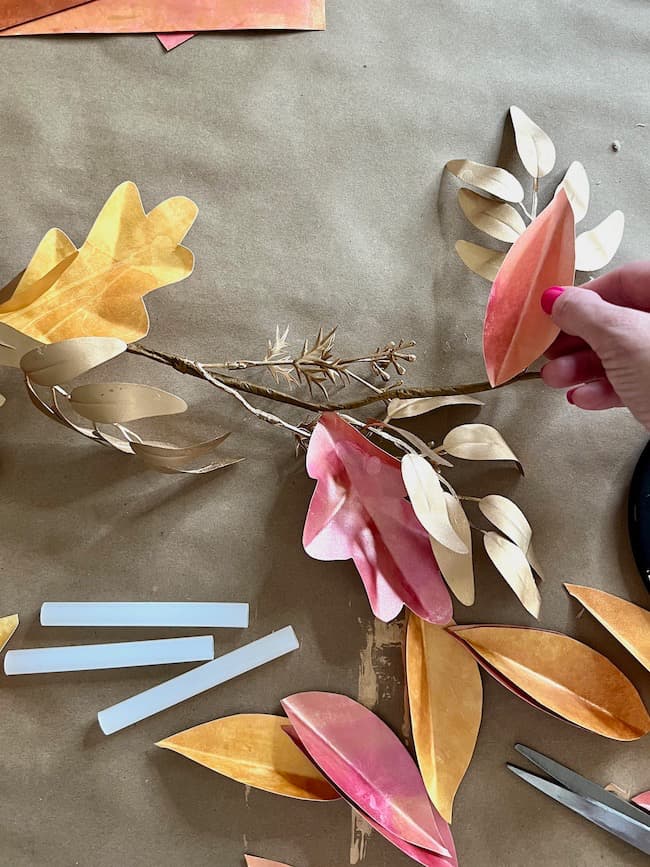
Use a hot glue gun to add a small amount of glue to the bottom of each leaf and attach it to the garland. Make sure you angle the leaves in both directions along the garland to achieve a pretty look.
You’ll need to hold each leaf in place for a few seconds until you feel the glue has hardened enough at the leaf base to hold it in place.
Step Five: Hang the Fall Garland and Enjoy!
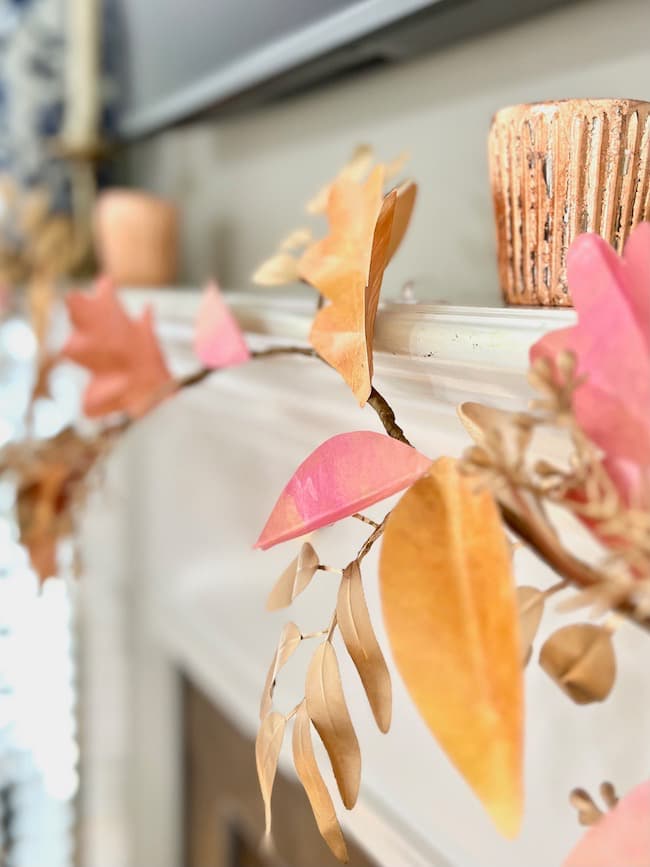
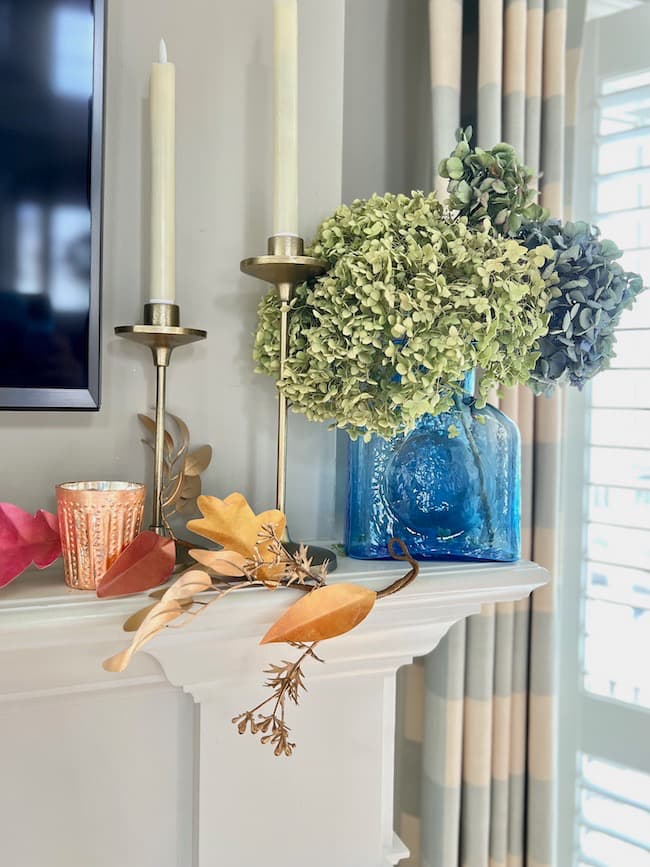
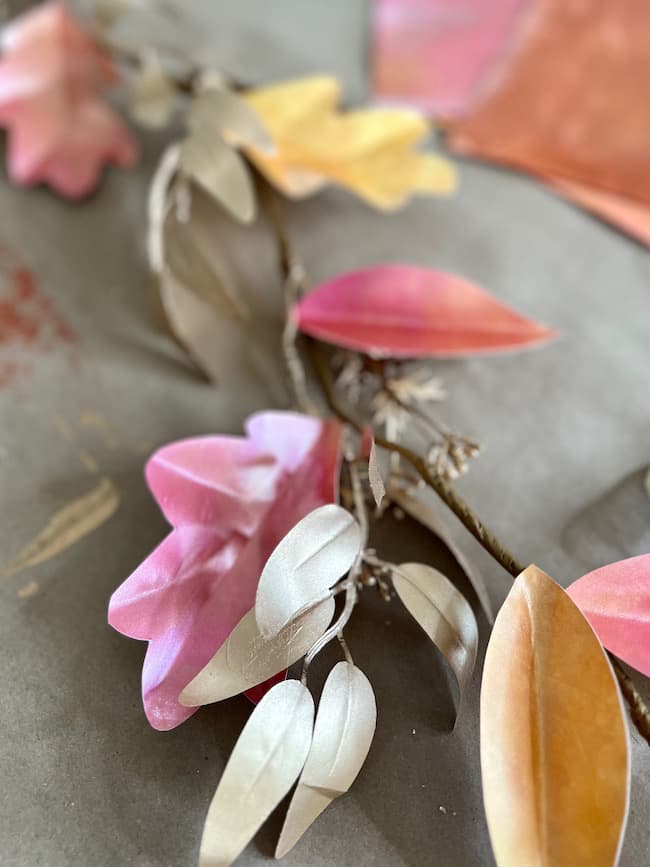
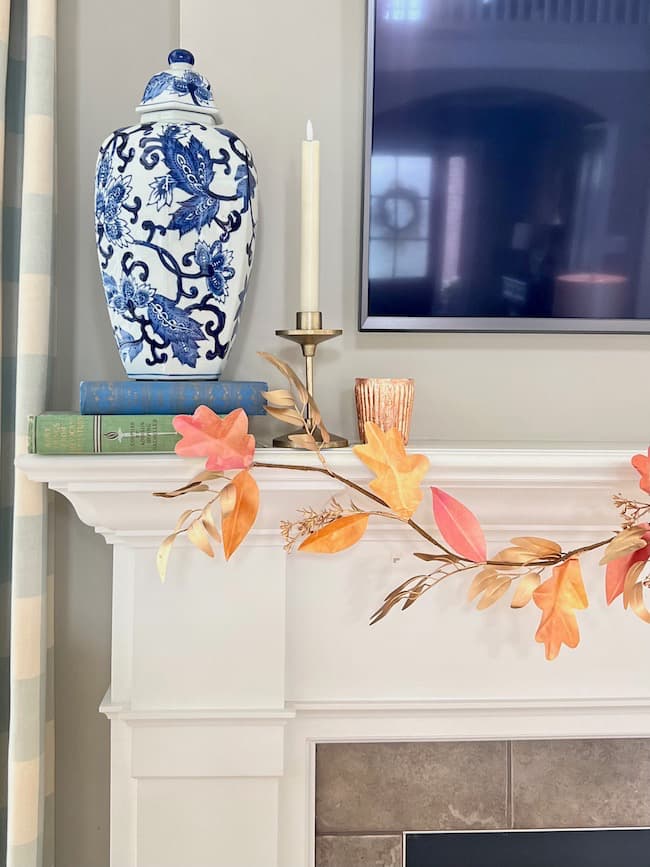
After all the leaves are attached your garland is ready to use! I hung our garland along our fireplace mantel using 3M hooks and fishing wire to hold it in place. I love the soft subtle shades of autumn the garland adds to the living room without overpowering it.
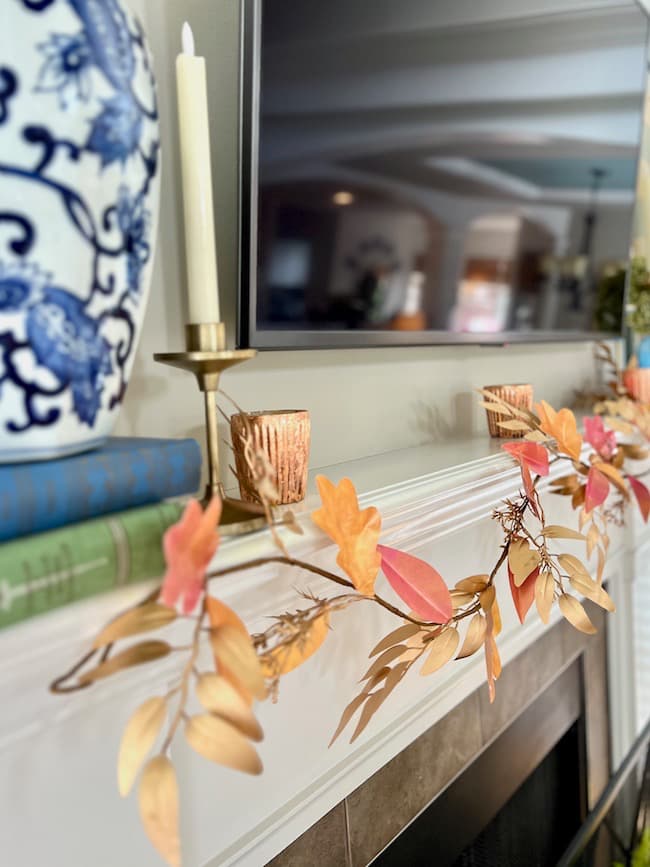
The metallic finish adds just the right amount of shimmer and shine for a lovely autumn glow.
Perfect Spots to Drape Your DIY Autumn Leaf Garland (Besides the Mantel):
There are so many places you can use this garland around your home this fall!


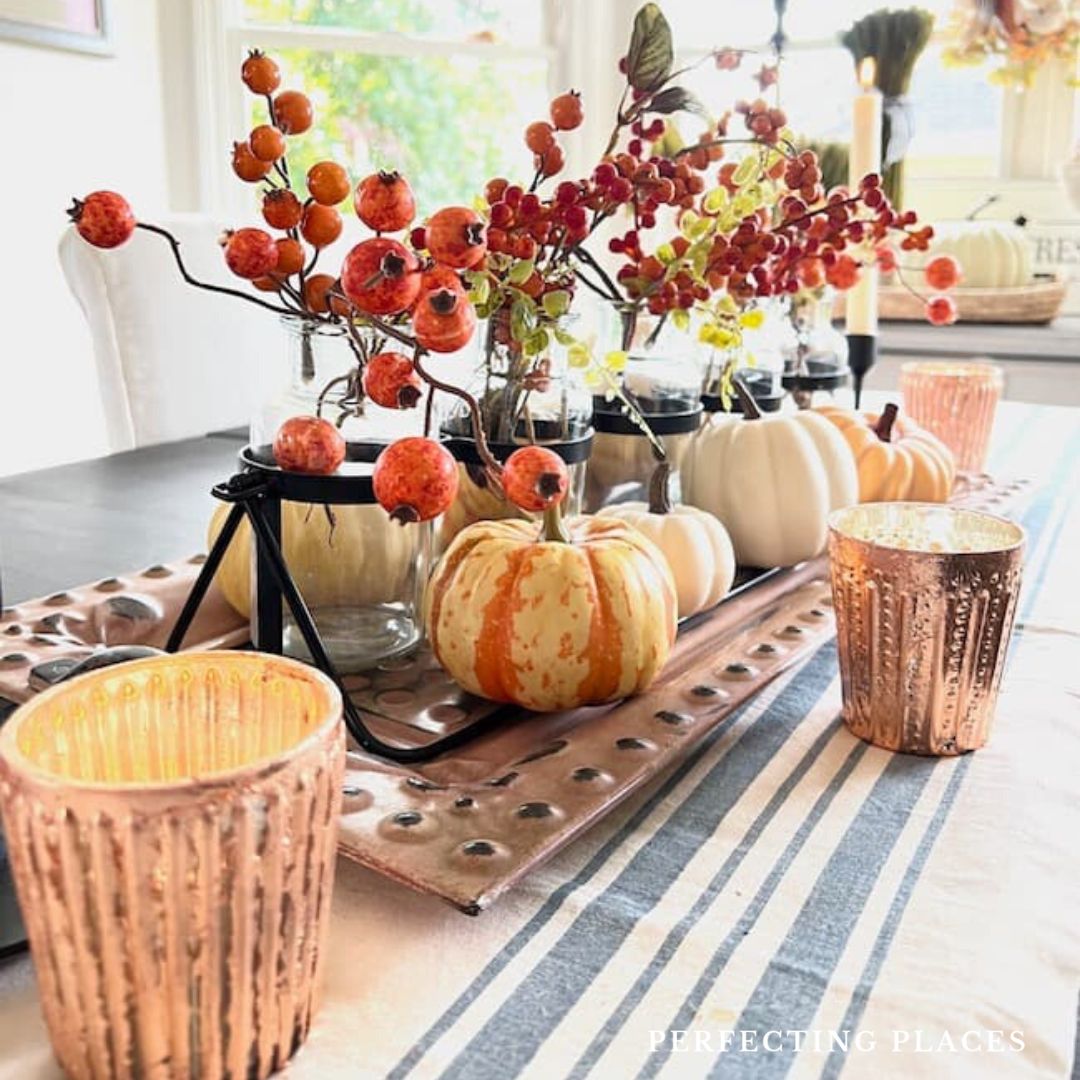
- Dining Table Centerpiece — Drape the garland along the center of your dining table intertwined with some candles and pumpkins to create a festive centerpiece.
- Doorway or Archway — Hang the garland over doorways or archways to create a festive entrance or transition between rooms.
- Staircase Banister — Hang the garland along the handrails of your staircase.
- Windows — Hang the garland along the tops of windows to add a touch of fall to the view both inside and out.
- Mirror Frames — Drape the garland over large mirror frames to give a metallic pop and fall flair.
- Bed Frames or Headboards — Adorn the top of a bed frame or headboard in a bedroom for nice focal point with a seasonal touch.
- Shelves and Bookcases — Drape the garland along the edges of shelves or in front of books to sprinkle a bit of autumn throughout your displays.
- Kitchen or Buffet Hutch — If you have an open hutch or a buffet setup, the garland can add a festive touch to your dishware or fall display.
- Chandeliers or Pendant Lights — Carefully wrap the garland around the base or arms of chandeliers, or let it hang lightly from pendant lights.
Other Creative Materials to Use for Paper Leaf Garlands:
There are so many creative fall garland ideas you can make from various types of paper. I’ve gathered a few of my favorites below!
Crepe Paper: This colorful crepe paper garland by The House That Lars Built is just gorgeous!
Coffee Filters: My friend, Wendy, at WM Design House, made a beautiful fall garland using coffee-stained paper and coffee filters!
Book Pages: Are you an avid reader? This book page paper leaf garland is perfect for you!
Brown Paper Bags: I love this creative fall garland made from brown paper bags!
This DIY paper leaf garland is a versatile addition to any fall decor. Whether it’s on a mantel or used in unique ways like on bed frames or chandeliers, it’s a simple yet effective way to bring autumn vibes into your home. I love the metallic finish because it adds just the right amount of autumn glow.
It’s easy to make, the perfect touch so many places, and with just a few simple supplies this fall leaf garland is a must-try for anyone looking to spruce up their home this fall!
I hope you’ll give this fun project a try! Please let me know in the comments if you do!!
Happy Decorating!


By the way, do you follow me on all the socials? If not, check out my Pinterest, Instagram, and Facebook and be sure to follow along so you don’t miss out on any of my decorating and DIY ideas!
Love DIY Fall Craft Projects?
Check out these easy fall craft ideas.
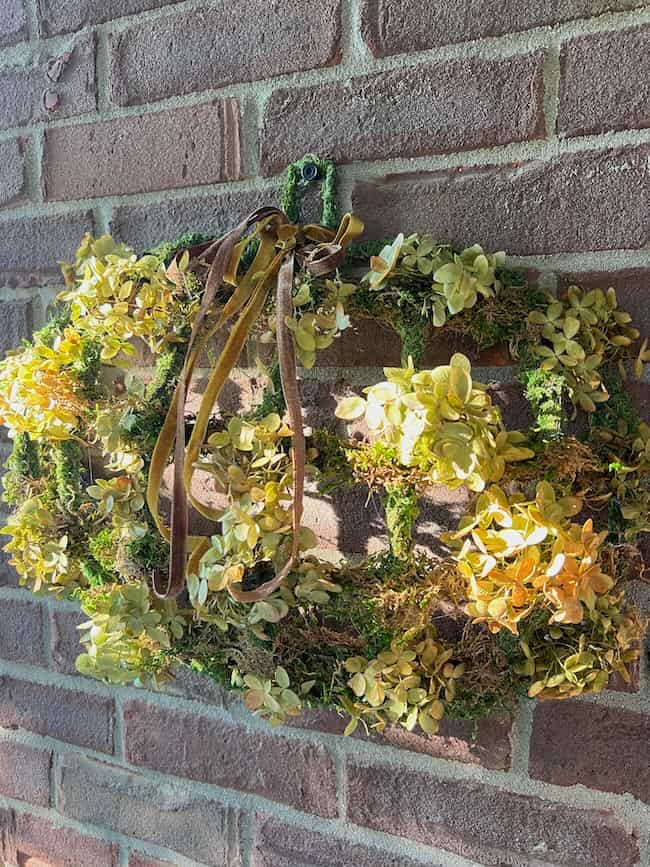
DIY Dollar Tree Pumpkin Wreath: A Twist with Moss and Dried Hydrangeas
Create this stunning DIY Dollar Tree pumpkin wreath with moss and dried hydrangeas to elevate your autumn home decor.
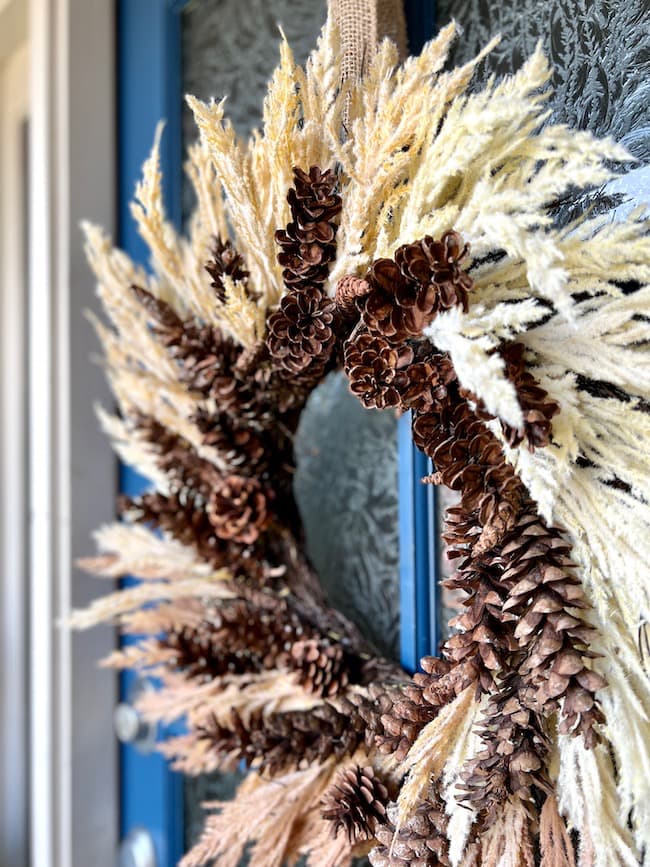
An Easy DIY Pinecone Wreath for Thanksgiving
This easy DIY pinecone wreath idea makes a super easy fall wreath for your front door.
More Fall Decor Ideas:
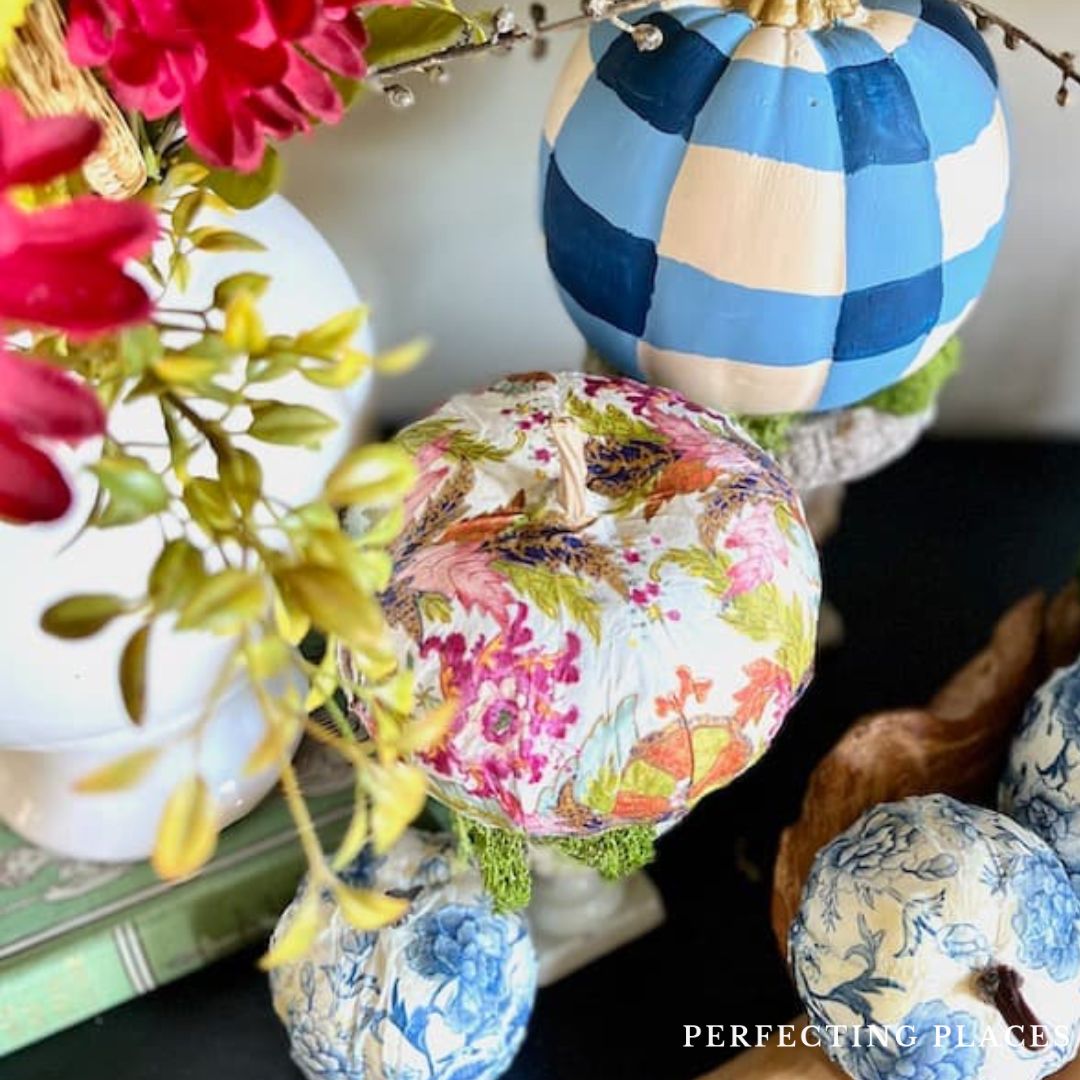
Make An Elegant Decoupage Pumpkin With Chinoiserie Printed Napkins

Such a pretty home decor piece for this season, Kim! The shimmery metallics are so lovely!!
Thank you so much, Rachel!
Kim, your garland is gorgeous! I love the beautiful shimmer the metallic paint adds. So perfect for fall! I am excited to feature your post at this week’s Tuesday Turn About. Thank you for sharing!
Oh, thank you so much, Lynne! That is so very sweet of you!!
Hi Kim, This is such a pretty garland! I adore the colors you used! I want to share it with my readers on Saturday in my Seasonal Sentiments Monthly Rewind Newsletter! Happy Fall!
Thanks so much, Donna! That is so sweet of you! I appreciate you, sweet friend!