Make an Elegant Decoupage Pumpkin with Chinoiserie Printed Napkins
I’m using some of my favorite printed Chinoiserie napkins to create a beautiful decoupage pumpkin vignette in our foyer.
Decorating pumpkins is one of my favorite fall projects! There are so many creative ways to decorate pumpkins during the fall, and decoupage napkins are a great way to add lots of color and pattern. The traditional Chinoiserie-style prints in these napkins elevate the look for fall.
(This post contains affiliate links, so I may earn a small commission when you make a purchase through links on my site at no additional cost to you. As an Amazon Associate I earn from qualifying purchases.)

Today, I’m joining four other blogger friends for the Celebrate the Holiday “Welcoming Fall” Blog Hop, and we’re definitely getting a jump start on our fall celebrating and decorating! I realize the temperatures are still quite warm, but in just a few short weeks we’ll be planting mums and picking out pumpkins, so today is all about fall inspiration to help get your creative juices flowing! A very special thanks to Carol at Bluesky at Home for hosting our blog hop!
If you’re joining me from White Lilac Farmhouse, didn’t you just love all of Tammy’s beautiful DIY fall decorations!
If this is your first time to Perfecting Places, welcome! I’m so glad you stopped by! I’m Kim, and I blog about all things home decor! I love to share easy DIYs for your home as well as paint colors, design sources, and favorite decorating tips and tricks to help you make your house a home!
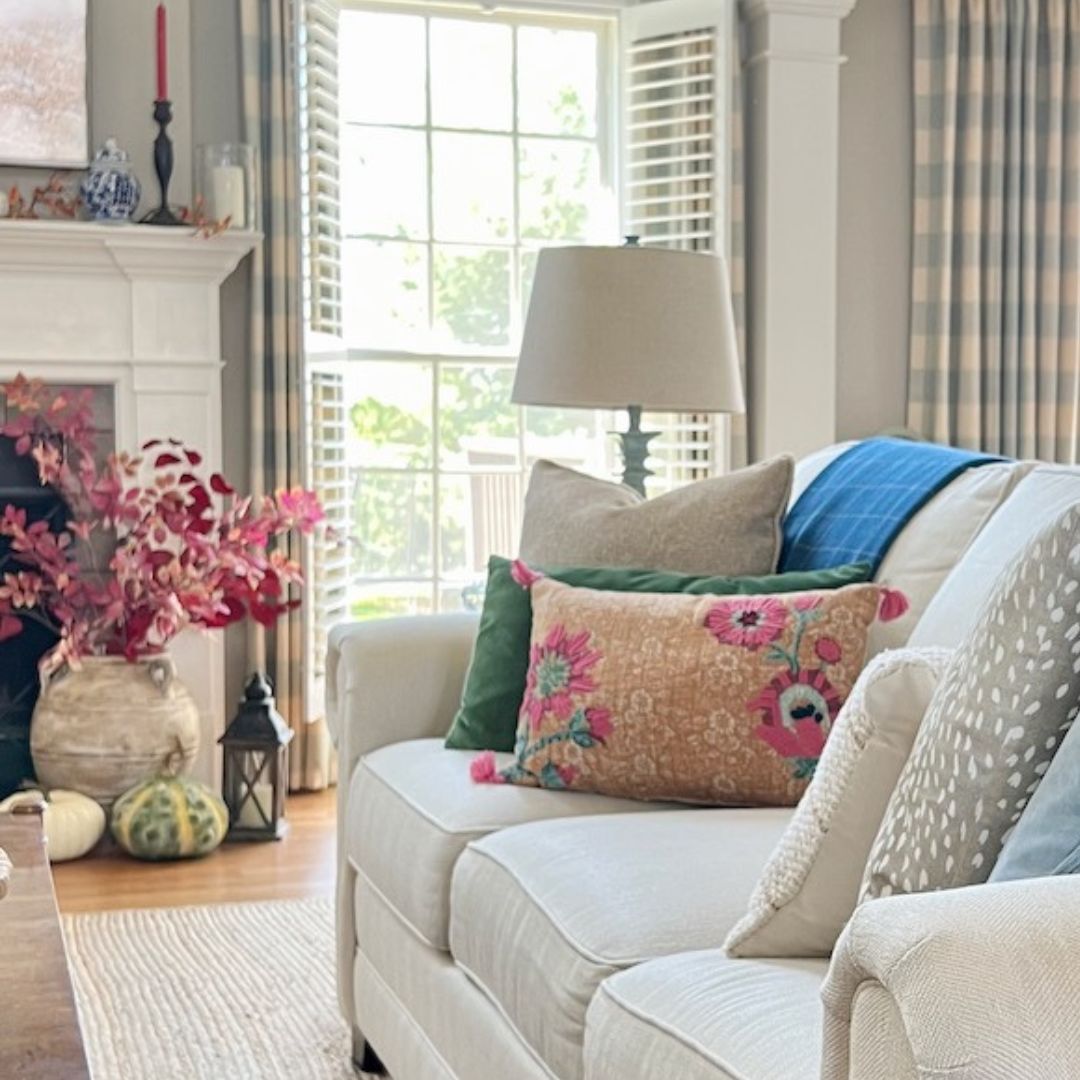
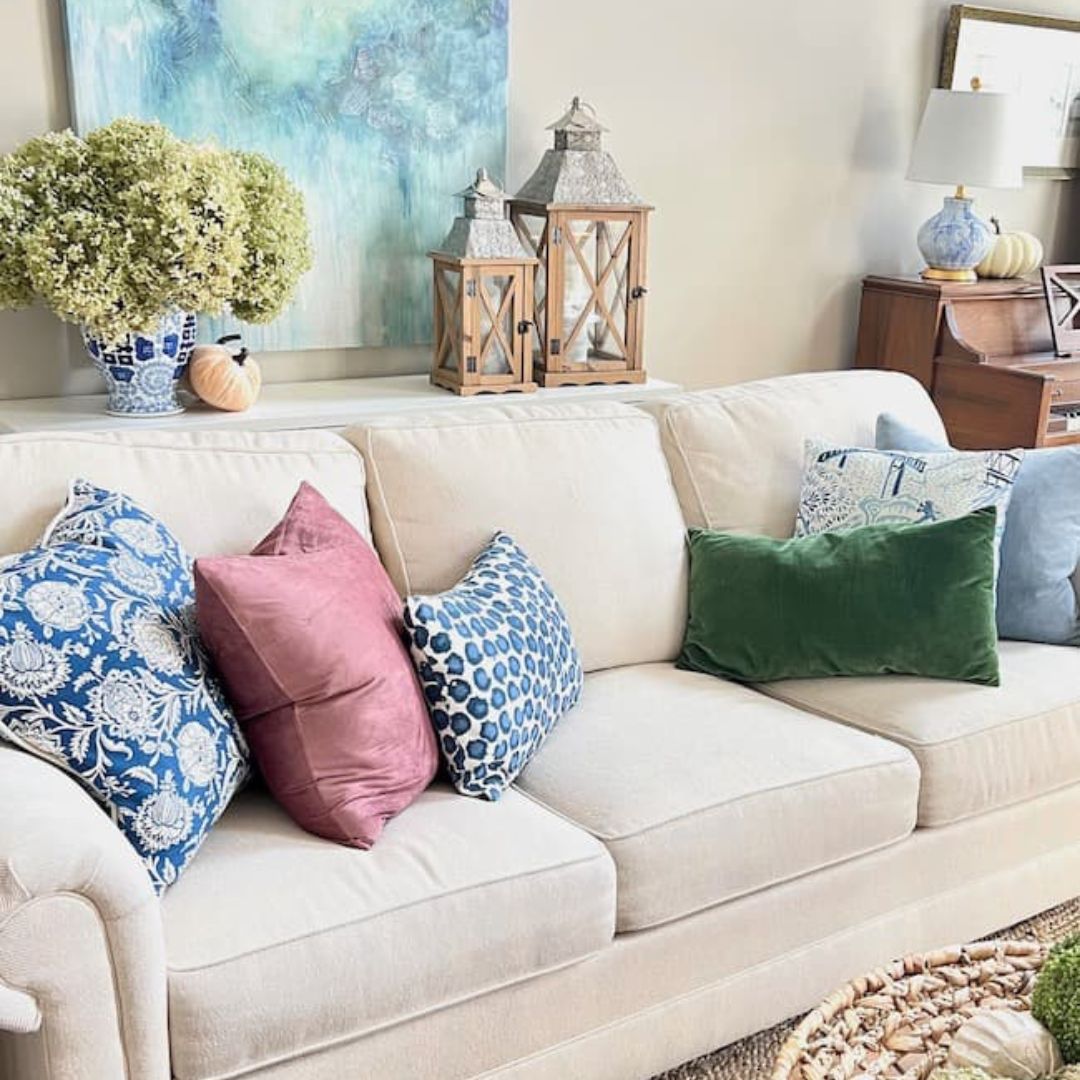
Don’t you just love decorating for fall? Every year, throughout the entire fall season, it seems I just can’t stop decorating! The pumpkins, the gourds, the mums, the gorgeous leaves, the toasty plaids, and vibrant fall colors — it’s all just so beautiful!
Just when I think I’m finished, I’ll get another idea or bit of inspiration and add just a little bit more! Does that ever happen to you, or am I the only one?
Pumpkins are the best! Don’t you just love decorating pumpkins? The possibilities are endless when it comes to decorating those traditional fall decor staples — so many creative ways to add a touch of pumpkin personality around your home!

But today it’s all about decoupage! You’re going to love how fun it is to add pattern and color to your pumpkins with this easy technique!
What is decoupage?
Decoupage is an art technique that involves cutting out images, gluing them to an object, and then applying a protective layer of varnish or gloss to create a beautiful design or pattern. It’s a really easy way to create a beautifully decorated object, or in this case, pumpkin!
You can cut designs from paper or fabric to add to your pumpkin, but my favorite materials to use for adding color and pattern are paper napkins!
Paper napkins come in so many gorgeous colors and patterns, and can create some of the most exquisitely decorated pumpkins!
I found the prettiest napkins on Amazon, and decided to do a little decoupage pumpkin craft for our foyer table.
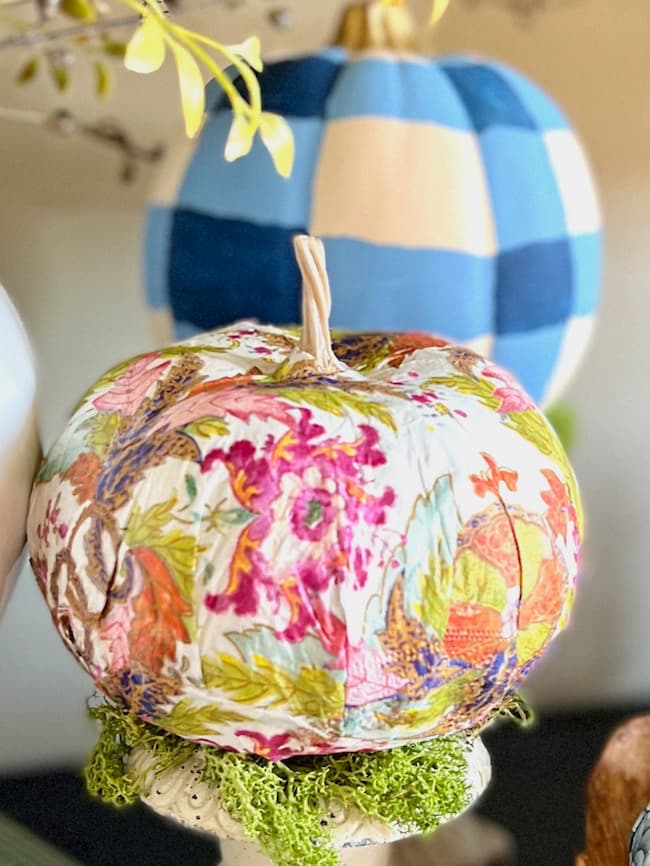
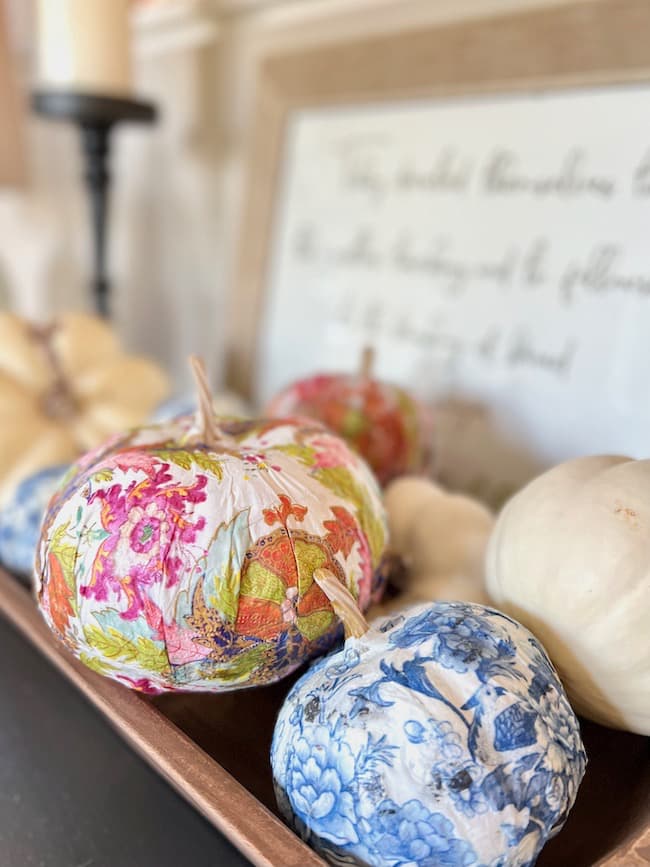
I love this tobacco leaf printed napkin. The pretty pinks and oranges, greens and plums are just perfect for fall.
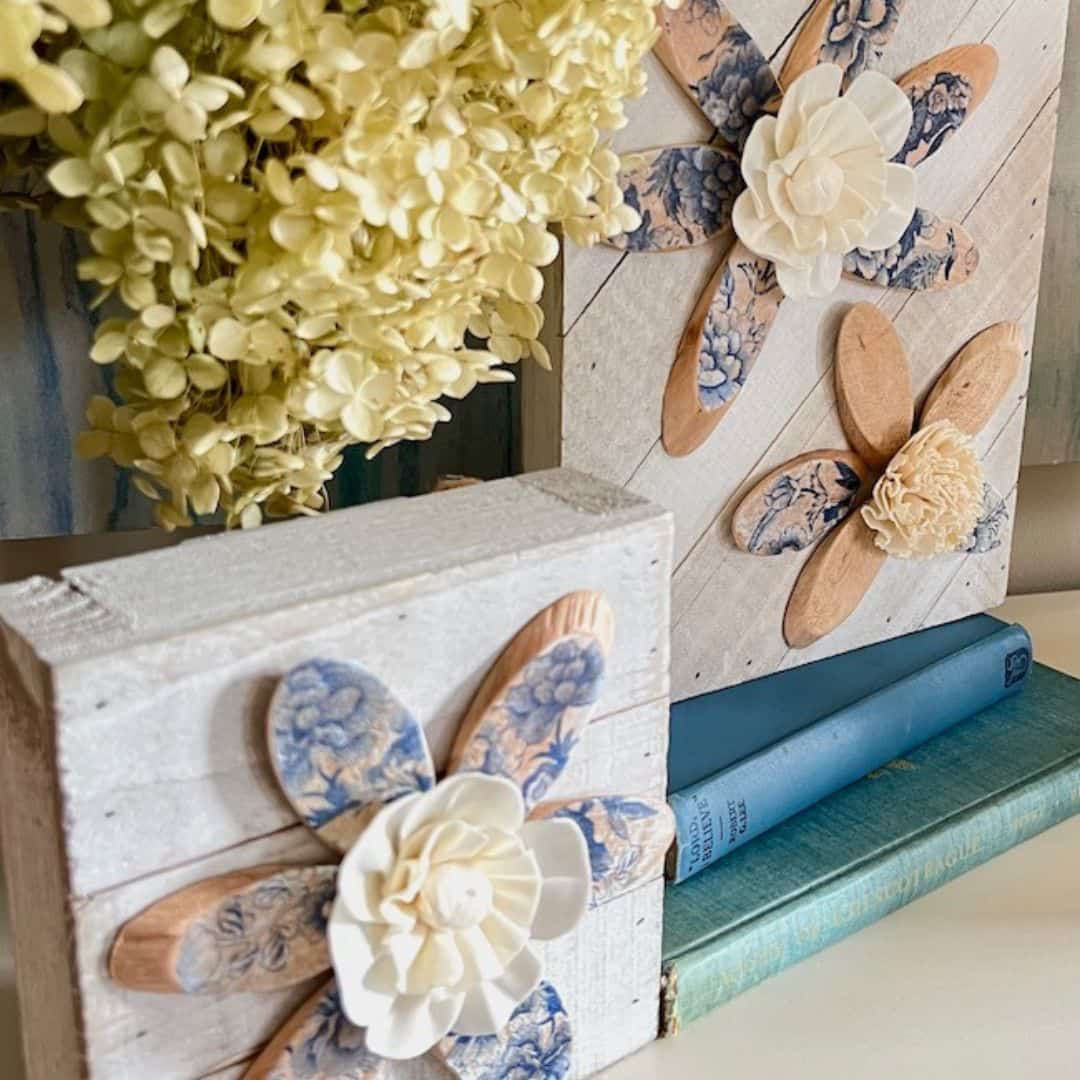
This blue and white printed napkin is another iconic Chinoiserie look, and makes such pretty blue and white pumpkins.
Both of these patterned napkins coordinate nicely with this orange printed napkin which I’ve also used for decorating pumpkins.
What craft supplies do you need to decoupage pumpkins?
It’s actually quite simple to decoupage a pumpkin. You’ll need the following supplies:
- faux pumpkins in the sizes you prefer. Mine are old mini pumpkins and inexpensive dollar store pumpkins. A faux white pumpkin is best so that other colors don’t bleed through the napkins when wet.
- pretty printed paper napkins in your colors and prints of choice. I’m using these orange prints, this tobacco leaf napkin, and this blue and white floral design to create traditional Chinoiserie looks for our pumpkins.
- a small foam brush.
- Mod Podge
- something to protect your surface
- rubber gloves for your hands (optional)
- white acrylic paint in case you need to cover a dark color or pattern on a pumpkin before applying the new napkins pattern.
Pumpkin Decoupage Supplies

How do you make a decoupage pumpkin with a napkin?
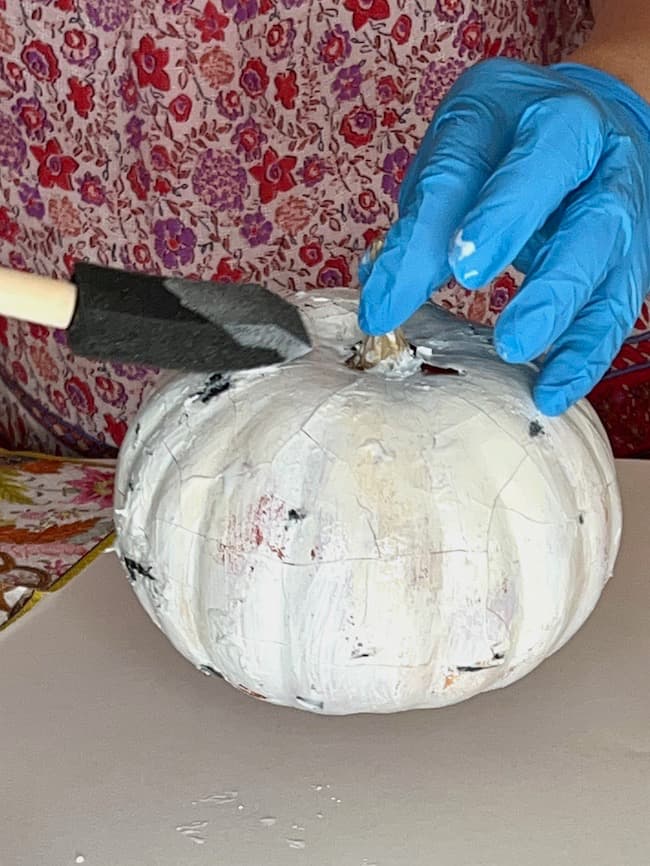
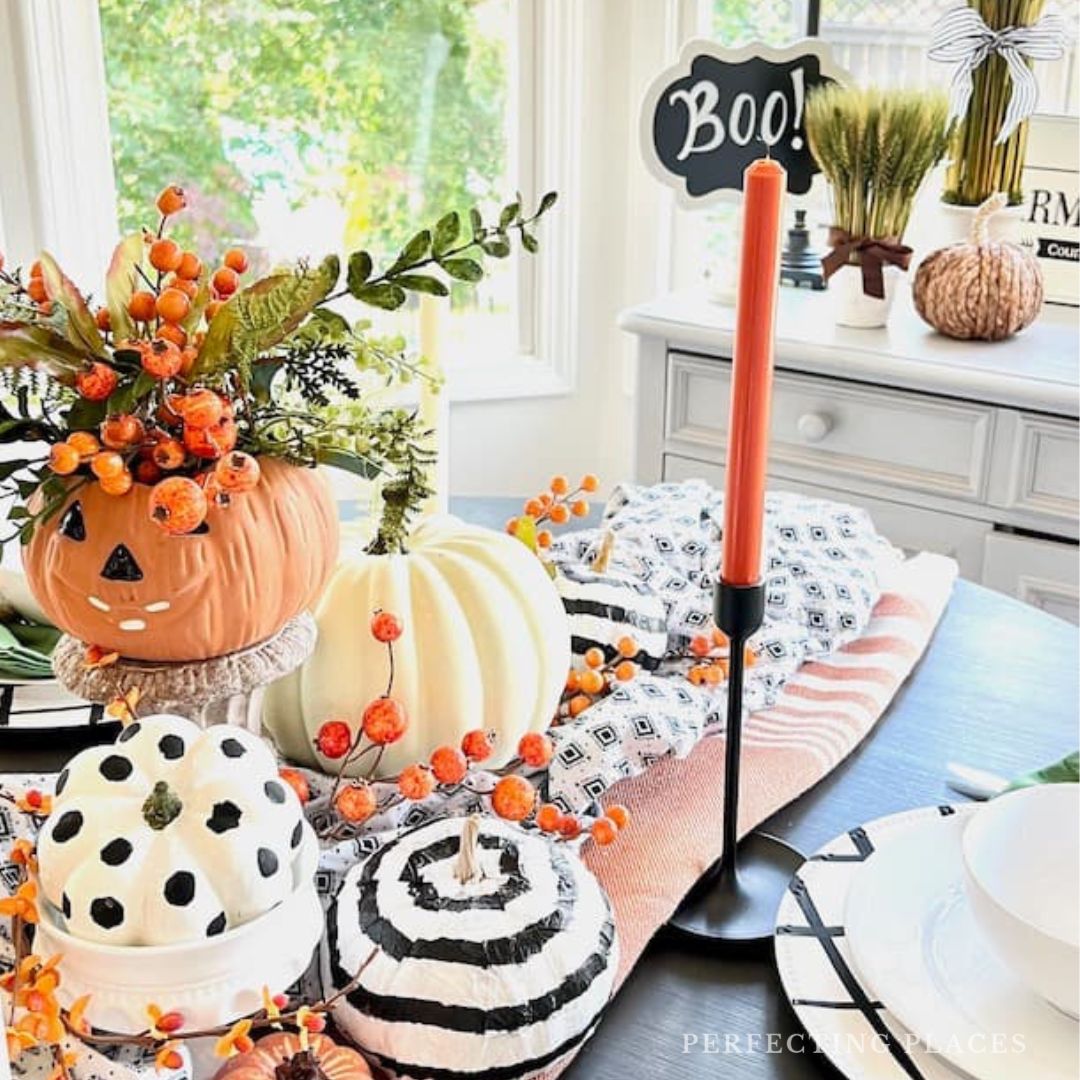
To decoupage a pumpkin, begin by applying a thin coat of Mod Podge over the surface of the entire pumpkin with the sponge brush. My pumpkin is in pretty rough shape! It’s been repainted and repurposed more than once, most recently in this cheerful Halloween tablescape where I decoupaged a black and white striped napkin on it.
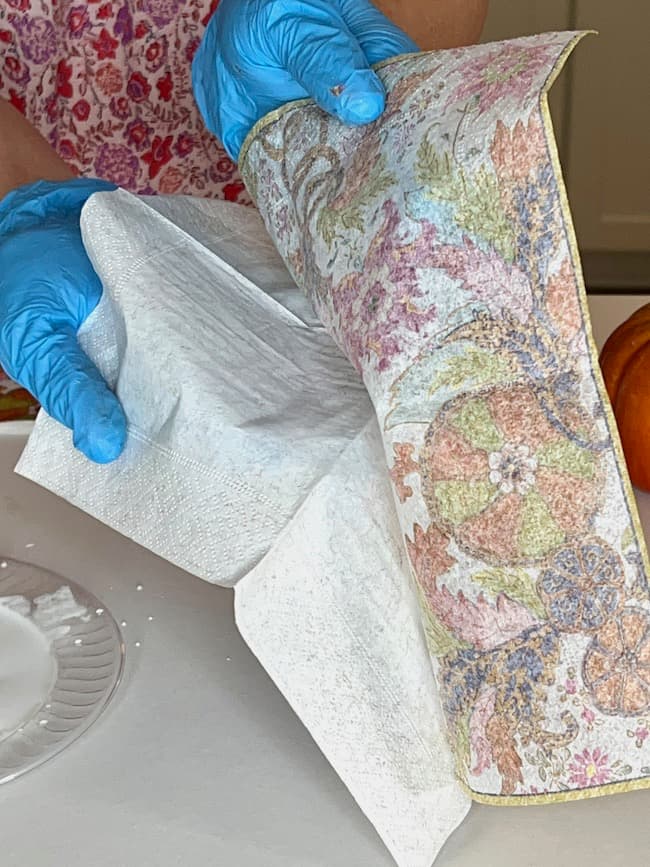
First, separate the layers of your napkin. You only need the printed layer.
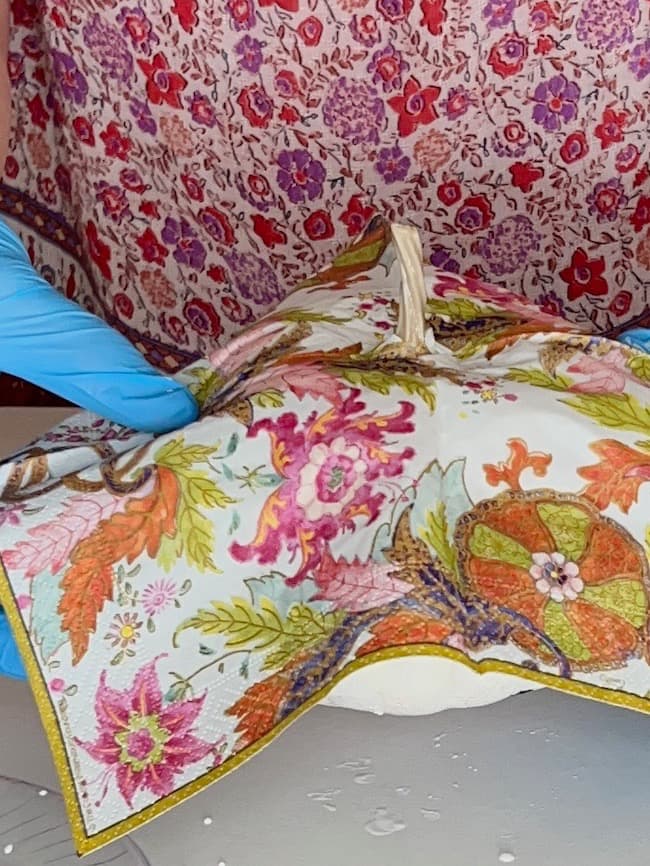
Make a small slit in the center of the napkin and place over the pumpkin stems.
For these pumpkins, I kept the napkin intact and brushed and creased into place around the pumpkin. Start at the top of your pumpkin and work your way down and around. I folded the excess napkin, tucked it in, and secured with the Mod Podge.
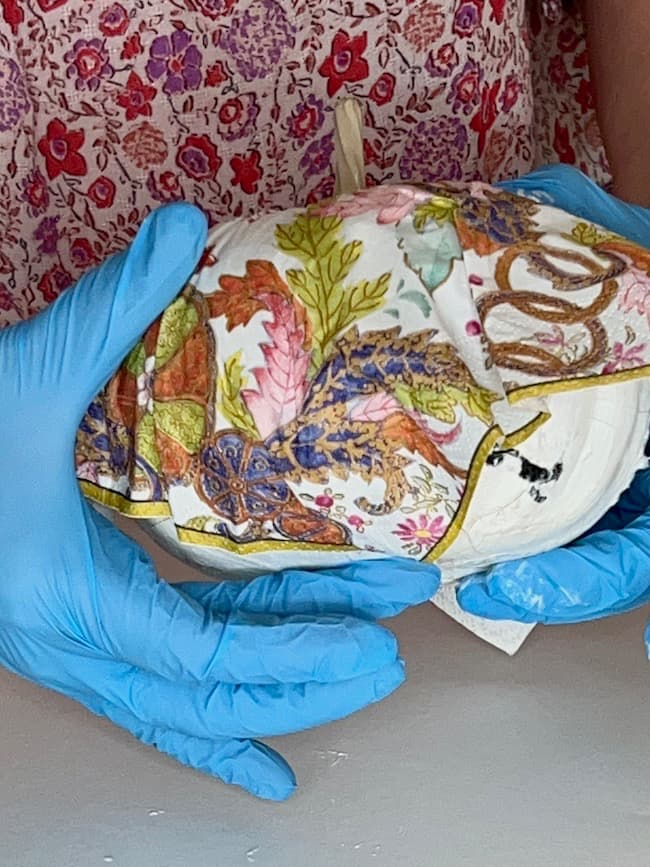
As an alternative, you can also cut your napkins into sections and piece them around the pumpkin. I used this paper piecing technique when I decoupaged the orange printed pumpkins below so I could carefully match the patterns.

Work around the pumpkin and adhere the napkin to the pumpkin using the sponge brush until all sides are covered.
With larger pumpkins, such as this one, you’ll need to piece the napkin together. The napkins I’m using are paper cocktail napkins and are a little small for the medium size pumpkin, therefore, I had to piece it together to cover the bottom of the pumpkin.
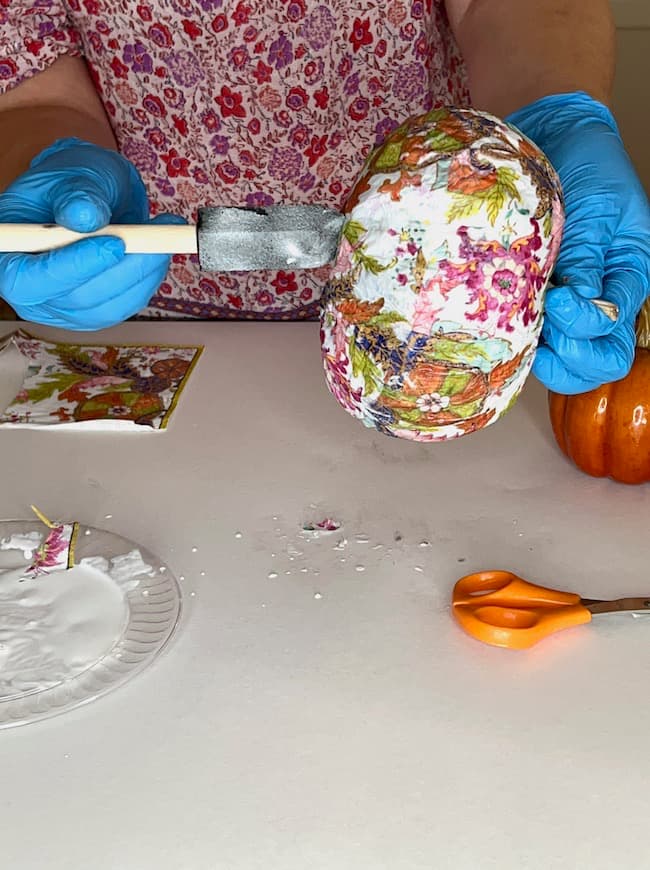
After the napkin has been applied, brush on another layer of Mod Podge to secure the napkin into place.
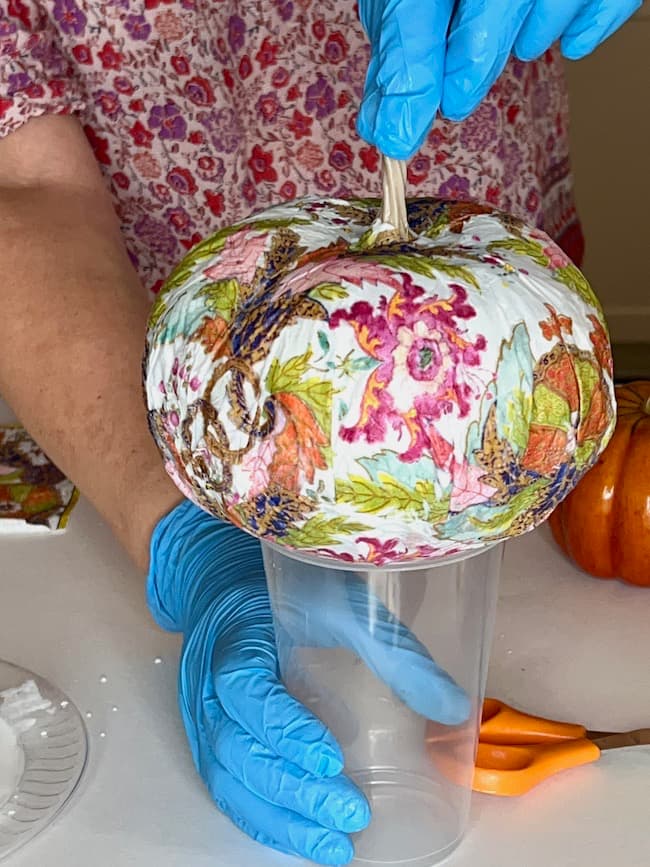
Set the pumpkin on the rim of a plastic cup to dry.
Now you’re ready to decorate your home with a gorgeous patterned pumpkin!
Alternative Materials for Easy Decoupage Pumpkins:
If you don’t have decorative napkins on hand, you can use other papers such as book pages, sheet music, tissue paper, scrapbook paper, or wrapping paper to create decoupaged pumpkins.
You can even use fabric strips to decorate with. The possibilities are endless for all of the designs you can create, whether you like a more traditional look, a more rustic look, or farmhouse look.
Decoupage is the perfect way to update or disguise dated, Dollar Tree, or ugly thrift store pumpkins. Give them a fresh new look with a little paper and decoupage medium!
Fall Decorating with Decoupage Pumpkins:
You can add your new diy pumpkins to bowls, centerpieces, bookshelves, or mantels.
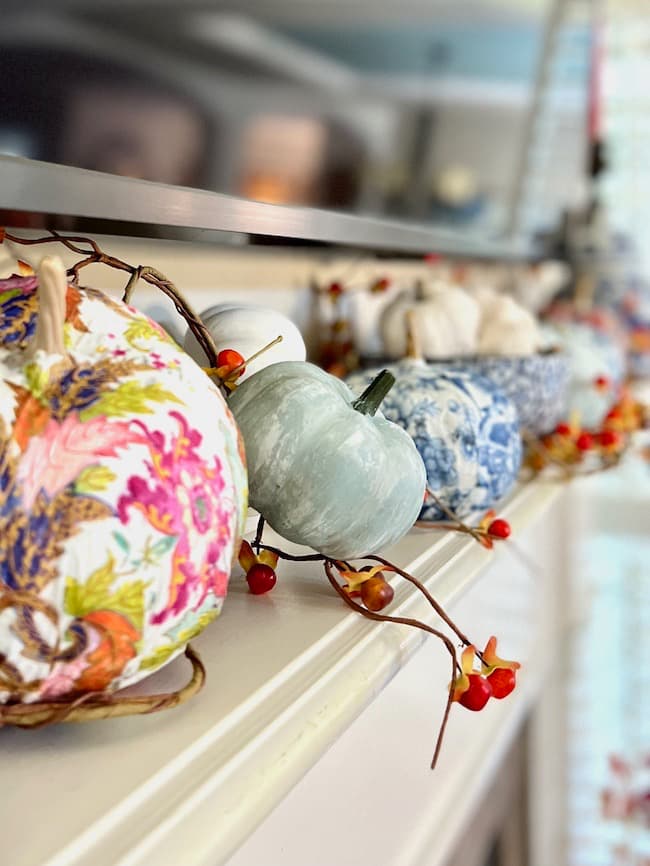
Here, I’ve added the decoupage pumpkins to our mantel with the blue and white pieces, white pumpkins, and orange bittersweet.
They’re also pretty in a bowl on the dining room buffet.
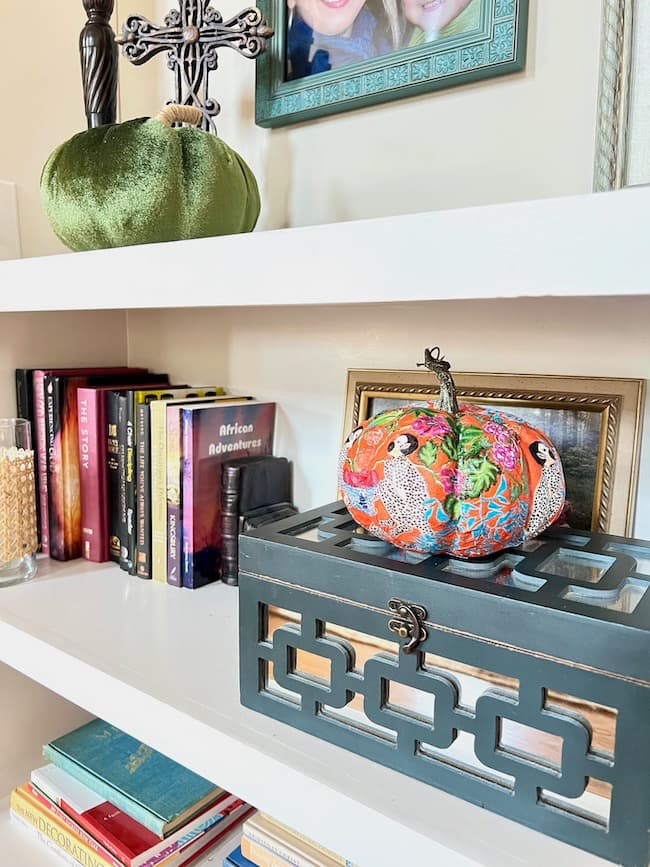
Add a decoupaged pumpkin to a bookshelf or a sofa table.
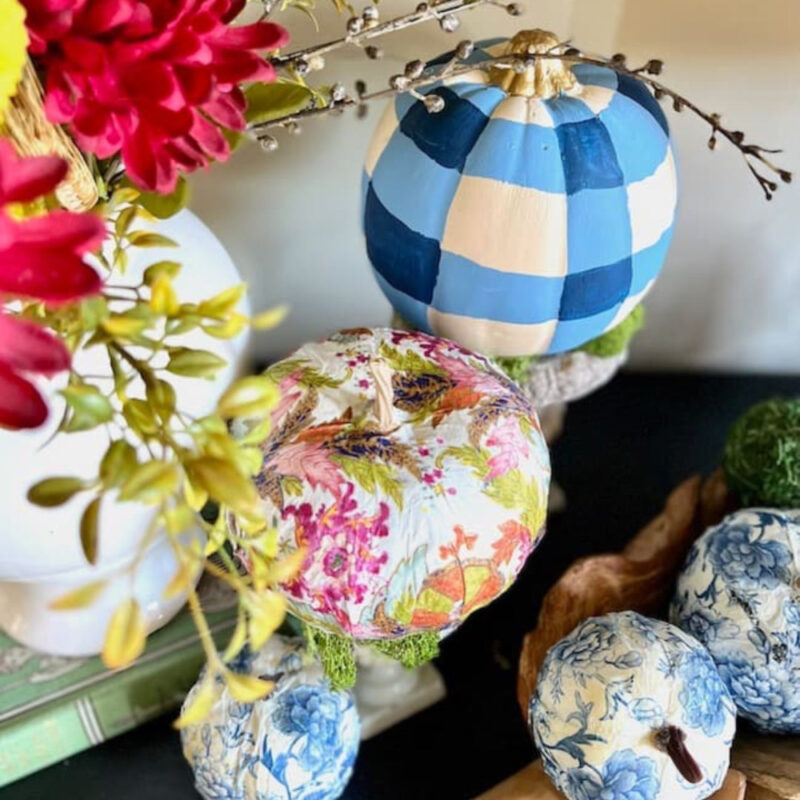
I decided to create a pretty vignette in our foyer with the decoupage pumpkins.
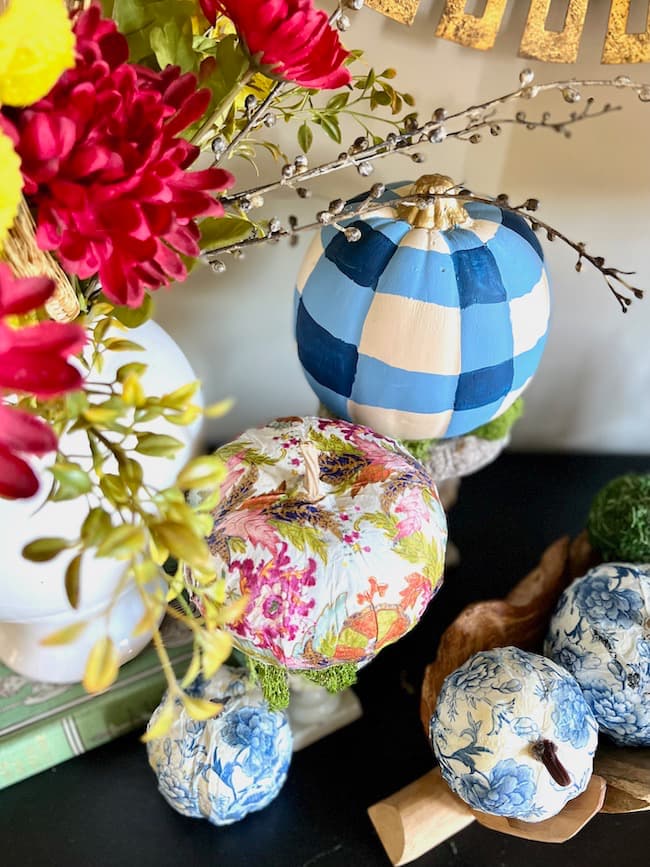
I placed the tobacco leaf print on a small pedestal and paired it with the blue and white plaid pumpkin. The other blue and white pumpkins are displayed in a decorative wooden bowl.
I love the look of the printed pumpkins with the fall floral arrangement and the gold mirror above the foyer table. It’s just the perfect way to add a touch of fall to your holiday decor, and these traditional Chinoiserie prints create such an elevated fall look!
For even more creative ideas for decorating with pumpkins, be sure to check out this post!
I hope this inspires you to create some diy decoupage pumpkins of your own. It’s really fun and adds such a pretty touch to your fall decor.
The next stop on our blog hop is Carol at Bluesky at Home. Be sure to check out all the beautiful ways she decorates using fall foliage!
Happy pumpkin decorating!!


By the way, do you follow me on all the socials?? If not, check out my Pinterest, Instagram, and Facebook and be sure to follow me so you don’t miss out on any of my decorating and DIY ideas!!
For more home decor and seasonal ideas, be sure to check out my Amazon store!!
Be sure to check out all of my creative blogger friends in the Celebrate the Holiday blog hop below. You’ll find lots of great ideas for your May celebrations!
Bluesky at Home – 5 Ways to Decorate with Fall Foliage
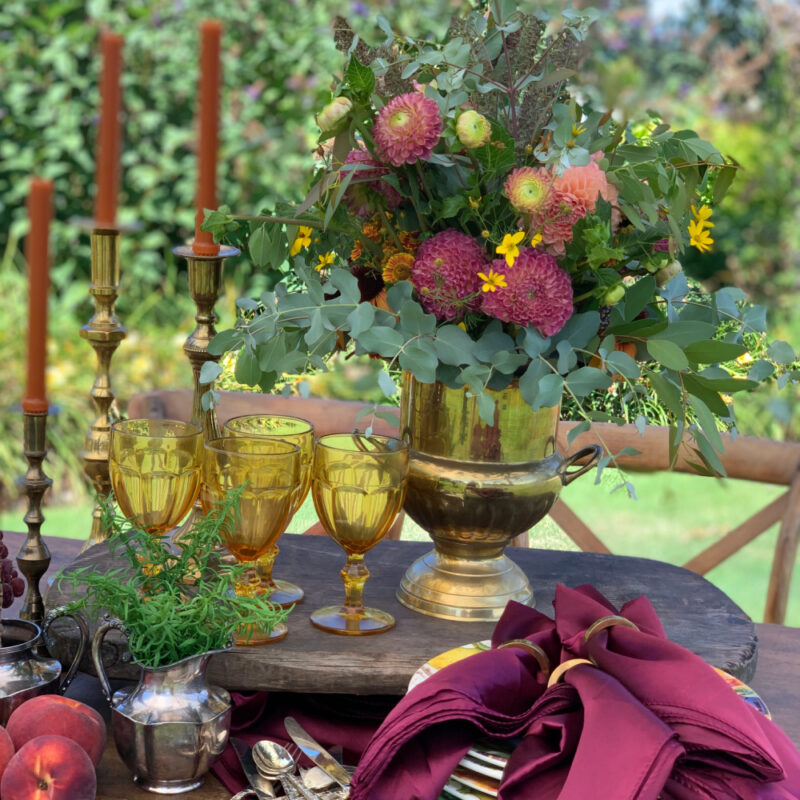
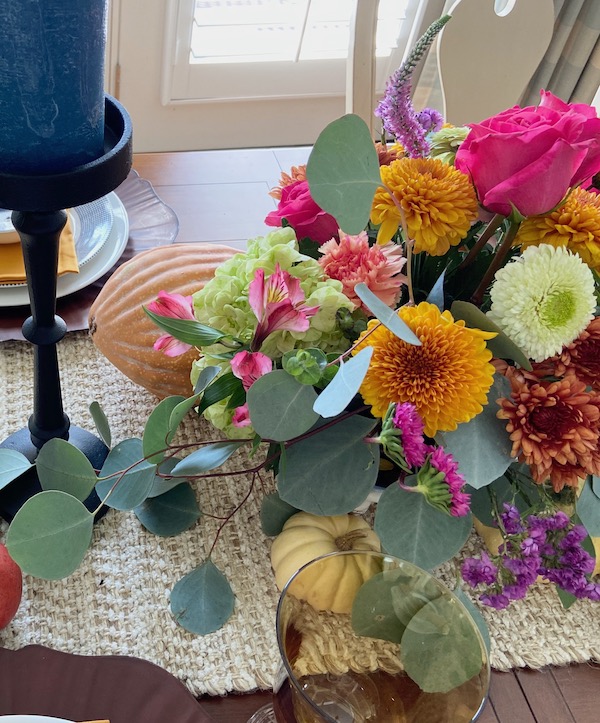
Peacock Ridge Farm – Rustic Elegance for a Fall Table
White Lilac Farmhouse – DIY Home Decorations for Fall
Perfecting Places – Decoupage Pumpkins with Chinoiserie Design
If you enjoyed this post, you might also enjoy these pumpkin and fall decorating posts:
Creative Ways for Displaying and Decorating Pumpkins for Fall
Such beautiful pumpkins you have created. Love the colors. I am waiting for you to show up at my door and do some decorating here :))))
You are so sweet, Wendy! I would love to, but only if you return the favor and come decorate my home!!
Hi Kim I love this idea for decoupage for pumpkins! I want to try this! xo laura
Thank you so much, Laura! It’s fun to do!
This is beautiful! Pinned
Thank you so much, Cindy!
Kim, you are speaking my language. I love decoupage projects and your pumpkins are perfect. Love the floral ones. The colors are wonderful for fall. Thank you for sharing at Celebrate the Holiday Blog Hop.
Thank you, Carol! I love the color and pattern in the napkins as well! Thanks so much for hosting our blog hop!
Kim, I love your decoupage pumpkins. It’s a perfect project to make pumpkins fit in with your decor.
Yes, it certainly is, Tammy! With so many pretty napkins available the possibilities are endless!
Your pumpkins look gorgeous. I love the colors. I definitely need to do this.
Thank you so much, Renae! You definitely should!
Such beautiful pumpkins, Kim! Love your inspiration.
Thank you so much, Leslie!