DIY Spring Decor: How to Make Wood Slice Spring Art
Want to add a little personal flair to your spring decor? This DIY wood slice spring art is the perfect accent piece for your home.
Create your own custom artwork this spring with this simple wood slice craft project.
(This post contains affiliate links, so I may earn a small commission when you make a purchase through links on my site at no additional cost to you. As an Amazon Associate I earn from qualifying purchases.)
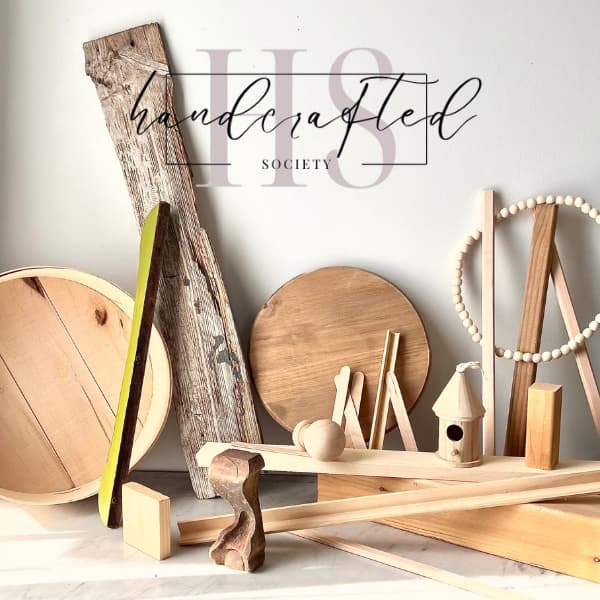
Today is a very special post because I’m joining a very talented group of blogging friends as part of the Handcrafted Society. The Handcrafted Society is a group of talented bloggers and crafters who come together each month to share one another’s beautifully crafted creations. Each month’s creations center around a specific craft medium or theme. It’s a treat see how each participant interprets and expresses her creativity through the use of the particular medium.
Today is our first Handcrafted Society of the year, and we’re each presenting a spring wood craft project. I know you’ll love seeing all of the wonderful creations! At the end of my post, you’ll find images and links for each blogger’s lovely spring wood creation. You won’t want to miss them, so be sure to click each link to see the full posts!
If this is your first time to Perfecting Places, welcome! I’m so glad you stopped by! I’m Kim, and I blog about all things home decor! I love to share easy DIYs and crafts for your home as well as paint colors, design sources, and favorite decorating tips and tricks to help you make your house a home!
Are you like me and itching for spring to arrive? Every sunny day just fuels the fire, and inspires all the spring decor ideas!
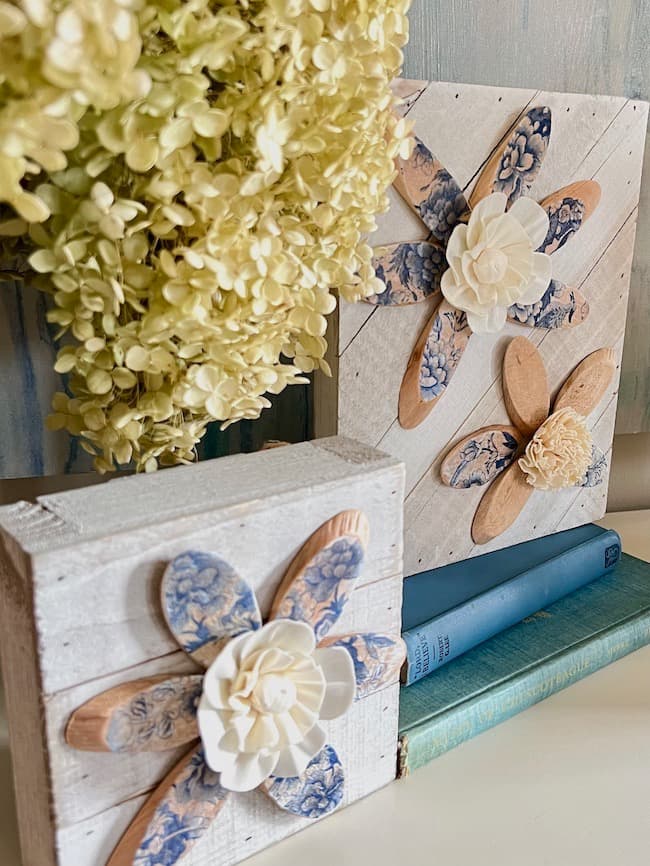
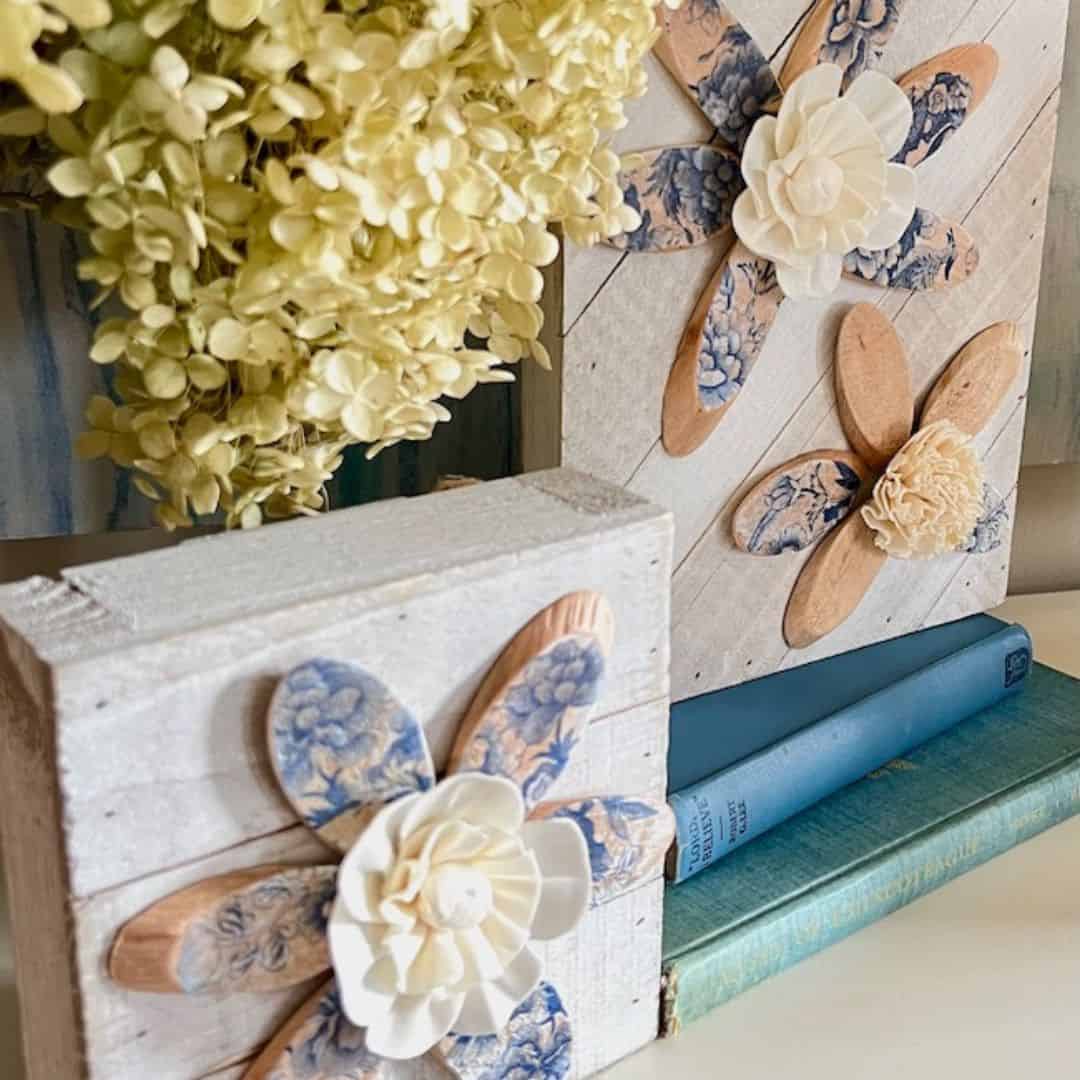
For our Spring wood craft theme this month, I decided to make a couple of pieces of wooden artwork in a spring floral motif, and decided that small wood slices would be perfect for creating my flower designs.
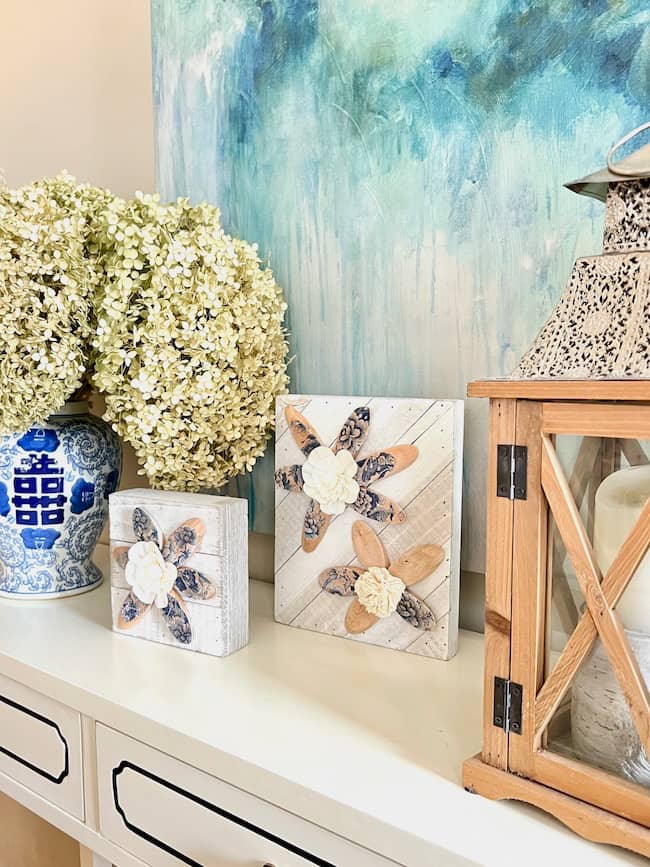
My project is a small tabletop piece but can also be hung on the fall in a small corner of your room. The size is perfect for using in a variety of places around our home, and although this wood slice project is “spring-themed”, the colors and subtle design are perfect with my home decor throughout the different seasons.
How to Make Wood Slice Flower Art for Spring
This wood slice floral craft is such a fun project, and it’s easy to create with just a little bit of effort.
Once you have the supplies on hand and take a few minutes to plan out your design, you’ll have a pretty piece of spring art in no time!

What Craft Supplies Are Needed for Wood Slice Art?
You can head to your local craft store, Hobby Lobby, or shop online for these craft items.
- Small oval wood slices
- Paper napkins in your desired print
- Scissors
- Wood blocks for your background – small and large
- Hot glue gun and glue
- Mod Podge
- Foam brush
- Wood flowers

How to Design the Spring Wood Art
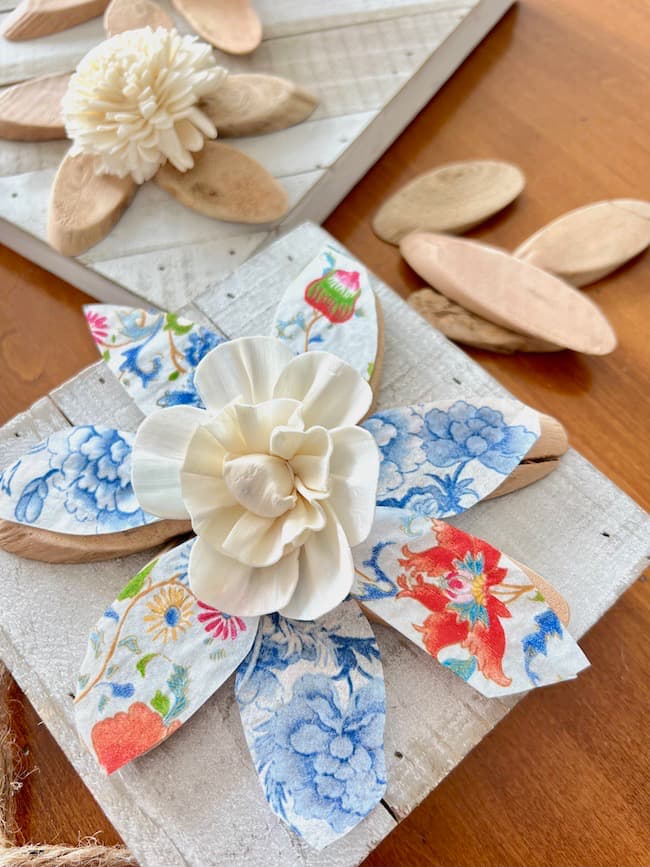
Designing your spring wood art is the fun part! There are so many different possibilities, and I enjoyed playing around with different colors and napkin patterns to achieve the look I wanted. I even considered leaving the wood slices plain for a pretty natural look.
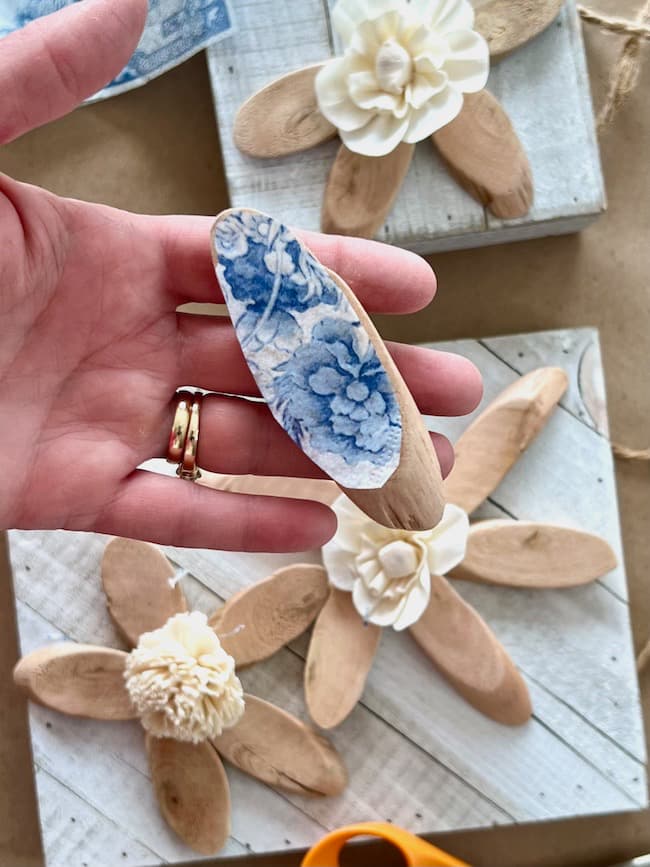
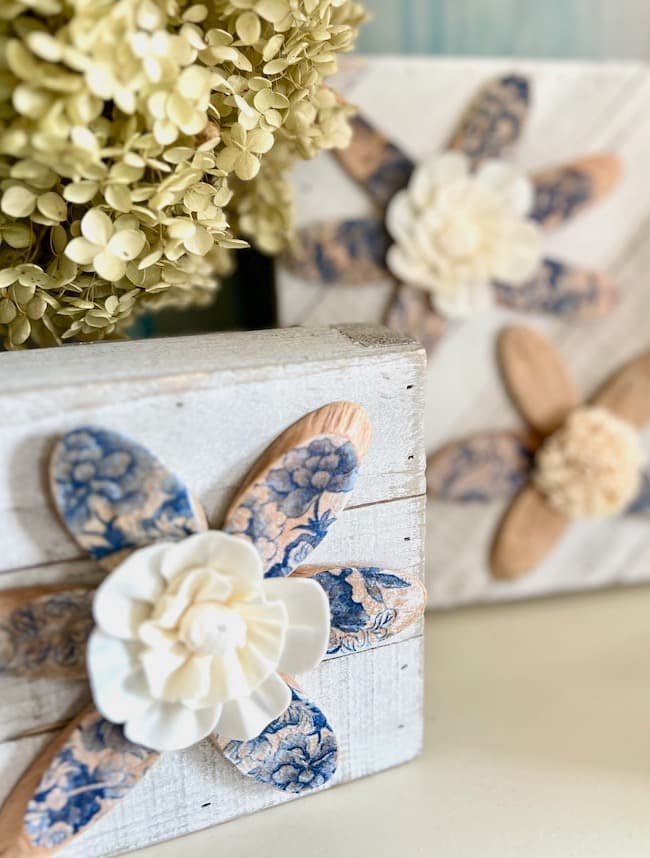
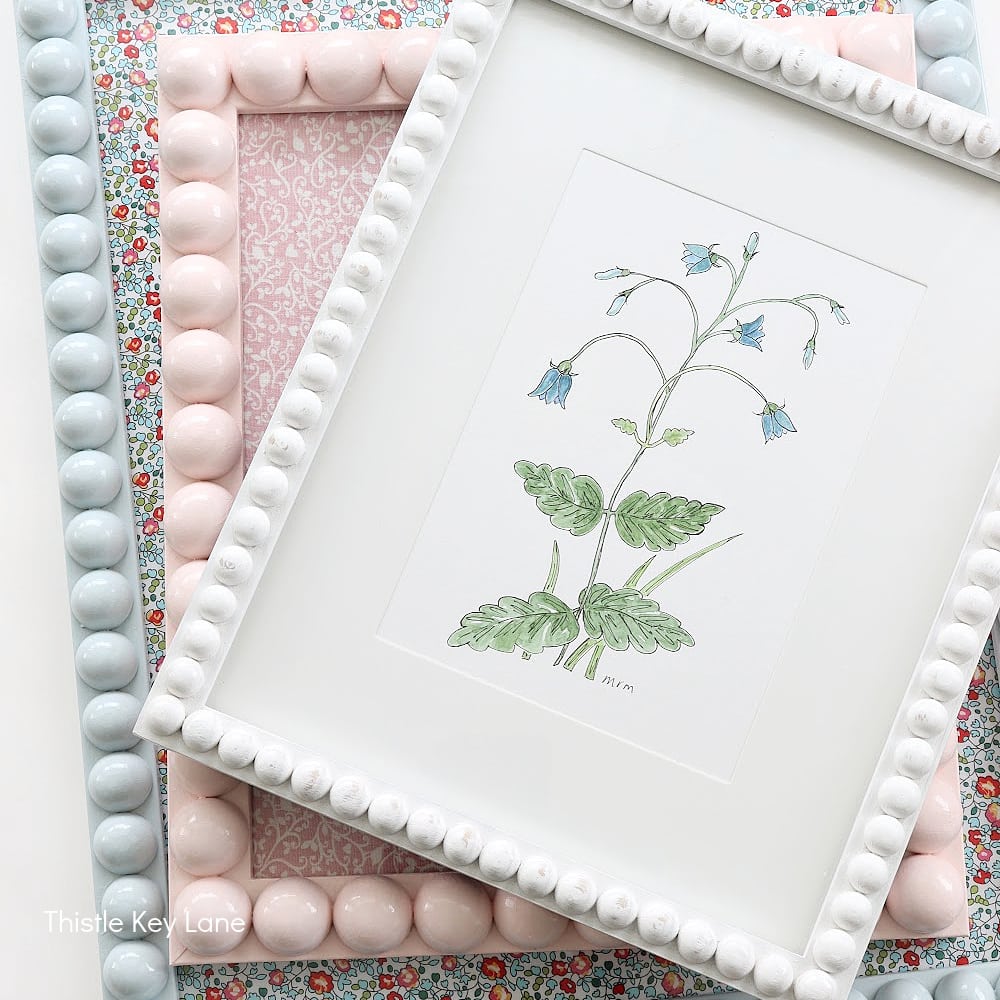
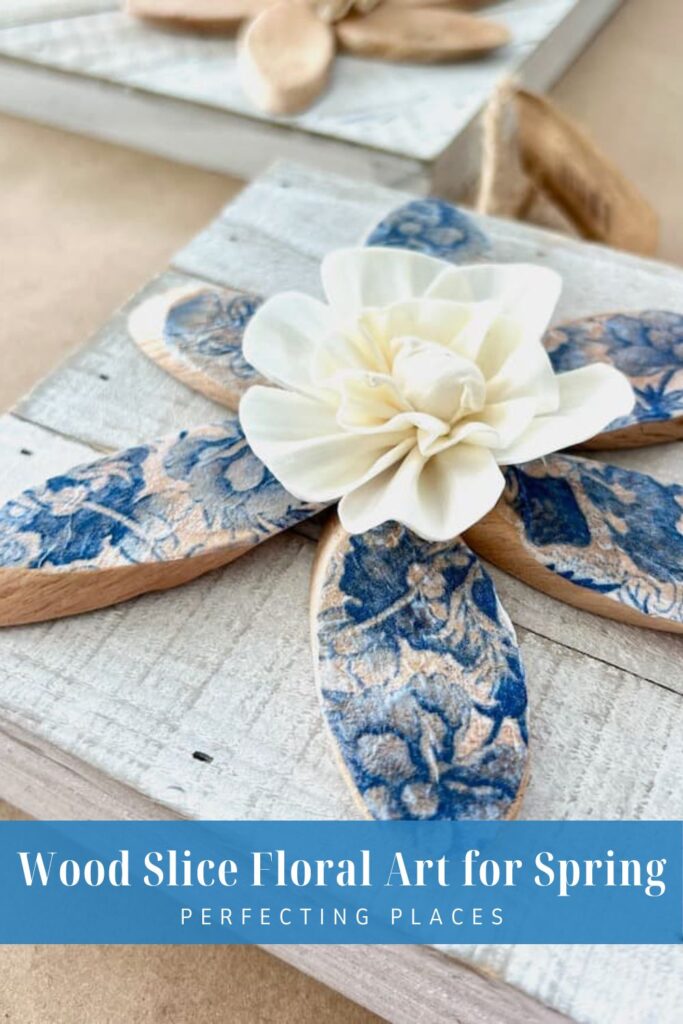
I played around with a variety of colorful prints on the petals, but I landed on my favorite blue and white pattern design to blend seamlessly with our home decor. This color will work beautifully in our home throughout the year.
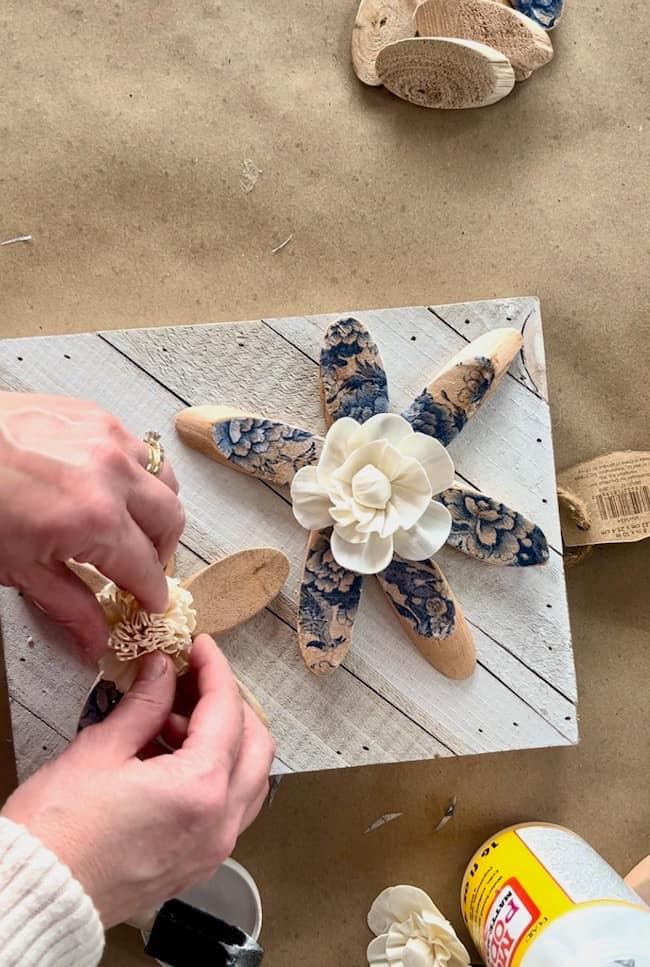
One thing to note when you’re designing your flowers with the oval wood slices: you’ll find that the edge of each slice is cut on an angle. To help the petals fit closely together on the wood block, I alternated flipping the slices, so the edge of one wood slice fit underneath the adjacent overlapping wood slice at the center point of the flower.
How to Decoupage Wood Slice Flowers
After you decide on the design of your artwork, the next step is to decoupage the printed napkin onto your wood slices.
You will first need to separate the layers of your paper napkin. You only need the single layer of the printed pattern for this project.
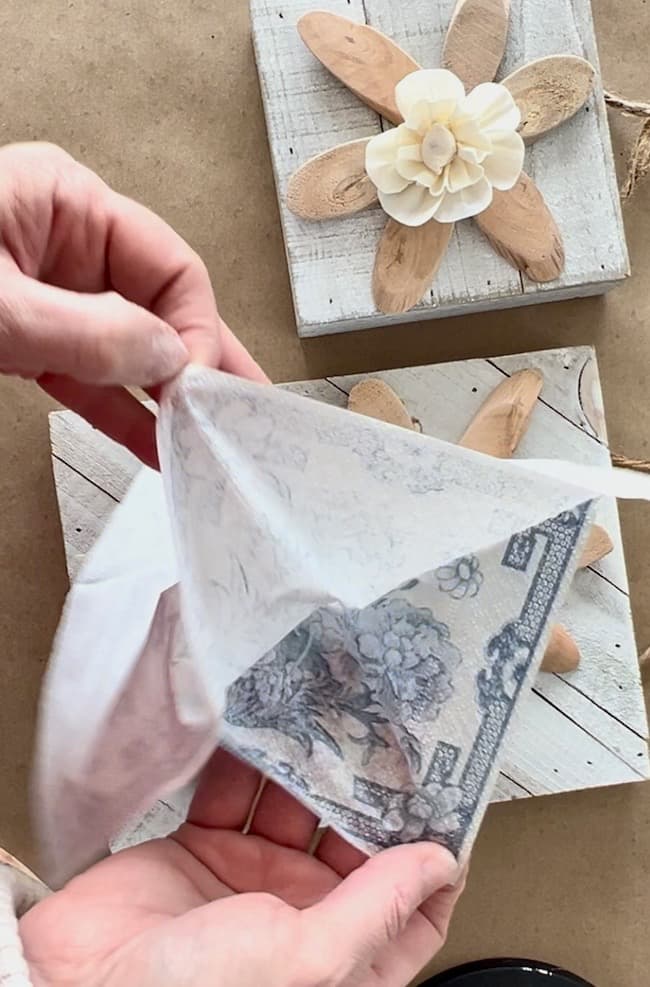
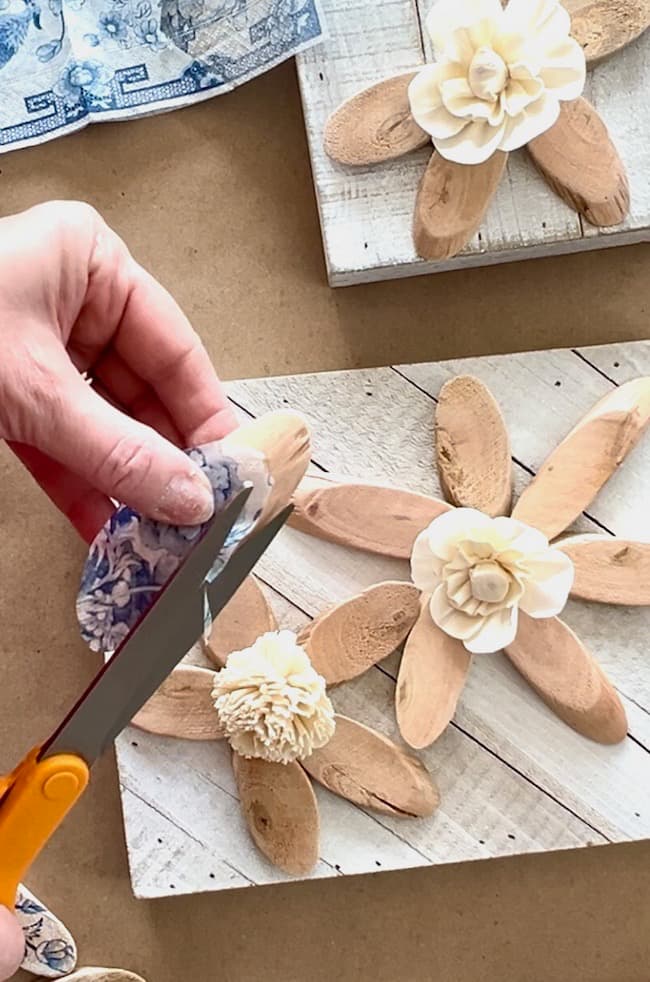
After you’ve pulled the layers apart, use your scissors to cut your patterned napkin down to fit the size of your wood slices. This is very easy to do. Simply lay the napkin layer over your wood slice and trim around the edge with your scissors. Using sharp scissors is extra important in this step to avoid tearing your delicate napkin layer.
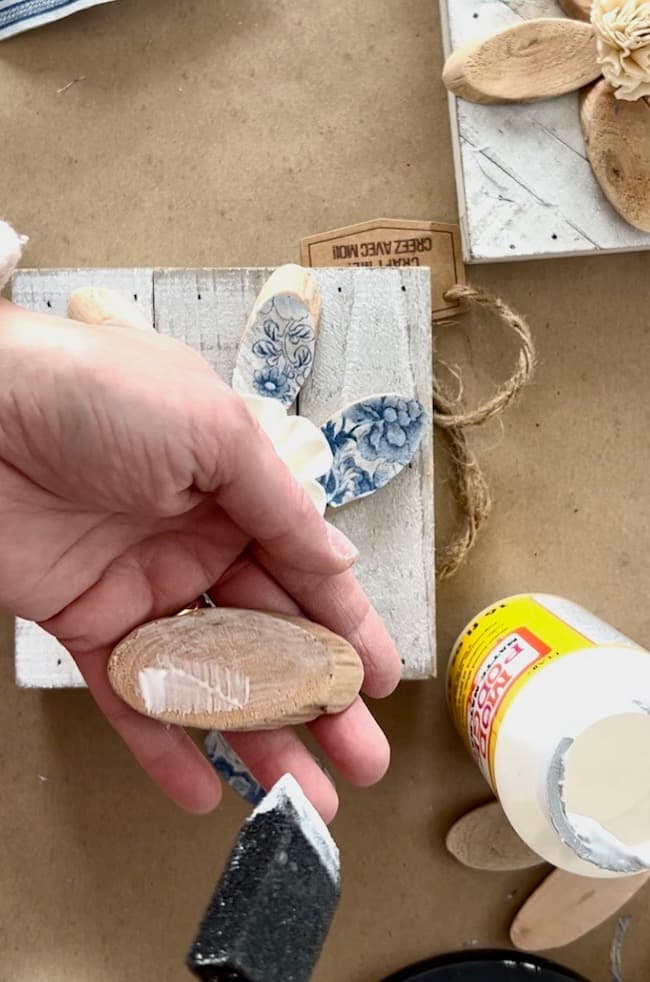
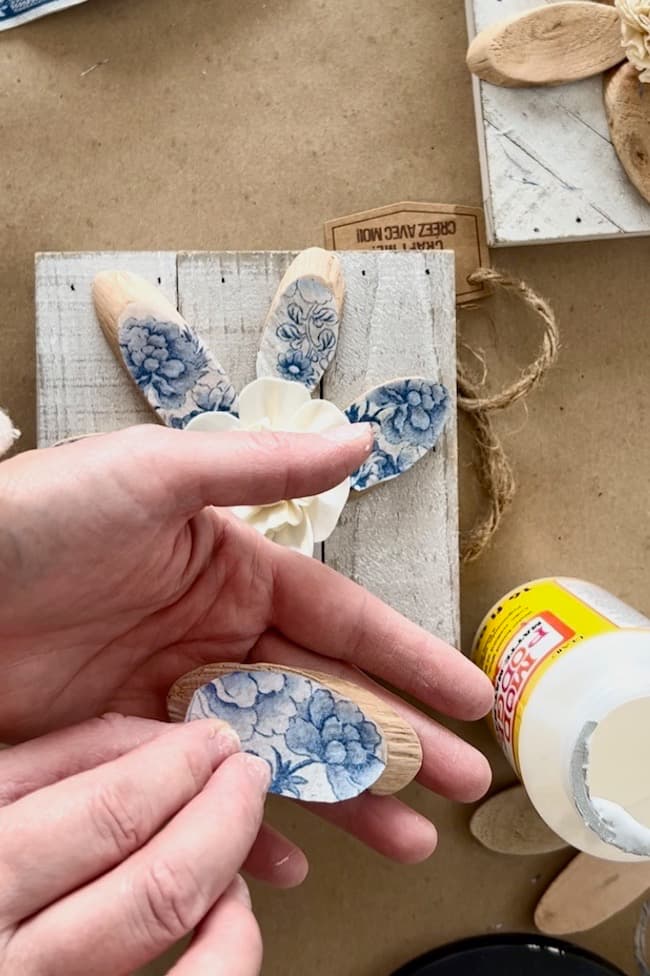
Once you’ve cut all of the napkin pieces to fit your wood slices, you’re ready to apply the Mod Podge. Use a small foam brush with just a tiny amount of Mod Podge to brush on each slice, and then carefully lay the printed napkin over the Mod Podge layer, making sure the edges all match. After adhering the napkin to the wood, apply another very thin layer of Mod Podge over the napkin to provide some protection.
Assembling the Wood Slice Flower Art
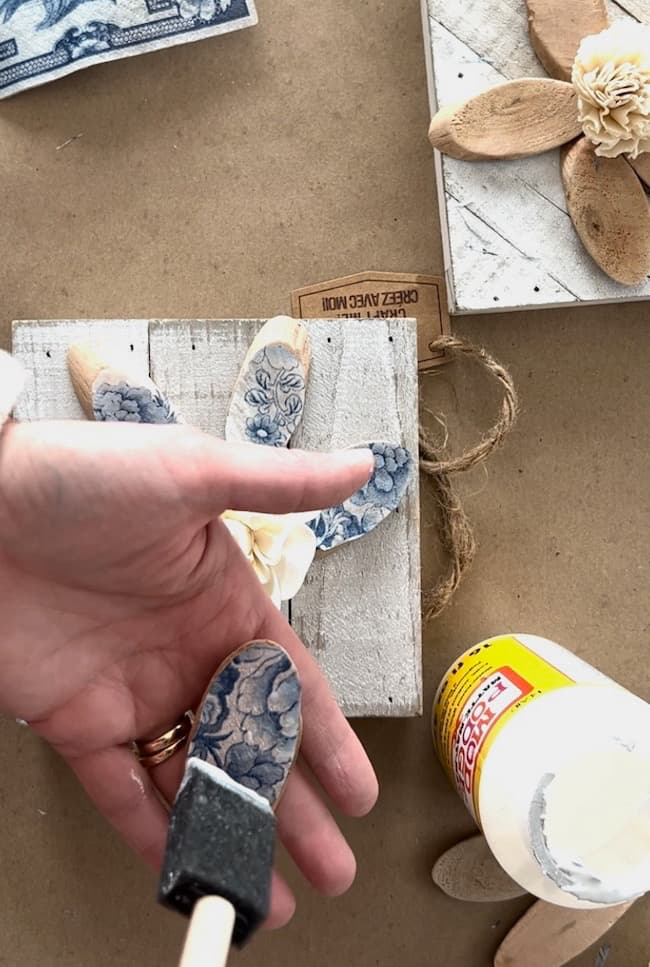
Once you’ve applied the napkin print to all of your wood slices, you’re ready to assemble your pretty piece of art. Before gluing the petals to the block to form the flowers, practice placing them where you want them, making sure you like the design of your flower before you start gluing the pieces.
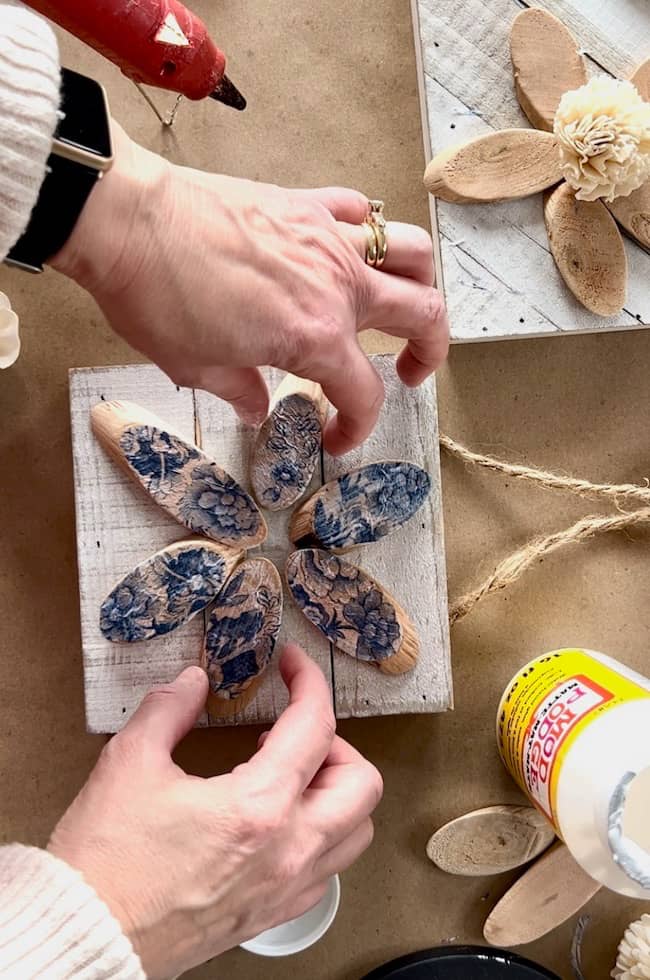
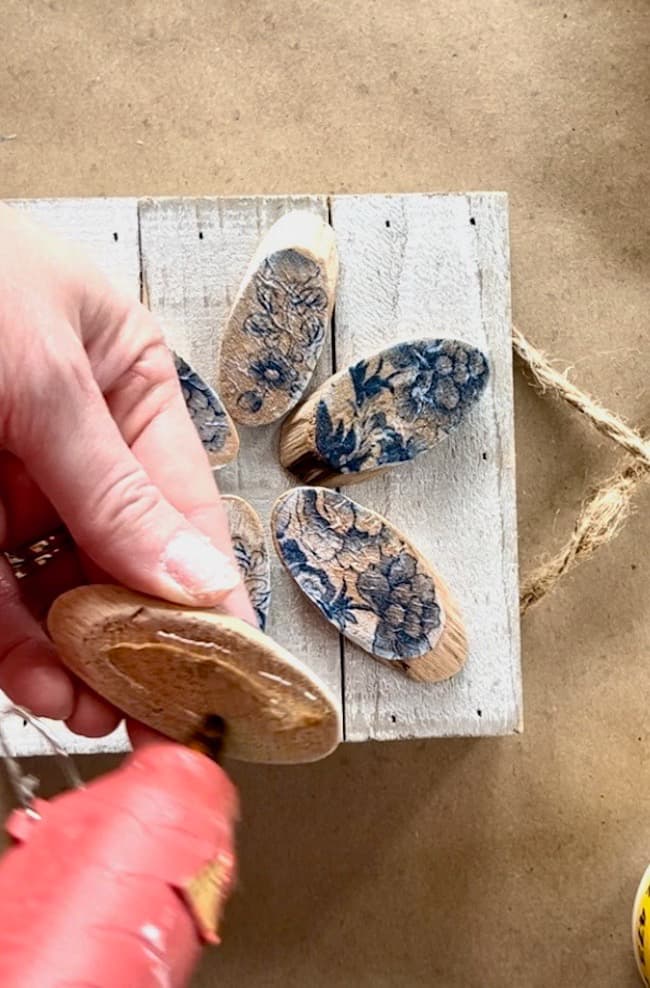
I laid my petals on the wood block in the exact position that I wanted, and then used my glue gun to adhere the petals. I lifted each petal, one at a time, and glued them into place as I worked around my flower. It does not require a lot of glue for the wood slices to stick to the wood block.
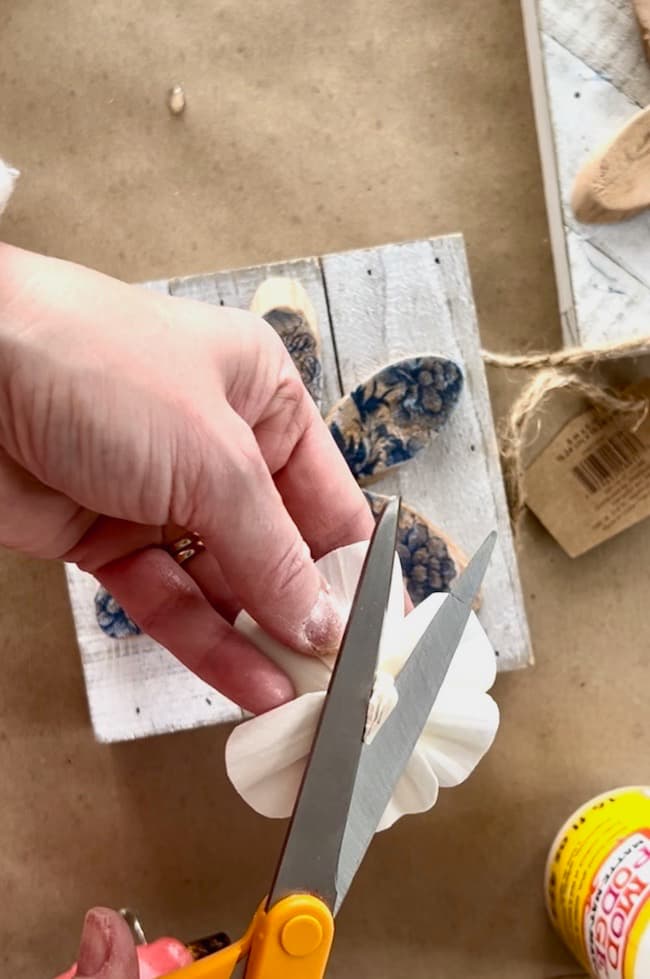
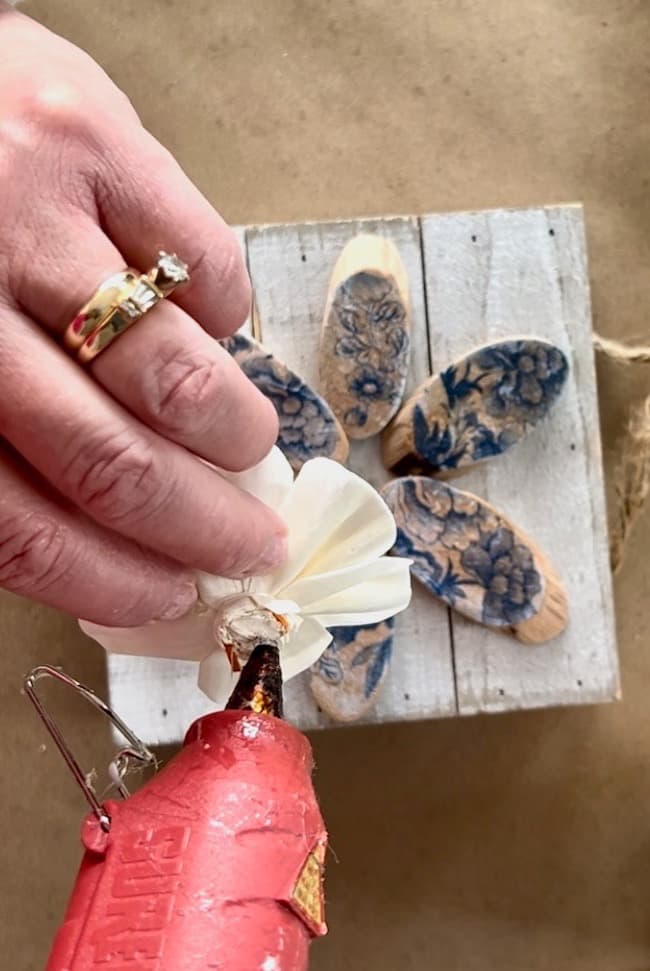
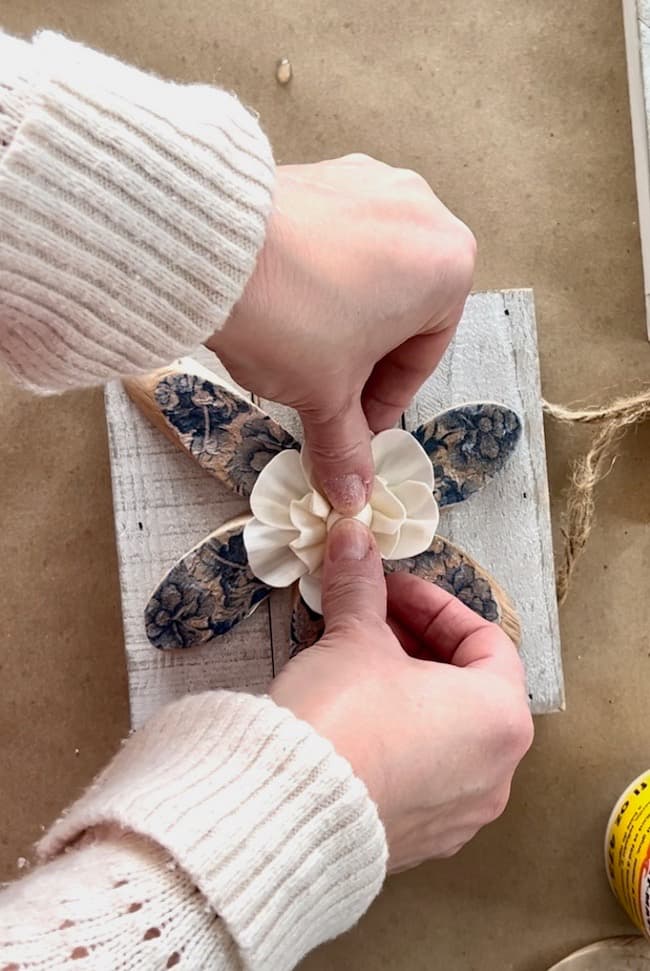
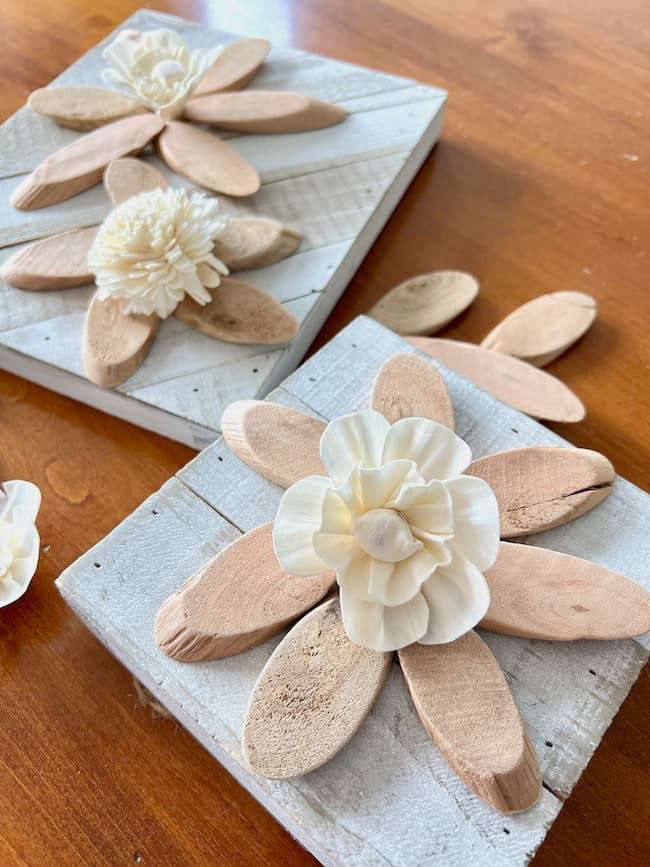
After all of your petals are in place, it’s time to add the center portion of your flower. I used a premade wood flower from this set from Amazon to form the center of my flowers. Before I glued the wood flower piece on, I cut a little of the stem off so that it would sit flat against the wood pieces. Simply add a little bit of glue to the stem and then position it in the center of your flower.
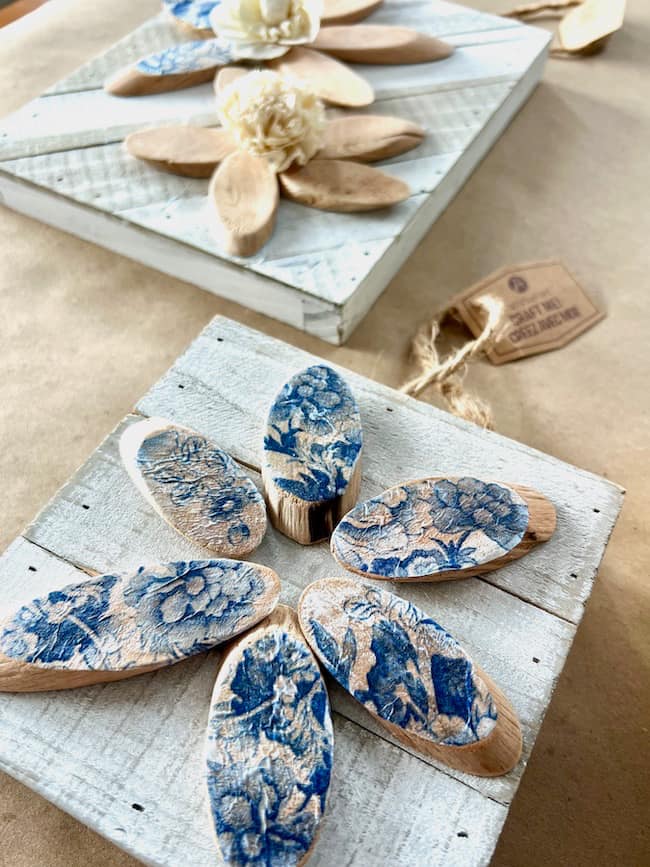
I repeated this process to create my second block of art. Since the second block is a larger piece, I added two flowers to fill the space. On one flower, I used the same blue and white on all of the petals; however, on the second flower I wanted a little more raw wood to show, so I didn’t cover every petal of this flower with mod podge.

Variations on This Wood Art Project
I love that this wood craft spring art project allows you to be as creative as you like! When designing your flowers, if you want more color, then add it to all of your petals. If you want to add alternating colors or patterns, go for it! The possibilities are endless for your flower designs!
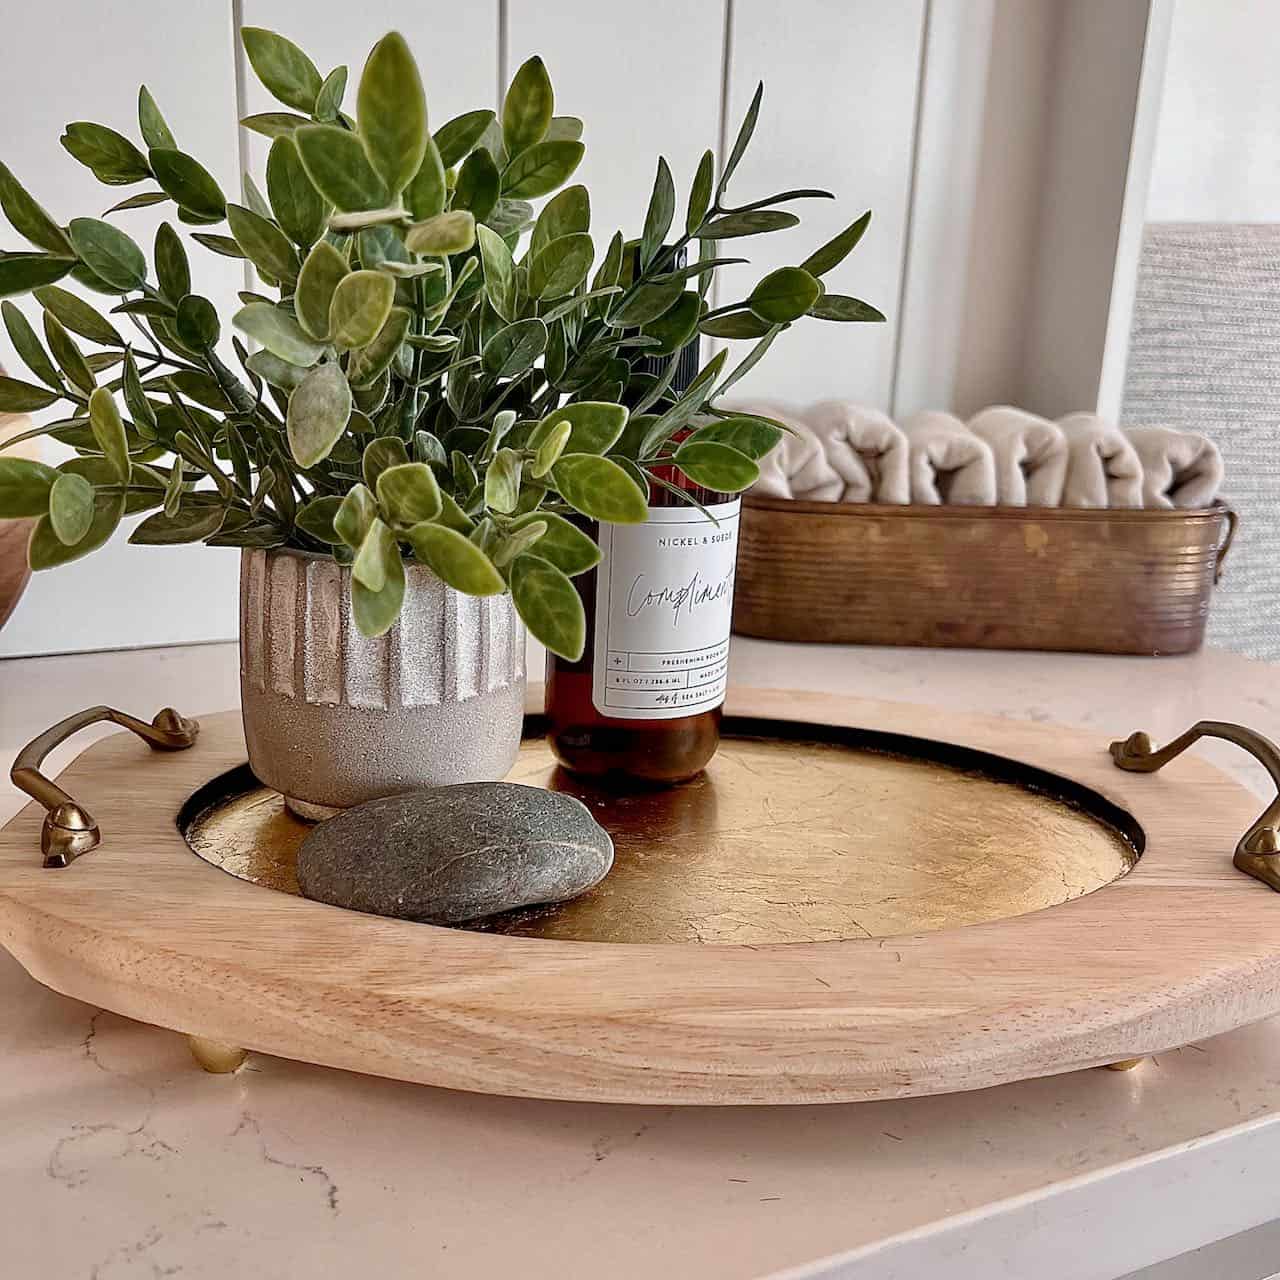
For an elevated look, you could also use metal leaf to gild the side of the wood slice for a pretty metallic touch.
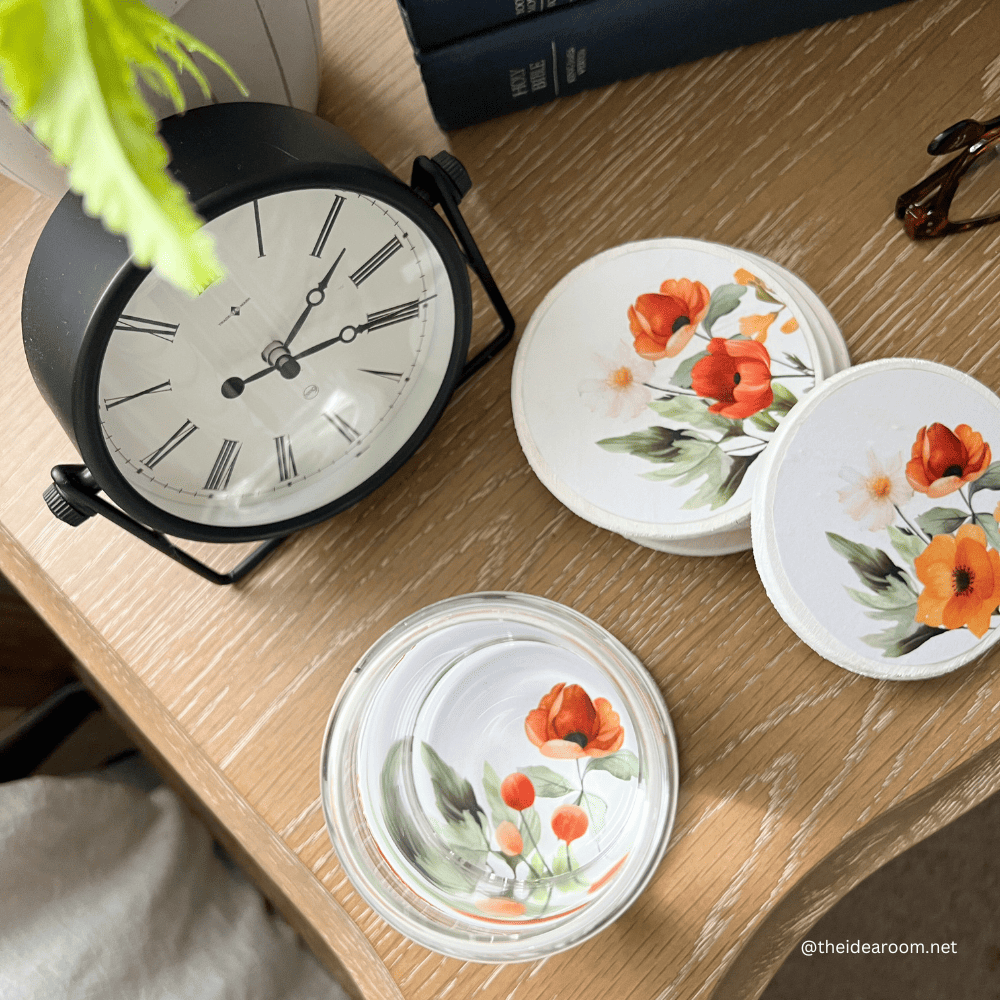
You could also use a different base for your wood flowers. A wood flower added to the top of a lidded wooden box would make a beautiful addition to your coffee table for spring.
Try applying this technique to a pretty wood tray to display on your countertop in your kitchen.
Don’t be afraid to be creative. This is the perfect simple project that lets your personal creativity shine, and the end result is a beautiful piece of artwork for you home for spring!
Thanks so much for stopping by the blog today! I hope this wooden floral art inspires you to create a piece of beautiful spring artwork of your own to enjoy!
Happy Crafting!

Now be sure to visit all of my creative blogging friends below! You’ll find so many fabulous ideas for spring! Just click each link and enjoy all of the handcrafted inspiration!


This is such a fun and festive way to welcome, Spring, Kim! I love the print on the napkins you chose. It’s really pretty. Plus, I love how you can display these during multiple seasons too. I can’t wait to get crafting! Hugs, CoCo
Thank you so much, CoCo! I love the blue and white napkins and am pleased with how they turned out!
Kim, you are so creative, and how cool are these wood slices! I love discovering new ways to craft with wood, and your spring flower art is just darling!
Thanks so much, Michelle! The wood slices were fun to work with!
I have a bunch of this type of wood slices and you have inspired me to decoupage them! Such a beautiful project, Kim. You always amaze me with your creativity! So glad you are part of the Handcrafted Society! Pinned!
Thank you, Missy! You’re always so sweet and encouraging!! I’m so glad to be crafting along with such talented blogging friends!
Hi Kim – Your wooden flowers are so whimsical! I love how you modpodged the design onto the wooden petals. I would have never thought to do that. Your tutorial is easy to follow and understand. I especially appreciated the “in process” photos. Happy “almost” spring!
Thank you so much, Anna! They were really fun, and quite easy to make!
Hi Kim! Your flowers are so creative! I have never seen wood slices like those, and they make perfect flower petals! I love them plain and with the blue and white print, too! Such a fabulous way to make artwork for Spring! Thanks for the inspo! Pinning now!
Thank you, Donna! I was so please when I discovered them! I had a hard time deciding if I wanted to keep them natural or go with color. I like both looks, too!
Kim, these came out so cute! I love the creative idea, and of course the colors are perfect. Thanks so much for joining us and sharing such a great project.
Thank you so much, Wendy! It was a really fun project to make, and I’m thrilled to be joining such a talented group of friends!
Kim, what a wonderful project. Love the napkins prints and colors. These Wood Slice Flowers would look so darling just about anywhere in the house.
Thank you, Tammy! They were really fun and easy to make!
Oh Kim, these are so charming! They would be right at home in farmhouse style, but perfect for the rest of us who range from California Contemporary to Miami to mountain lodge or lakehouse casual. So, so cute!
You’re so sweet, Diane! Thank you so much!
Such a fun and festive project for spring. I loved the blue and white artwork on the napkins, too. I’m so ready for spring; this gives off all the spring vibes. Thanks for sharing, Kim!
Thank you so much, Kelly! I agree! Bring on spring!!
These wooden flowers are adorable!!
Thank you so much, Amy!
Simply GORGEOUS and such a BRILLIANT idea! So very creative 🙂
Don’t forget to join us over at the Creatively Crafty Linky Party every Wednesday through Sunday
https://creativelybeth.com/creative-crafts-linky-party/
Followed and Pinned!
Creatively, Beth
Thank you so much, Beth!