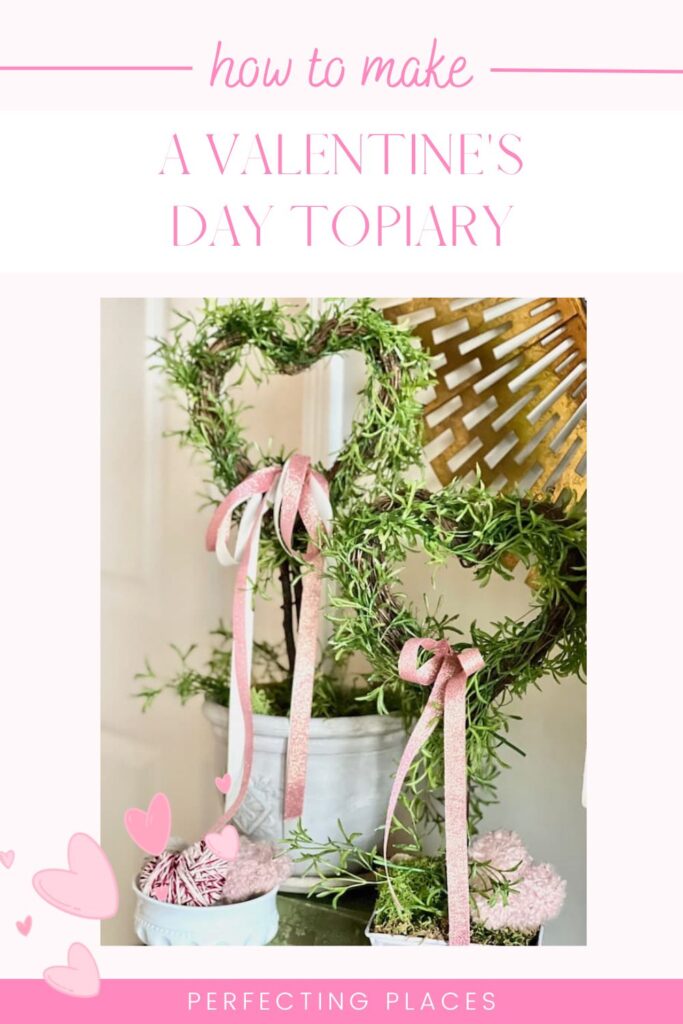
Create Lovely Vignettes with DIY Valentine Topiaries
Want a pretty look for your home for Valentine’s Day? These easy Valentine topiaries are perfect for a heart-themed vignette.
I love decorating with topiaries throughout the year! Valentine’s Day is fast-approaching, and a heart shape topiary makes such a pretty accent for any table in your home. Make a couple of heart topiaries and pair them in your entryway on a foyer table, on your living room coffee table, or in your kitchen on a buffet or countertop to create a beautiful Valentine’s Day vignette. It’s a great way to add a fun and festive touch to your home for the holiday.
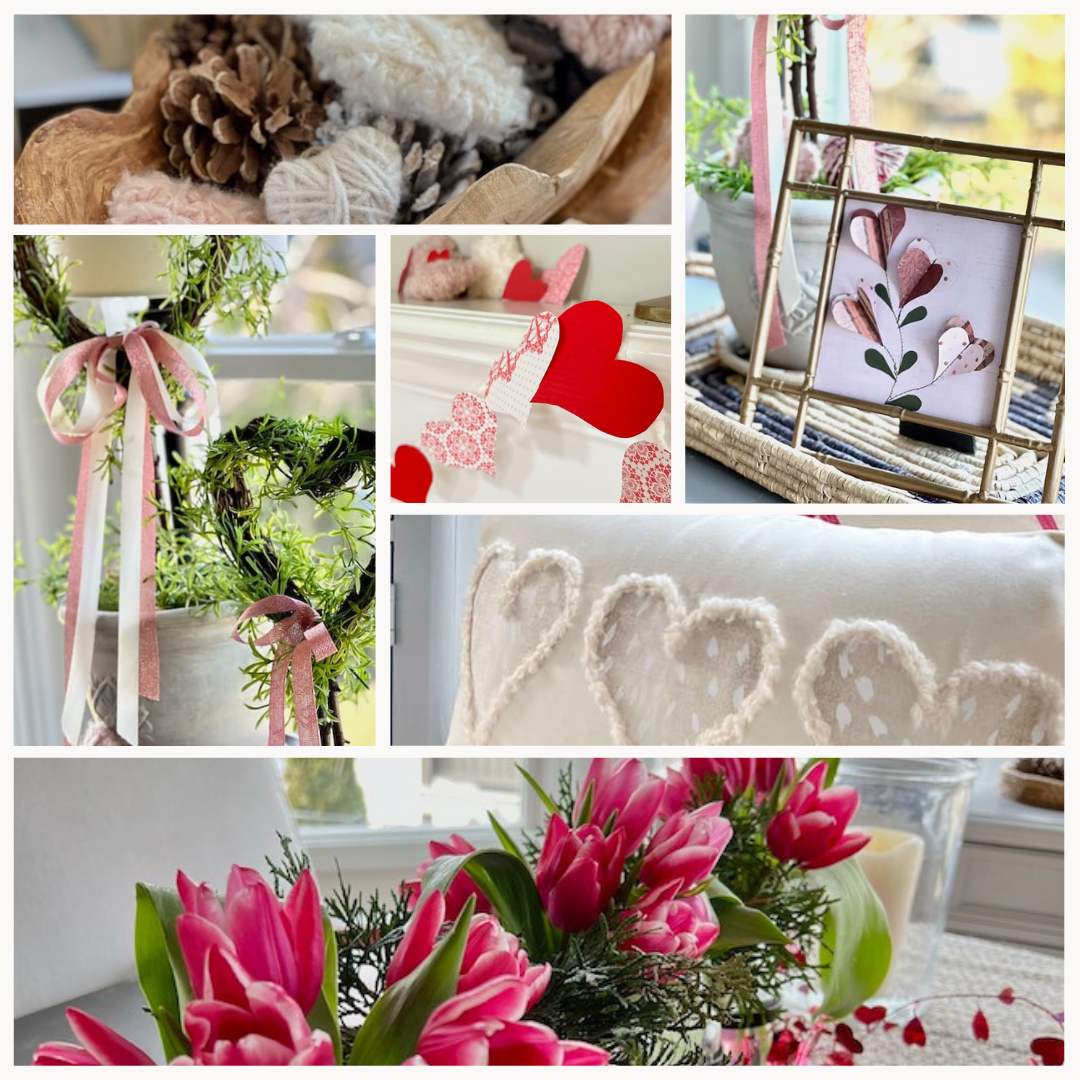
These 5 simple decor ideas using Valentine’s Day yarn hearts add a special touch of Valentine’s Day fun around your home.
(This post contains affiliate links, so I may earn a small commission when you make a purchase through links on my site at no additional cost to you. As an Amazon Associate I earn from qualifying purchases.)
I like to add a few simple touches of Valentine’s day decor around our home. In January, after the Christmas decorations come down and are stored away, I usually simplify and neutralize our accessories a little bit.
So, by the time February rolls around, I’m ready to add a little bit more color into the mix. I certainly don’t go all out decorating every nook and cranny of our home with red and white, but a few touches here and there are kind of fun and festive.
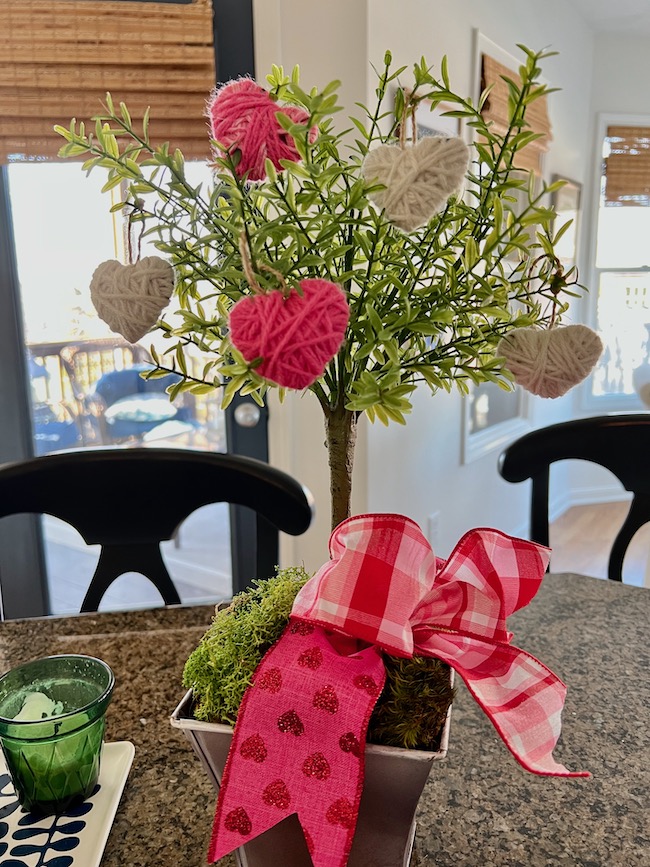
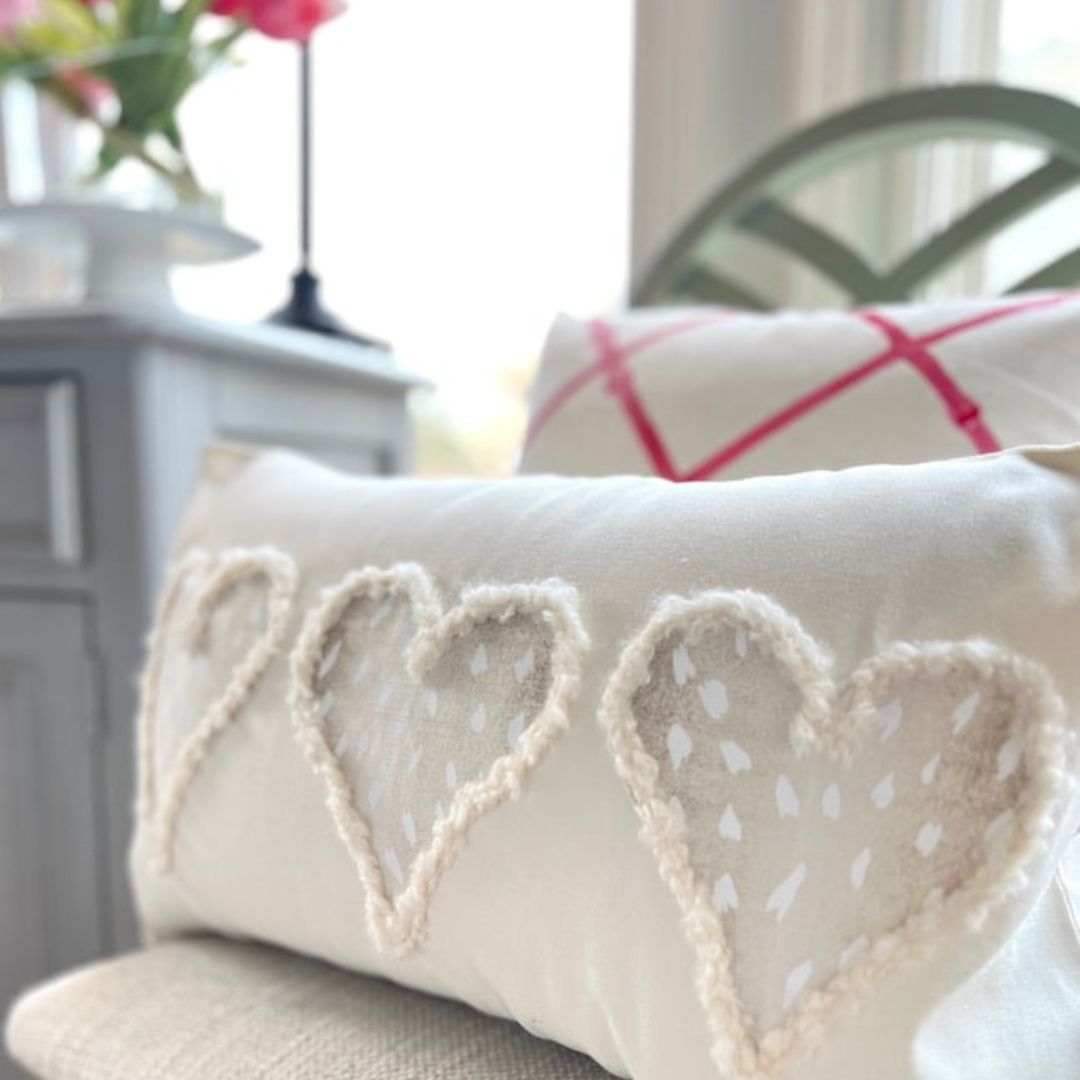
I like to set a beautiful Valentine’s Day table for our family to make our meals festive and fun, and last year I made these fun yarn-wrapped hearts to add to the Valentine’s decor mix.
I was inspired by my blogging friend, Kate from Southern Home and Hospitality, to create a couple of heart-shaped topiaries to use in our home. She made topiaries for her gorgeous kitchen that were so pretty, and I just had to try some for myself with a couple of twists! Be sure to check out Kate’s gorgeous blog and home. She’s incredibly talented, and you’re sure to be inspired with lots of great decorating ideas!
I love the look of a topiary and have a variety of faux topiaries that I change out in various places around our home. They make such a pretty statement and are such a classic look on our mantel, dining table, or other areas.
What is a topiary?
A topiary is a plant that has been trained into an ornamental shape such as a round ball or other geometric shape, or even a fun shape such as an animal.
Topiaries are often grown in formal gardens where dense foliage plants such as boxwood or other evergreens are trimmed into a particular shape which is maintained over time with careful pruning.
You can also train vining plants such as ivy to grow into a desired form or shape.
Outdoor topiaries can grow fairly large, but you often find smaller versions for indoor decor.
Decorating with topiaries indoors adds an elegant, classic touch to your room. You can find them in various sizes, shapes, and types of plants, but ivy, boxwood, and rosemary are some of the most common varieties.
Add them to pretty pots or containers and you have the perfect timeless look for your room.
How to Use Topiaries with Different Seasons:
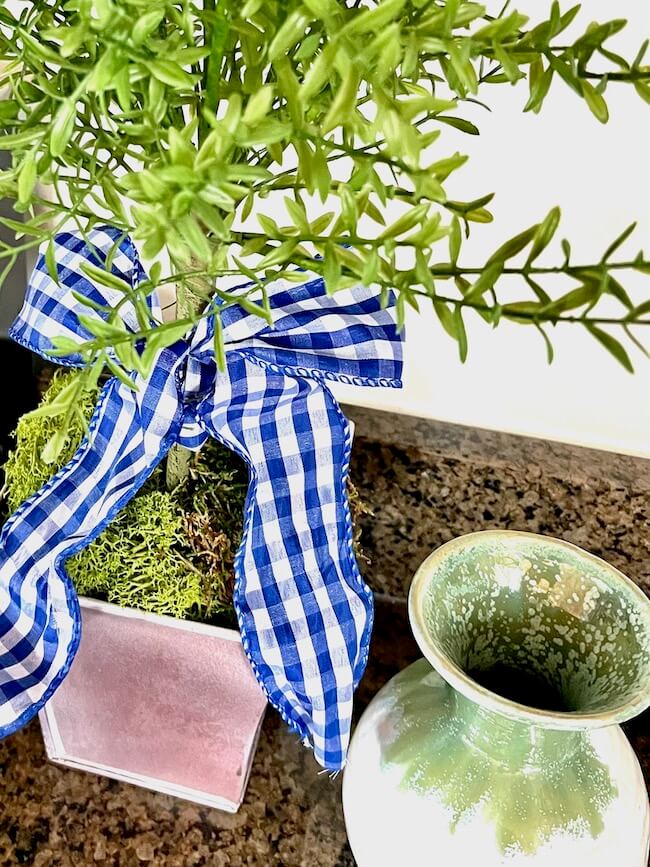
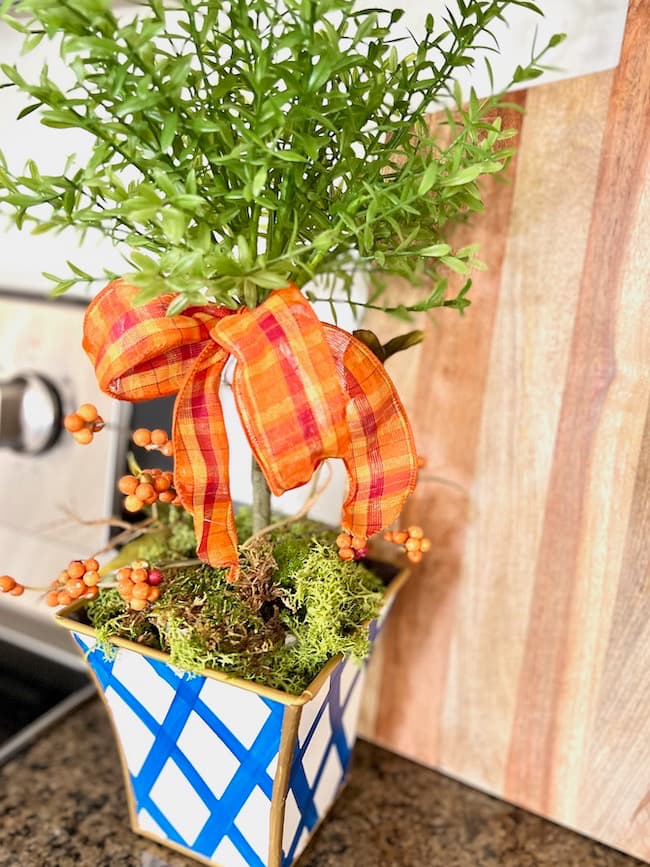
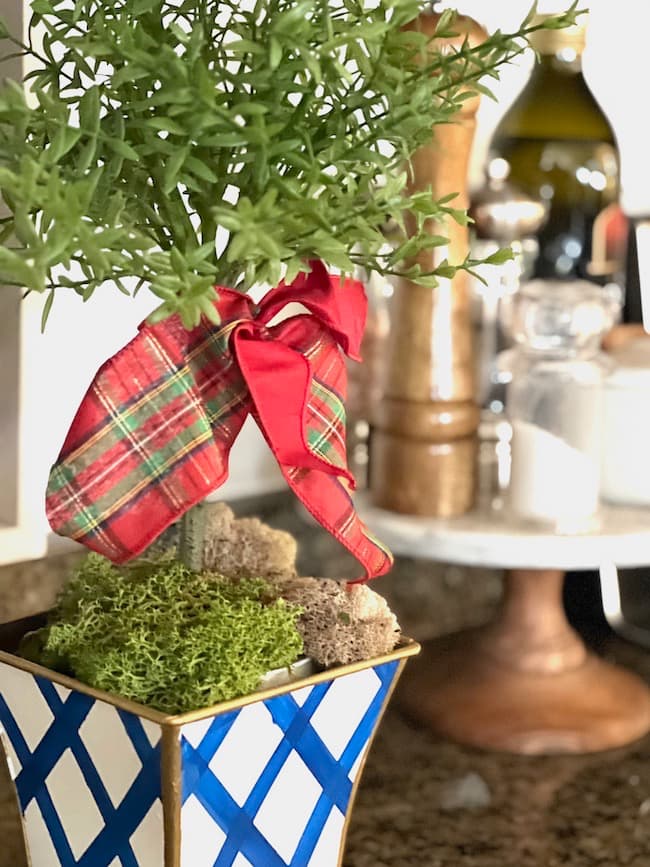
My favorite thing about topiaries is how versatile they are for decorating. There are so many different ways to style them to create different looks for the changing seasons. You can even change the same topiary for each season by adding different decorative touches such as seasonal ribbons. Adding colorful ribbon adds a more festive touch to your topiaries.
I like to change out the little topiary I keep in our kitchen with different seasonal ribbons for a fresh look.
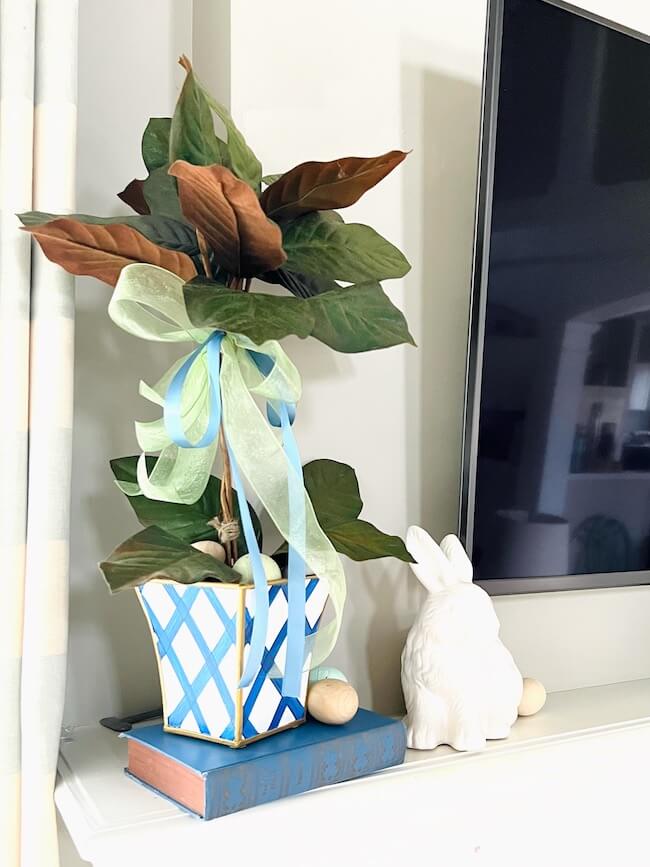
I’ve also shaped faux magnolia stems into a topiary to use on our mantel and styled it for spring.
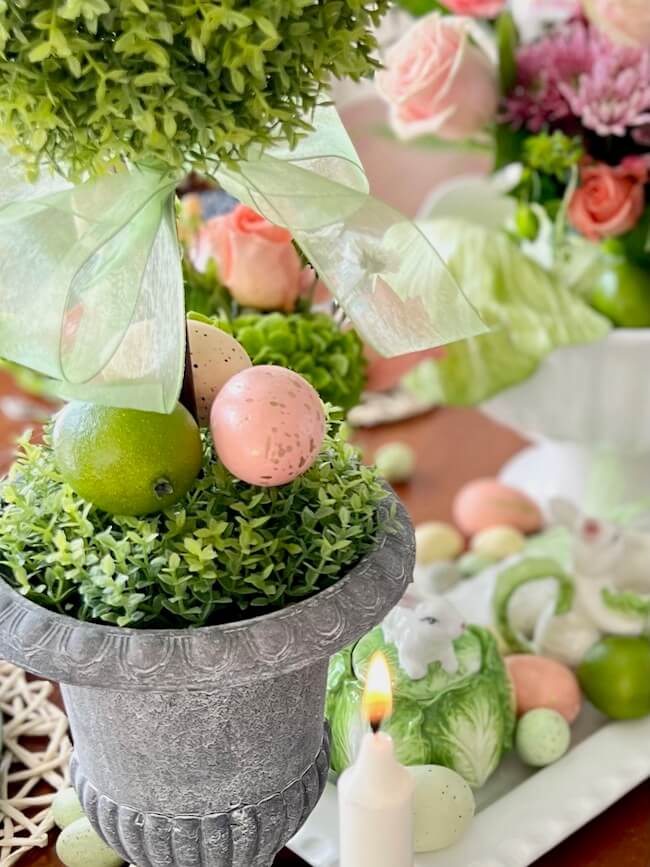
You can also switch out the containers of the topiaries for a new look. Painting a cute cachepot, switching to a small basket container, or placing one in a small concrete urn can give your topiary an entirely new look.
Topiaries are so versatile and pretty and add a perfect timeless touch to your decor all through the year.
For a great year-round topiary DIY, check out this post! I share all the details about how to create easy DIY topiaries and ways to style them in your home!!
Valentine Topiary DIY:
Since hearts of all sizes and shapes make the perfect Valentine’s Day decor, a topiary shaped into a heart seems like the perfect addition to your holiday decor.
While I would love to tell you that I have a green thumb, the reality is I struggle to keep plants alive. So, the faux greenery was perfect for these topiaries rather than trying to grow my own.
Supplies I Used to Make the Valentine Topiaries:
- Grapevine hearts (I used two of these hearts per topiary.)
- Sticks from the yard (or a wooden dowel if you don’t have one)
- A faux vining plant or greenery. I used this one from Hobby Lobby per Kate’s instructions.
- Small flower pots
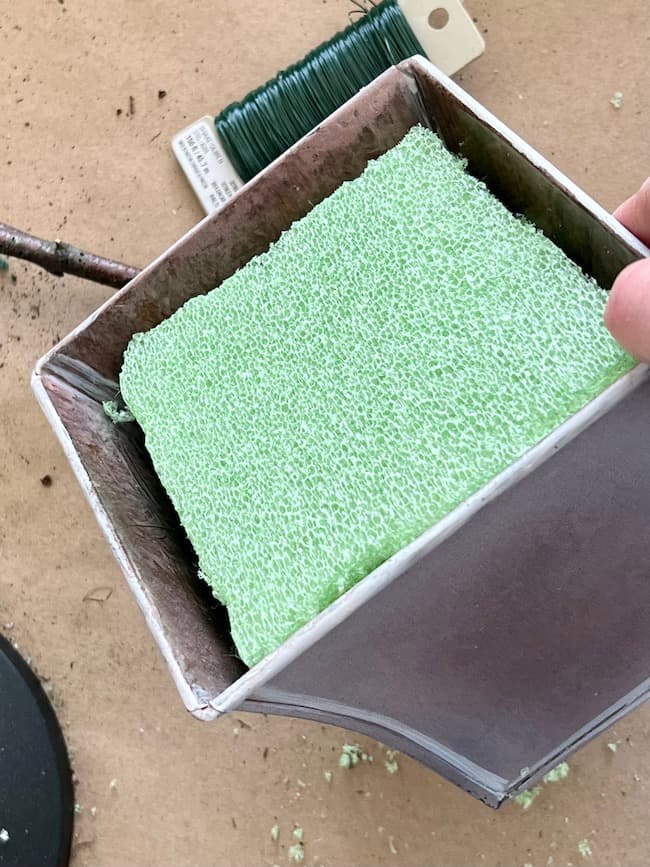
- Floral foam
- Grapevine wire
- Floral wire
- Scissors or Wire cutters
- Preserved moss
- Ribbon (I used pink and cream.)
How I Made the Topiaries:
We’ve had lots of wind around here lately, and whenever a wind storm blows through our birch tree sheds lots of small broken branches. I gathered some of the thicker branch pieces to use for the stems.
I selected a white painted terra cotta pot from our garage to use for the taller topiary. I put the smaller topiary in a small metal cachepot. I used these same pots to create these magnolia leaf topiaries last year. I painted the cachepots in a blue and white pattern for a vibrant spring look and added them to our mantel.
I wanted a more neutral look for these heart topiaries, so I left the cachepot for the smaller topiary in its original brownish-gray metal finish.
Step 1 – Wire two small grapevine heart wreaths together.
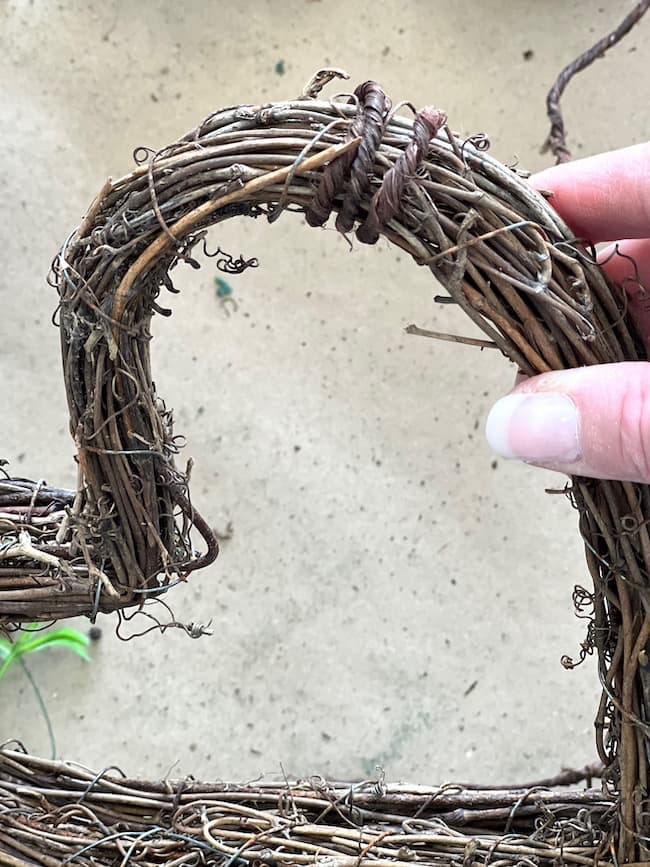
The grapevine hearts I used were a little thin, so I decided to combine two together for each topiary to create a more substantial heart. Wire the two hearts together using the grapevine wire. Leave an opening at the bottom of the heart to insert the sticks or dowel. If the grapevine hearts you’re using are thicker and more substantial you could get away with only using one.
Step 2 – Tie the sticks together with grapevine wire.
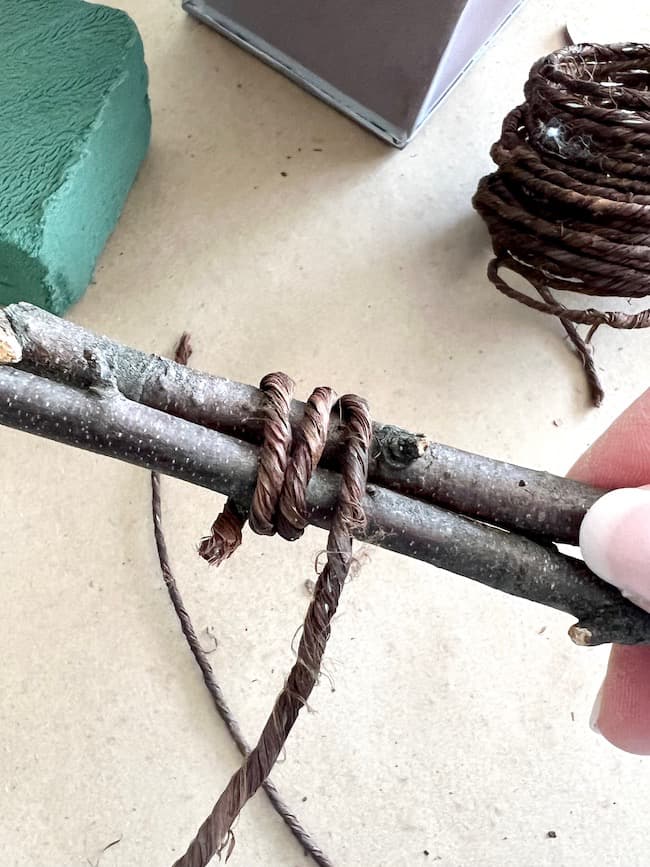
I used two sticks from our yard and tied them together using the grapevine wire in a couple of places. Using the two stems wired together gives the look of multiple vining stems growing up together.
Step 3 – Insert the sticks into the bottom of the hearts to attach them.
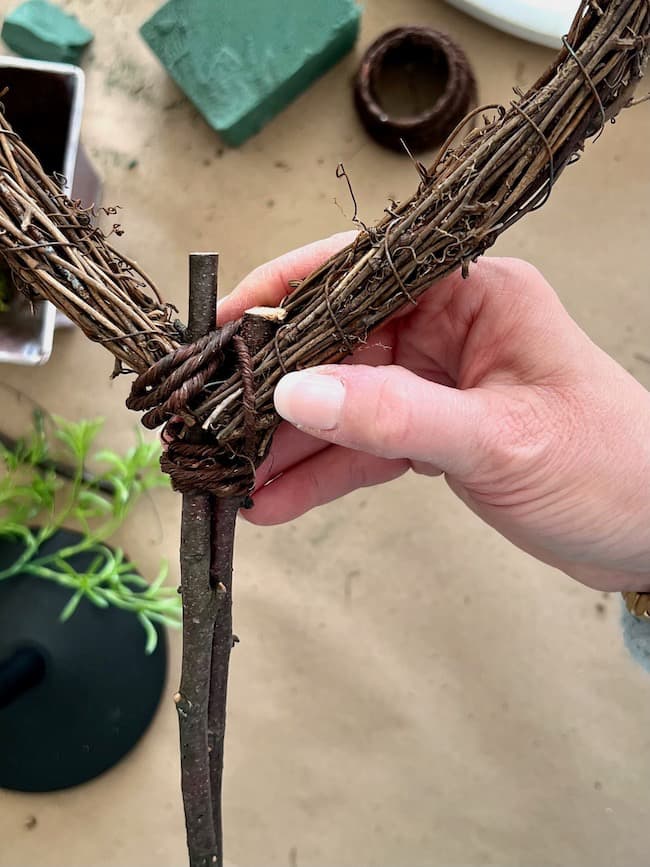
If you’re using two hearts bound together, you can insert the stem between the two hearts. Use the grapevine wiring to twist in and around the bottom of the heart and the sticks to secure the sticks to the hearts.
Step 4 – Add the greenery to the heart.
The greenery I used comes in long strands. I only used one of these plants to create both Valentine topiaries. Use one of the longest branches or strands and place it around one side of the heart as if you’ve trained a vine to grow up and around the heart-shaped form.
Cut long pieces of floral wire to secure the greenery strand to the heart.


After you’ve completed one side, flip the heart over and add the greenery to the backside in the same manner.
If you use this wispy vine that I’m using, you might want to go back and add more wire to “tame” your vine a little bit if you want a little bit tidier look.
I do love the natural look of the vine. It looks like it would look if you had actually trained a live vining plant to grow up a stem and around a wire shape.
Step 5 – Insert your topiary into the flower pot.
Cut floral foam to fit the shape of your flower pot and insert it securely into the pot. You want a nice tight fit.
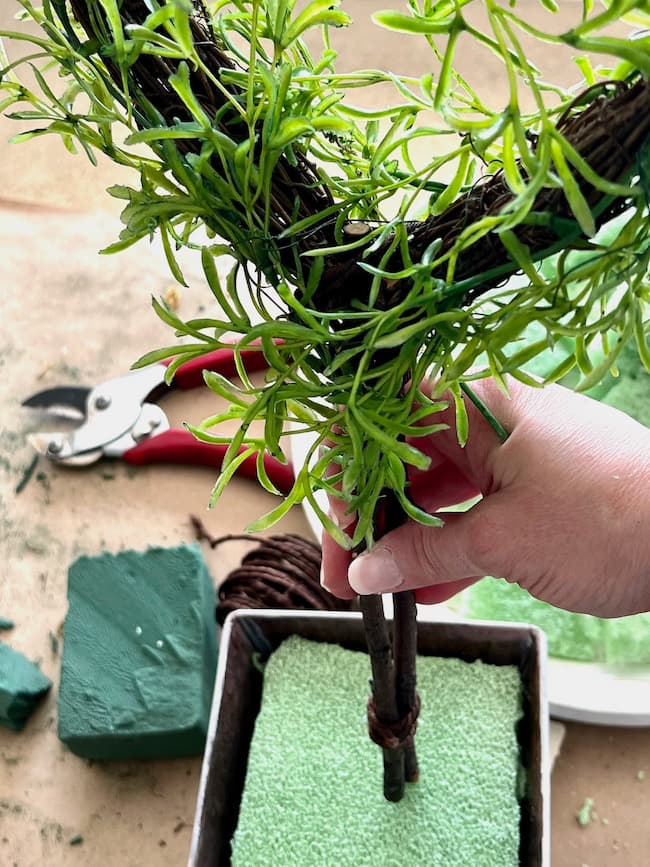
Once it is secure, insert your stem into the foam to create your topiary.
Important Tip: It’s a good idea to wait until this point to insert the stem into the foam. It’s tempting to do it at the beginning to the process, but if you do, the hole will become too large to hold the stem securely as you work to add the greenery. So wait until you’ve created the topiary to insert it into the foam.
Step 6 – Add preserved moss around the base of the stem.
Cover your floral foam with preserved green moss for a natural look.
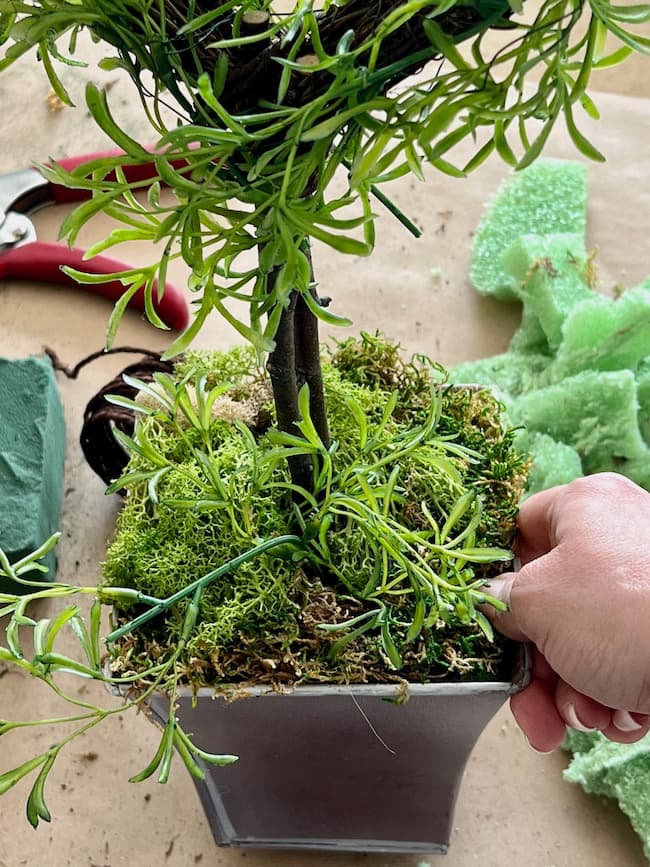
I finished off my topiary by inserting a few random pieces of the greenery into the foam at the base of the stem to look like a real vining plant growing up the stem and trailing over the side of the pot.
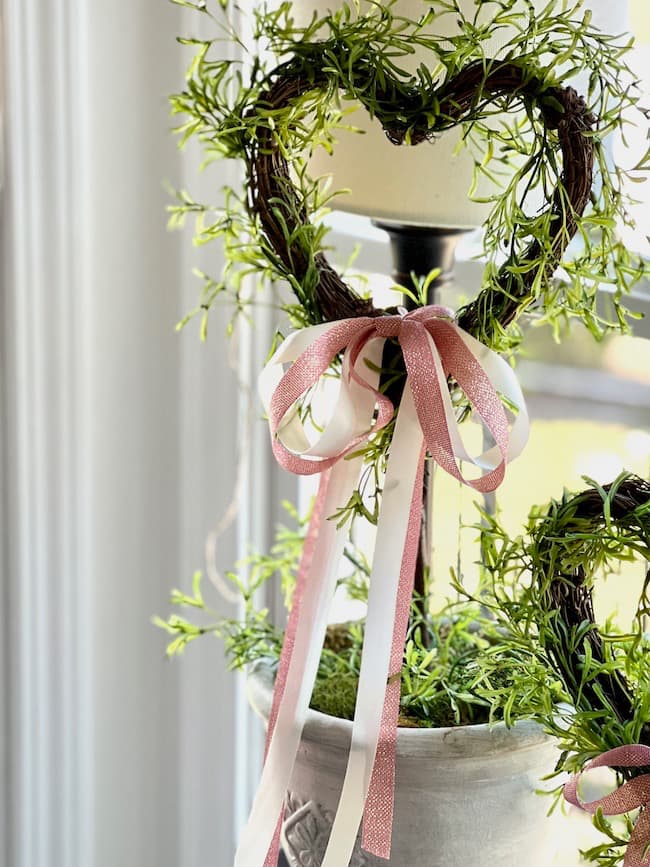
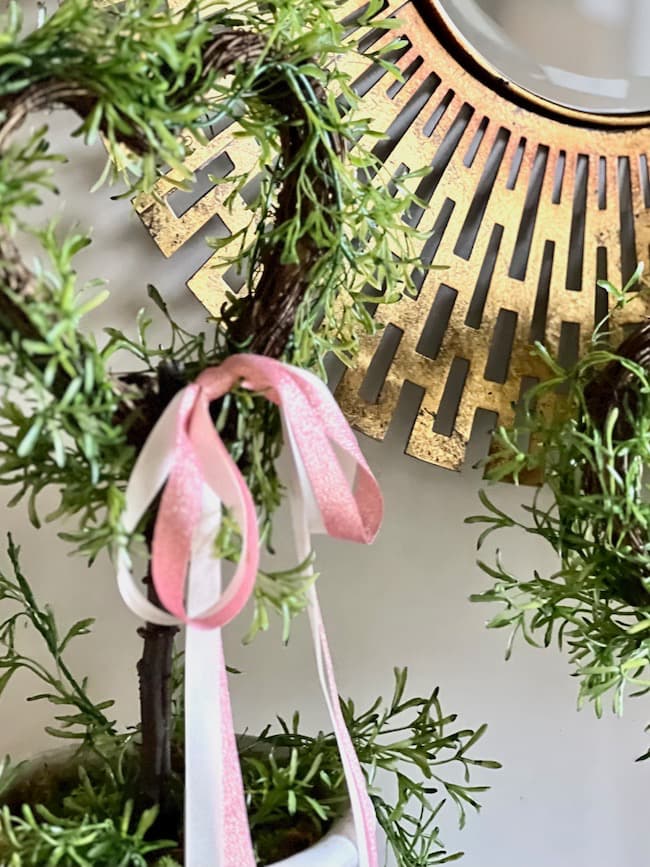
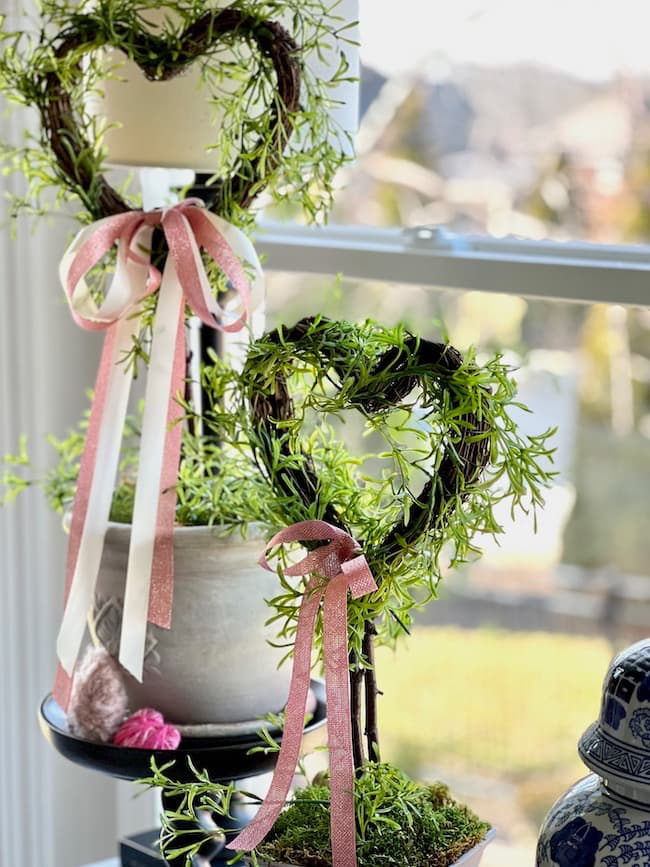
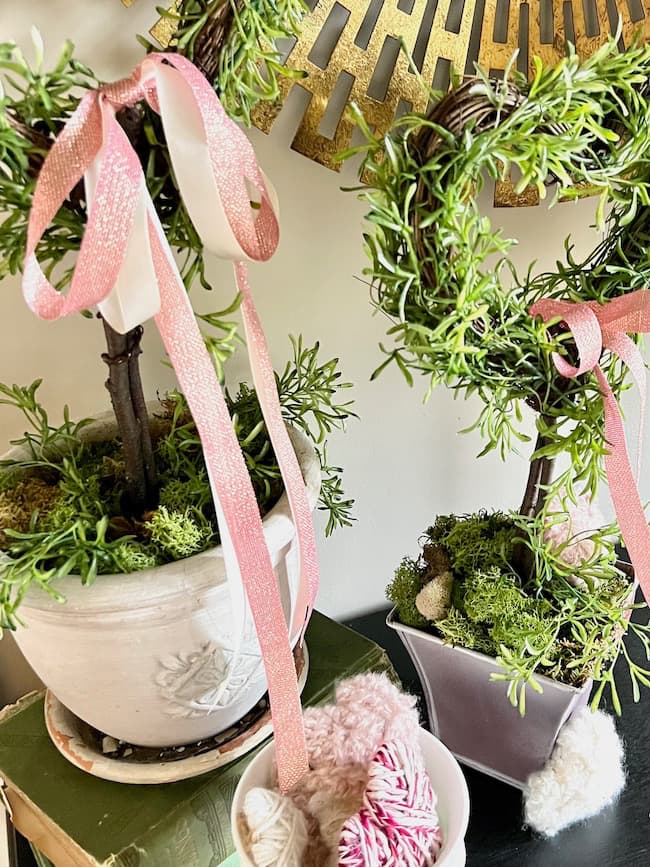
Step 7 – Add a ribbon for a pretty Valentine look.
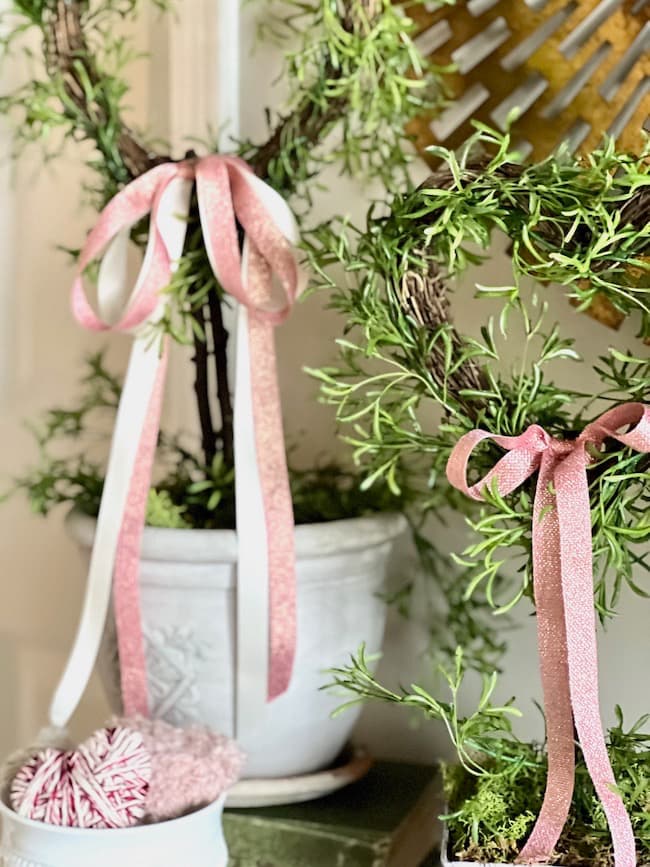
I added some pink and cream ribbon to the heart topiaries for a soft romantic look for Valentine’s Day. I think the ribbon adds such a soft and lovely look.
How I Styled the Heart Topiaries:
There are so many pretty ways to style your Valentine’s Day topiaries around your home.
Add Heart Topiaries to Your Foyer:
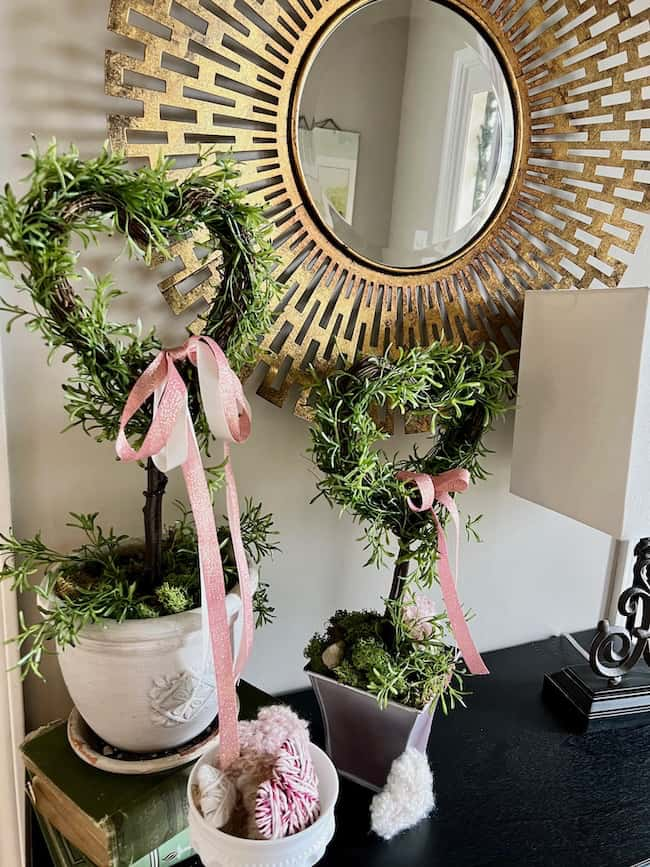
I created two topiaries, one a little taller than the other, and placed them in our entryway on our foyer table to greet our guests. I stack one on a couple of vintage books, and added some small yarn hearts to a milk glass pedestal bowl for a little Valentine’s Day vignette.
Valentine Topiaries on Our Kitchen Buffet:
For a festive look in our kitchen, I styled our breakfast area buffet with the two Valentine topiaries. I added height to one of the topiaries by placing it on a pedestal stand. I placed the second one in a basket beside a blue and white ginger jar and added fuzzy yarn-wrapped hearts.
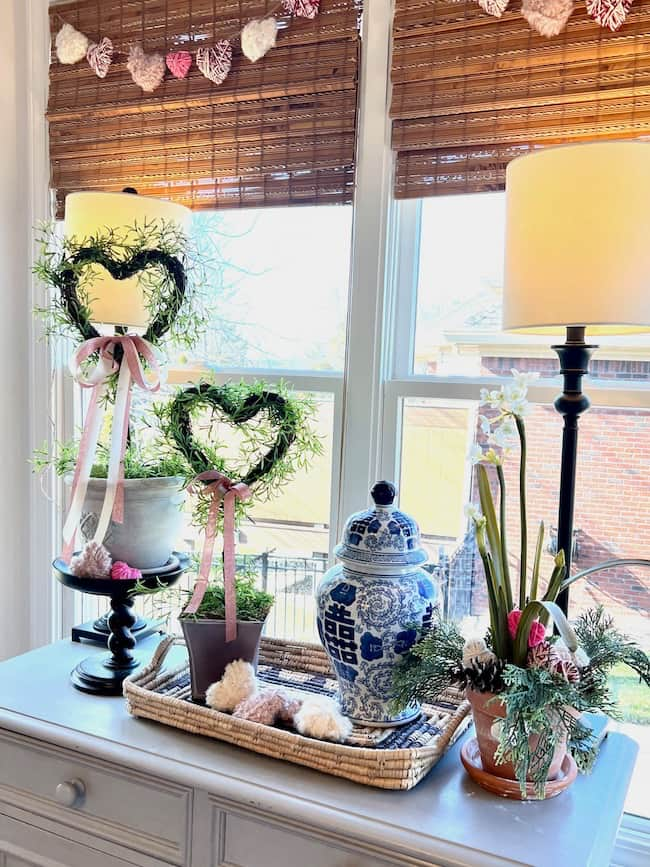
I added a faux paperwhite with greenery in a DIY aged terracotta pot with a few smaller yarn hearts at the base of the plant.
Our kitchen buffet sits in our bay window, and I hung a DIY yarn heart garland above the vignette for a festive, yet classic look for Valentine’s Day.
I hope these various DIY topiary ideas inspire you to use topiaries in your home decor. If you like a fun DIY or craft project, you can make your own like I did with the heart topiaries.
Fortunately, if DIY isn’t your thing you can find a great variety of pretty topiaries already made. You can apply the same principles mentioned above to deck them out with each season.
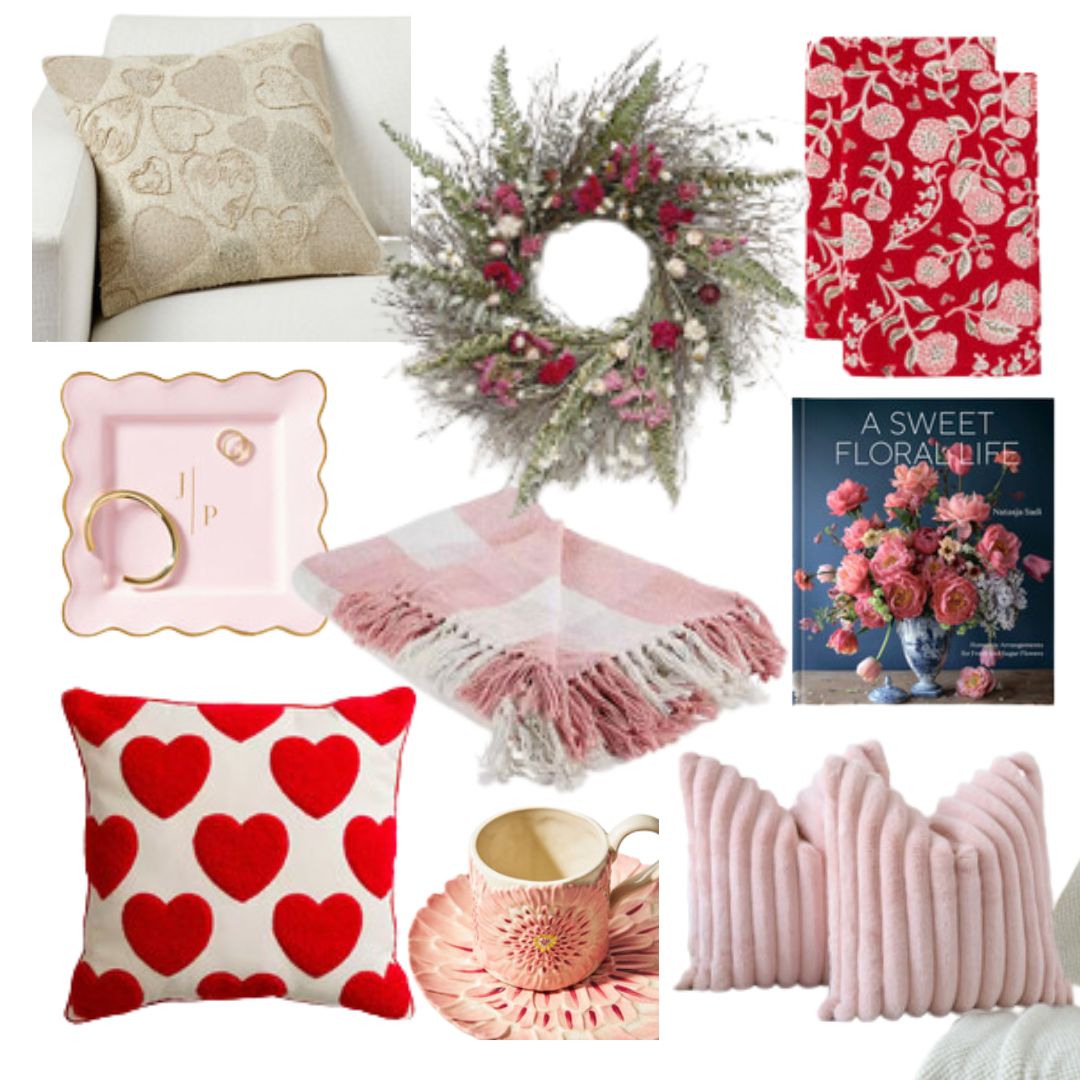
Shop the Look

Try adding a topiary or pair of Valentine topiaries to a space in your home. I think you’ll love how easy and fun they are to decorate with!
Happy Decorating!


By the way, do you follow me on all the socials? If not, check out my Pinterest, Instagram, and Facebook and be sure to follow along so you don’t miss out on any of my decorating and DIY ideas.

Amazing! I love this!
Thank you so much, Renae!!
It is so fun to see all of the seasonal topiaries! And the Valentine topiary is so, so sweet! What a great Valentine’s Day gift to give someone! Thanks for the great ideas, Kim!
Thanks so much, Missy! They’re fun to decorate with. You’re right, they would make a sweet Valentine’s gift to a friend!
Kim, your topiaries turned out beautiful. Love them! I have some of those heart grapevine wreathes too. I want to make one for my kitchen.
Thank you, Tammy! You definitely should!!
Kim, your Valentine’s day topiaries are so beautiful! I love how they came out. Such a great Vignette. Pinned! I plan on mentioning them in my upcoming Tuesday post, Tea Time Gossip. Have a great weekend.
Oh, thank you so much, Meagan! That is much appreciated!! Have a great day!
Hi Kim! Topiaries are one of my favorite decor items and your hearts are fantastic! Putting this on my list of to-dos for Valentine’s day next year! Pinning now!