
How to Decorate with Topiaries: Easy DIY Decor
Make easy DIY faux topiaries with sticks and floral foam, then style them on a buffet, mantel, or coffee table for a classic finishing touch.
(This post contains affiliate links, so I may earn a small commission when you make a purchase through links on my site at no additional cost to you. As an Amazon Associate I earn from qualifying purchases.)
Do you have a decor piece that always makes a room feel a little more finished? For me, it’s a topiary.
Topiaries are kind of like my favorite hoop earrings. They’re classic, they work almost anywhere, and they add just the right finishing touch. I use them all over our home because they bring greenery, texture, and height without feeling fussy.
But while I love a beautiful topiary, I don’t always love the price tag! So today I’m sharing an easy DIY topiary you can make yourself, along with my favorite ways to decorate with topiaries around your home.
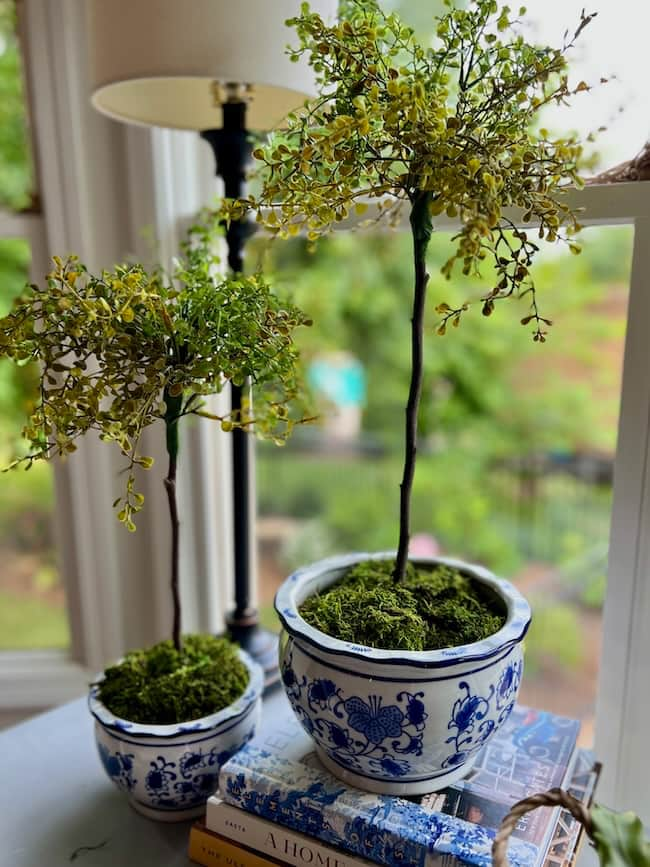
How to Make DIY Faux Topiaries:
Making your own topiaries is a fun and easy project.
Materials Needed to Make an Easy DIY Topiary:
The first step is to gather your materials to make the artificial topiaries. Head to your craft store, shop the links, or scavenge from your backyard to collect these supplies.
- Sticks from the yard or dowel rod
- Small ceramic or clay pot (Mine are similar to this set!)
- hot glue gun
- floral foam
- greenery sprigs
- floral tape (I had green tape on hand, but brown tape is best.)
- scissors
- snips
- moss
Step by Step Instructions:
Follow these easy steps to create your own faux topiaries.
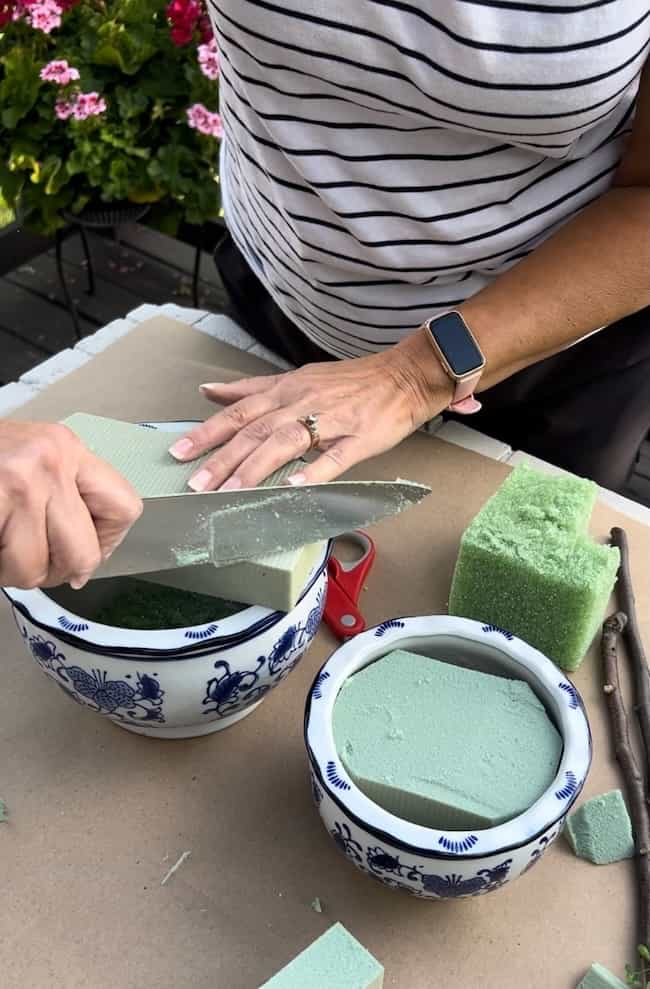
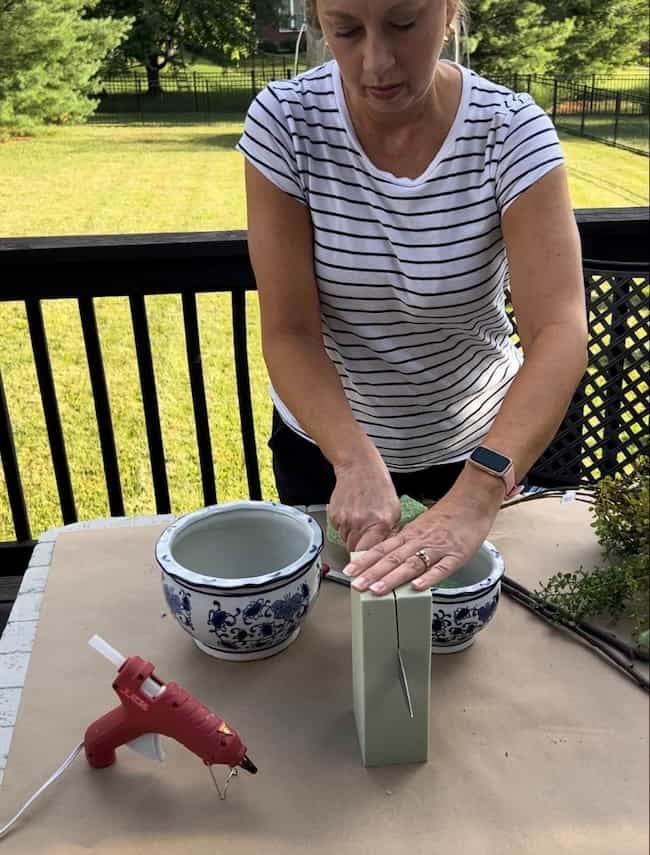
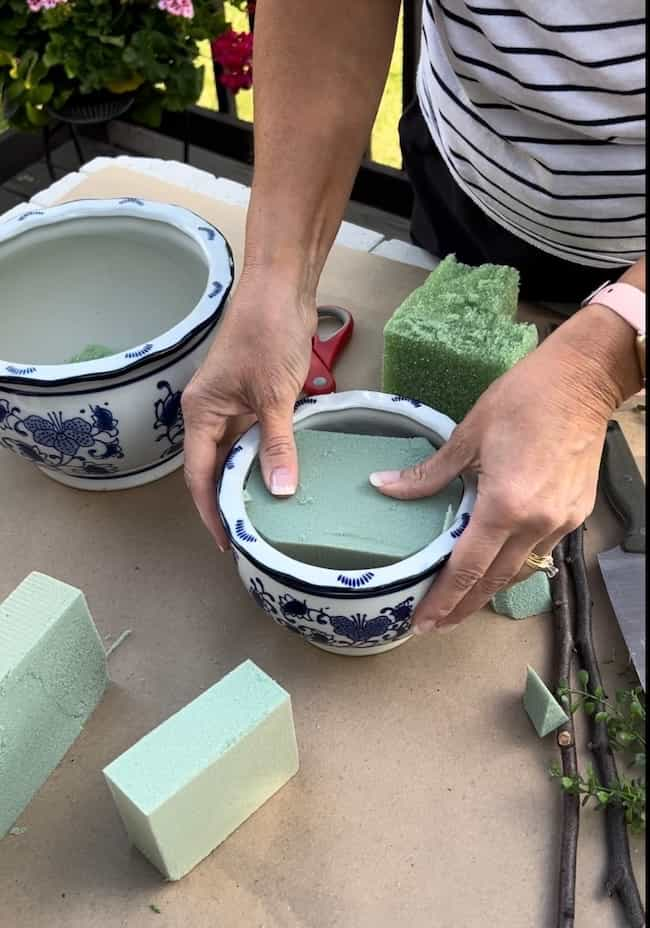
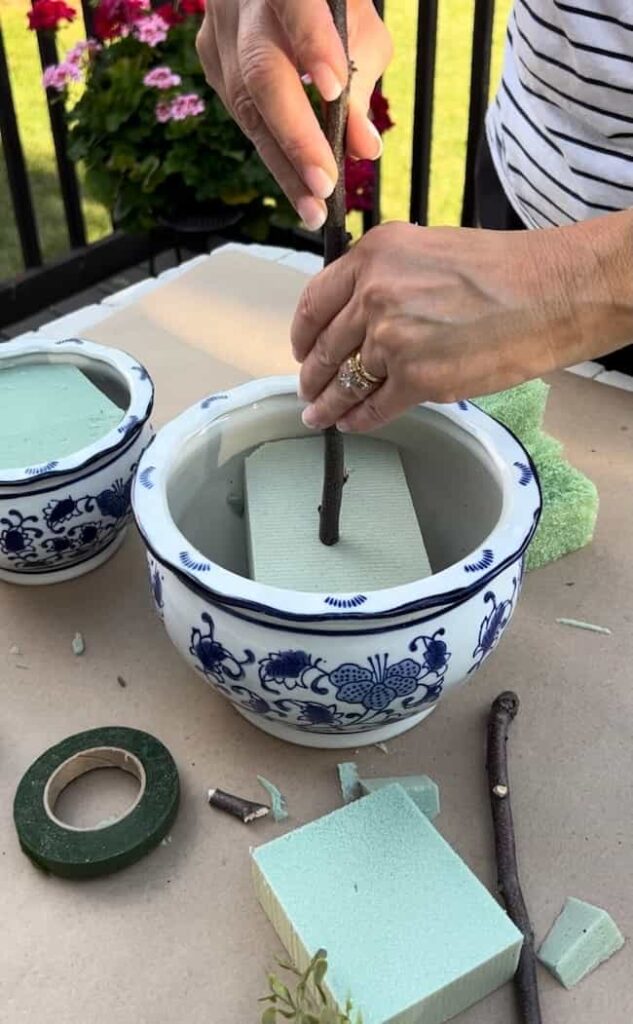
Step 1: Cut the floral foam to fit inside the planters.
Use a knife to cut the floral foam to fit the planter. I used a stronger foam to glue to the bottom of the pot. I then cut another piece of dry foam above it. You can also simply cut a large piece of foam to fit the entire pot. I just used the foam that I had on hand, so I combined a couple of types to secure the topiary in the pot.
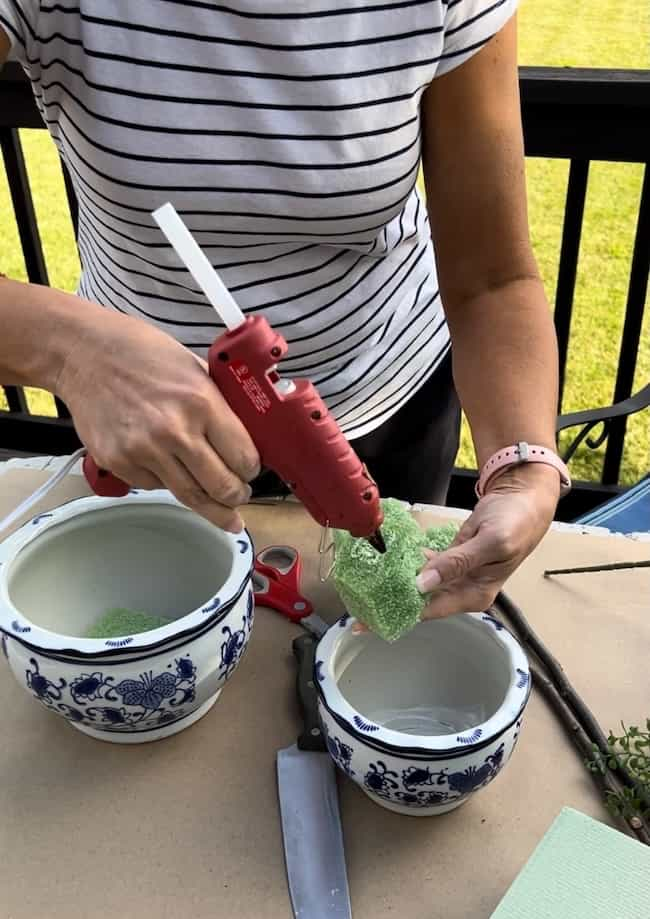
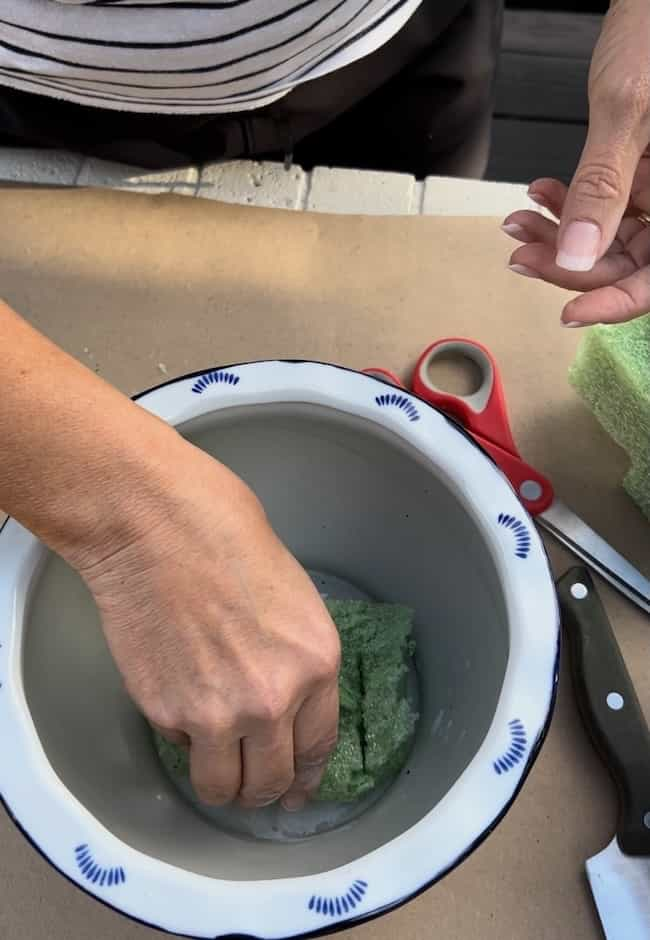
Step 2: Glue the foam to the bottom of the planter.
Use a hot glue gun to put a small amount of glue on the bottom of your floral foam and secure the foam to the bottom of the planter. The glue will help stabilize the topiary in the pot.
After gluing the first piece of foam to the pot, I then inserted the smaller piece directly above it. I did not worry about gluing this piece, because it was cut to securely fit inside the pot.
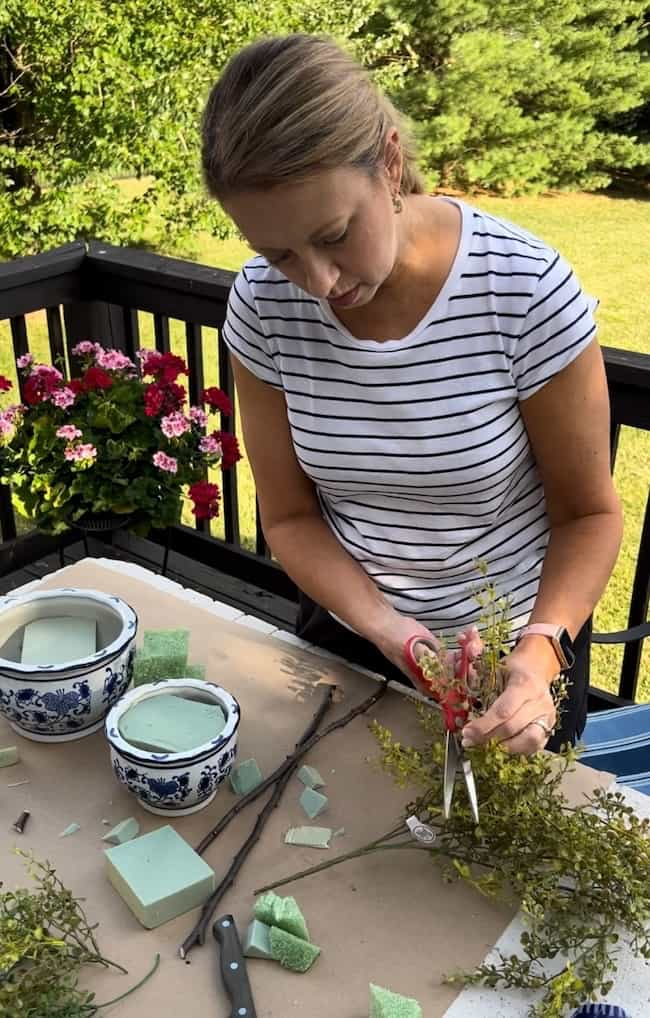
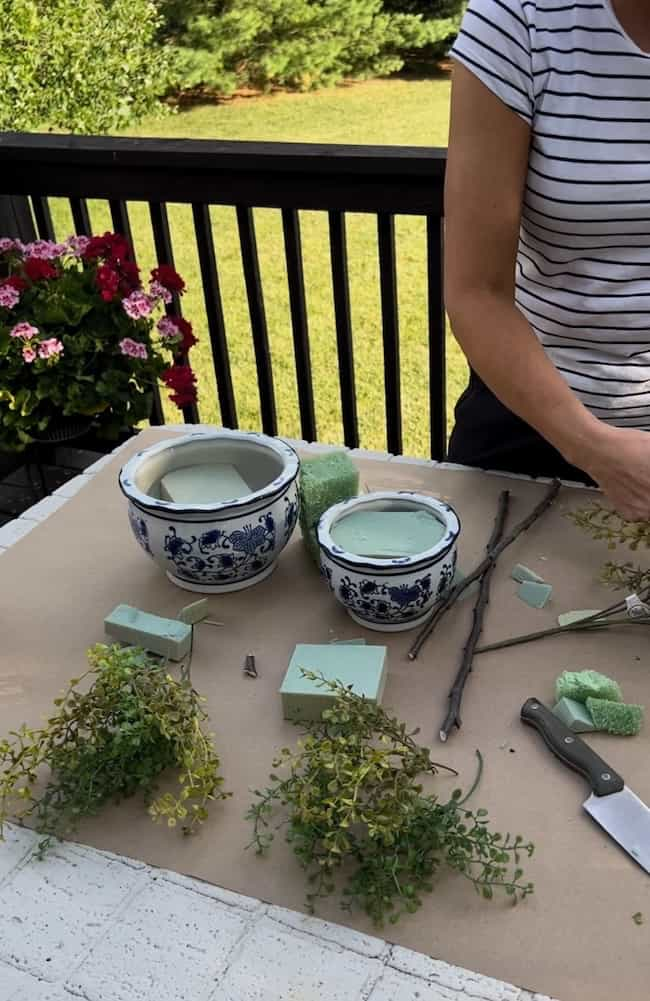
Step 3: Cut pieces of greenery for the topiary balls.
I used an airy greenery garland for the topiary, and simply cut off pieces of the greenery to secure together, but you can also use little bunches of greenery such as this.
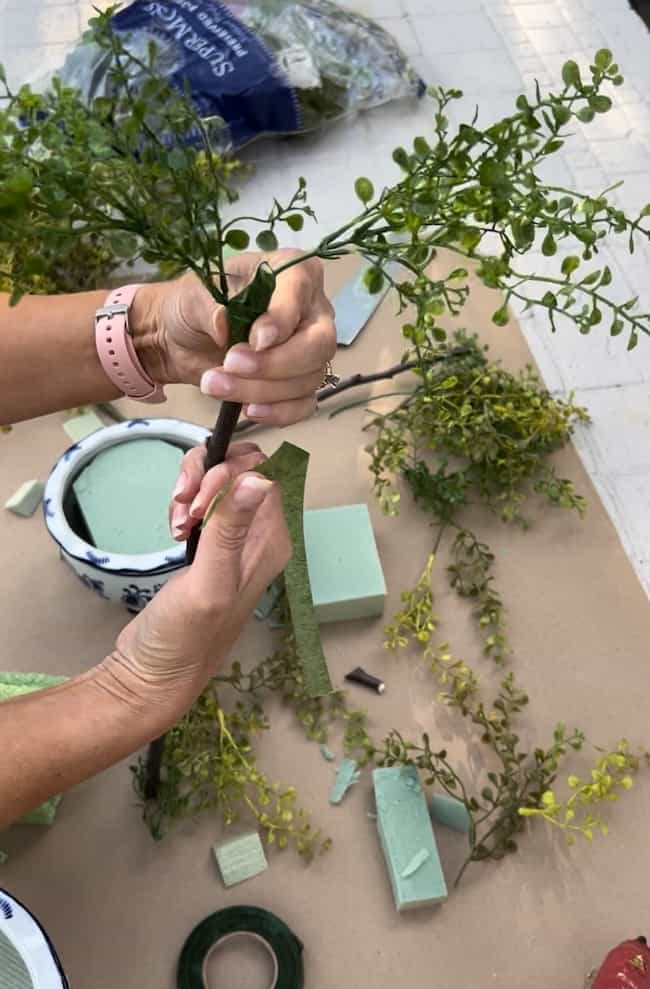
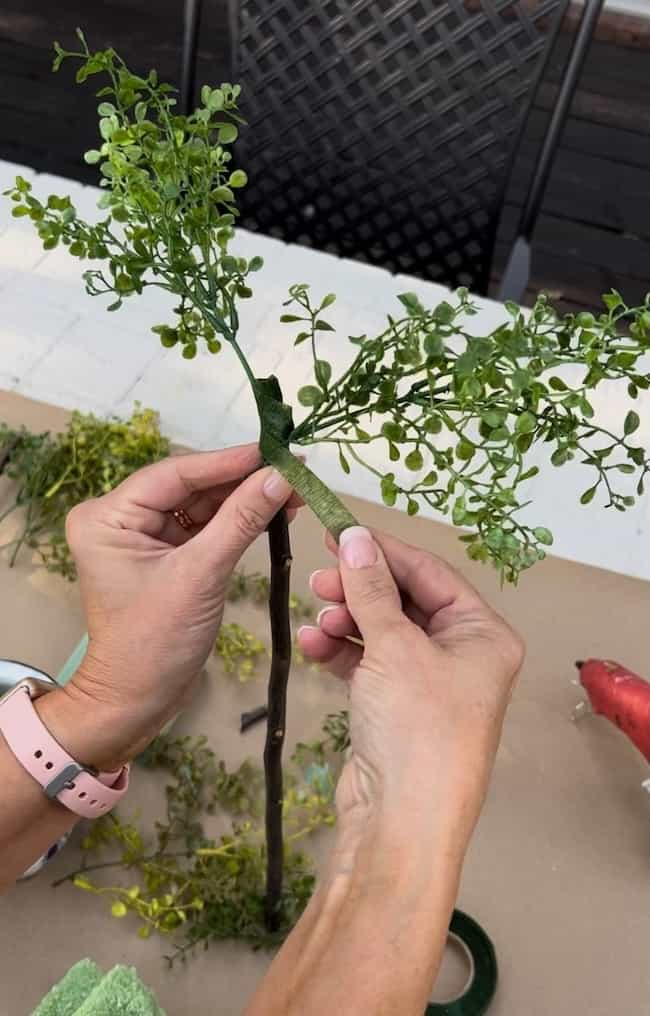
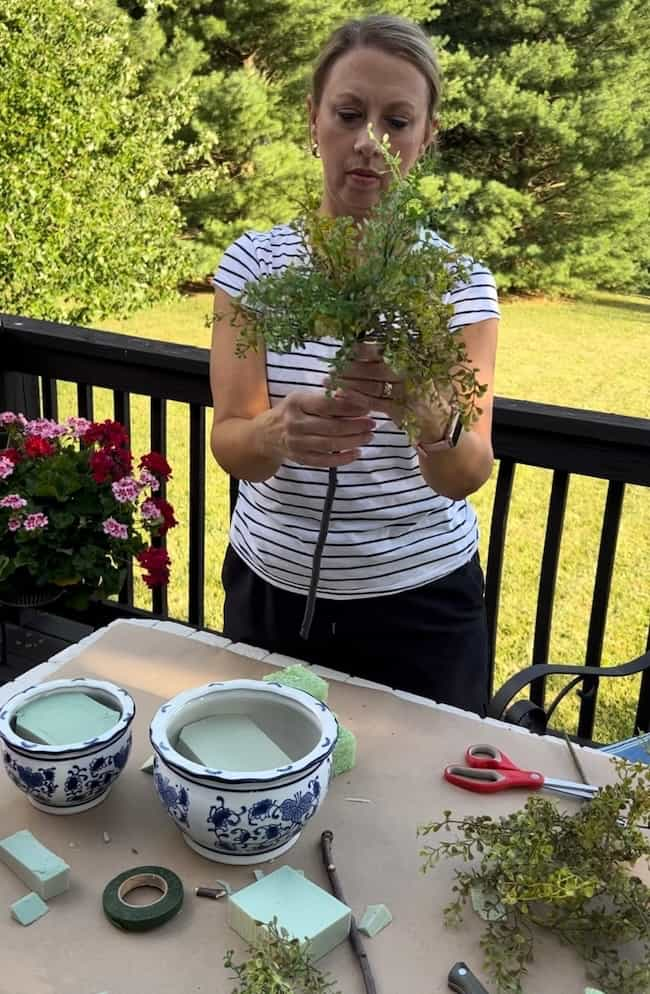
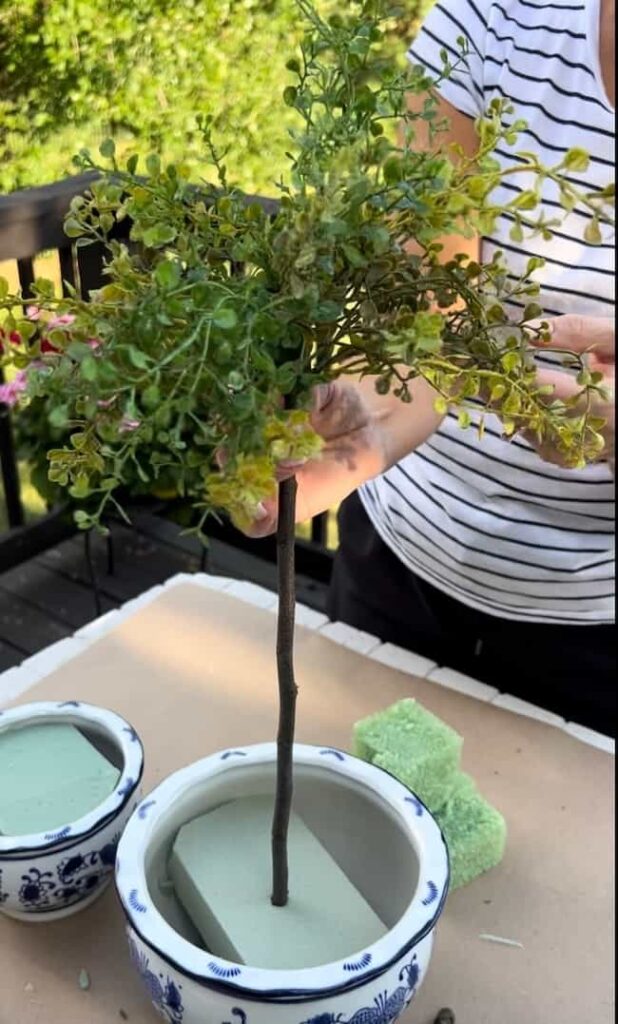
Step 4: Attach the faux greenery garland to the top of the sticks using floral tape.
You can either use wooden dowels or simply collect some sticks from your yard to use to create the trunk of your topiary. My sticks were approximately half an inch in diameter. You just need something strong enough to support the weight of the topiary ball. If using a stick from your yard, be sure to cut off any smaller branches.
IMPORTANT TIP: It’s best to create the topiary top and attach it to the stem before inserting the stem into the floral foam. If you insert the stick into the foam first, it will loosen as you work and the finished topiary won’t be as secure.
I simply held the stick in my hand and gathered the pieces of greenery, attaching each piece with the floral tape. You’ll find the floral tape is not overly sticky, but as you wrap it around the stem, it will hold the greenery in place. I’m using green floral tape because it’s what I had on hand, but brown tape would look better.
Work around the head of the stem, adding your greenery until you achieve the look you like.
Step 5: Insert the stick into the foam to create the topiary trunk.
After attaching the greenery to the stem, insert it into the middle of the foam until it touches the base of the pot.
Step 6: Shape and adjust the greenery for a realistic look.
Play around with the greenery and adjust it to make sure you have the look you like.
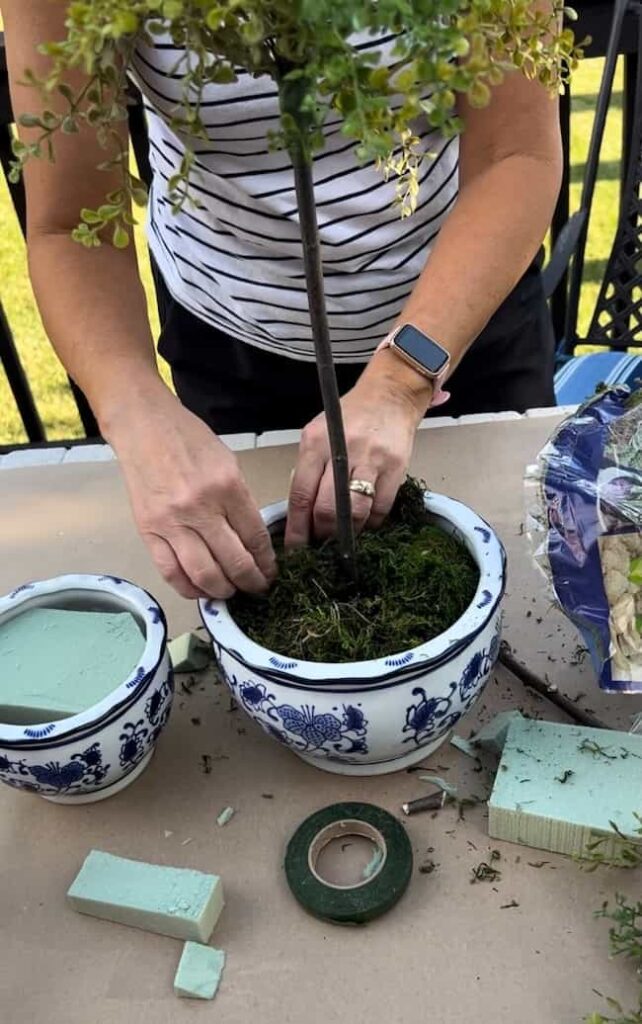
Step 7: Add moss to the pot to cover the foam.
Preserved moss adds a finishing touch. You can also choose to add potting soil to the pot around the stem for a more realistic look.
More DIY Topiary Ideas:
If you love creating your own topiaries, be sure to check out these DIY topiary posts for some fun seasonal ideas.
- Make DIY Magnolia Branch Topiaries in this post with a bonus hand-painted cachepot DIY!
- For a DIY heart-shaped topiary idea check out this post!
Multiple Ways to Decorate with Topiaries
A pretty topiary is often the perfect solution when you need a touch of classic style around your home.
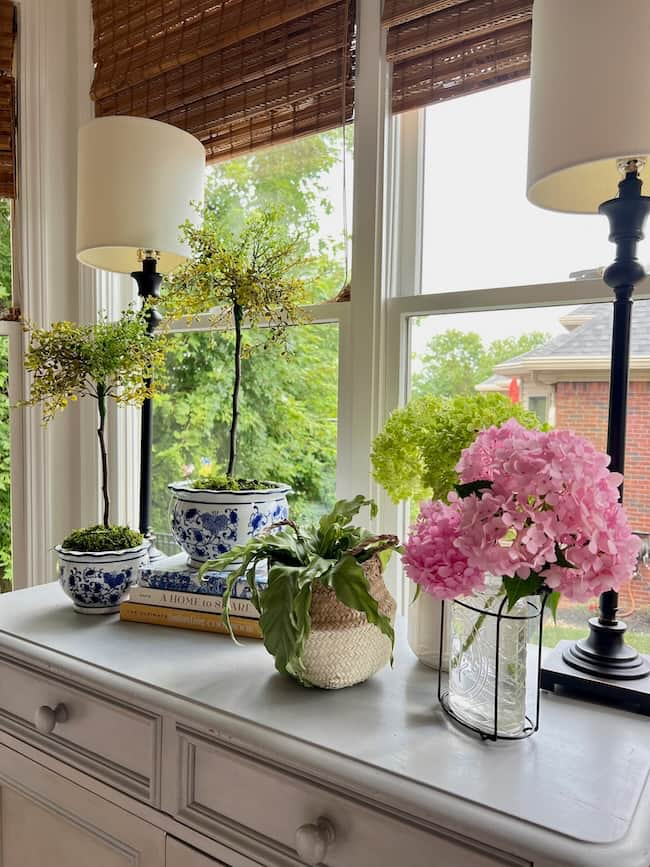
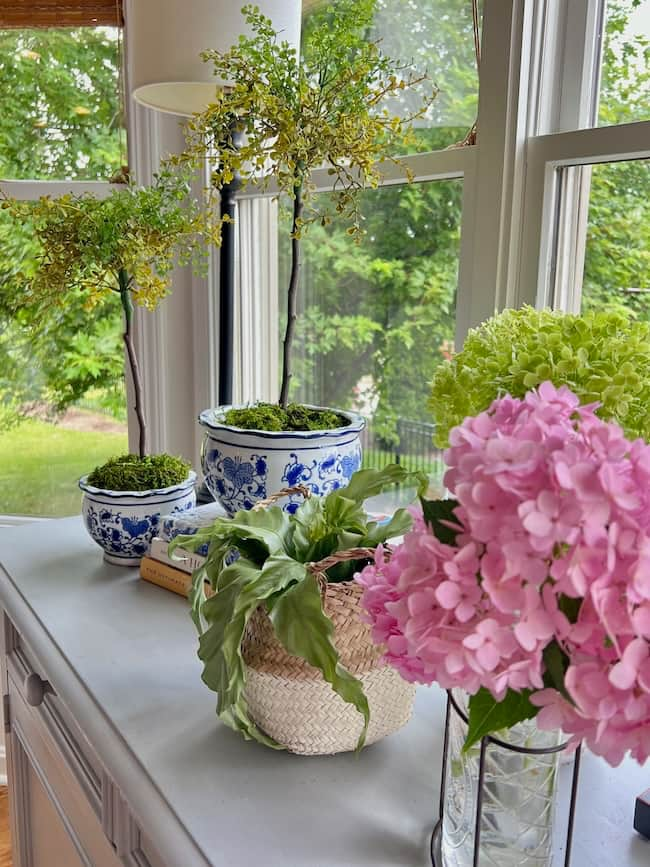
Styled on a Kitchen Buffet
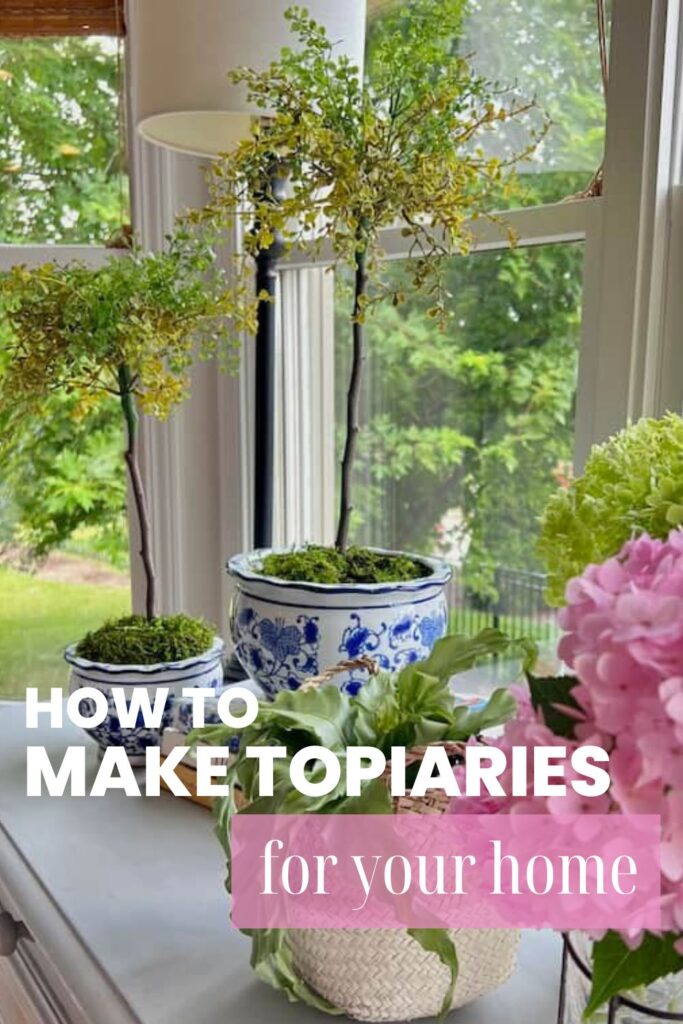
Topiaries are one of my favorite ways to add greenery to a buffet or sideboard. Their height helps balance artwork or a mirror above the piece, and a pair of topiaries creates an easy sense of symmetry. You can even place one on a stack of books if you want to vary the height.
Here, I paired my DIY topiaries in their classic blue and white pots with a houseplant and simple flower arrangement for a fresh, traditional look in our kitchen. If you love decorating with blue and white as much as I do, you can find more of my favorite blue and white decorating ideas here.
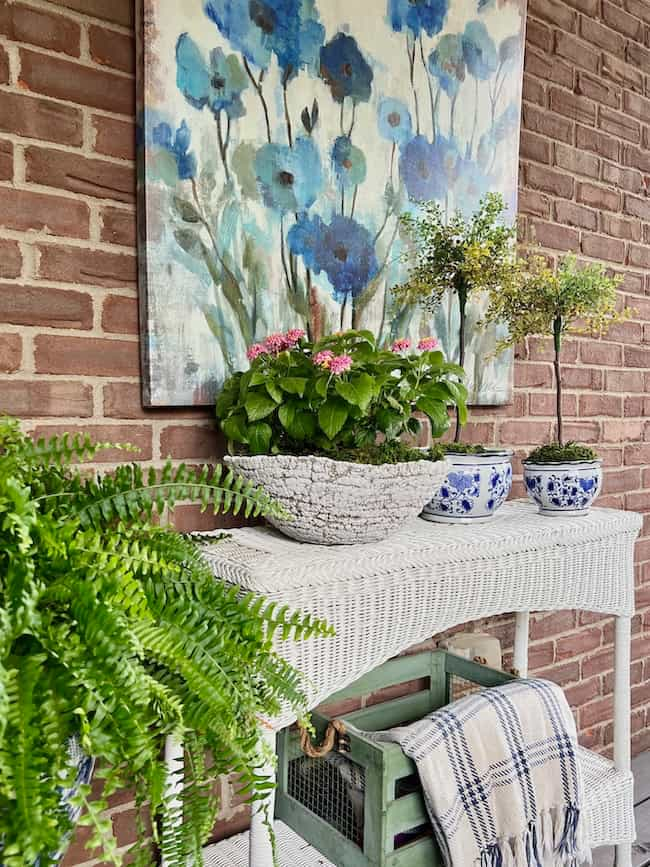
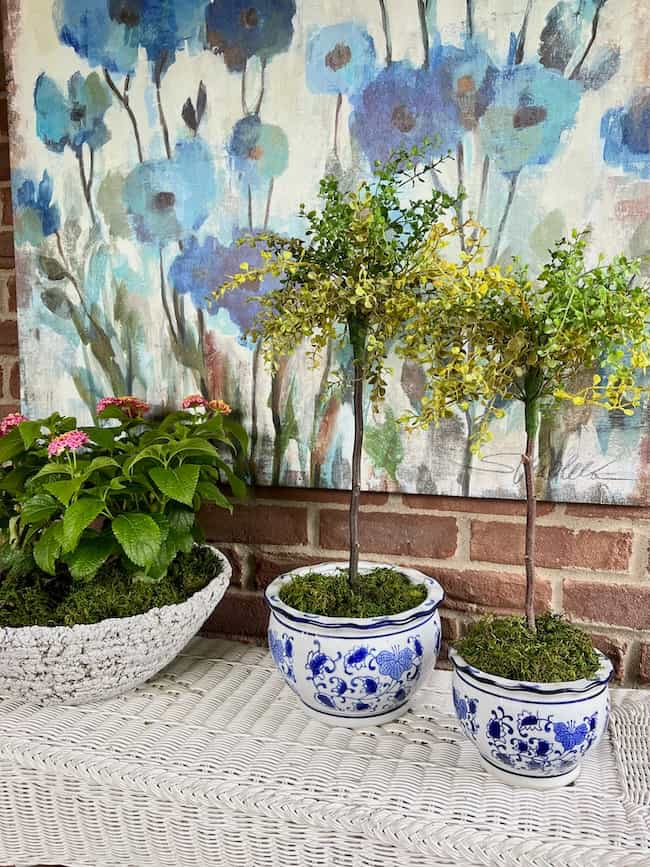
Arranged on a Wicker Table on the Screened Porch:
Topiaries are also an easy way to add greenery to a screened porch. I love using them on a small table or tucked into a grouping with other plants and accessories.
Faux topiaries are especially handy in spots where you want the look of greenery without worrying about keeping another plant alive!
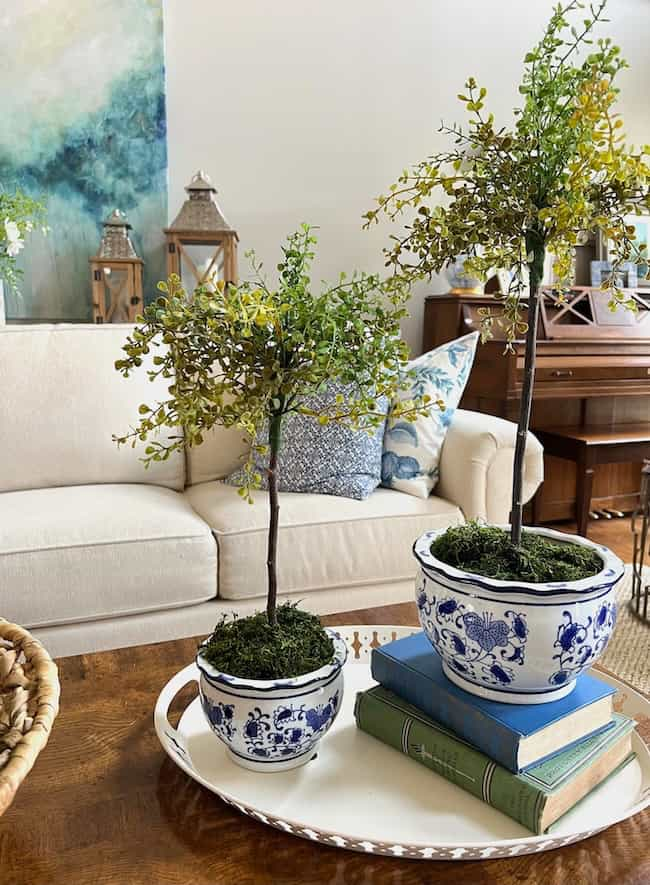
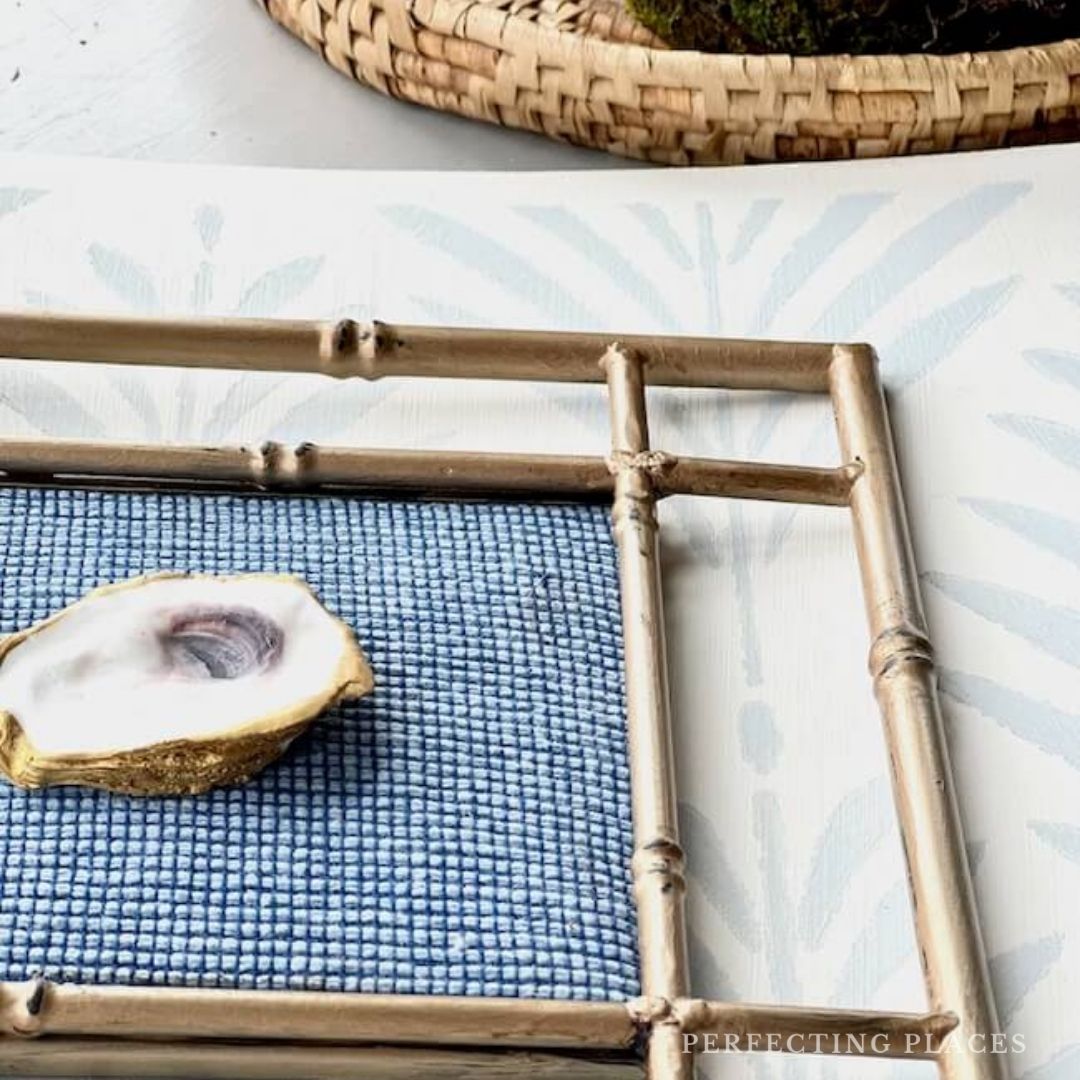
Styled on a Tray on the Coffee Table:
A small topiary is perfect for adding a little height and greenery to a coffee table. I like to pair one with a stack of books, a decorative object, or a pretty bowl to create a simple arrangement that doesn’t feel overdone.
The classic shape works especially well when you want just a touch of greenery without using a large floral arrangement.
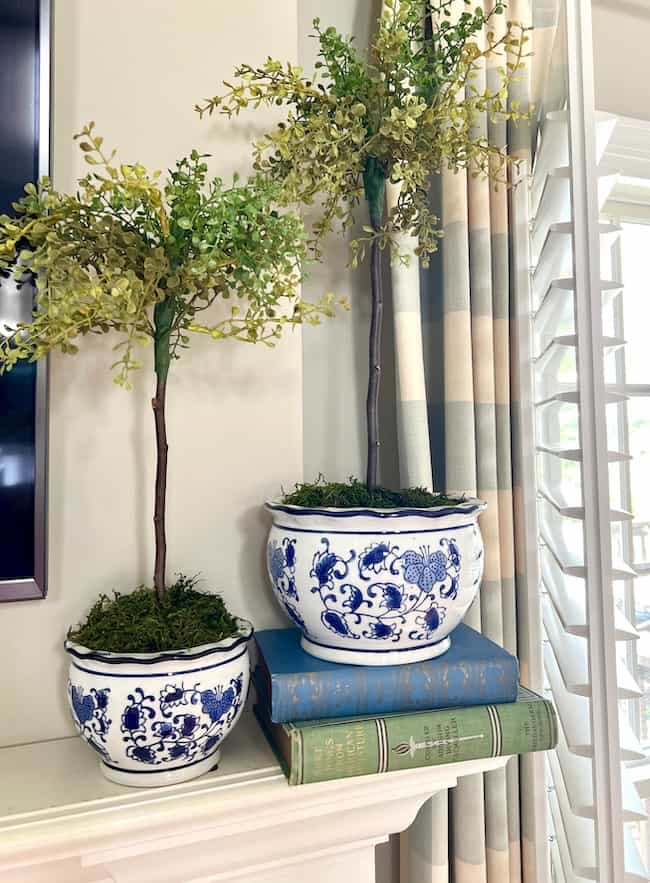
Grouped on the Mantel:
Topiaries are a natural fit for a mantel because their height and shape help frame artwork or a mirror. Use a matching pair for a more symmetrical look, or mix one topiary with candlesticks, books, or other accessories for something a little more relaxed.
They’re an easy way to add greenery and a classic finishing touch without filling the mantel with lots of smaller accessories.

If you’d rather shop than make your own topiary, I’ve gathered a few pretty options that are a similar look below. Just click on the pic and the link will open so you can shop. You can choose the look of an evergreen topiary or other fun options such as lavender or lemon topiaries.

SHOPPING TIP: If you’re purchasing a topiary, consider buying a pair. Even if you only need one now, having a matching pair gives you more decorating options later. I especially love using two together on a table, buffet, or mantel for a classic, symmetrical look.
Whether you style them on a kitchen buffet, coffee table, or mantel, topiaries are such an easy way to add a little height and greenery to a room. And making your own is a great option when you love the look but not the price tag!
I hope these ideas inspire you to make a pair for your own home. They really are one of those classic little finishing touches that work almost anywhere, kind of like my favorite hoop earrings!
Happy Creating!


These are super cute. I love topiary.
Oh, thanks so much, Cindy!! I love them, too!