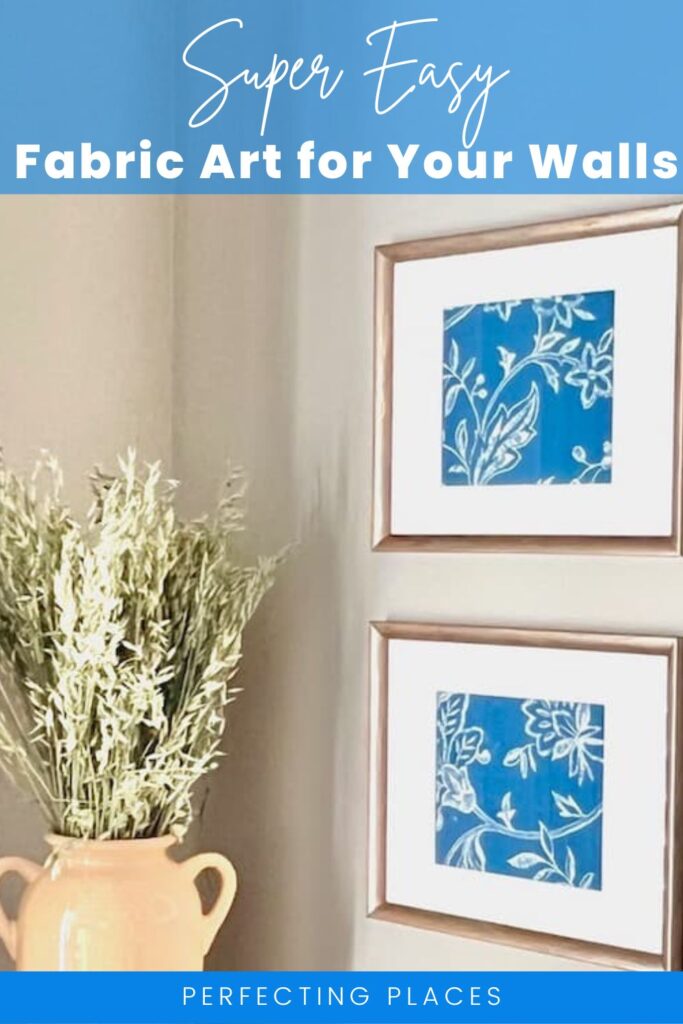
Easy Fabric DIY for Wall Decor for Your Dining Room
Would you like a budget-friendly art idea? This blue and white fabric DIY for wall decor in our dining room was super easy to make!
(This post contains affiliate links, so I may earn a small commission when you make a purchase through links on my site at no additional cost to you. As an Amazon Associate I earn from qualifying purchases.)
Sometimes, you just have to make do.
It’s true in life, and it’s also true in our home.
I don’t know about you, but I don’t have piles and piles of cash just sitting around waiting for me to buy lots of expensive, lovely things for my home.
And I’m guessing you just might be able to relate.
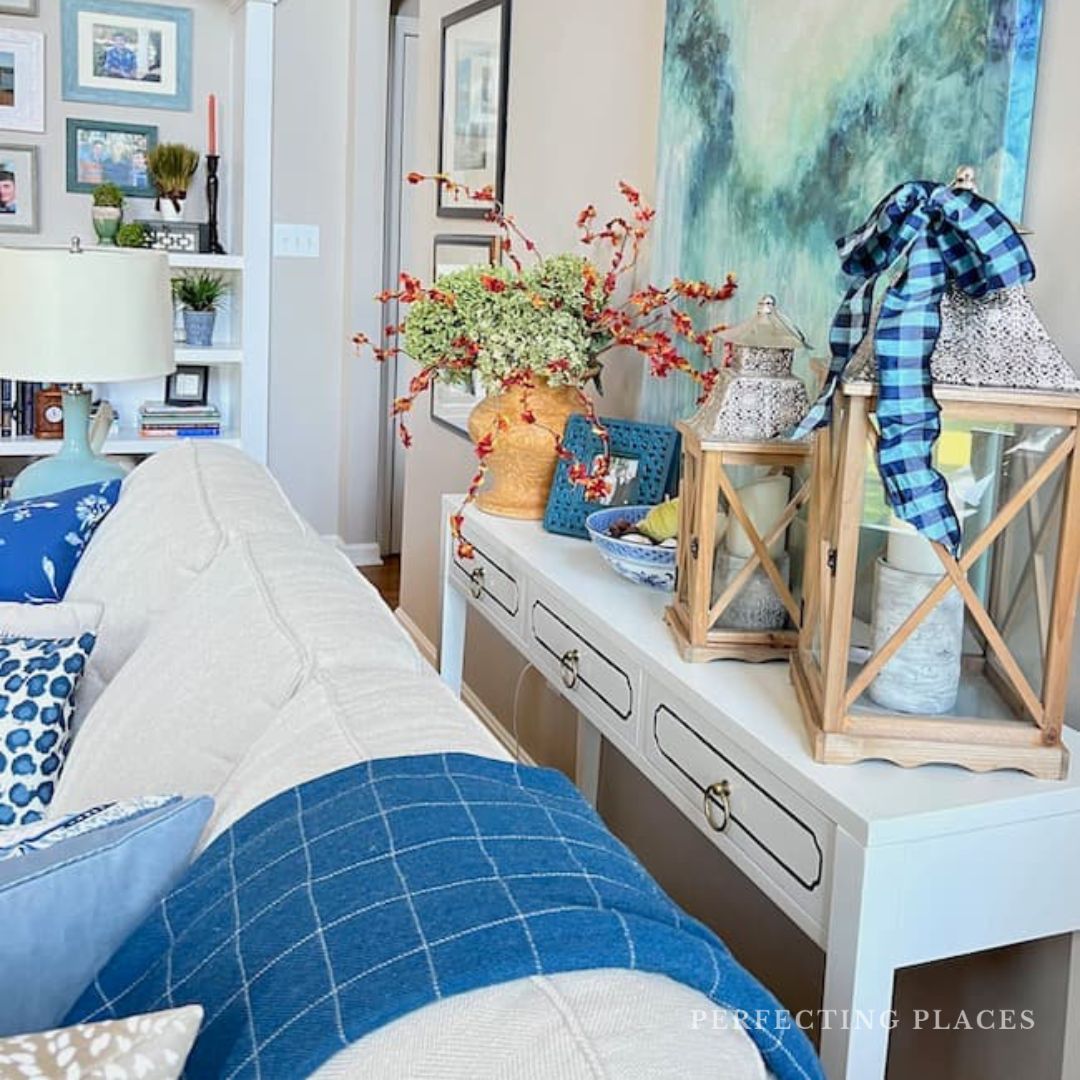
But that’s no reason to settle for something that you don’t love in your home. Armed with a little ingenuity and some leftover blue and white fabric, I created a new look for this little corner of our dining room.
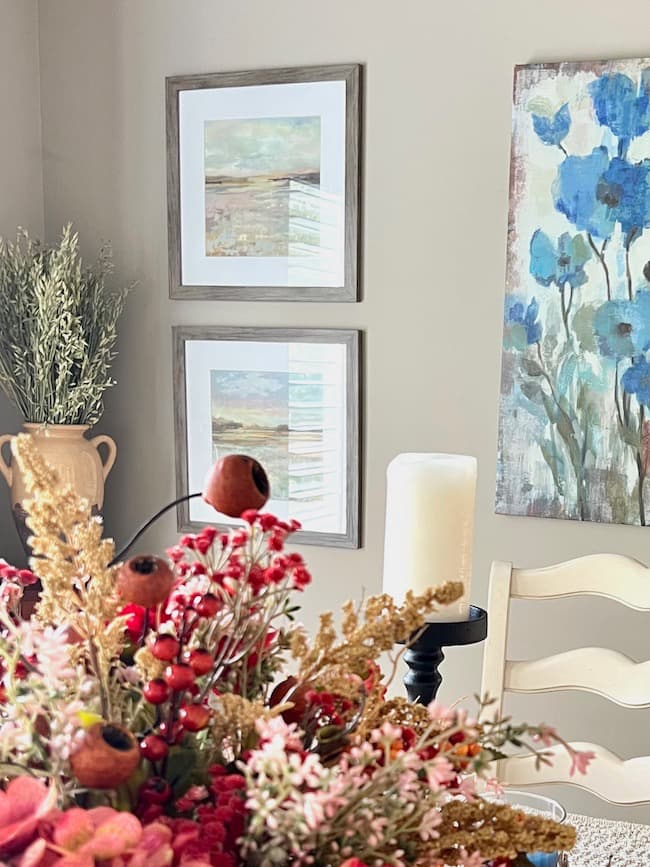
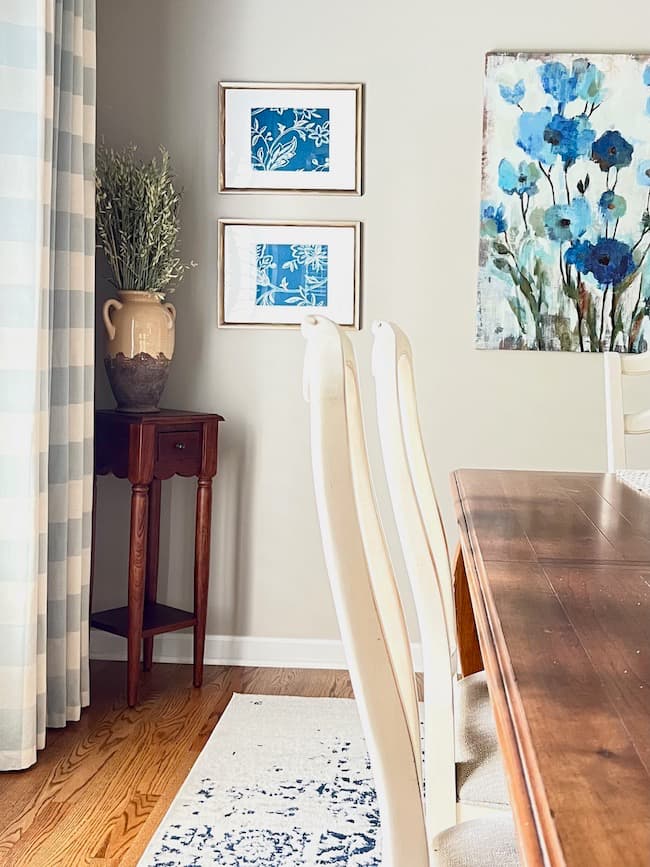
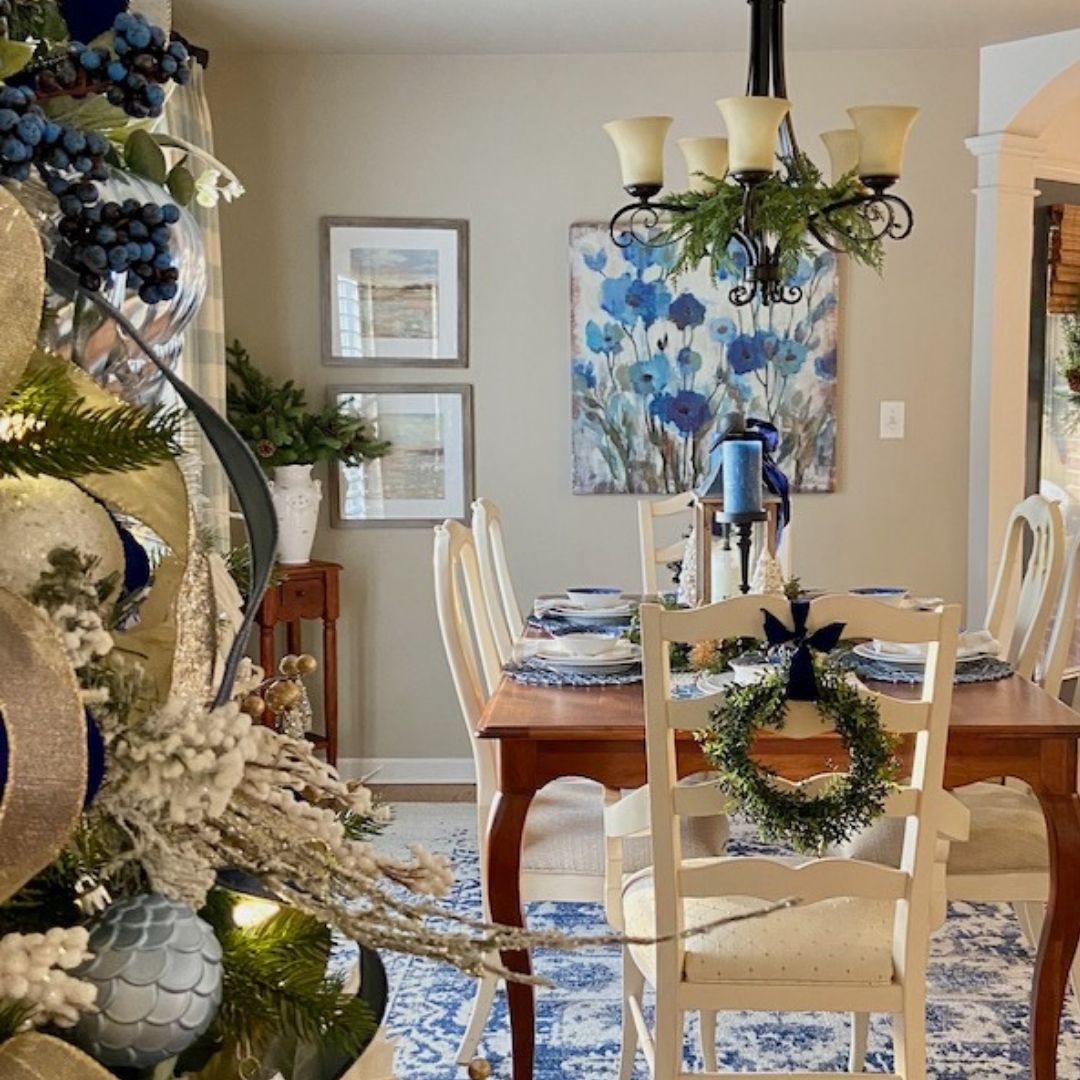
I added these two small prints to our dining room a couple years ago to fill the space. They were actually some old prints from my home staging days, and I added them here to fill in some empty space in our dining room.
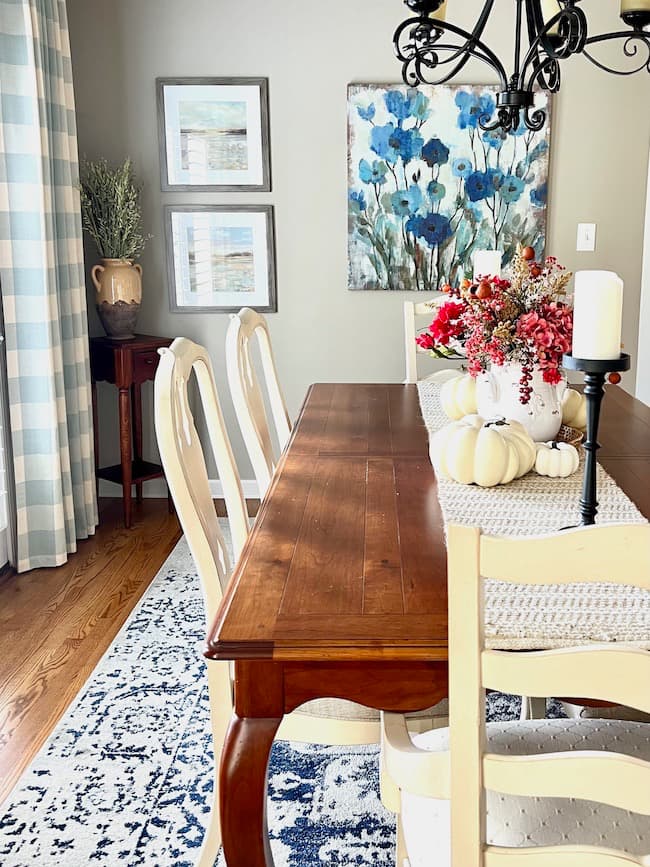

Blue and white dining room rug linked here.
I’ve never really loved them here, so this weekend I decided to do a quick and super easy DIY fabric art project to change out the wall art in the dining room.
And when I say easy, I mean super easy – and did I mention just how inexpensive this idea is??
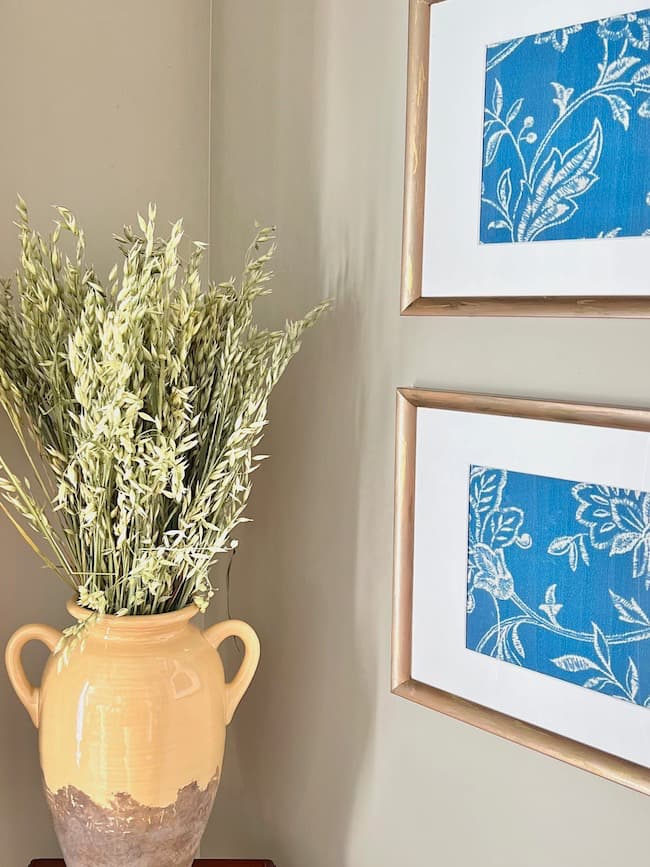
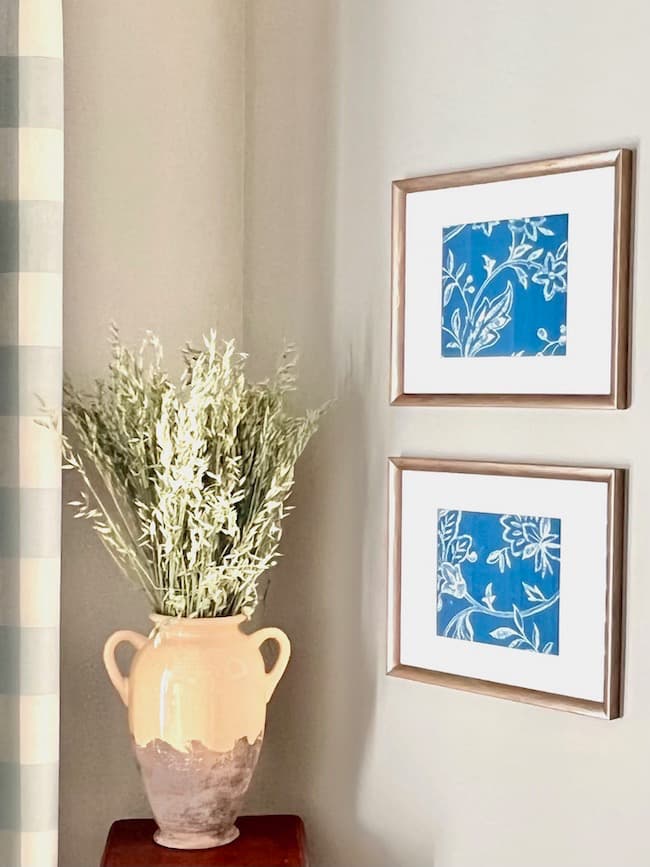
I love how this easy DIY for wall decor turned out, and they’re made from one of my favorite things – fabric (blue and white fabric to be exact, which makes them even better)!
How to Make this Easy Fabric Art DIY for Wall Decor:
Start with some inexpensive frames with pre-cut mats. I purchased these IKEA gold frames about a year ago, and they were still tucked away in storage waiting for just the right project.
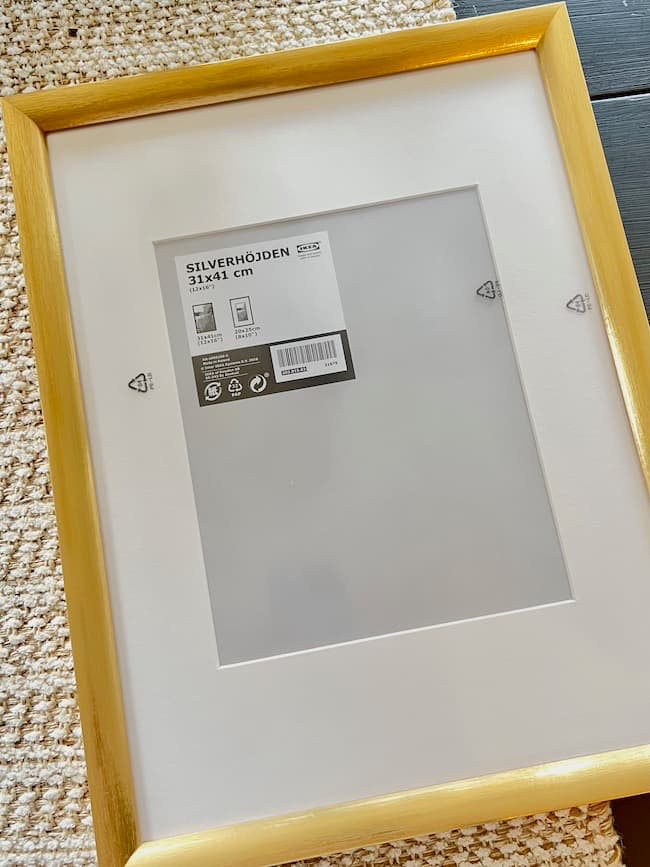
If you don’t live near an IKEA, or if your store doesn’t have it in stock, these Onuri frames are a good substitute.

Choose Your Fabric:
It doesn’t take much fabric to create this project, so a fabric remnant or sample just might be all you need. Of course, you can always purchase fabric in the designs you like, but it certainly won’t take much.
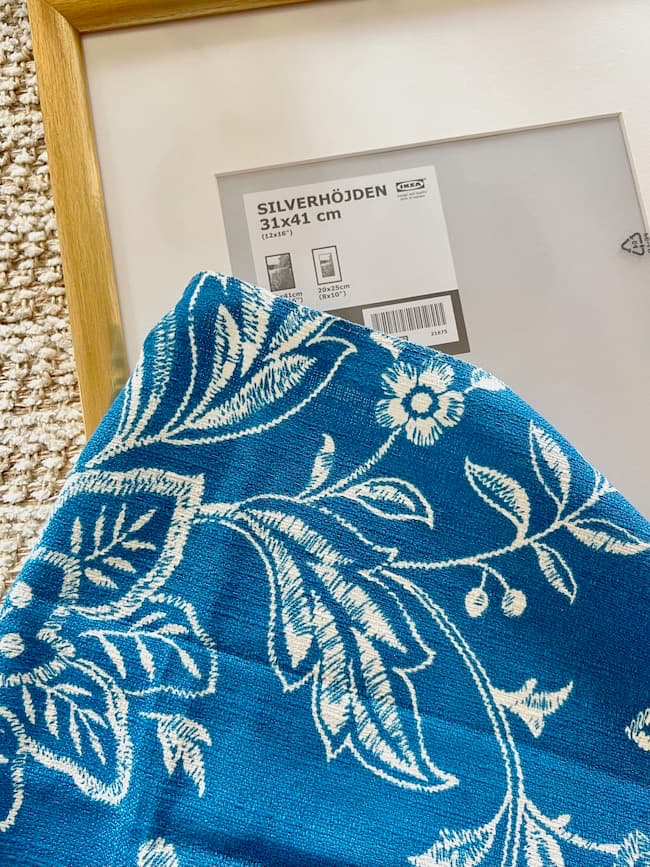
I had an old sample of this blue and white fabric that I thought would look pretty with our blue and white rug in the dining room. It’s actually a discontinued Fabricut fabric called Lowell in the Pacific colorway. If you like this particular fabric you might still be able to find some yardage through a local fabric store or designer who specifies Fabricut fabrics.
Here are some similar looks to this fabric with some fabric pieces from Amazon.


Cobalt Chinoiserie Garden Print

Chinoiserie Blue and White Bird Print
You also could achieve this same effect by using a leftover piece of wallpaper instead of fabric.
You really can use any fabric that you like, or have on hand, and that coordinates with your home’s decor — whatever your color scheme.
Paint the Frames (if you don’t like the finish):
The gold finish was just a little too bright for my taste, so I “aged” them a little to get the antique gold look I wanted.

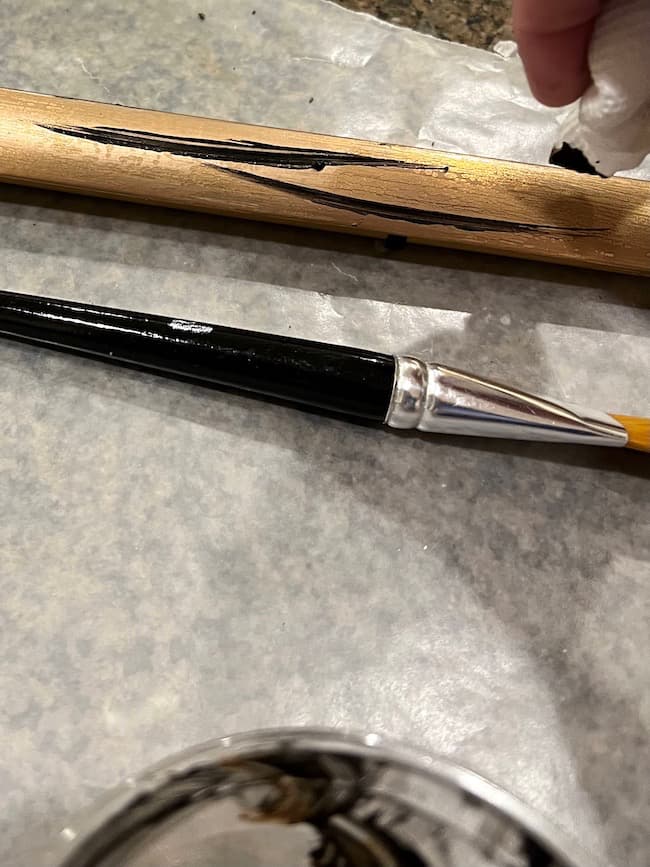
First I removed the glass and mats from the frame. I brushed on antique gold acrylic paint over the bright gold.
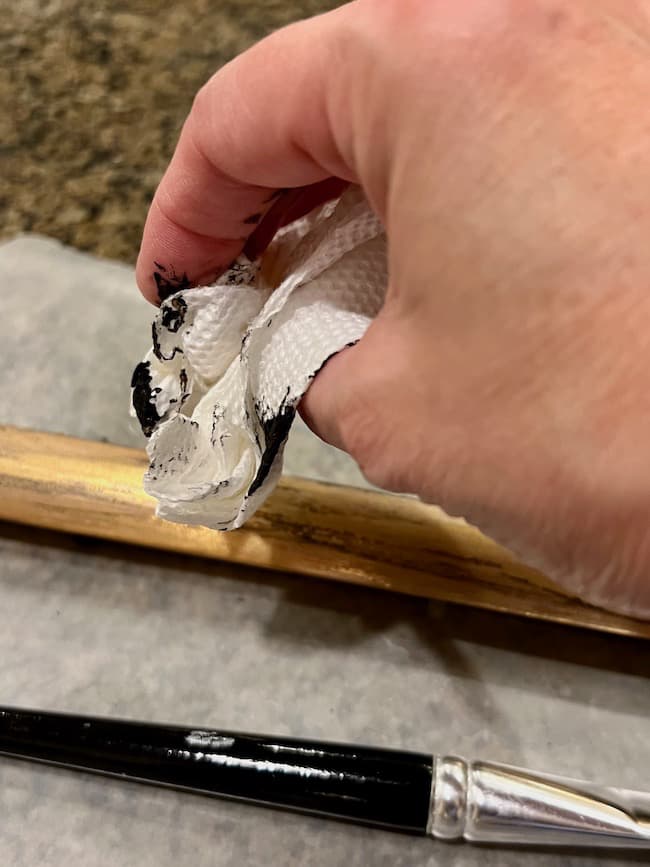
After the antique gold dried, I lightly brushed on black acrylic paint in a few scattered spots. I immediately wiped off the wet black paint with a paper towel.
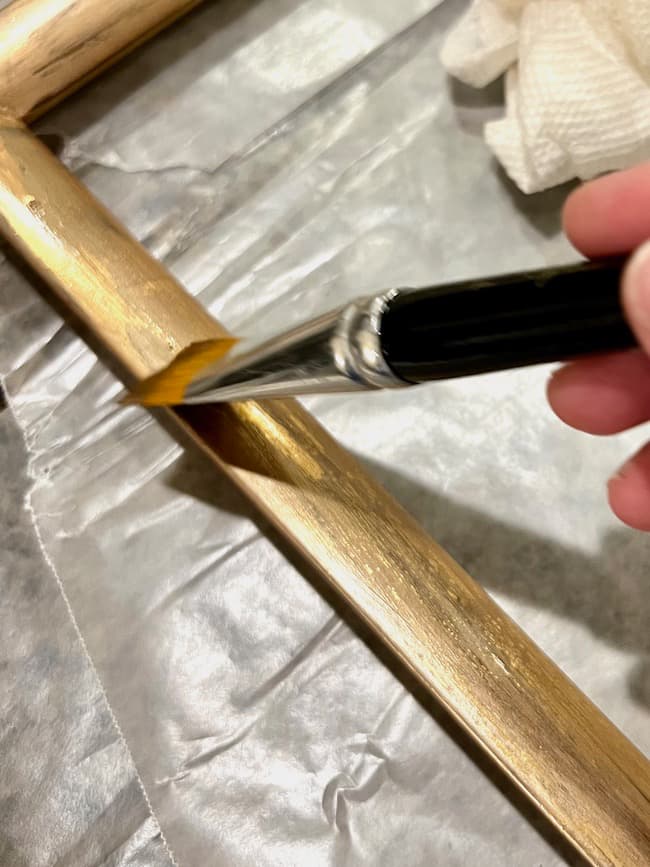
I added a very thin coat of the antique gold paint along several places to blend the paint in.
The result is a little more of a brushed, aged gold rather than the shiny brassy original color.
Cut the Fabric:
Decide which part of the fabric you want to include in your art. Use the size of the opening in the mat to determine how big to cut the fabric.
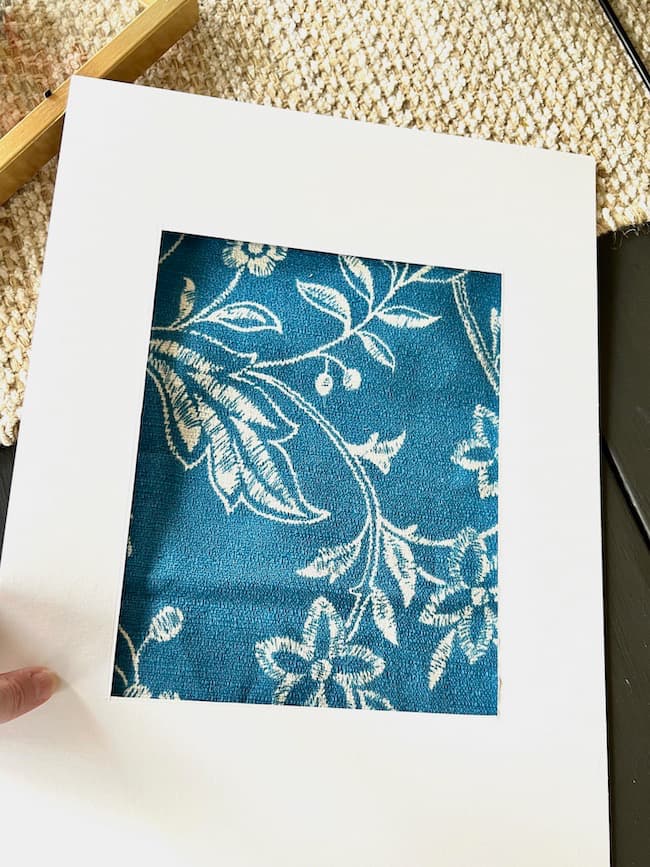
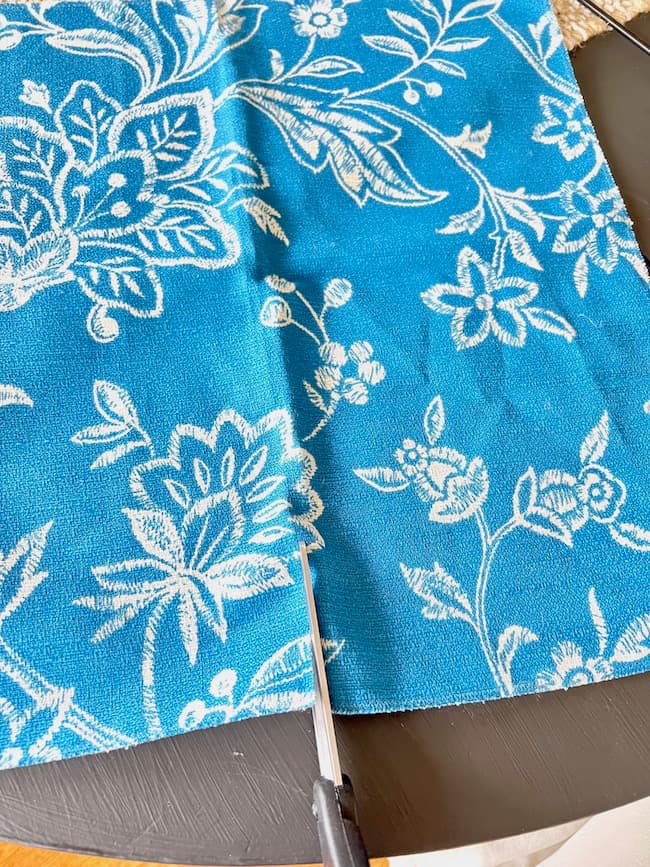
Cut a piece a little larger than the mat opening.
Secure the Fabric to the mat:
Decide the direction you want the fabric to be shown and lay the fabric upside down on the back side of the mat.
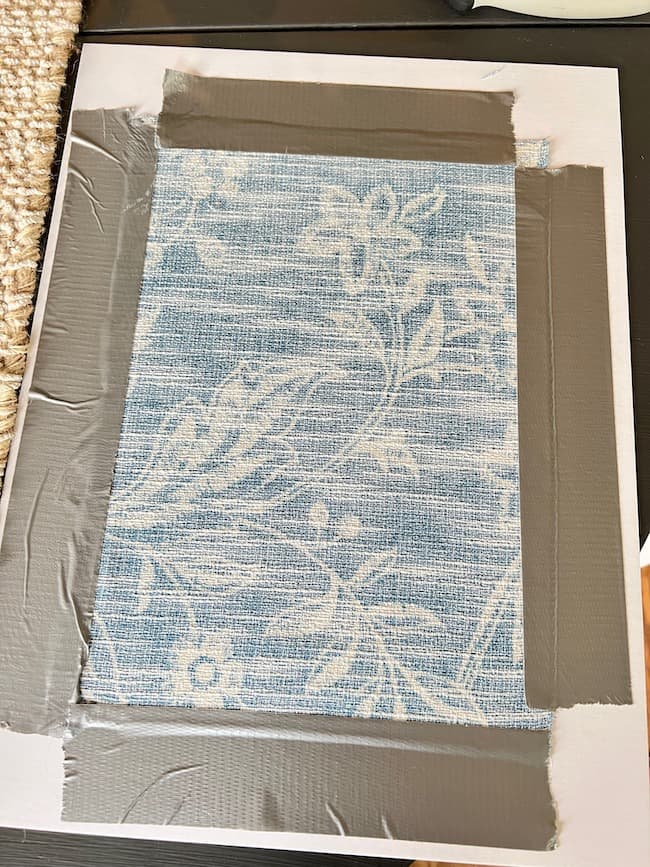
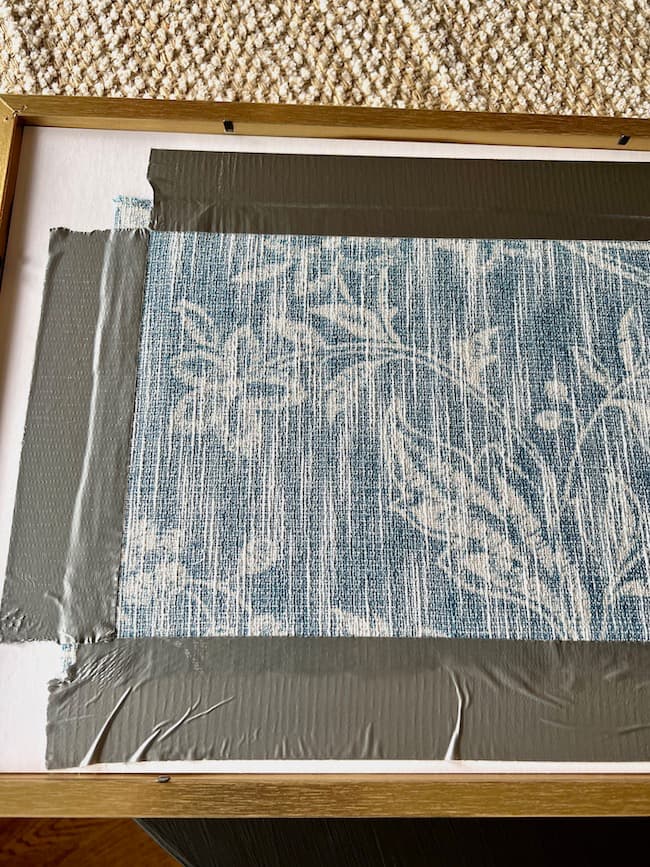
I took the very easy route here, and simply taped the fabric piece to the back of the mat. It isn’t pretty, but a little duct tape got the job done! Besides, no one will ever see it!
You could also use packing tape for this – just any tape that holds well. I would avoid using scotch tape or even masking tape because they might not be strong enough to hold the fabric in place over time.
Put the frame back together:
Make sure the glass is clean and free of any dust, and reassemble the mat and frame with the glass.
I only made two pieces of art, but you can repeat the process for the number of prints you want to make.
Now you’re ready to hang your art!
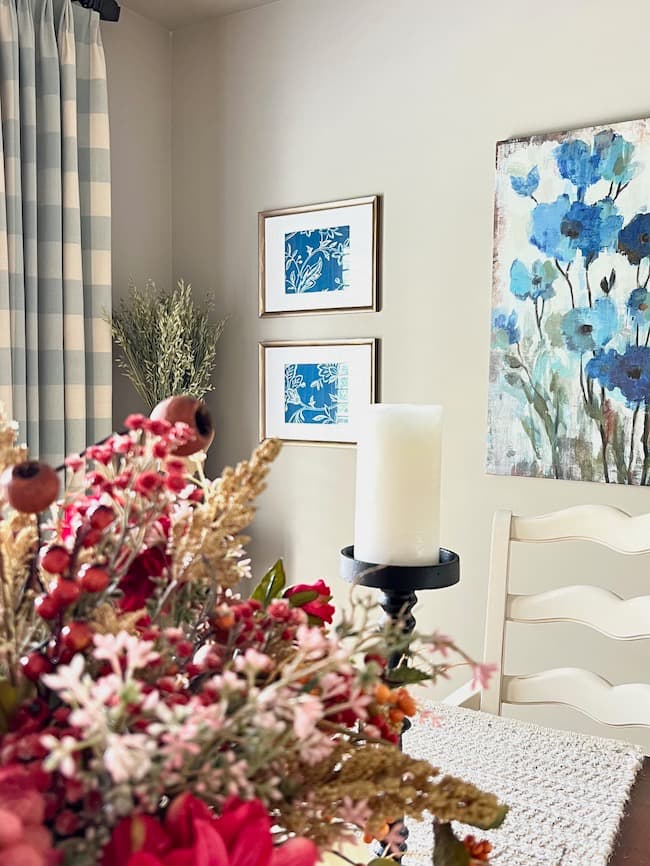
This fabric could either run horizontally or vertically. I decided to stack the art and hang them so that the print runs horizontally since this art hangs next to a large vertical piece of artwork (which, by the way, is also about to change).
I love the pop of blue and white color on the wall! It’s a super easy and inexpensive way to add a splash of color to your walls!
If you love to make your own art — especially blue and white art, you might also enjoy this DIY Oyster Shell Art post from our One Room Challenge bathroom makeover.
Supplies:
![]()

![]()
![]()

![]()
![]()
![]()

![]()
![]()
![]()

![]()
![]()
![]()
If you prefer to purchase art for your room, these sets of blue and white art are pretty options for a narrow wall or small corner.


![]()
![]()
![]()
Botanical Art Decor Set with Gold Frame
Renditions Botanical Flower Art Set
I hope you’re feeling inspired to create or update a little art in your home. It doesn’t have to be an expensive undertaking to add new art to your home. Think creatively and explore what you have around your home. You just might have a masterpiece in the making!!
Thanks so much for stopping by!
Happy Decorating!!
You might also enjoy these DIY home decor projects:
A Hand Painted Tole Cachepot DIY
One Room Challenge Week 3 – DIY Shell Art for Budget Bathroom Makeover
A Pretty Summer Throw Pillow DIY
How to Make Drop Cloth Slipcovers for Rolled Back Chairs
Be sure to PIN this idea for later!!
By the way, do you follow me on all the socials??
If not, check out my Pinterest, Instagram, and Facebook and be sure to follow me so you don’t miss out on any of my fall and holiday decorating ideas!!

And for more great decor resources and accessories for your home, be sure to check out my Shop My Favorites page!!
Such a great idea. I love it. Blessings to you.
Thank you so much, Renae — and to you as well!!
This is such a great idea! I’ve been meaning to do this for a while and just haven’t gotten around to it…inspired!! Pinned!
Thanks, Jennifer! It’s fast and simple and makes a big impact! Have a great week!!
I love this idea! Such an affordable way to make beautiful art! That fabric looks wonderful in your dining room! Pinning now! Thanks, Donna
Thanks so much, Donna! You’re so sweet!!
What a great idea Kim! The blues in the fabric look so good with the larger art piece! Pinned 😊
Thank you so much, Cindy!! Although, I have to confess — the larger art piece may not be “hanging around” much longer 🙂 Thanks so much the sweet comment and for pinning!!