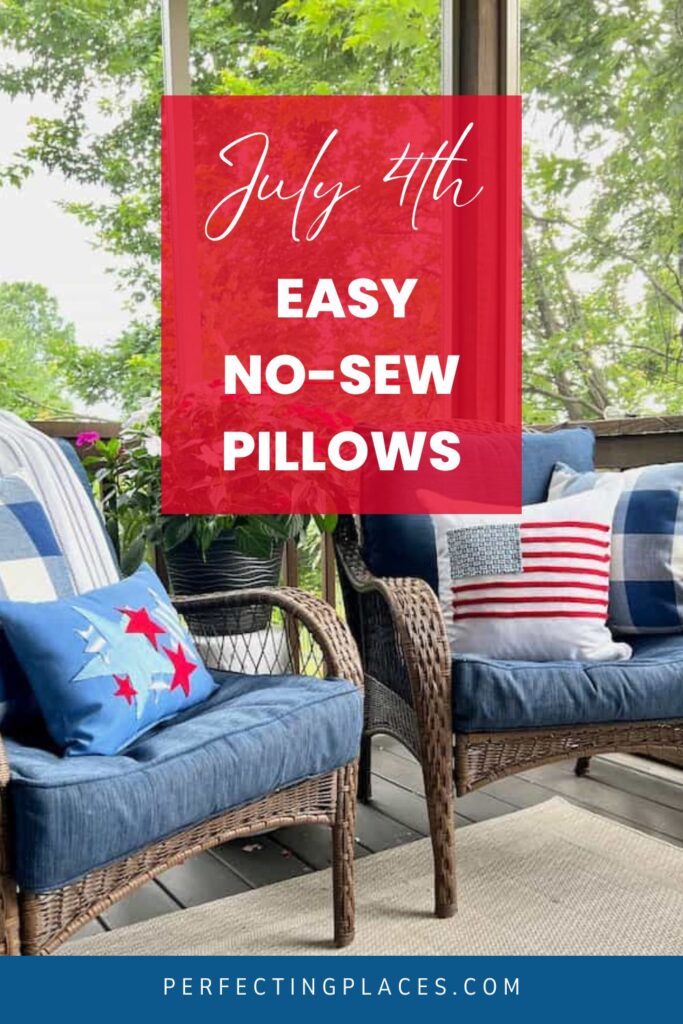
Make Patriotic No Sew Pillows for the 4th of July
Are you looking to add a touch of patriotism to your summer decor? Transform your space with these simple DIY projects featuring patriotic no sew pillows, perfect for celebrating Independence Day in style.
Make adorable red, white, and blue pillows for your home without any sewing. Whether you use fabric scraps, ribbon, buttons or block prints, there are so many cute things you can add to throw pillows to add a festive touch to your home for the patriotic holidays!
(This post contains affiliate links, so I may earn a small commission when you make a purchase through links on my site at no additional cost to you. As an Amazon Associate I earn from qualifying purchases.)
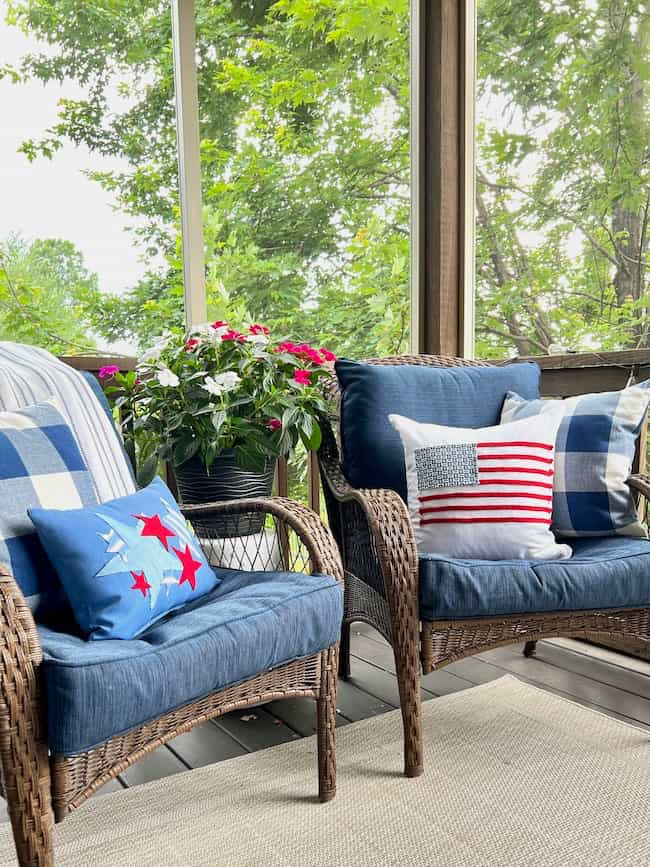
I love adding red, white, and blue touches around our home for the 4th of July. It’s festive and fun and a great way to celebrate the freedom we are so blessed to enjoy!
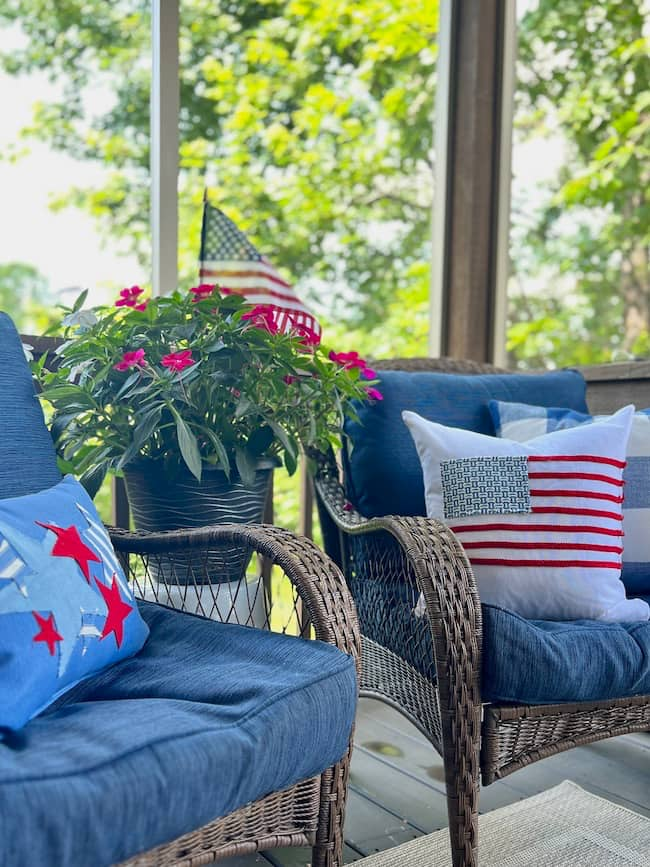
We love spending time outside during the summer months, and our screened porch is our favorite place to relax! This cozy spot needed a little extra patriotic pizzazz for the 4th, but I wanted a super fast and easy way to whip up some fun new throw pillows. It’s always more fun (not to mention more economical) to start creating with what you have around the house. It just adds a little extra challenge!
Digging through scrap fabric, drapery trim leftovers, old outdoor pillows, and even some old fabric samples on hand I curated the perfect collection of fun fabrics and trims to create two festive patriotic pillows for our porch that are the perfect Memorial Day or Fourth of July decor! And the best part — no sewing machine was needed!
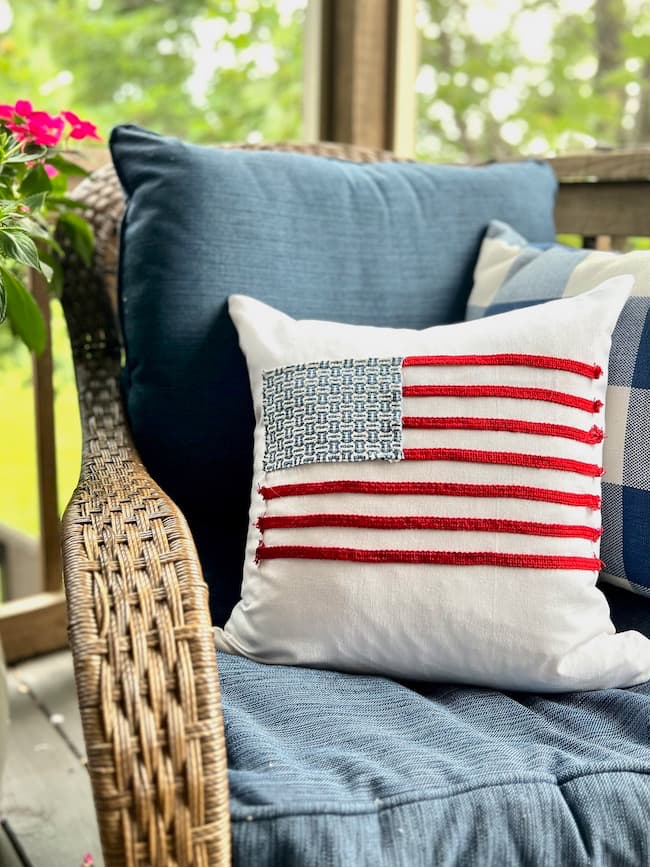
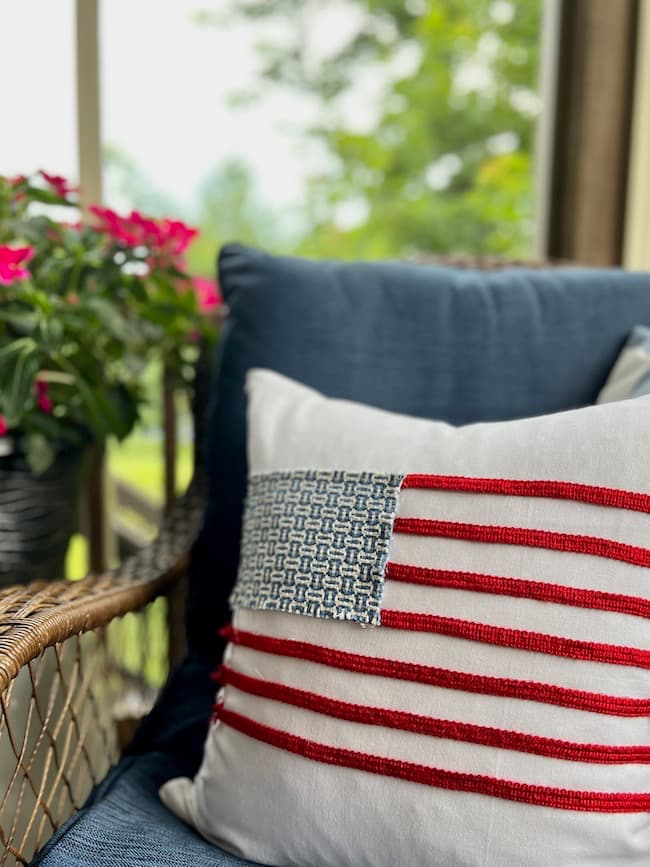
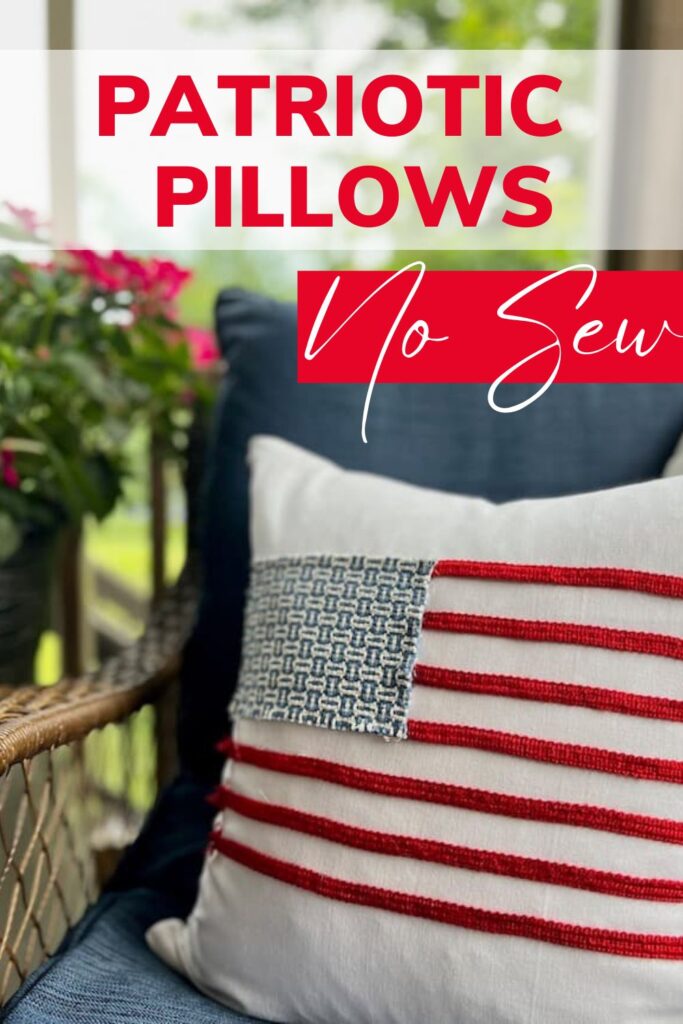
How to Create a No Sew American Flag Pillow:
This DIY American flag pillow is so easy to make with a plain white or off-white canvas pillow cover. Plain craft pillow covers are wonderful to have on hand for when the creativity bug strikes. They’re perfect for painted pillow projects as well as no-sew pillow projects like this one. I happened to have one on hand, so it made the perfect backdrop for my flag.
What I used to create this patriotic flag pillow cover:
- plain white pillow covers with zippers (18″ x 18″)
- blue and white fabric scrap
- red 1/2″ drapery trim
- hot glue sticks
- hot glue gun
- pillow form (A 20″ x 20″ is perfect size pillow insert for the 18″ x 18″ pillow cover.)
*You can also use fabric glue for both of these projects, but I found the hot glue gun to be super easy and efficient to get the job done!
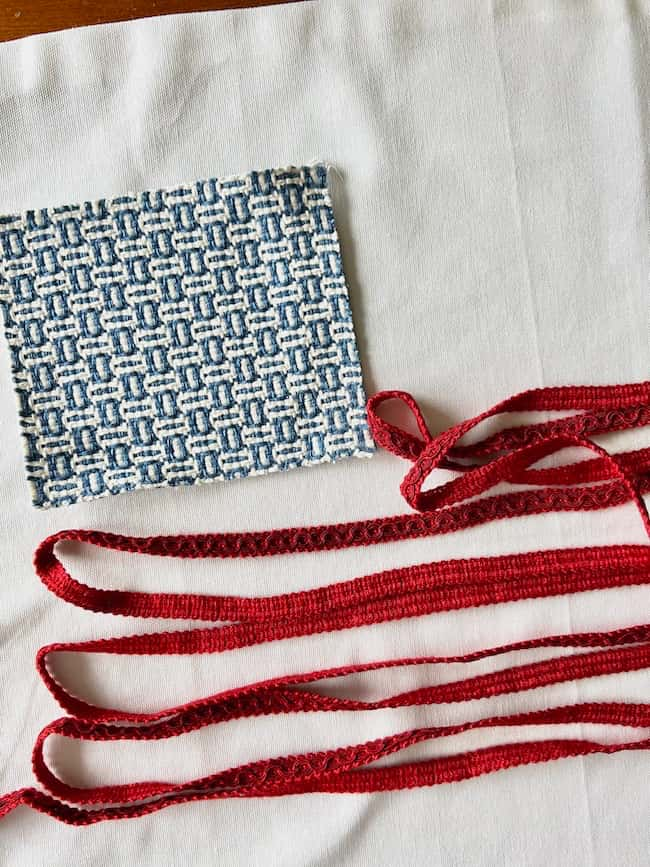
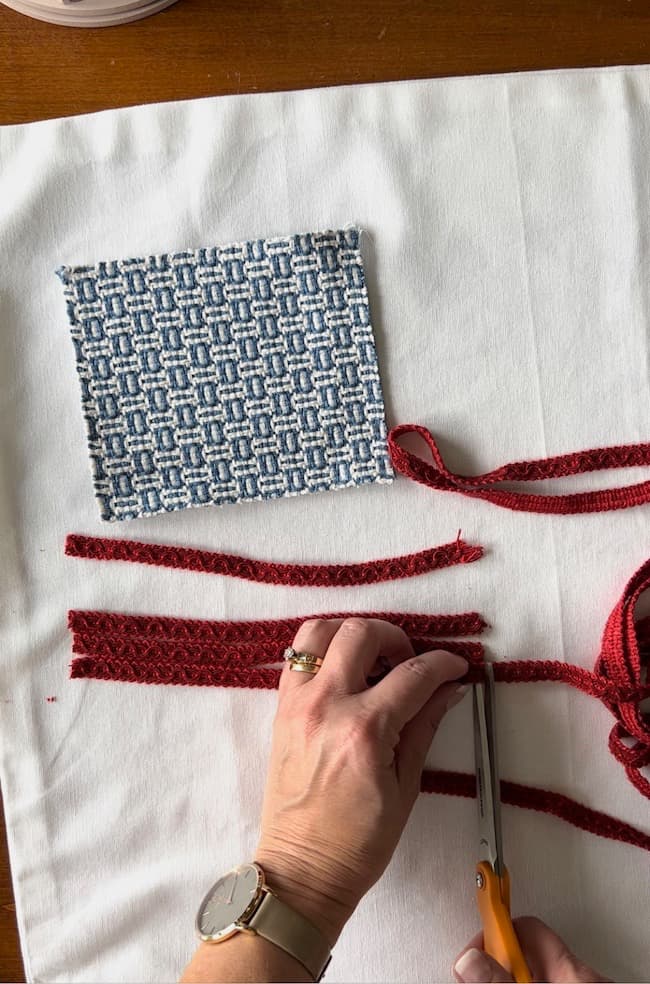
1. Select your flag materials and ribbon.
I started by selecting the scrap materials I wanted to use to create the flag. This pretty scrap of blue and white fabric is perfect to create the star field, or Union, of the flag. It’s more of an upholstery fabric scrap, so it has nice form and body to it.
To form the red and white stripe background I used some scraps of red drapery trim. I actually liked the backside of the trim better for this project. It had less of a sheen to it.
2. Trim the fabric and ribbon to size and arrange on the pillow cover.
I placed the fabric and trim on the pillow to determine how long the trim pieces needed to be and how big I wanted the blue and white background piece.
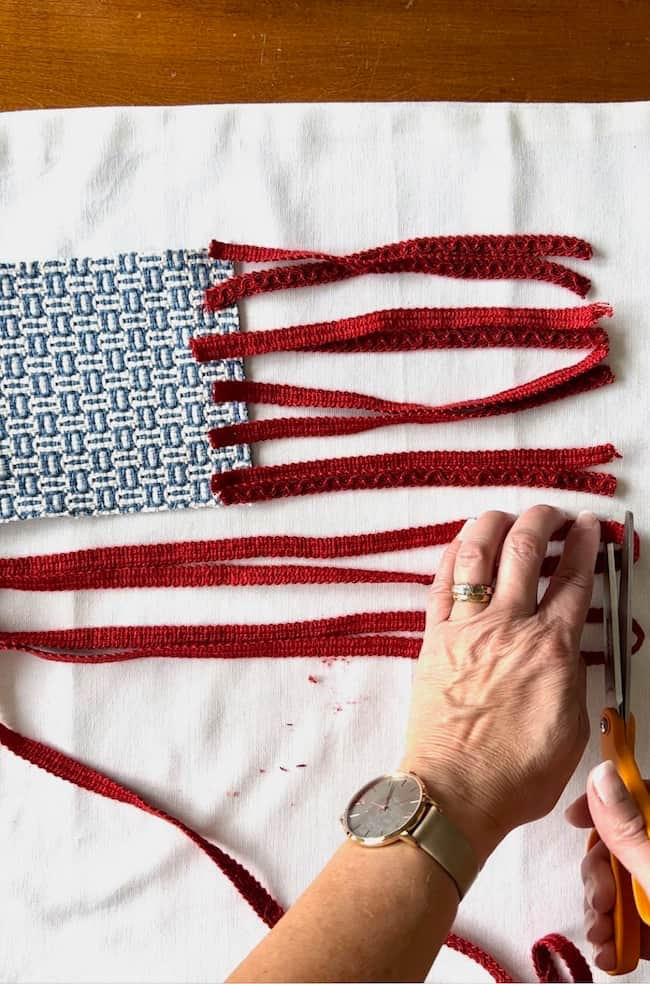
Cut the blue and white fabric piece 6 x 4 inches to form the Union of the flag.
The shorter red trim strips are 8 inches long. Cut four red strips this size.
Cut 3 longer strips of red trim. My longer strips are 13.5 inches long. I actually frayed the raw edges of the trim for a fun, more casual look.
To determine how to space the trim pieces, I started by setting the short piece at the top of the flag, and then the short trim piece that butts up to the bottom edge of the Union. On an American flag, there are 7 short red and white stripes that line up with the Union star field.
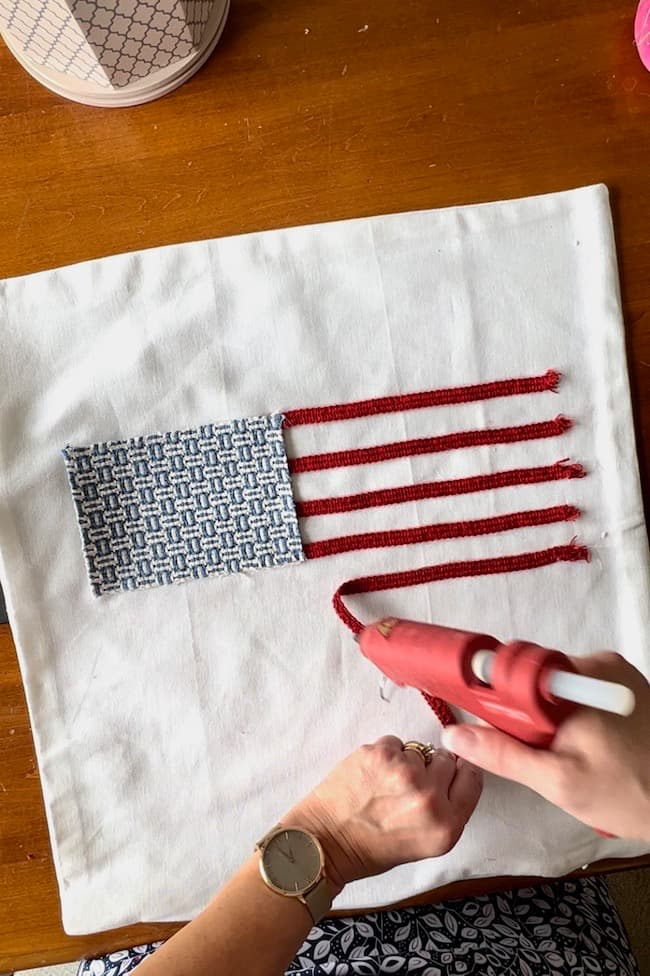
I set the top and bottom red trim pieces in place and then spaced the remaining two evenly.
Next I added the three long pieces of trim to form the bottom of the flag, keeping the stripes equal distance from one another.
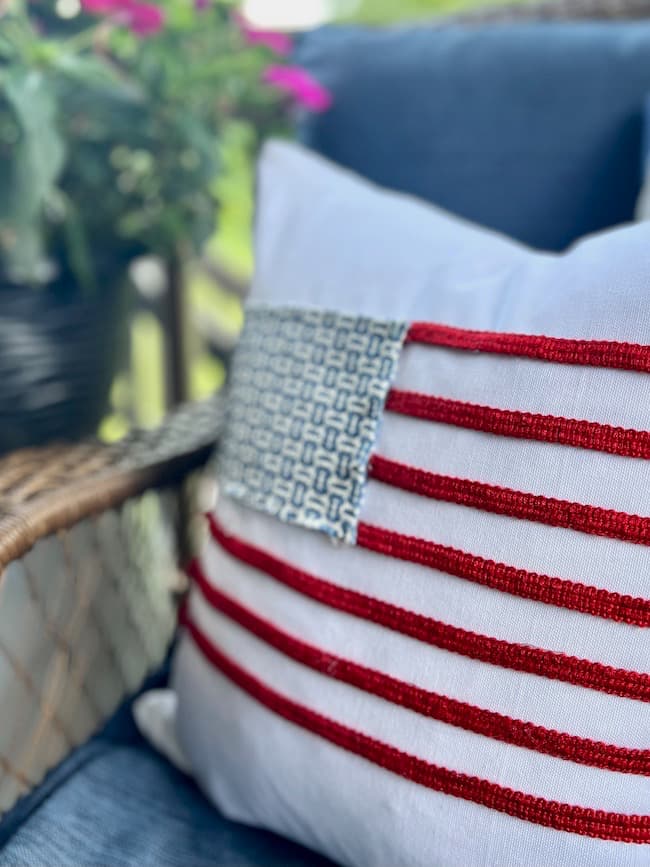
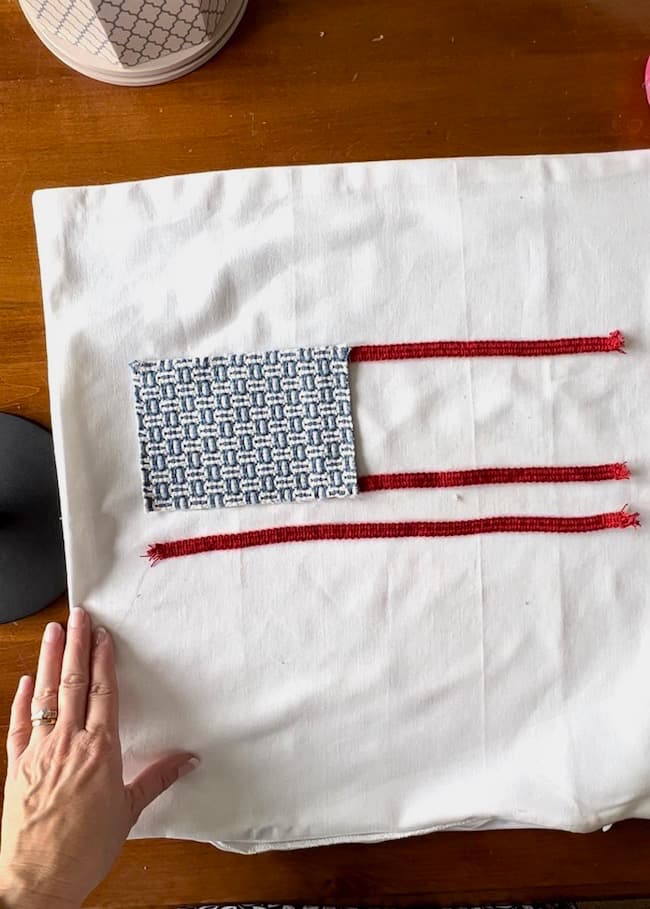
3. Glue the fabric and ribbon to the pillow cover to create the flag.
After I determined the spacing and placement of the stripes, I used a hot glue gun to glue the fabric and time onto the pillow cover.
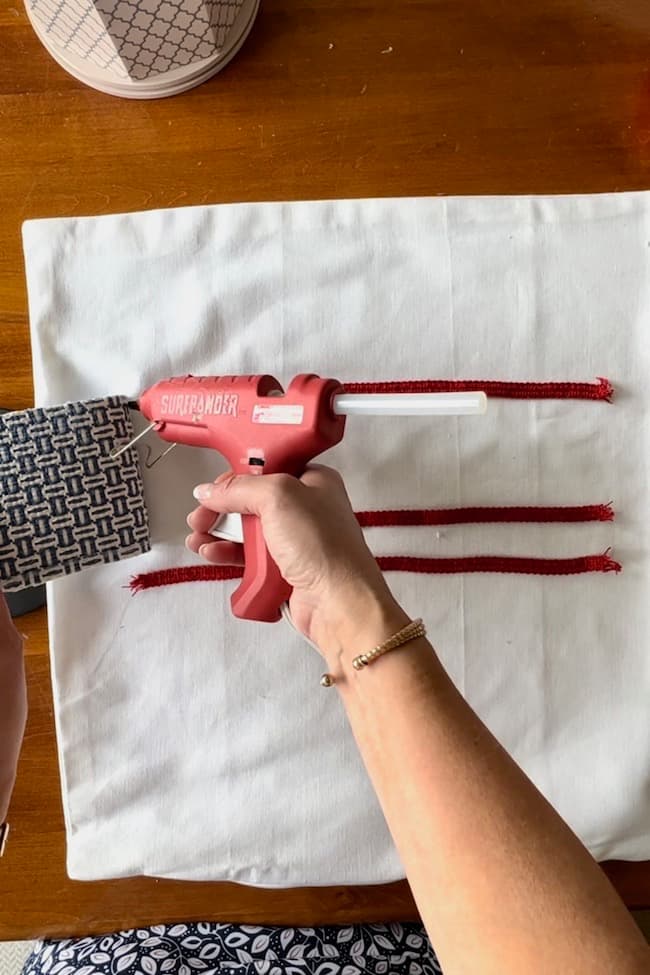
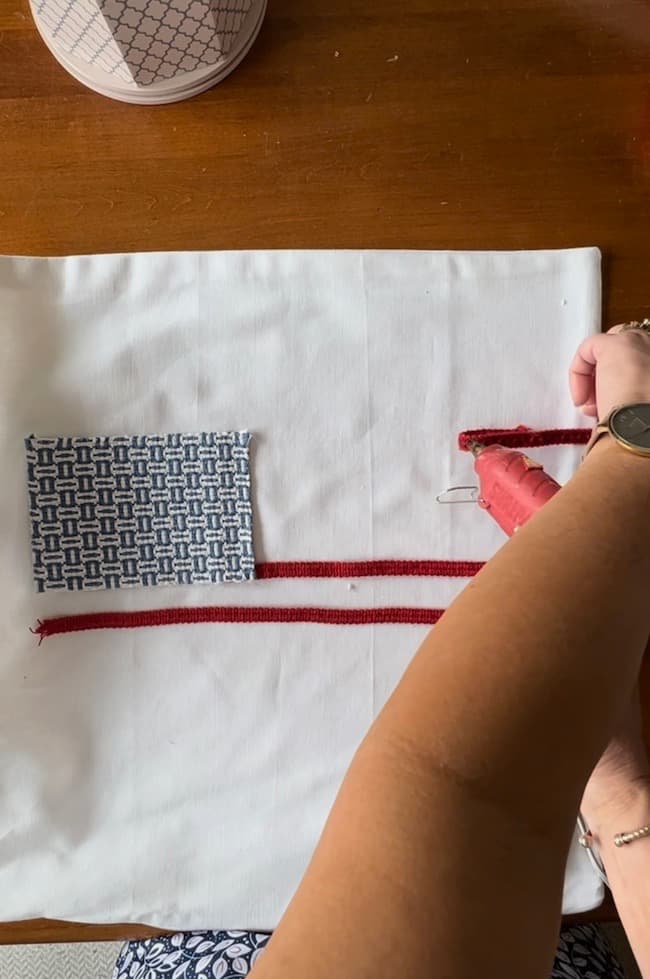
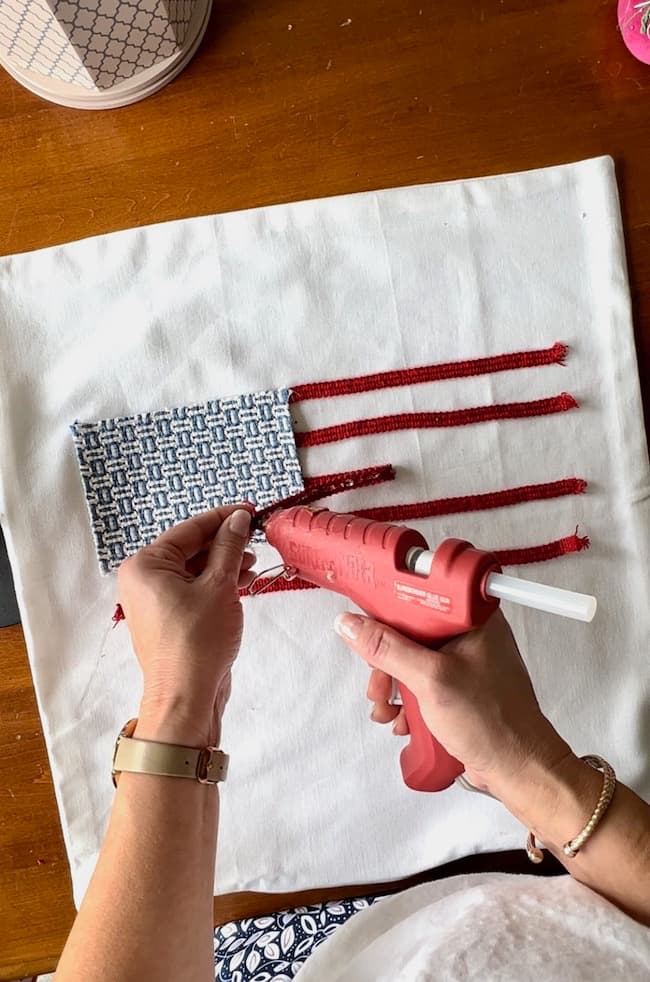
I started with the blue and white fabric piece. Glue the left edge down and along the top and bottom edge. Be careful not to glue the right edge yet, so you can insert the red trim stripes under the blue and white fabric piece when glueing.
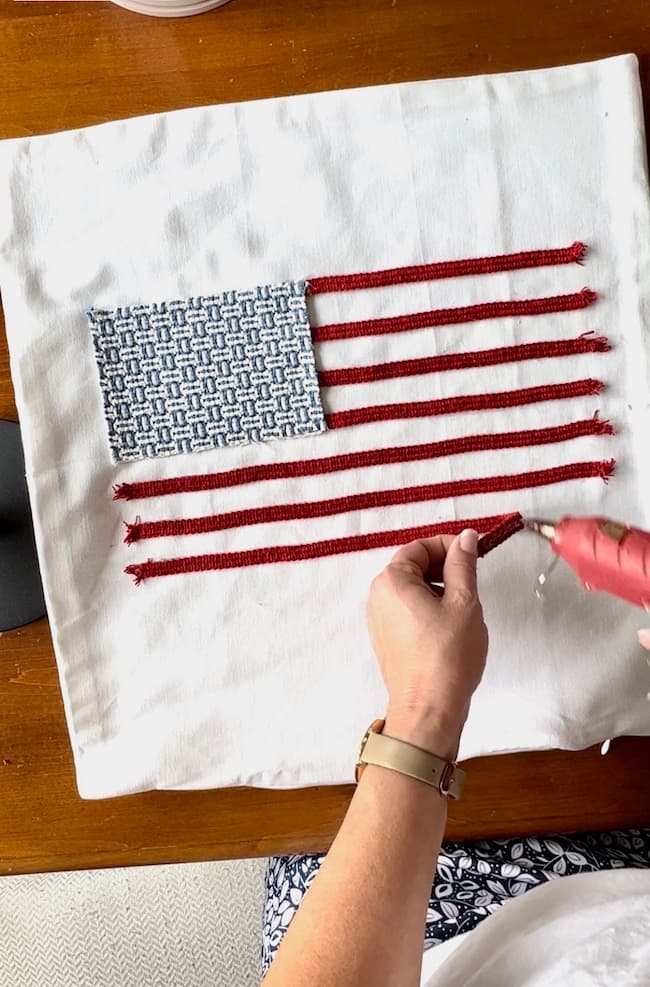
Just work slowly and carefully so the pieces stay in place during the glueing process — and be careful not to burn your figures with the glue! It’s really super easy to complete. Both the fabric and the trim have enough weight to them that they stay in place nicely when applying the glue.
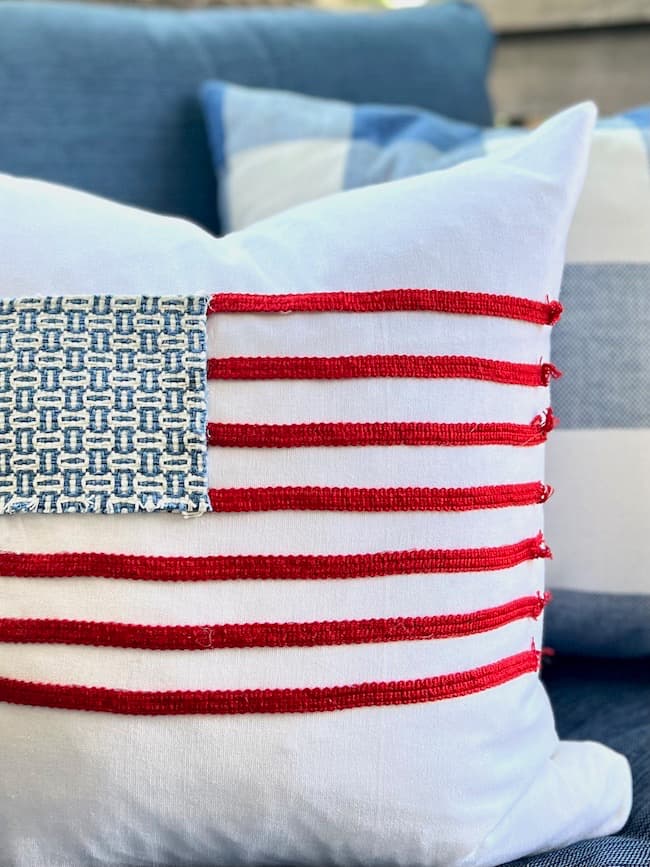
I just love the fun, crisp and classic look of this flag pillow!
IMPORTANT NOTE: Just an FIY, use these pillows indoors or in a covered area outside. Since these fabric scraps and trim are drapery materials rather than outdoor fabrics they could bleed if wet. I keep ours in our kitchen and then set them out on the porch for events or to enjoy when I know there’s no rain in the forecast.
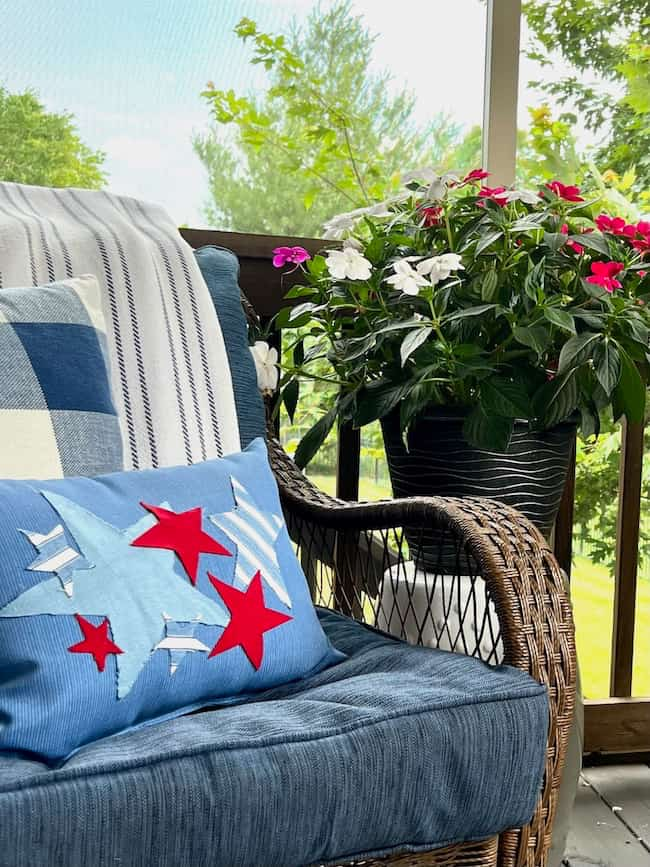
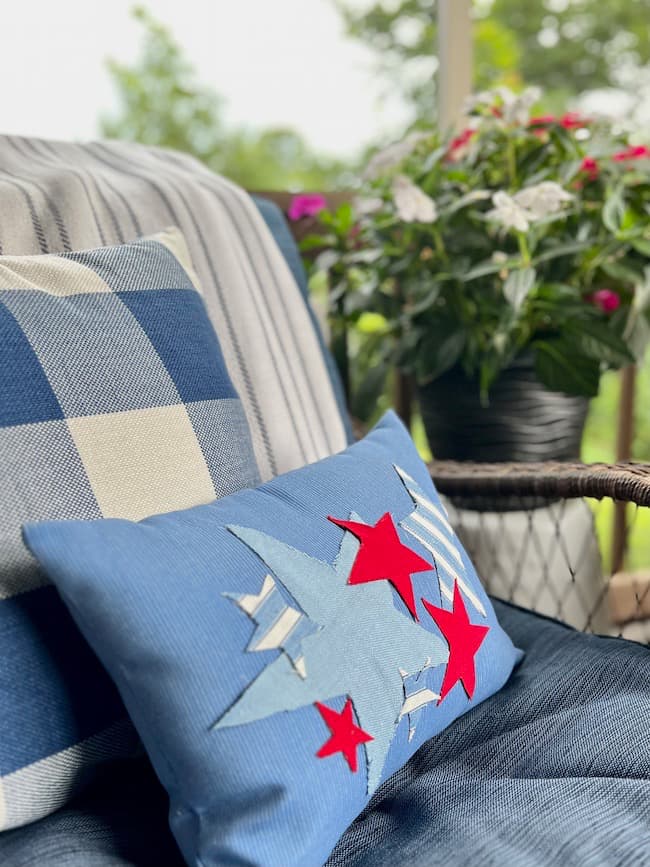
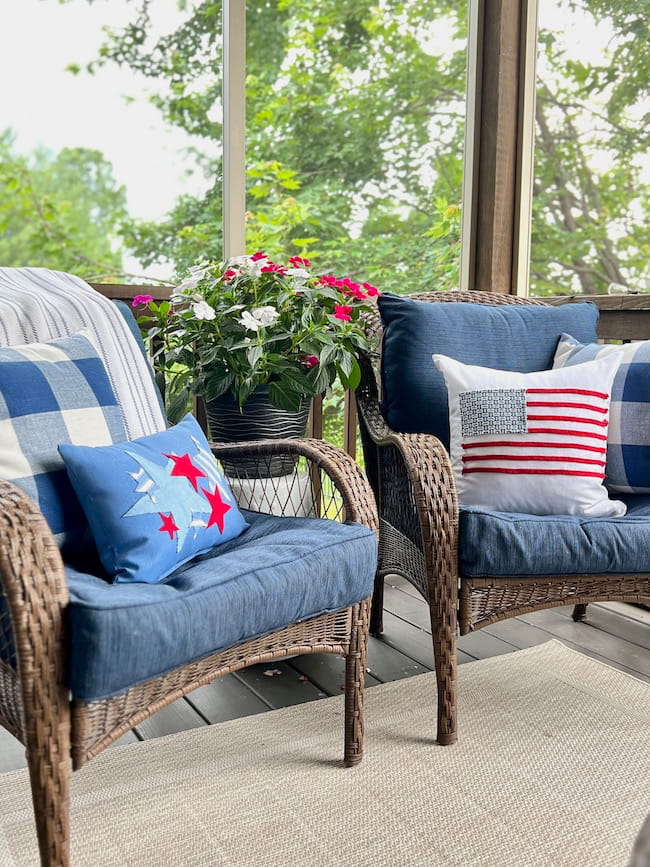
How to Create an Easy No Sew Red, White, and Blue Star Pillow:
I couldn’t stop with just one easy no sew pillow for the 4th! I used an old blue outdoor lumbar pillow that was hiding out in our basement storage to create this fun little patriotic pillow. And, of course it’s no sew! You can also check your favorite thrift store for old pillows that can be reinvented!
What I used to make the no-sew patriotic star pillow:
- card stock to cut star patterns in various sizes
- red, white, and blue fabric scraps in various patterns, stripes or solids
- scissors
- pencil
- an old outdoor lumbar pillow
- hot glue gun
- glue sticks
I went old school and drew simple star designs on pieces of card stock to create some fun star templates for this pillow. You can play around with placement of your stars to determine the look you want.
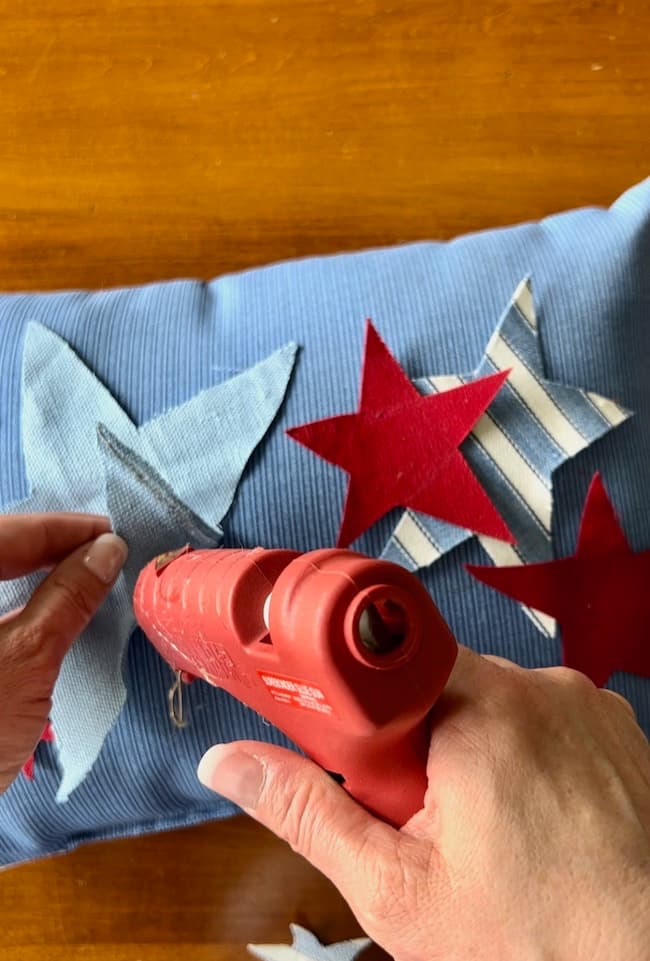
I settled in on my star design, then got to work gluing the stars to the pillow. My stars overlap, so I made sure to start gluing the bottom star pieces to the pillow first. Layer on your red, white, and blue stars until you achieve your favorite look, and you’ll have a fun and creative pillow with patriotic flair in no time!

These red, white, and blue pillows options are so cute if you’d rather purchase than make a pillow!
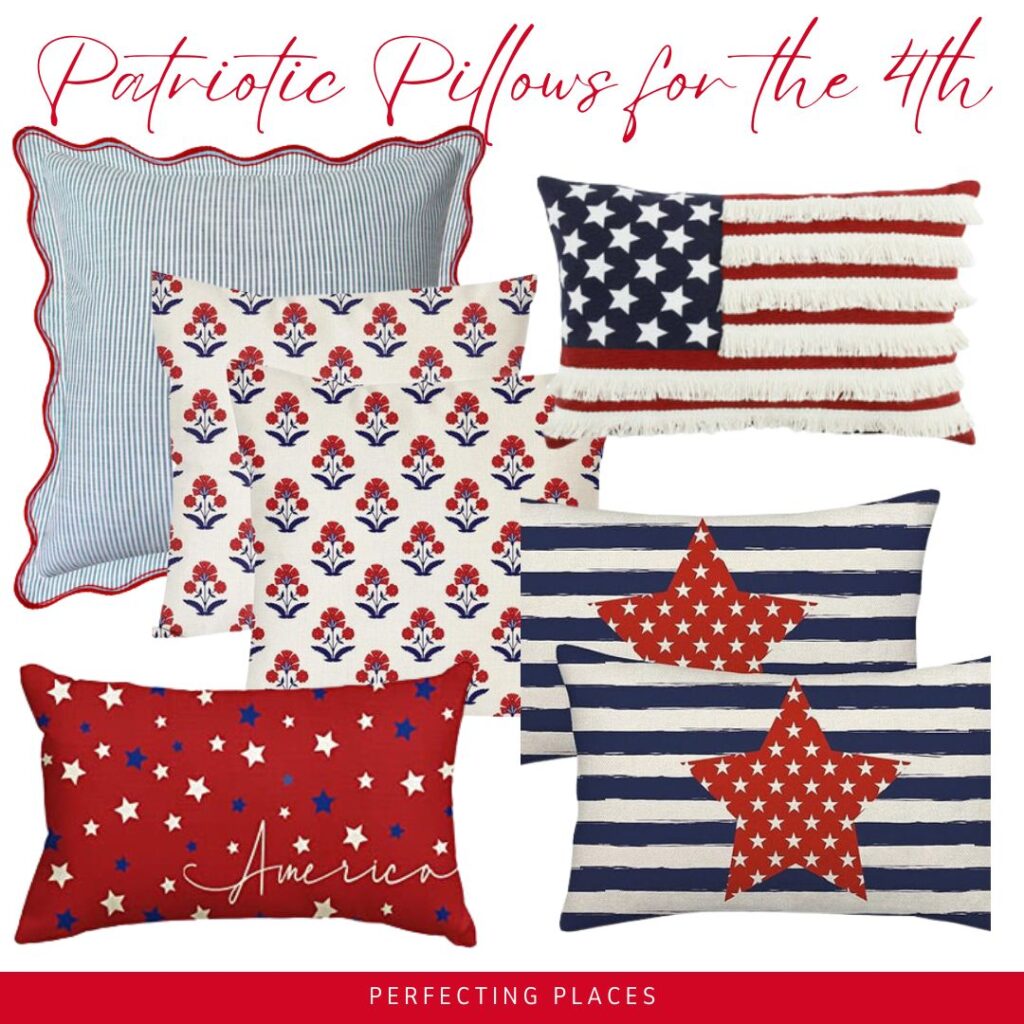
Click any picture below to take you to the pillow to shop.

Other Great Ideas for Patriotic No Sew Pillows:
The designs on these easy DIY pillows were easy to create using fabric and a glue gun; however, there are lots of creative ways you can create festive pillows for a front porch or screened porch without sewing.
1. Use Stitch Witchery or fusible bond to iron patriotic designs or appliqués to pillows.
2. Grab a plain white pillow cover and paint stars and stripes with fabric paint. No sewing required, just let the paint dry, and you’ll have a patriotic masterpiece. Use fabric paint or add a fabric medium to acrylic paint you might have on hand.
I love using fabric paint to create beautiful designs on pillows. You can see some of my favorite painted summer pillow creations in this post!
3. Repurpose old patriotic bandanas by folding them and securing the edges with fabric glue, creating a charming bandana-covered pillow.
4. Add a playful touch to your patriotic pillow by attaching pompoms made of red, white, and blue yarn to the edges of a pillow cover using fabric glue.
5. Make a patchwork pillow by arranging small fabric squares in patriotic patterns and colors in a patchwork design on a plain pillow cover, and secure them with fabric glue.
6. Cut out stars and stripes from felt fabric in red, white, and blue, and use fabric glue to attach them onto a pillow cover.
7. Use patriotic-themed stencils and fabric paint to create stunning designs on a plain pillow cover, giving it a personalized and patriotic flair.
8. Print out patriotic designs or quotes on iron-on transfer paper, follow the instructions to transfer them onto a pillow cover, and you’ll have a no-sew patriotic pillow that is as easy as pressing an iron.
9. Glue red, white, and blue buttons to a pillow in various shapes and patterns. Create a star or flag, or simply a fun red, white, and blue polka dotted look.
10. Use block printing stamps to create a festive pillow in patriotic colors.
For more festive patriotic decor ideas you might also enjoy:
Festive and Easy 4th of July Home Decorating Ideas
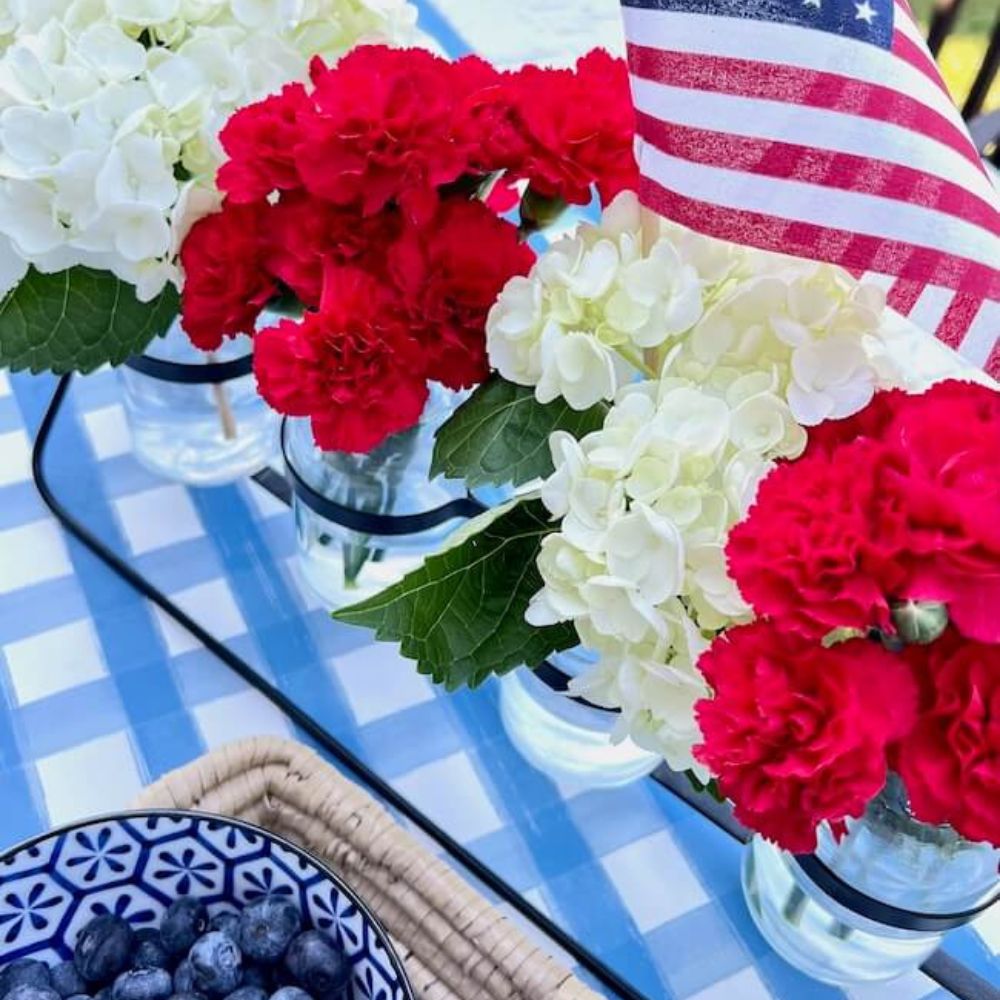
Patriotic Centerpiece Ideas with an Easy Mason Jar DIY
Easy Ideas for Patriotic Flower Pots for Summer
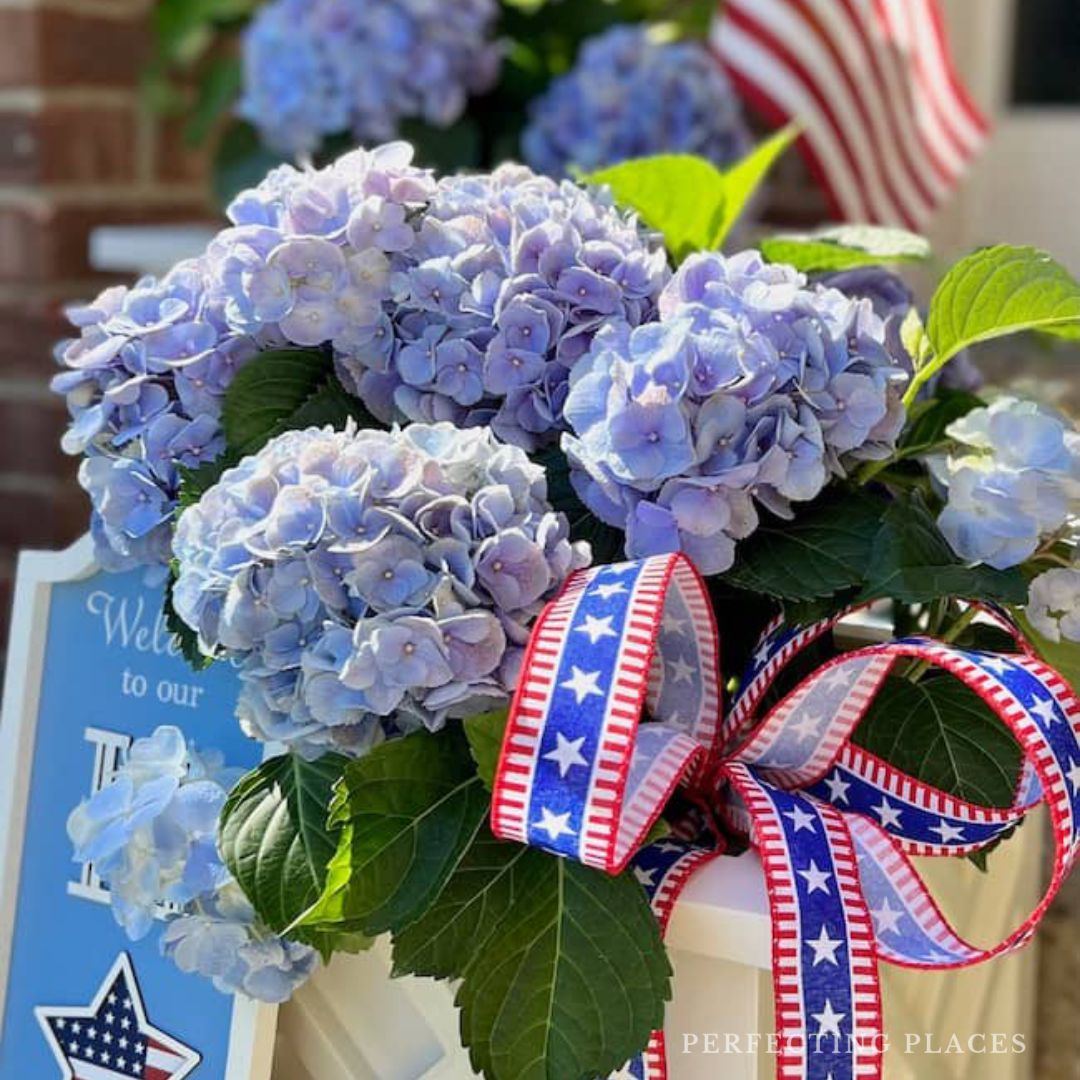
Easy Patriotic Door Decoration Idea: July 4th Flower Bucket
Throw pillows make the perfect patriotic decorations, and I hope these little pillow DIYs inspire you to create something fun for your own home this July 4th! As you can see, you don’t have to be a seamstress to create fun DIY pillows to celebrate the patriotic holidays — or any holiday for that matter!
Enjoy!


By the way, do you follow me on all the socials? If not, check out my Pinterest, Instagram, and Facebook and be sure to follow along so you don’t miss out on any of my decorating and DIY ideas.


Your pillows turned out so cute and I love that they are no-sew! They look fabulous on your porch! Hope you have a happy and fun 4th of July!
Thanks so much, Donna! Happy 4th to you as well!
Darling pillows Kim! and I love how easy they are.
Thanks so much, Wendy!
Ann, if using Alabaster on your walls, I would go for a seamless look and use Alabaster on your trim and doors as well. It’s a polished look and avoids any conflicting undertones when using two different whites. Simply use a different sheen for the walls than for the trim. I usually recommend eggshell or matte finish on walls and satin or semi-gloss on trim.