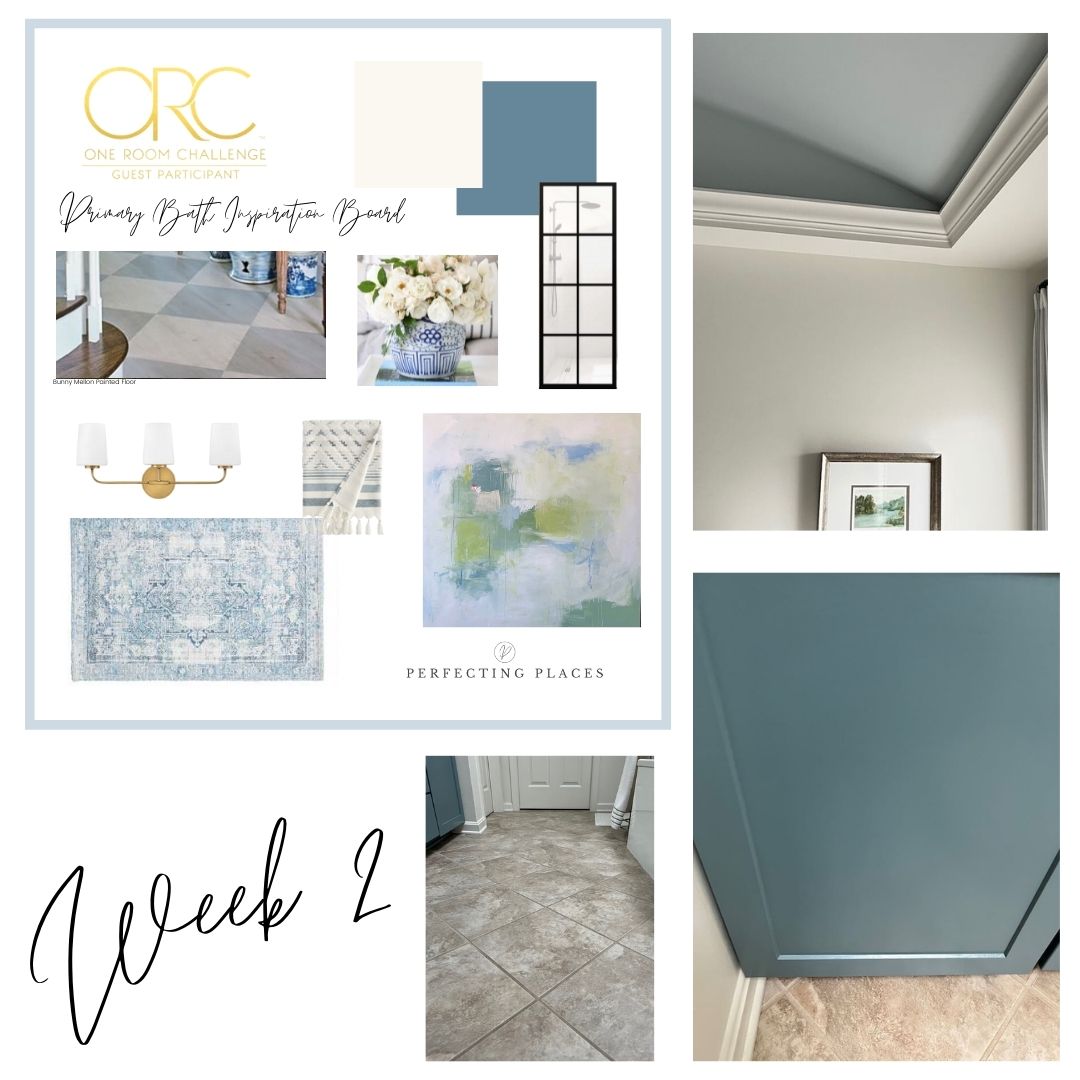
One Room Challenge Bathroom Makeover on a Budget — Week 7
Today, I’m sharing our Week 7 progress in our ORC bathroom makeover on a budget project! It’s hard to believe the One Room Challenge Spring 2022 is almost over, and we’re just one week away from the big reveal!!
It’s been a fun and challenging process along the way, and as with any design job, I’ve made a lot of adjustments along the way.
This week I completed the stenciling!! We also purchased the trim, and Jeff installed the crown molding. He still needs to finish out the small shower wall, but that will happen in the next couple of days. The trim pieces for this are purchased, painted and ready to cut.
We selected and installed our new vanity lights. This is one area where I pivoted from my original plan. I ordered one light fixture, and decided it just wasn’t what I wanted in the space. It was a case of looking better in the pictures online that in person. The glass globes were very thin, and it just wasn’t made as nicely as I would have liked.
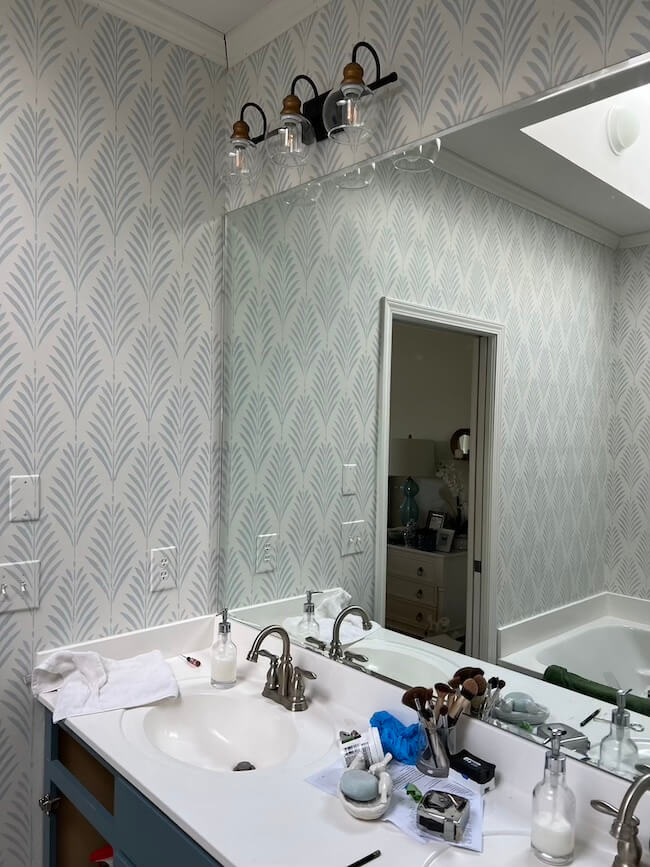
Our vanity lights are hung so high and looking up into the fixtures, you just saw all of the ugly innards of the lights. That just drove me crazy!
I opted for a fixture with milky white shades and even decided I liked the look of chrome to give a little life to the room. These lights were much more in keeping with the look I’m going for in the room — and they were even less expensive! That rarely happens for me.
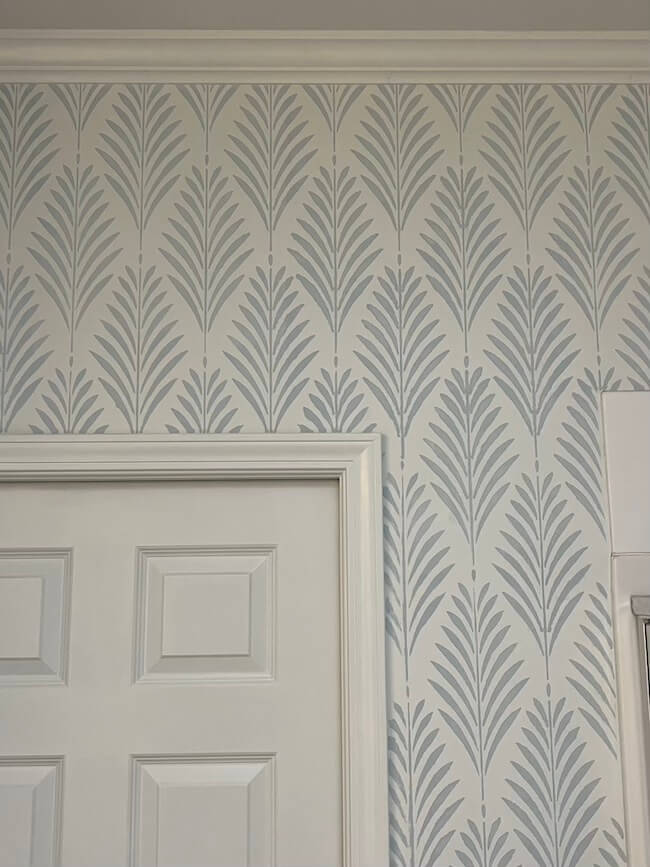
The centerpiece of our One Room Challenge bathroom makeover is the wall stenciling project, and this week I finished the last step!!
It’s been quite a process requiring lots of patience. Stenciling an entire bathroom was a pretty big task to take on, and with all of the edges and angles in the room it made for a slow one. But, it’s finished, and I love it so much!!

See how happy I look here as I applied the final finishing touchups!! By the way, this small foam brush was just perfect for all of the touchups. So make sure you have some on hand if you decide to take on a stenciling project like this.
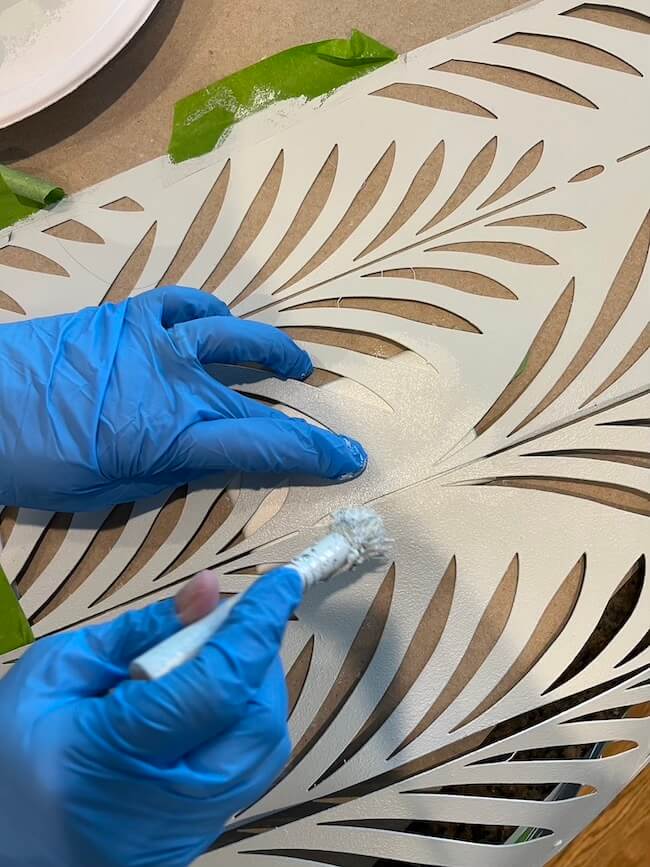
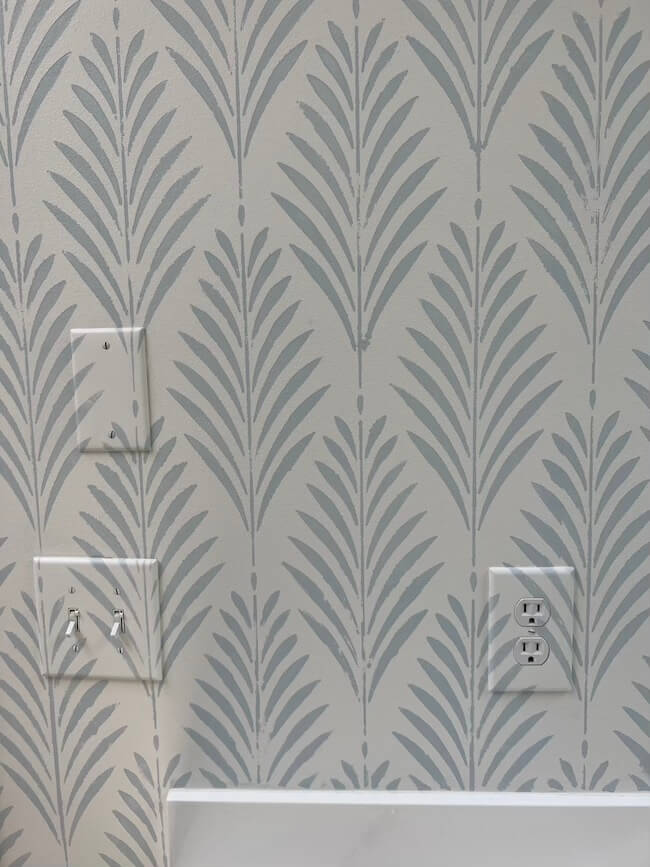
The last things I stenciled were the switch plate covers. I just put the covers in place and lined up the stencils. Then I added tape to secure them to the stencil so I could lay them on the counter to paint. It was quick and easy and the stenciled plate covers make such a nice seamless look.
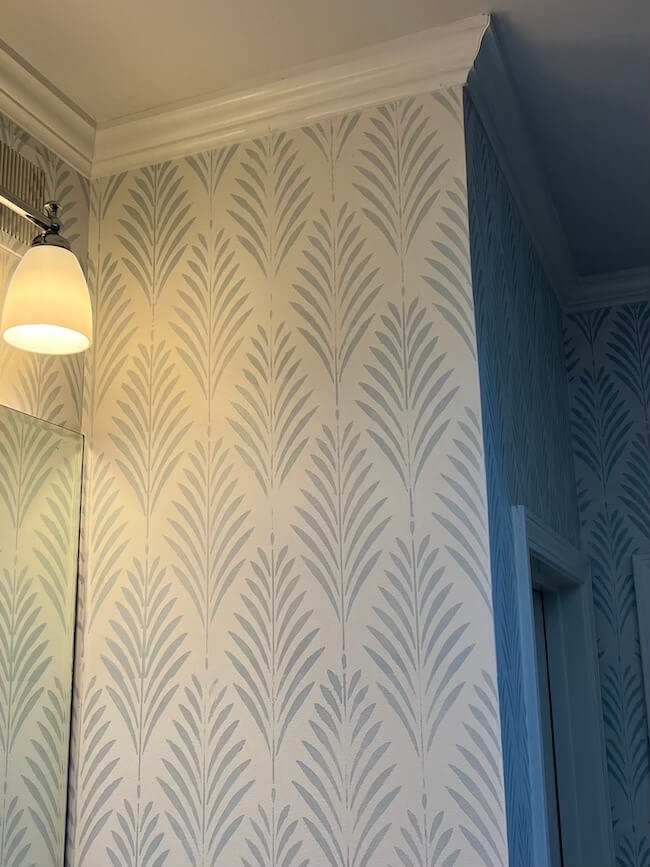
Installing the Crown Molding:
Jeff installed the crown molding to finish off the walls, and it made such a nice finished look in the room.
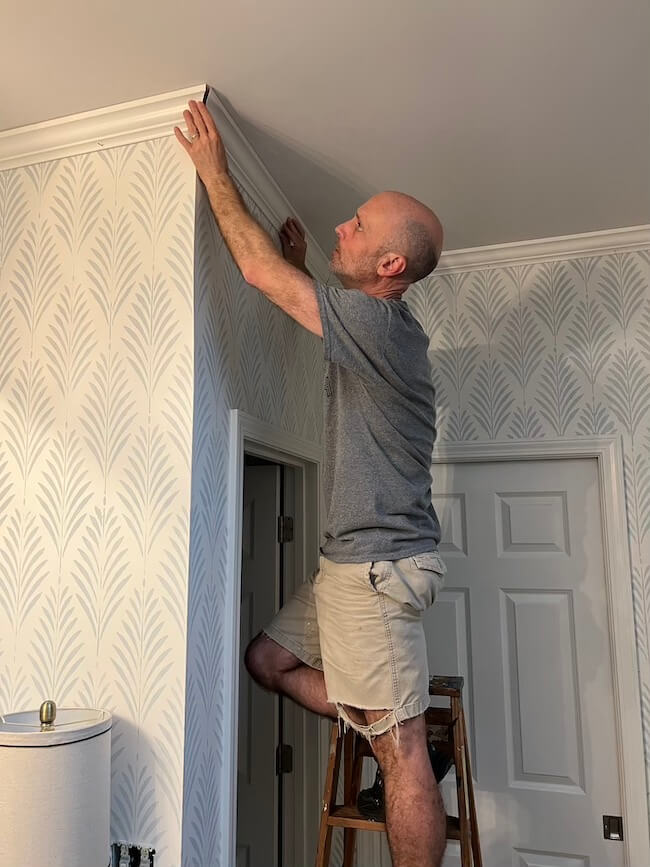
A few areas of our walls were not square, so this made the crown pieces a little challenging in a few areas, but my sweet husband got it done!!
A Change in Our “Floor Plan”:
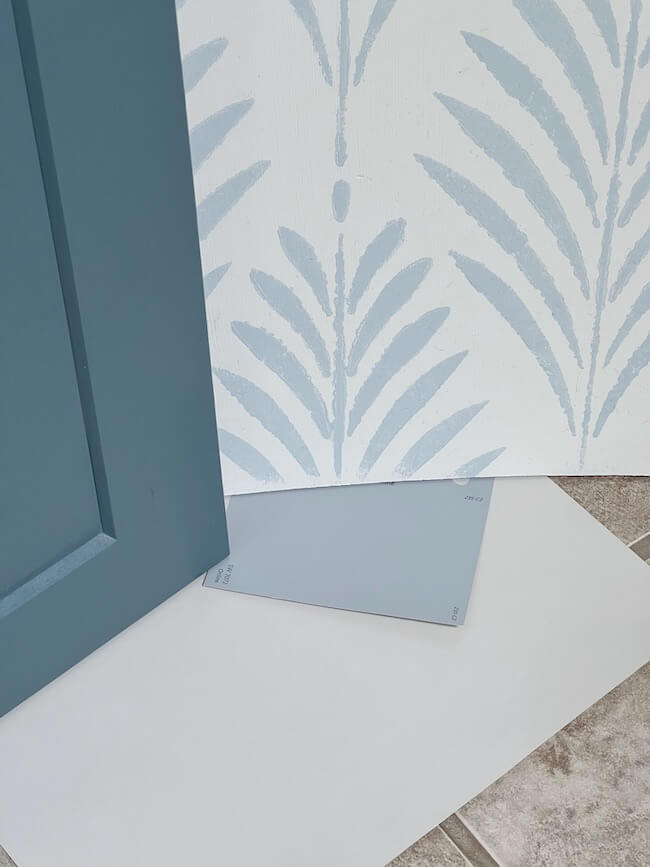
Another significant pivot from my original design plan is the decision to not paint the floor tiles. I know a lot of you were really interested in seeing how that turned out, so I’m sorry. While I think it would have been absolutely beautiful, I just was so concerned about the longevity of painting the tiles in such a heavy traffic area with so much moisture. I was concerned about peeling and chipping, and also just how well the paint would cure in an area with so much moisture.
I researched and researched, and in the end, just didn’t find enough positive affirmation to do it, and plenty of negative.

If our tiles were some hideous color, it would have been a no-brainer to go ahead and paint them. While our tile isn’t my favorite tile, at least it’s neutral and our bathroom layout is perfect for a long runner to cover most of it. So, that made my final decision.
Hopefully, at some point we’ll get to replace our tile, but for now I’m just going to be content with what we have and enjoy the pretty stenciled walls!
The Final Week Ahead:
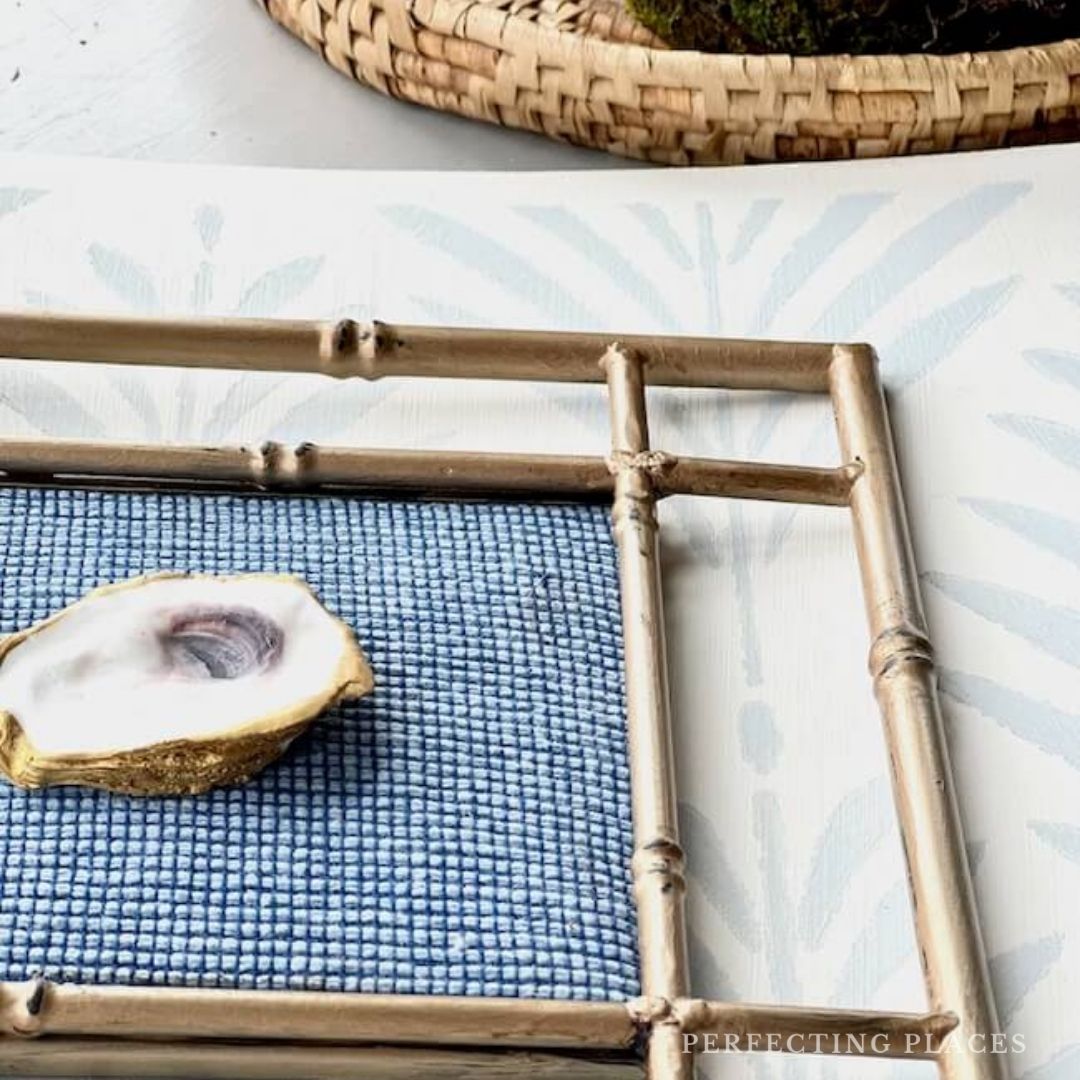
This week we’ll finish the small trim area and add it all the finishing decorative touches, which is the really fun part!!
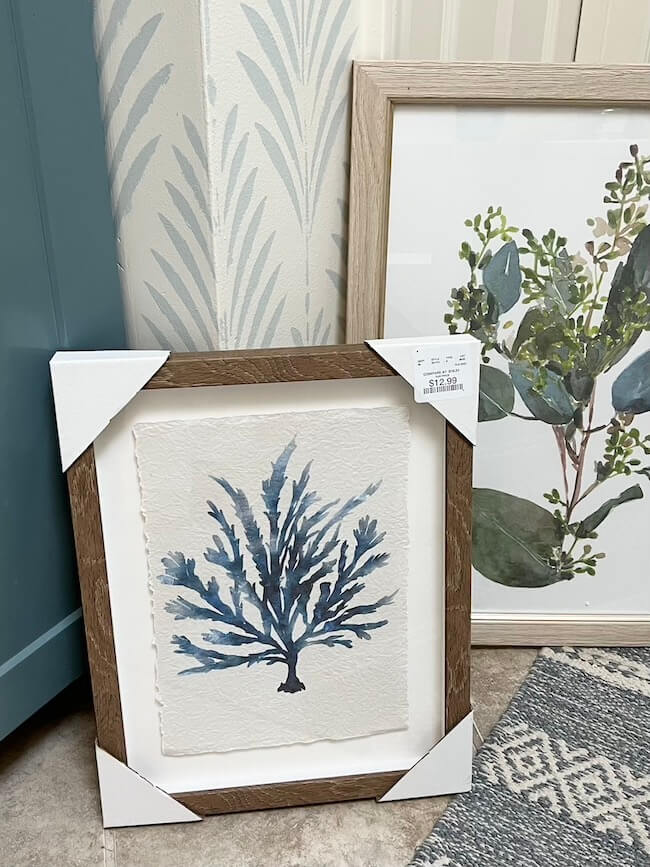
I’m loving some of the art that I found at TJ Maxx this week!! I’ll be adding all of these great pieces this weekend.
I really appreciate you following along in the process, and can’t wait to show you the finished project next week!
Be sure to check out the previous weeks below if you’re just now joining in!
My Previous One Room Challenge Spring 2022 Bathroom Makeover Posts:
ORC Spring 2022 Primary Bathroom Budget Makeover
ORC Primary Bathroom Budget Makeover Week 2
One Room Challenge Week 3 – DIY Shell Art for Budget Bathroom Makeover
How to Use a Wall Stencil — ORC Week 4 Update
The Best Tips for How to Stencil Walls in Your Bathroom – ORC Week 6
Stop by the One Room Challenge blog to check out all of the other participants this week at the link below!

Thanks so much, and have a wonderful week!!
Wow! Everything looks amazing! You are way further ahead than we are! 🎉🎉
Thank you so much, Kylie! It was definitely quite the process to get it all finished in time!