Elevate Your Fall Porch: A Simple Wreath Tutorial
Does your front porch need a fresh inviting look for fall? Today, I’m sharing a simple, but beautiful, fall wreath DIY that’s the perfect way to greet guests and welcome them into your home.
A welcoming front porch makes a great first impression on your friends and family who enter your home, and I’m going to show you how to style a gorgeous fall porch with a stunning handcrafted wreath.

(This post contains affiliate links, so I may earn a small commission when you make a purchase through links on my site at no additional cost to you. As an Amazon Associate I earn from qualifying purchases.)
Fall is the perfect time to give your front porch a cozy refresh! If your porch is small like ours, you know it’s important to maximize every inch of your space! The best place to start is a great front door focal point!
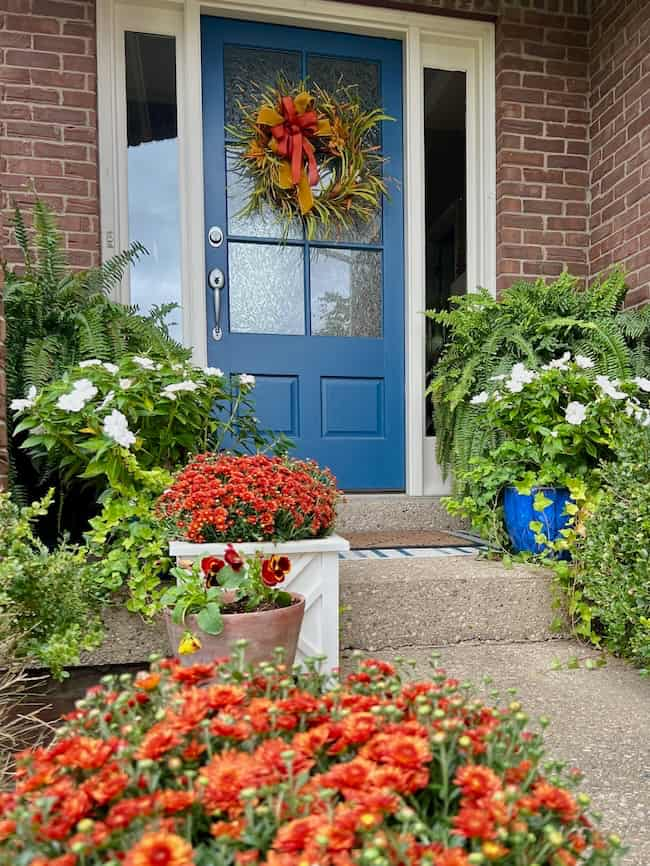
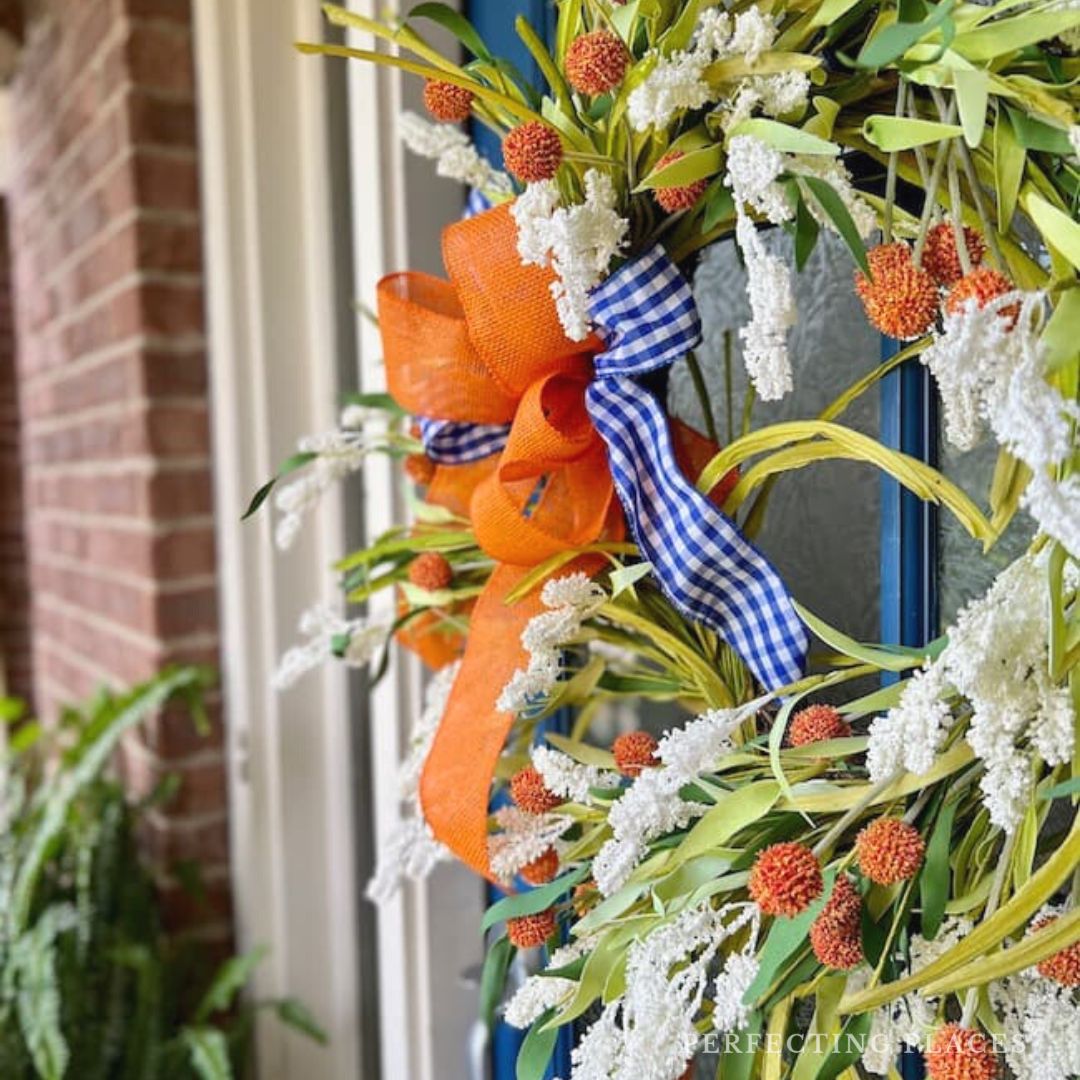
I always love a pretty fall wreath on our blue front door which is painted Sherwin-Williams Endless Sea! I happened to see a gorgeous fall wreath a couple of weeks ago while scrolling through social media and decided to use that wreath as my inspiration for a new wreath for our door. So today, I’m sharing how I made this easy fall wreath.

Gather Your Wreath-Making Supplies:
This is a pretty simple wreath to make, and you can find these supplies at your local craft store or on Amazon.
Materials:
- grapevine wreath base
- grass twister spray stems (from Hobby Lobby)
- orange and green leaf bush (from Hobby Lobby)
- gold faux maple leaf stems
- reddish orange linen ribbon
- gold velvet ribbon
- floral wire
- hot glue gun and glue sticks
- jute twine
- scissors
- wire cutters
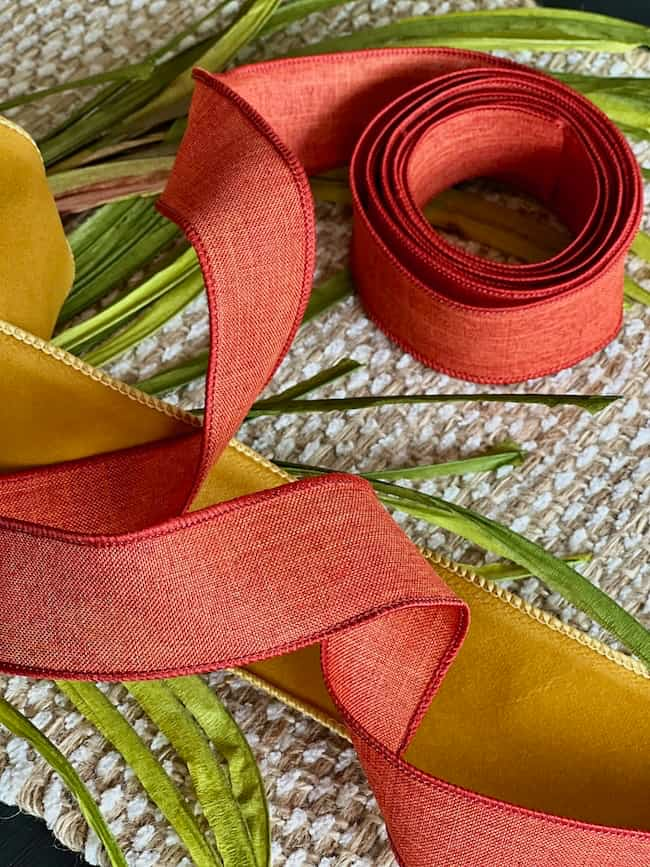
Step-by-Step Wreath Tutorial:
I like to keep things simple, and this DIY is no exception. You’ll need an 18 to 20-inch grapevine wreath form, some fall stems, florist wire, and a bit of creativity.
For this wreath, I used grass-like fall stems. I purchased mine at Hobby Lobby, but you can find similar ones online or at your local craft store. Look for wispy, grassy stems with a variety of textures and colors.
I was able to insert most of the stems directly into the wreath form, securing only a few with florist wire or hot glue.
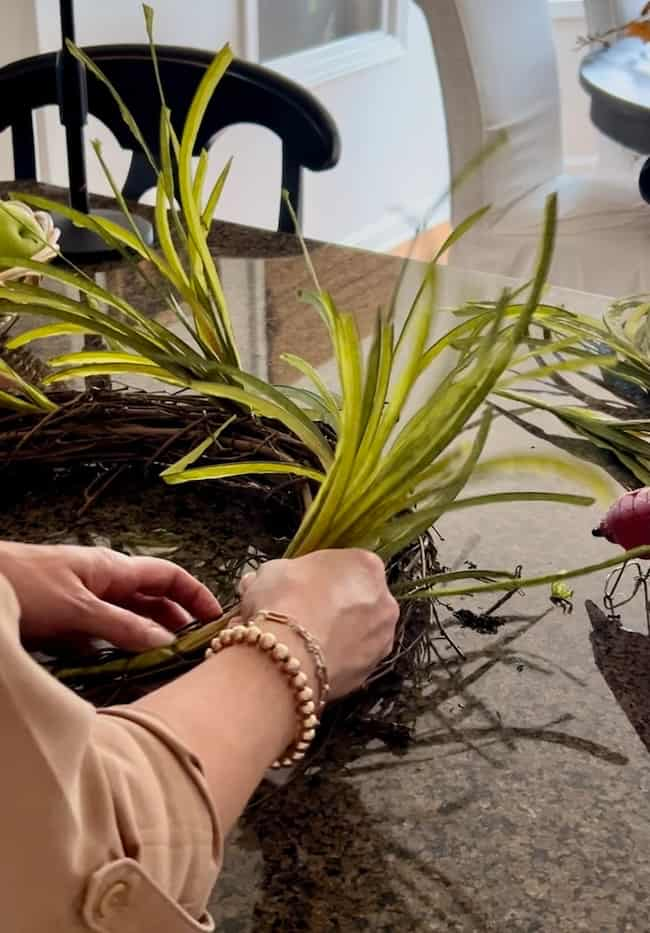
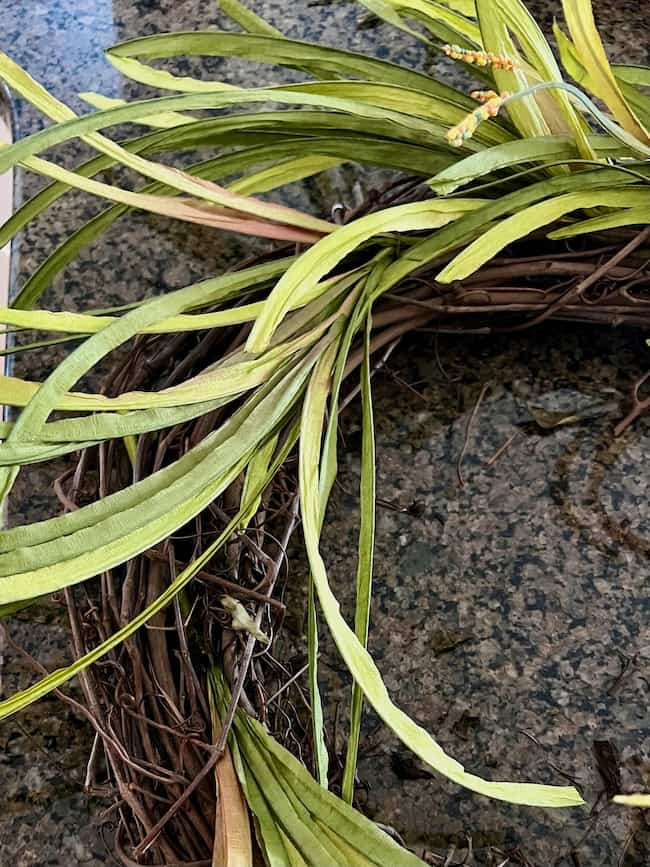
Step 1: Add the first layer of green grass stems.
Start with the green grass stems. Gently pull them apart into smaller pieces using your fingers or a pair of clippers. Arrange them around the grapevine wreath in a random pattern to decide the look you want, and then insert the stems into the wreath.
Step 2: Add the second layer of colorful grass stems.
Next, add the orange and green grass stems. Cut them into smaller pieces and insert them throughout the wreath interspersed with the green stems.
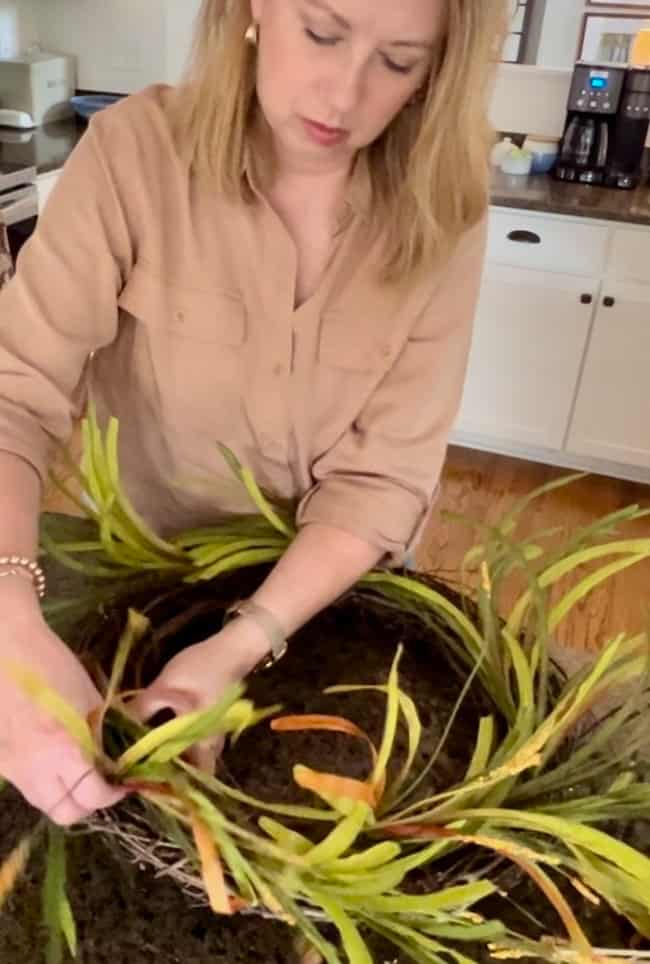
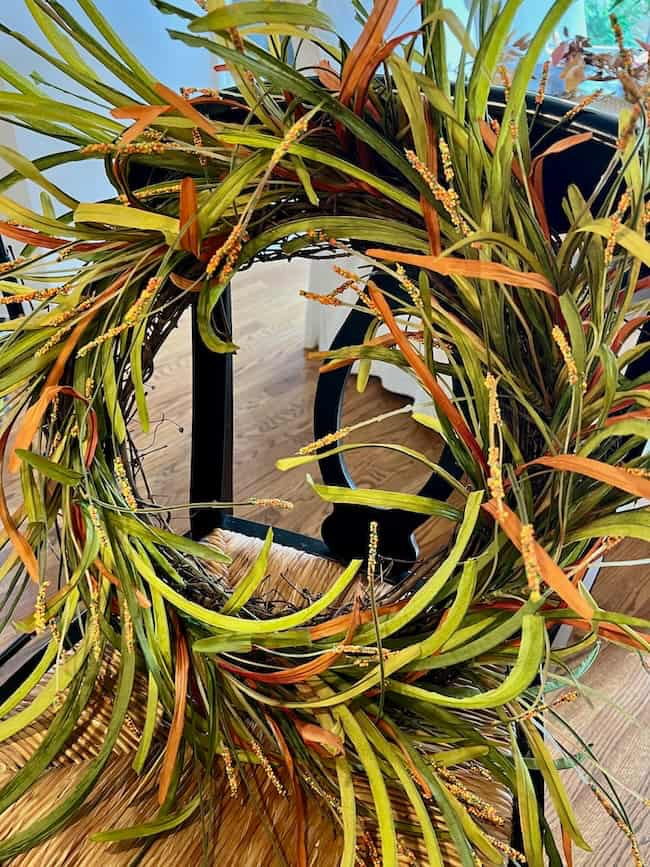
Arrange the stems in various directions to create a full and textured look.
Step 3: Create the bow.
Now, let’s create the bow. My original wreath inspiration had a multi-layered bow made of a pretty plaid ribbon paired with an orangey-red burlap ribbon.
I wasn’t able to find a similar plaid ribbon that I liked, but I did find the orangey-red burlap ribbon. I found this pretty gold velvet ribbon, so I decided to pair it with the red instead of a plaid. Feel free to use any combination of colors and textures that you like.
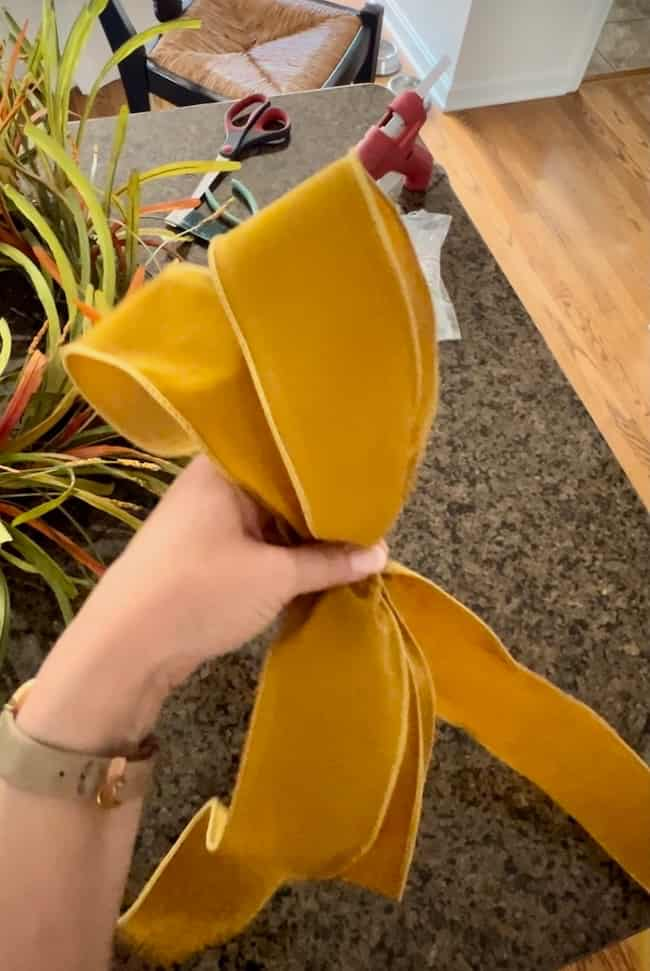
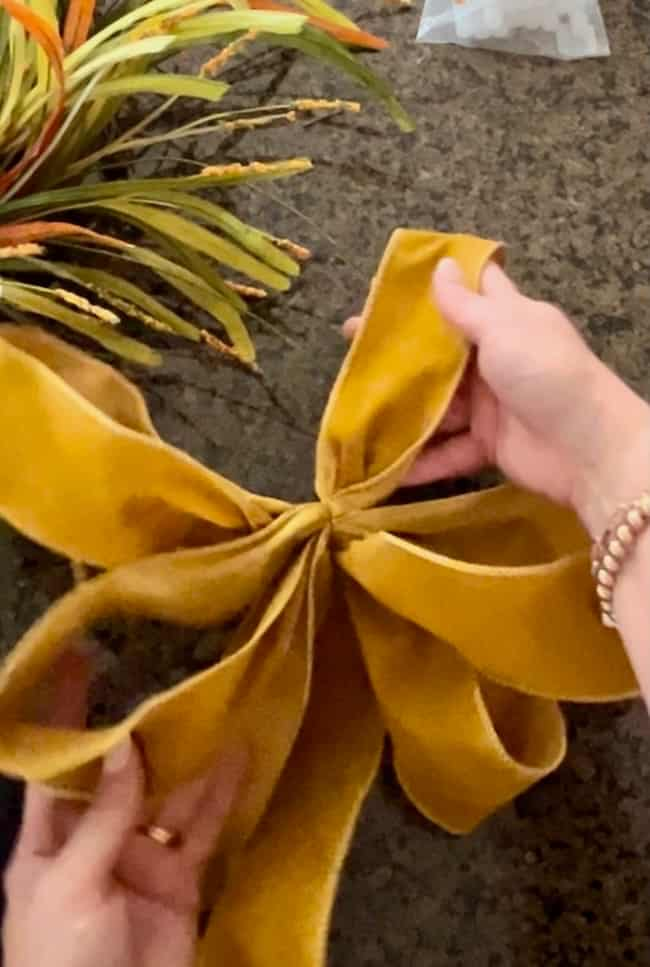

Make the double-layered bow by starting with the larger width ribbon. For me, this was the gold velvet. I formed a large, 6-loop bow and secured the loops with florist wire.
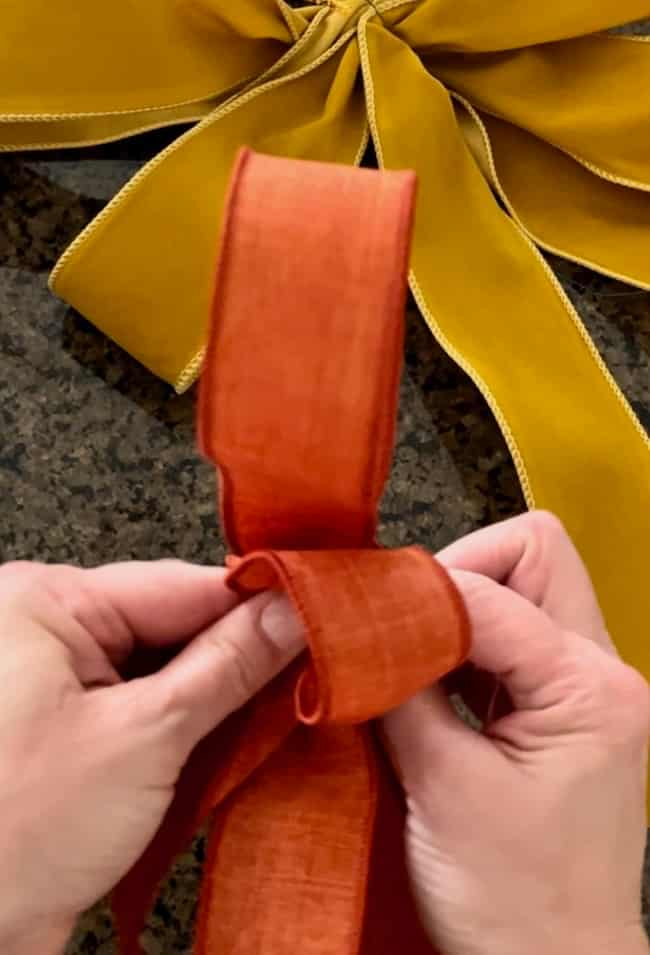

I then created the smaller red-orange bow to place in the center of the gold layer. I make a smaller 6-loop bow and also secured it with the florist wire.

Layer the red bow over the gold and secure with an extra long piece of florist wire — long enough to wrap around the wreath to secure the bow to it.

Attach the bow to the wreath using floral wire. I placed mine in the upper left portion of the wreath, with the ribbon cascading down the center of it.
Step 4: Add faux leaves to the wreath.
Add maple leaves around the wreath. Secure the leaves with hot glue.
Step 5: Hang the wreath.
The wreath is now complete! Hang it on your front door. I used jute twine to secure mine.

Completing the Front Porch Decor:
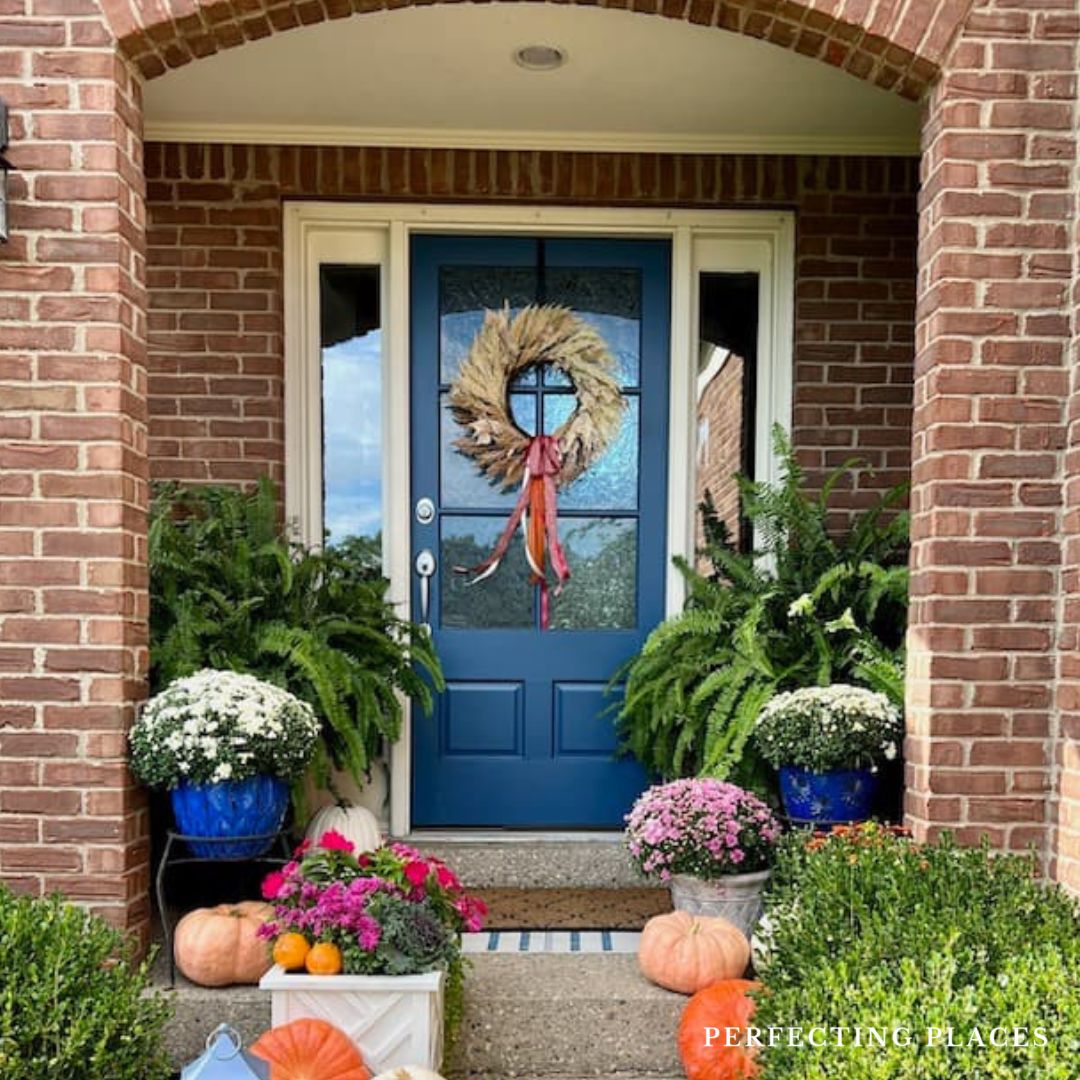
Our porch was still overflowing with flowers from the summer, and a lot of our pots were still going strong. With a north-facing front porch, I love to use New Quinea impatiens potted with ivy and Creeping Jenny for lush foliage and pretty pops of green color during the summer.
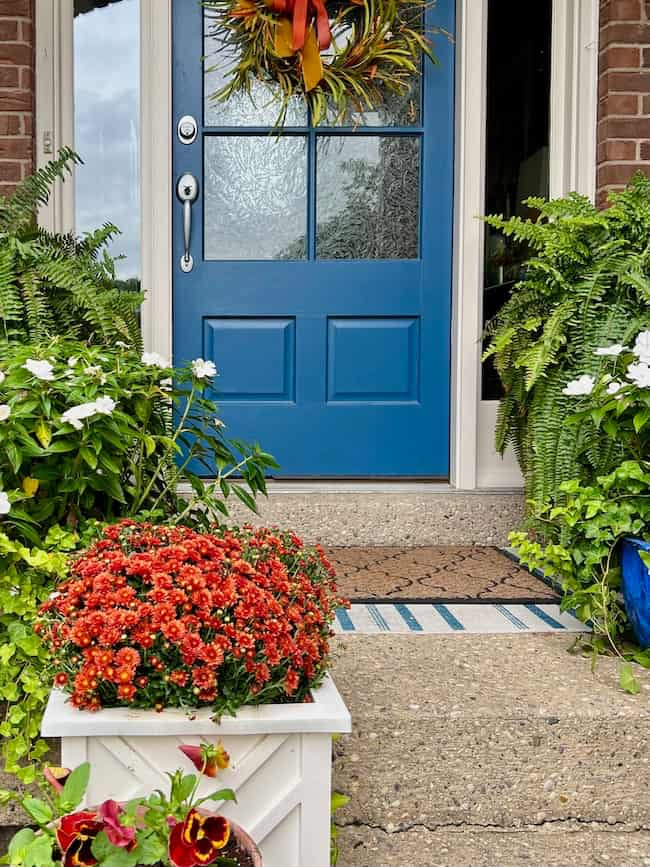
Honestly, the impatiens were still going strong, and our Boston ferns are still thriving as well, so I decided to incorporate the white impatiens and ferns into our fall porch decor! I figure, why purchase white mums when you have perfectly beautiful white impatiens!
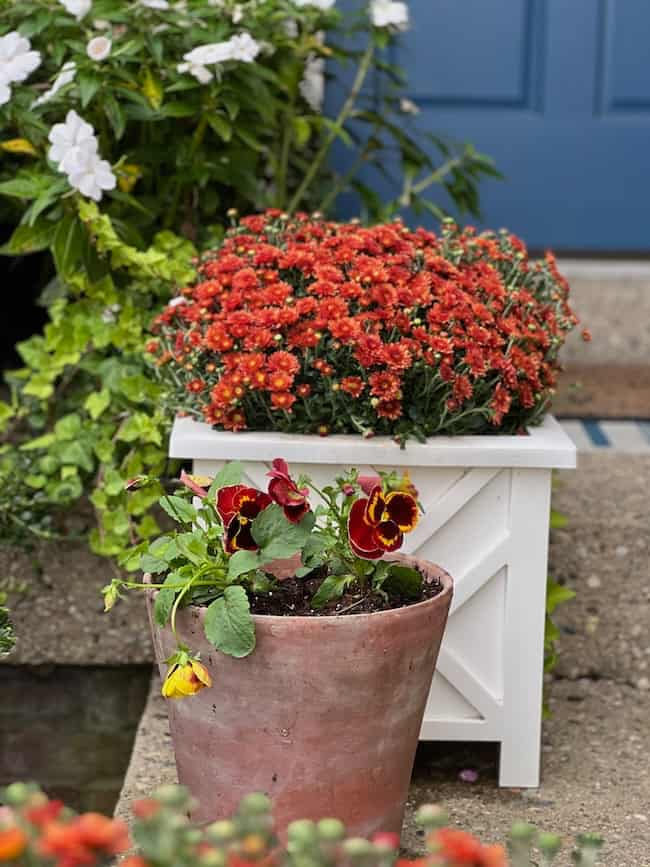
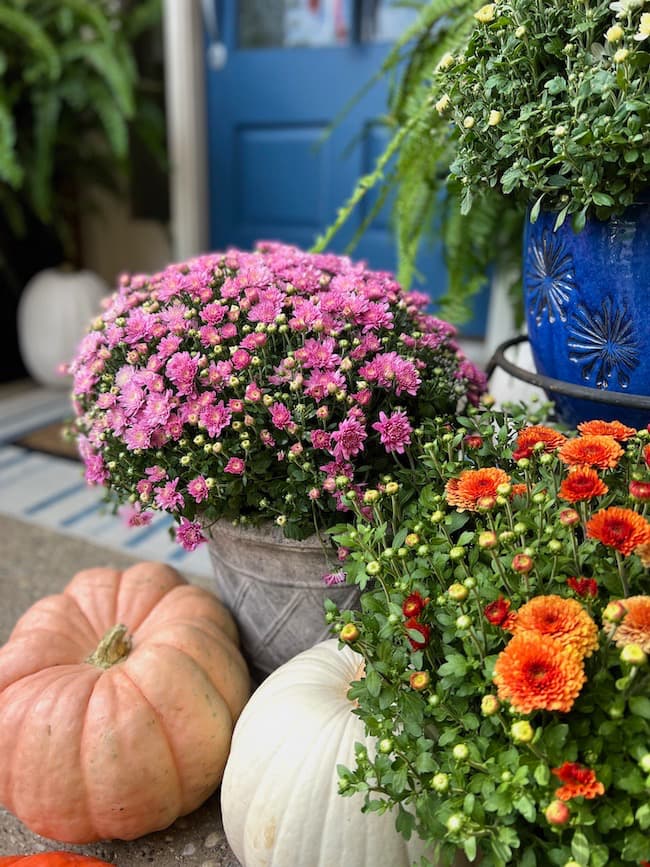
All I needed were a few mums in a pretty fall color palette and I was all set! To keep things simple on my front porch, I used bronze-colored mums as the main focus, and I planted them in my Chinoiserie-style white planter boxes.
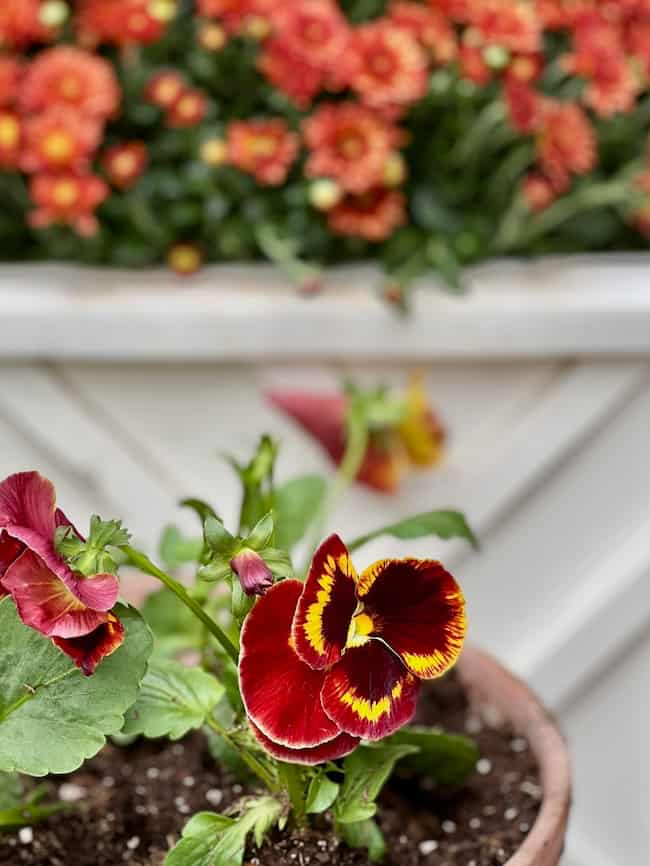
The white New Guinea impatiens from summer were perfect with them, and I added a few colorful pansies in small terracotta pots.
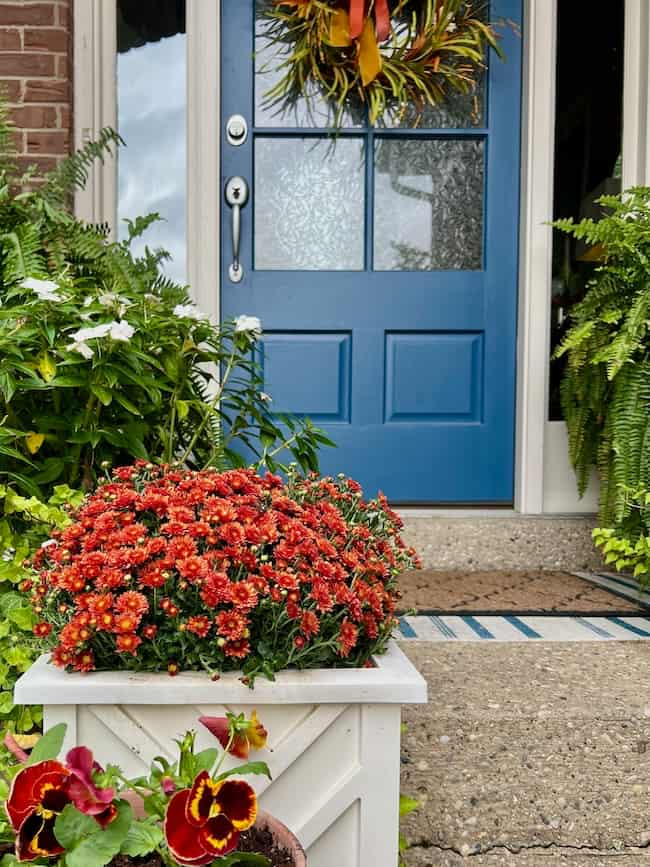
I love how the white planter boxes complement the white impatiens and brighten up our north-facing porch!
Thanks so much for following along with all the fall porch decorating fun! I hope this wreath tutorial inspires you to make your own to add a personal touch to your fall front porch!
Happy Decorating!


By the way, do you follow me on all the socials? If not, check out my Pinterest, Instagram, and Facebook and be sure to follow along so you don’t miss out on any of my decorating and DIY ideas.
Looking for more fall decor inspiration?
Check out our other blog posts on fall decorating ideas.
Cozy Up Your Entry: Affordable Small Fall Porch Ideas
These affordable small fall porch ideas will create a cozy entrance to your home, making a great first impression this season.
Cozy Fall Home Tour: Simple Decor Ideas for a Warm Autumn Refresh
Our cozy fall home tour is filled with inspiration to warm up your space this autumn.



Kim, love this beautiful wreath. Your entrance to the home looks gorgeous for the fall season.
Thanks you so much, Tammy!