Beautiful Bathroom Makeover on a Budget: Our One Room Challenge Reveal!
Welcome to my Spring 2022 One Room Challenge reveal! I’m so excited to share our primary bathroom makeover on a budget with you!!
Decorating a master bathroom doesn’t have to break the bank, and the goal of this One Room Challenge project was to update our old bathroom cheaply!
Thank you to Linda Weinstein for creating this exciting event 10 years ago, and it’s been so fun to participate as a guest in the 10th Anniversary challenge this spring! For those of you who are new to the One Room Challenge, it’s an 8 week event that challenges participants to complete a makeover of one room during the 8-week time frame. You can follow along with all of the guest participants here, and of course see all of the amazing reveals this week!
(This post contains affiliate links, so I may earn a small commission when you make a purchase through links on my site at no additional cost to you. As an Amazon Associate I earn from qualifying purchases.)
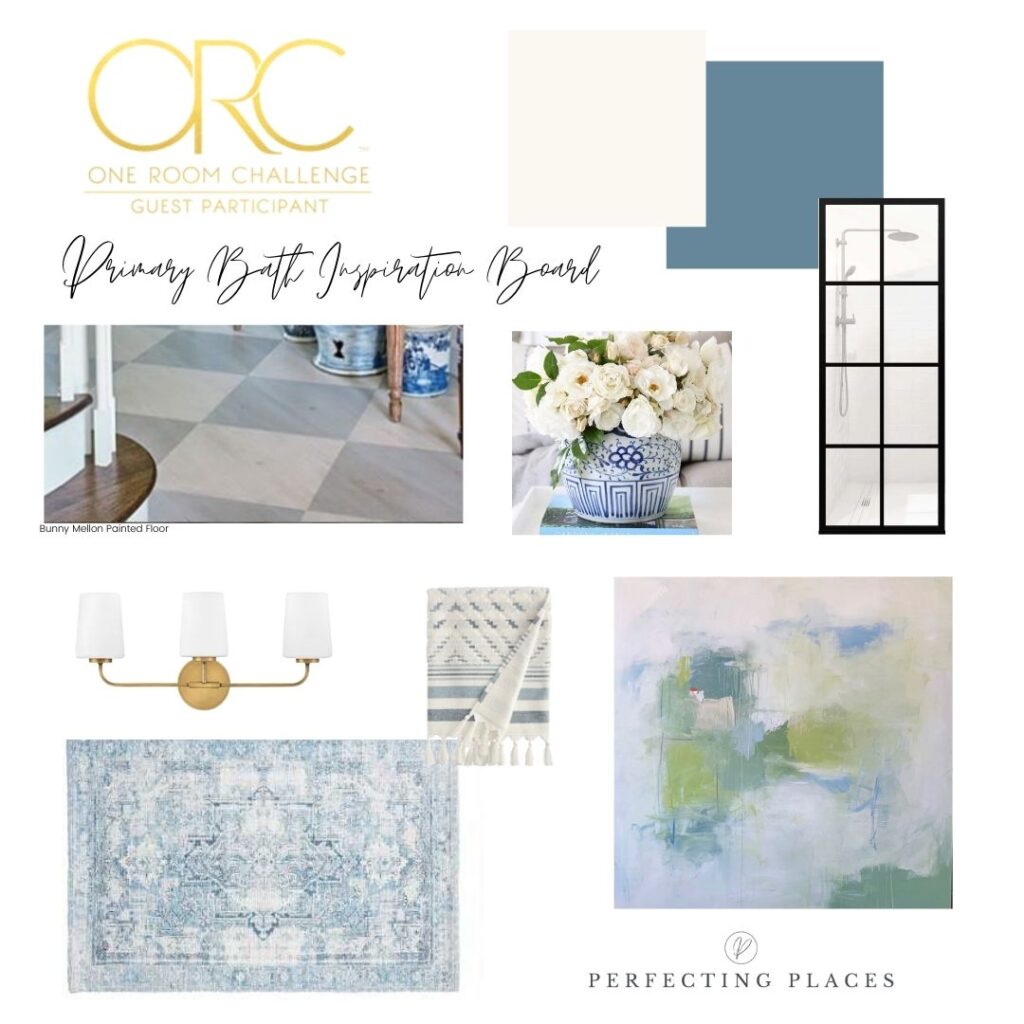
This is my original inspiration board for our bathroom updates. I chose to complete a budget-friendly makeover of our primary bathroom. We made a few adjustments along the way, but I’m so pleased with the end result! Here are some before shots of the room with it’s lovely yellow wall color and orangey brown cabinets.
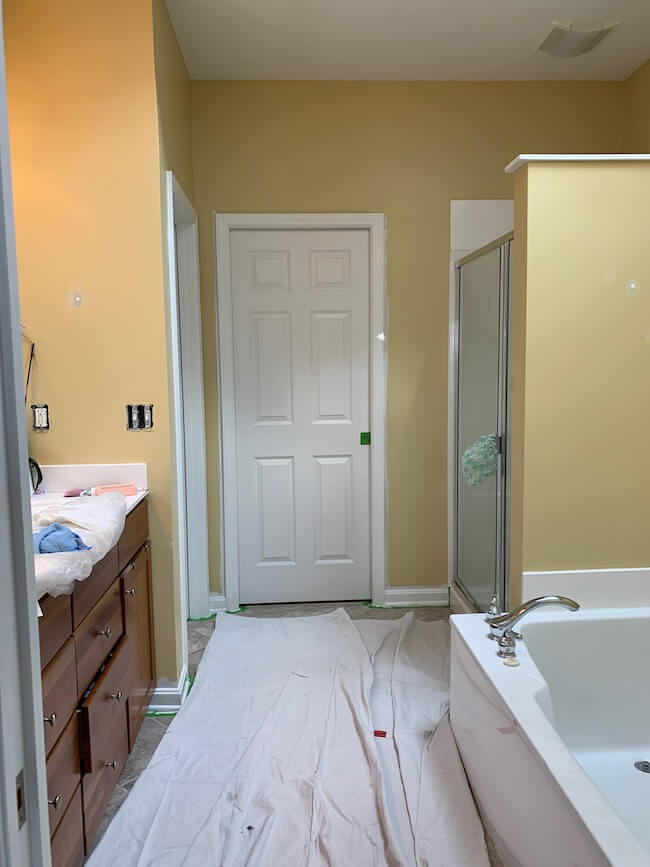
We’ve lived in our home for 14 years, and we painted this bathroom yellow shortly after we moved in. It was in need of a new look.
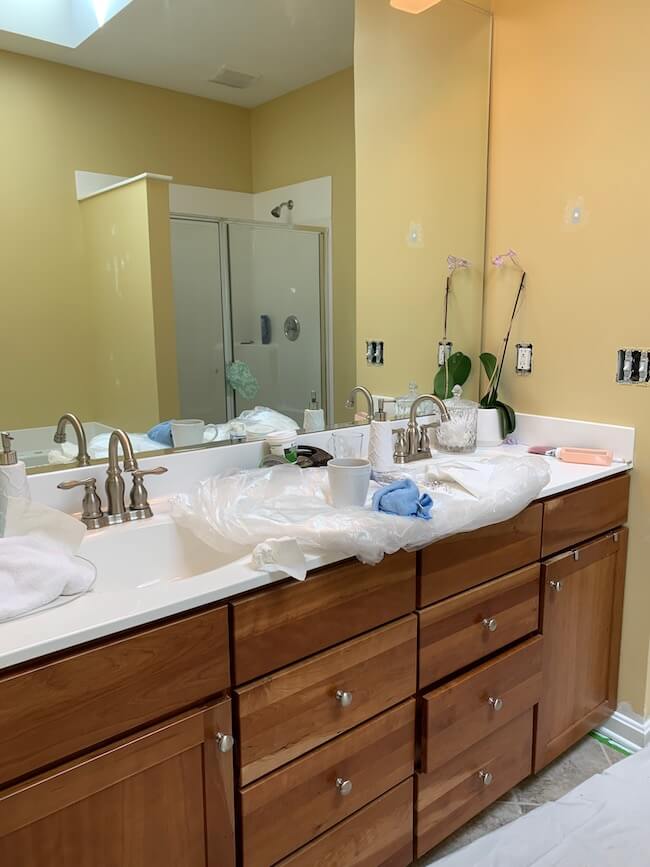
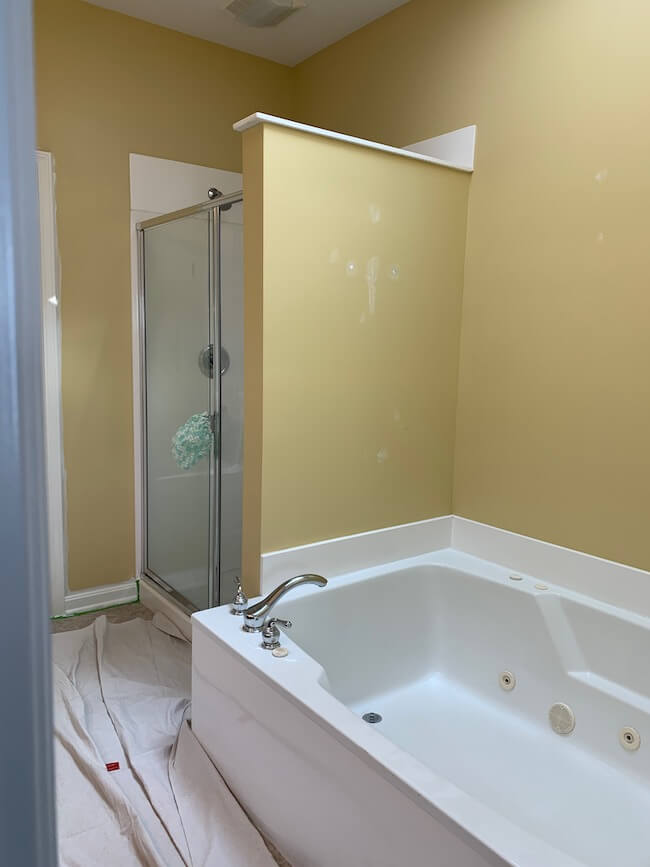
My goal for this makeover was to refresh this space without doing a major renovation. Paint did the heavy lifting in this makeover with updated wall color, cabinet color, and a fun wall stenciled pattern on all the walls.
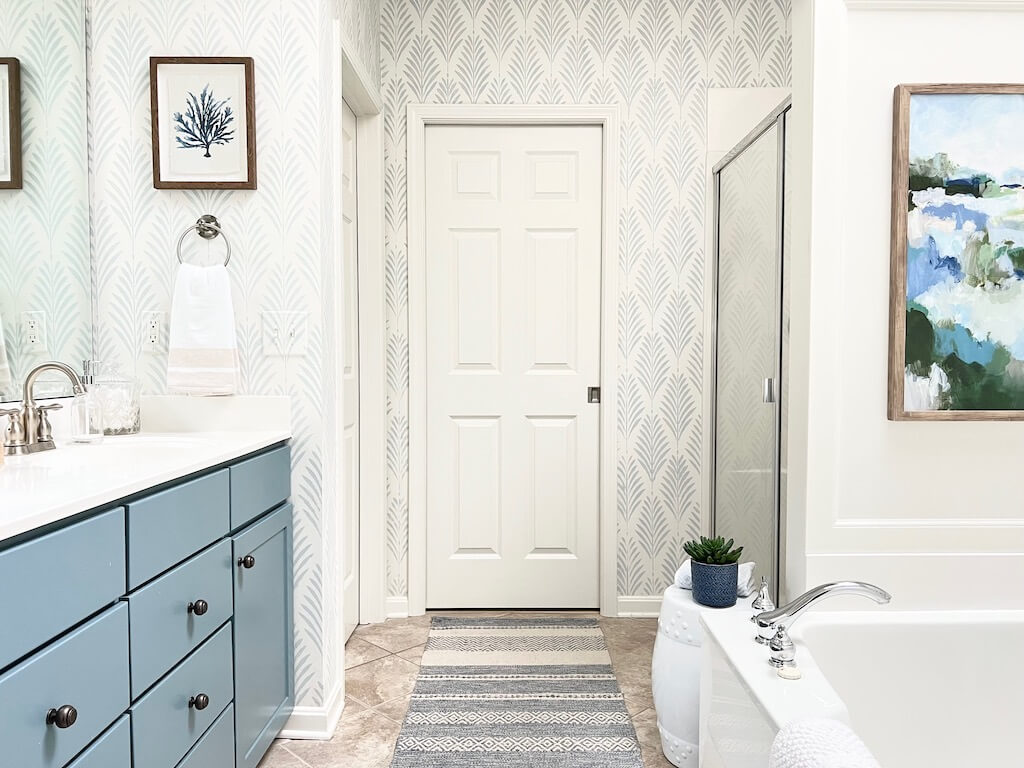
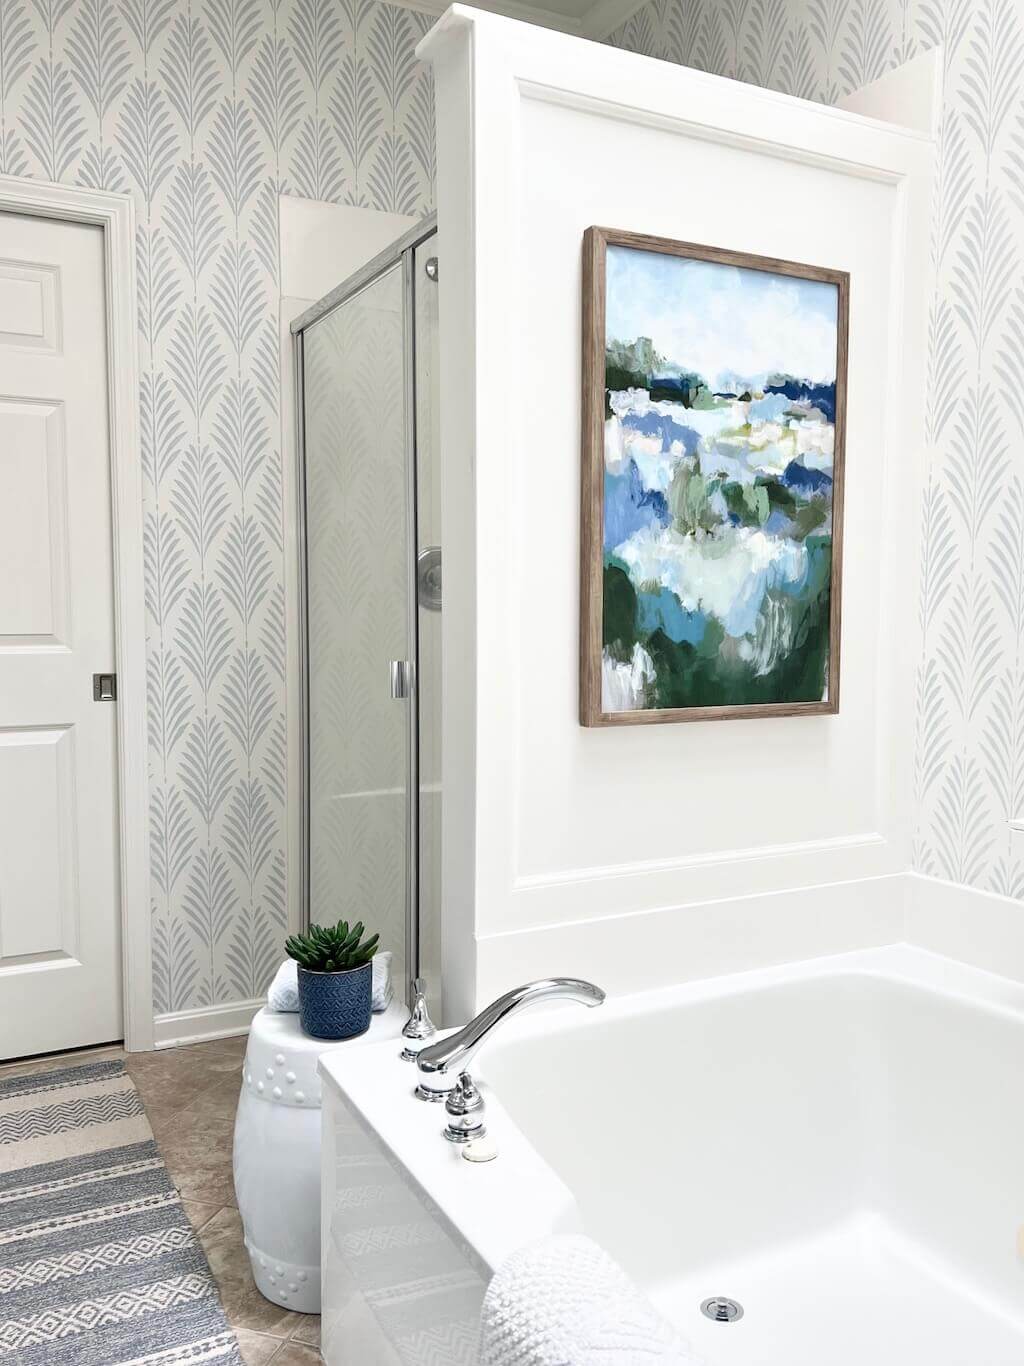
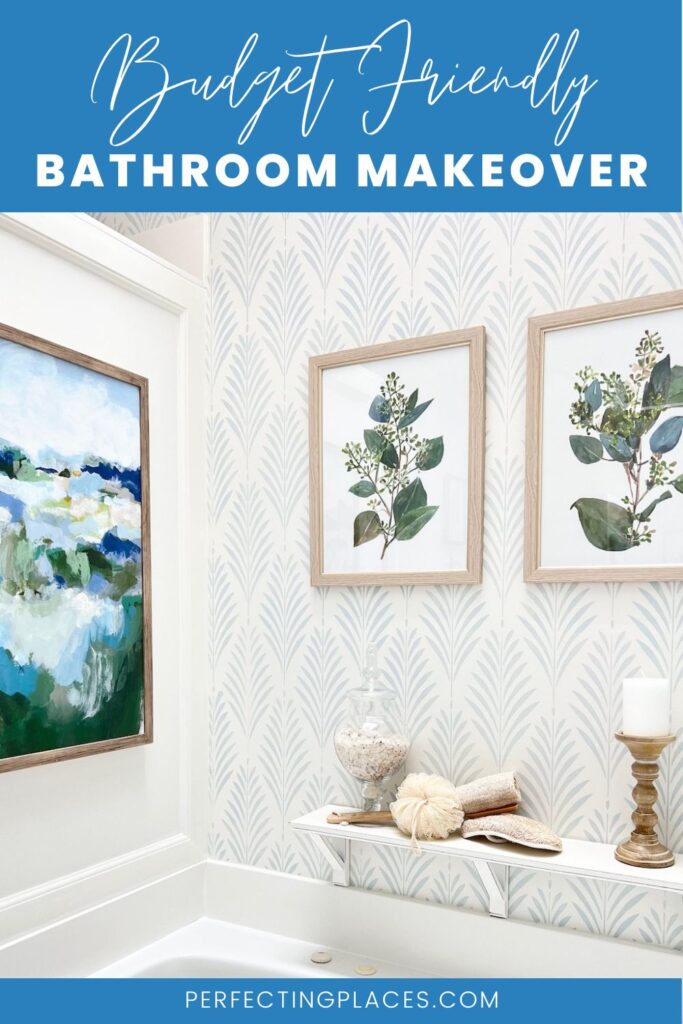
And now, our primary bathroom looks like this!!
You can visit my previous weekly updates below:
ORC Spring 2022 Primary Bathroom Budget Makeover
ORC Primary Bathroom Budget Makeover Week 2
One Room Challenge Week 3 – DIY Shell Art for Budget Bathroom Makeover
How to Use a Wall Stencil — ORC Week 4 Update
The Best Tips for How to Stencil Walls in Your Bathroom – ORC Week 6
One Room Challenge Bathroom Makeover on a Budget — Week 7
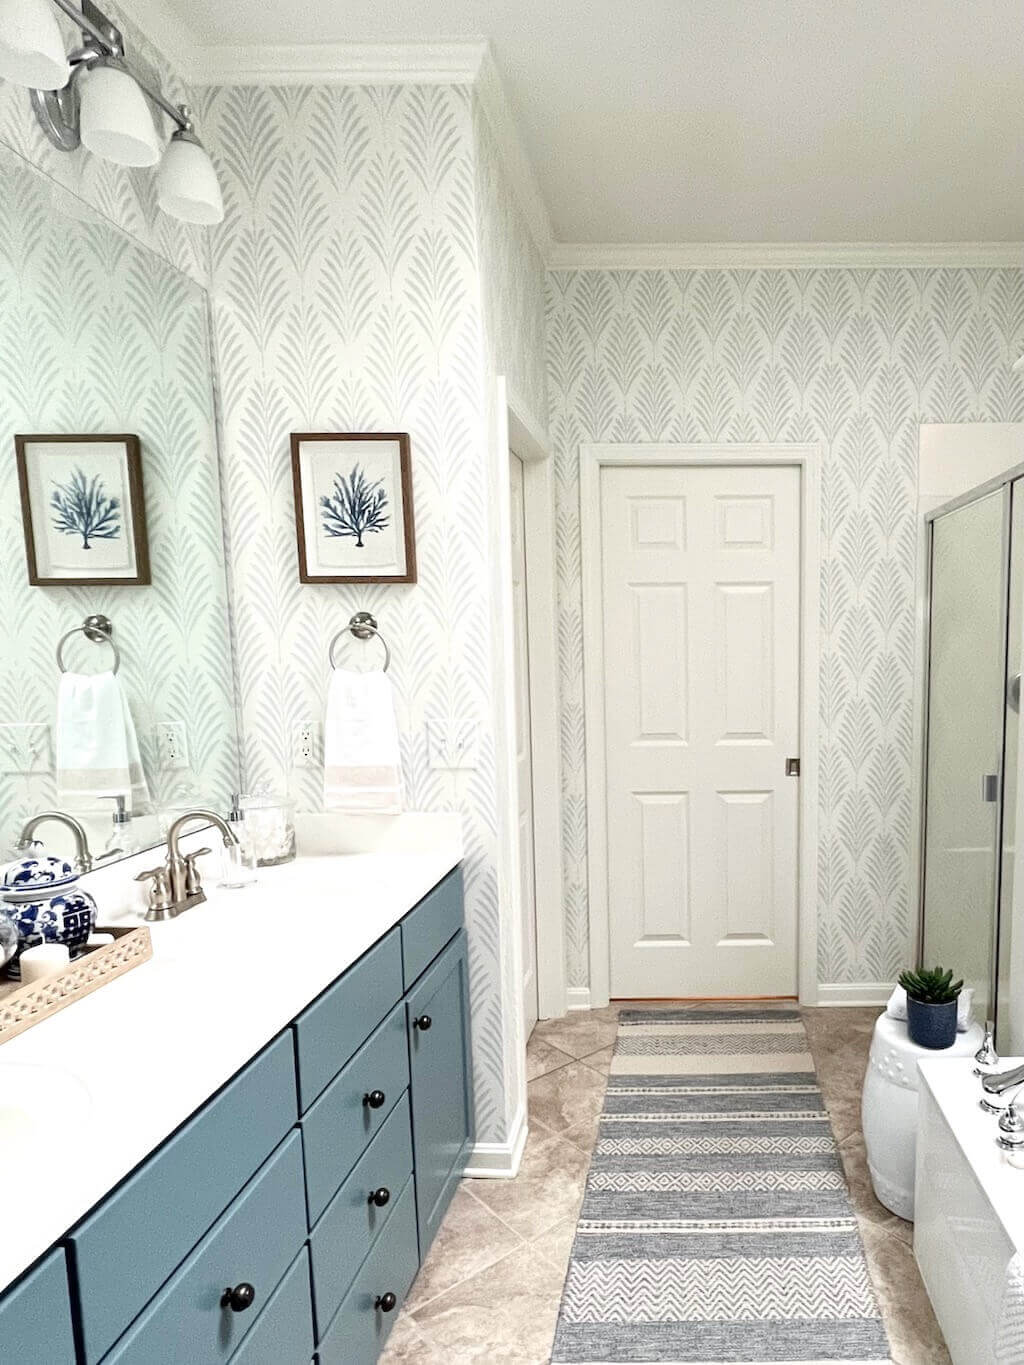
We also added some trim details to the walls by adding crown molding at the ceiling and trimming out the small shower wall adjacent to the garden tub. I think the trim really finished off this shower wall nicely!
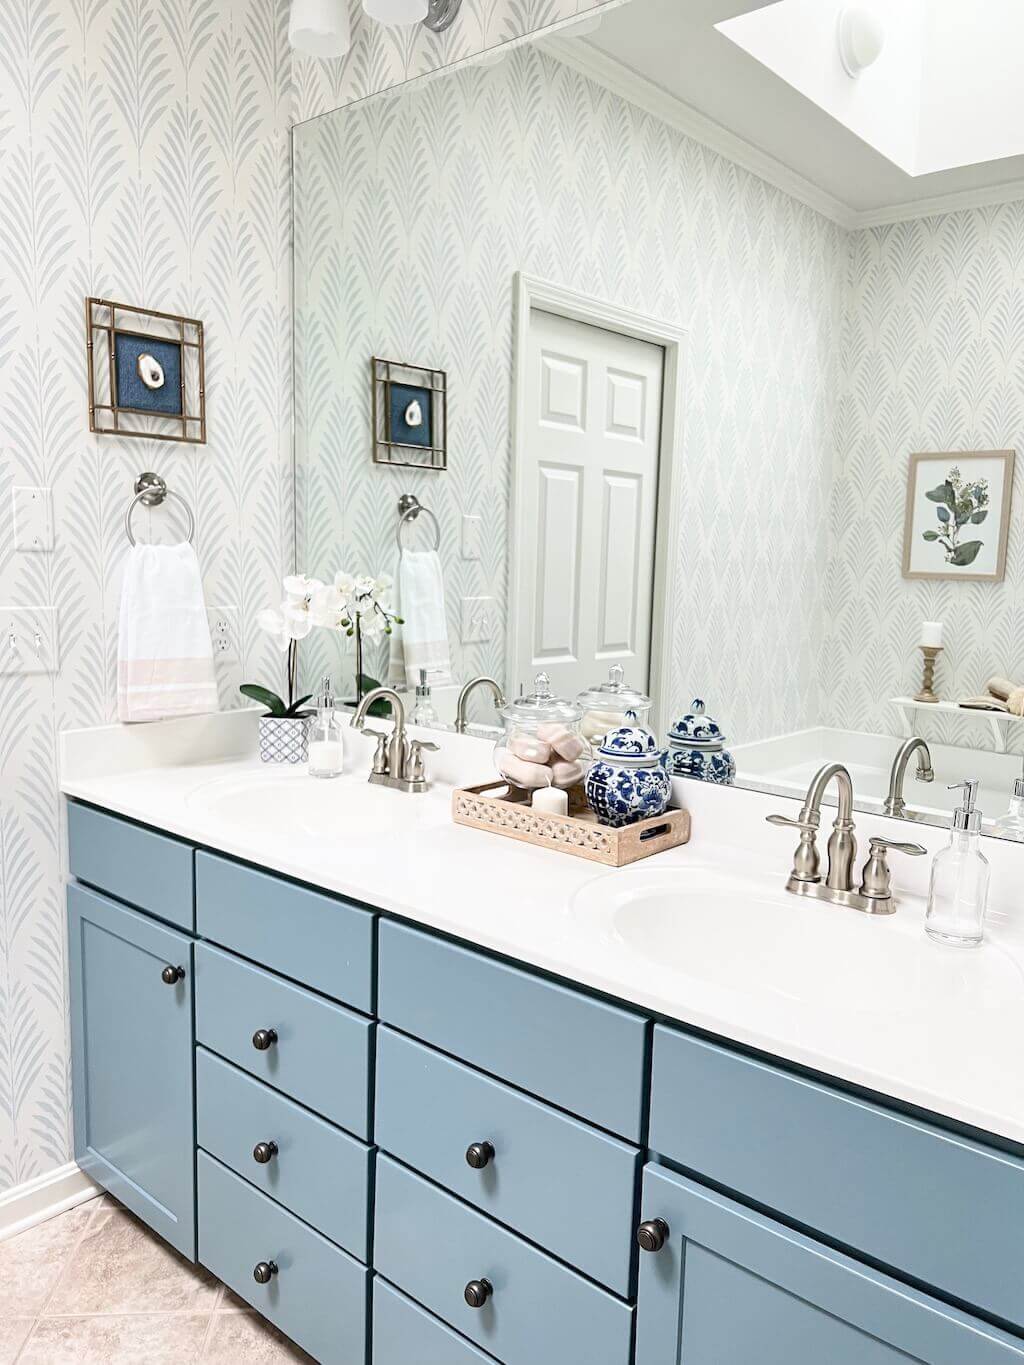
The vanity was painted Sherwin-Williams Blustery Sky (SW 9140). We changed out the cabinet hardware and light fixtures, but kept the original towel bars.
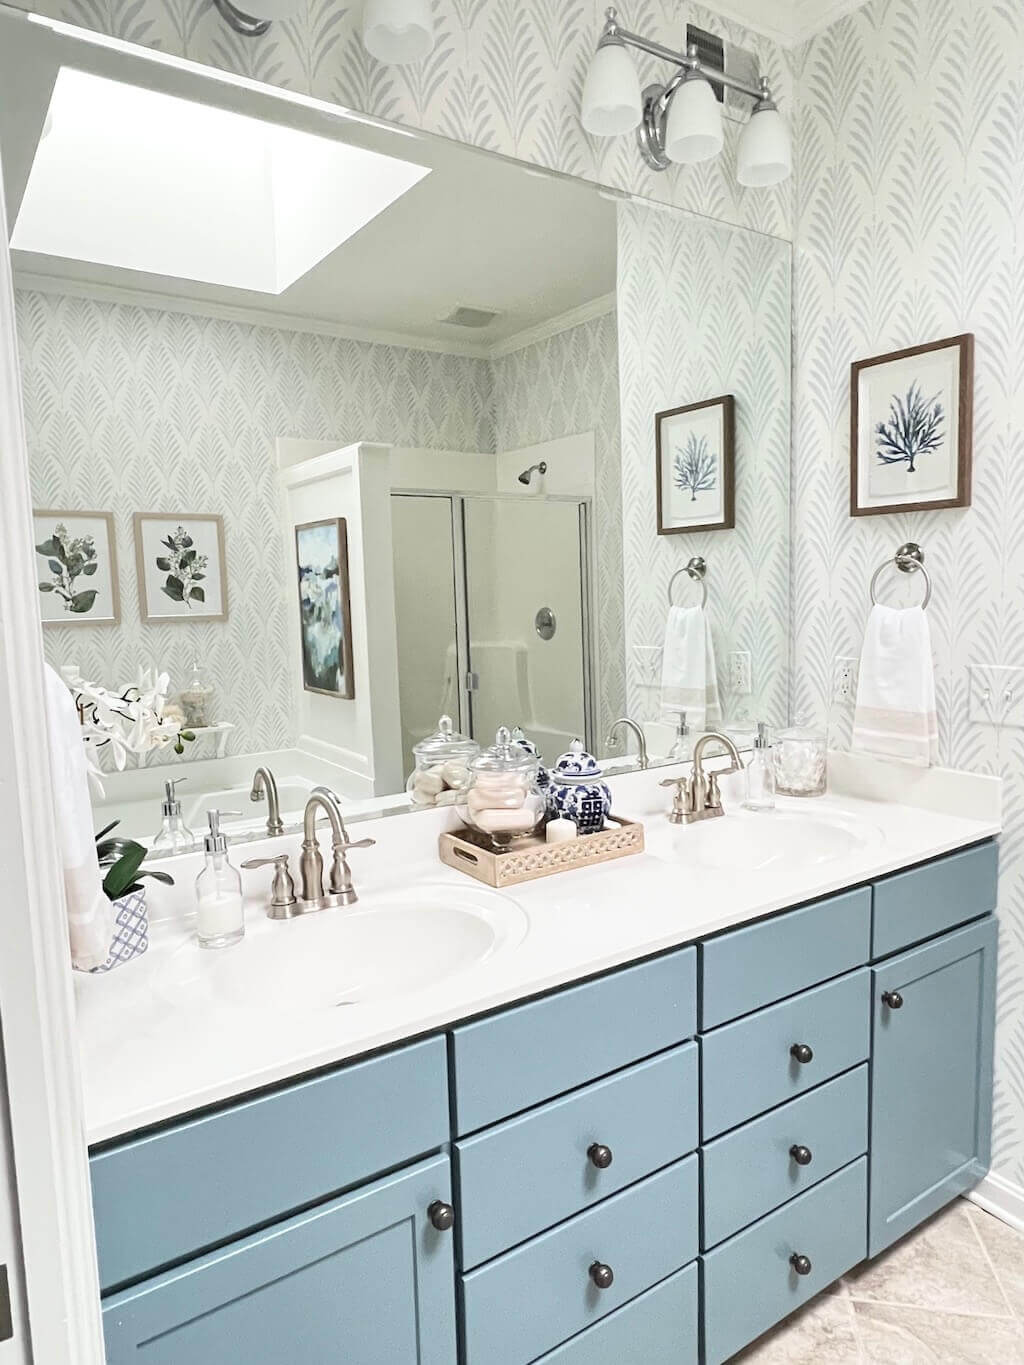
My original plan for this bathroom was to paint a large checkerboard pattern on the tile floors. After a lot of research and consideration, I decided to hold off on the floor paint. I was just a little too concerned about the durability of the painted tiles, so I decided to hold off on that for now. At some point, I may give it a go, but will probably just wait and replace the floor tile down the road.
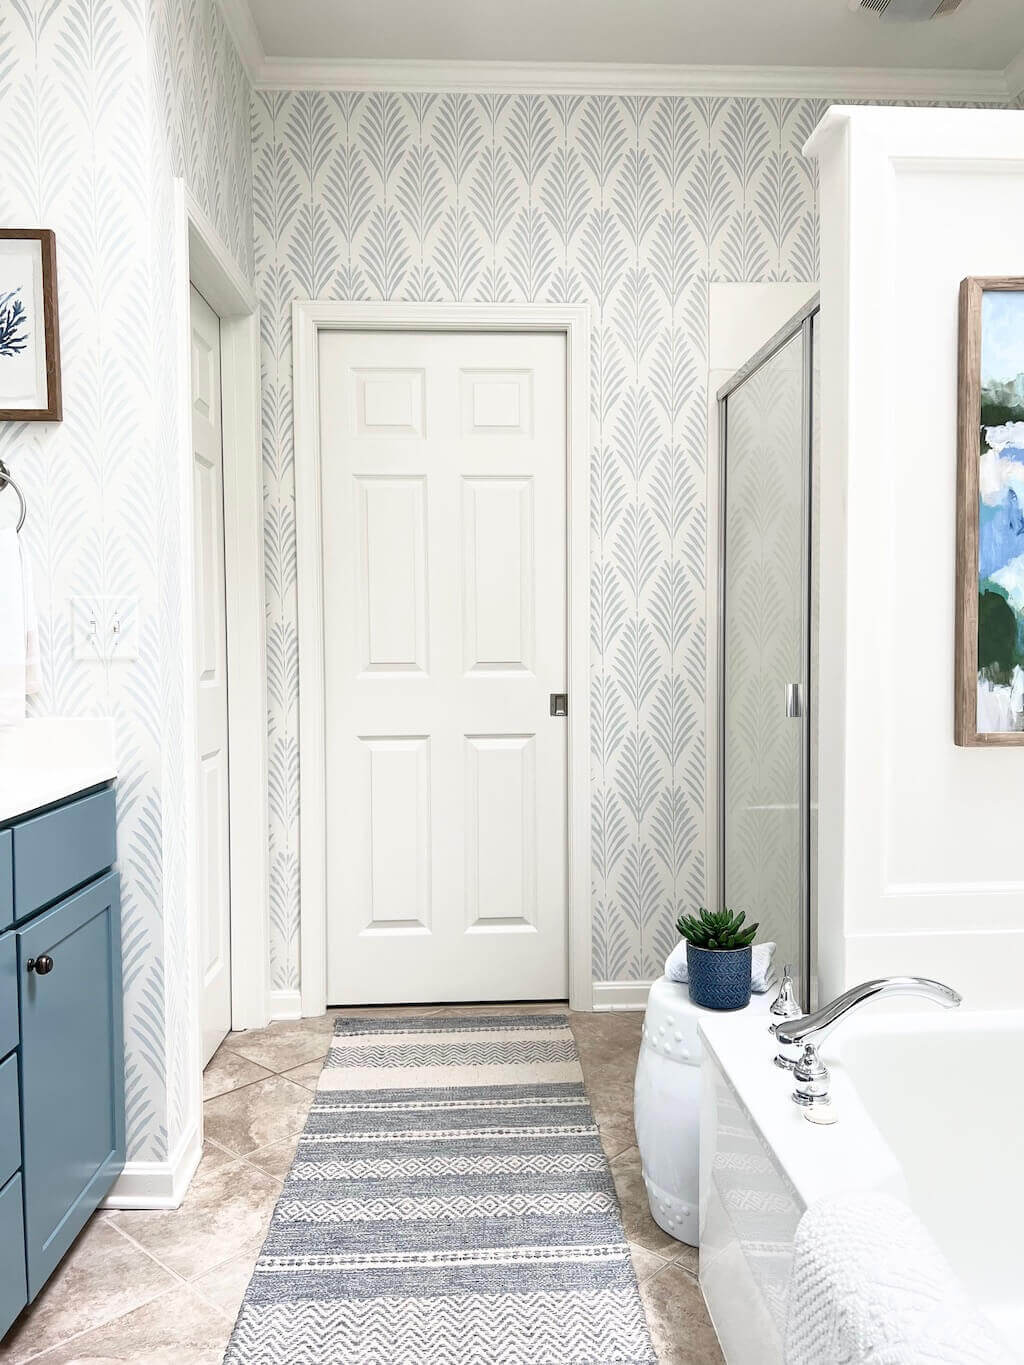
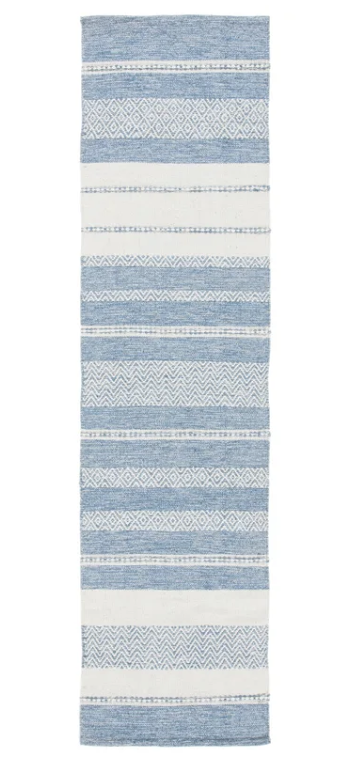
For now, I’m using this blue and beige runner to cover the floor.
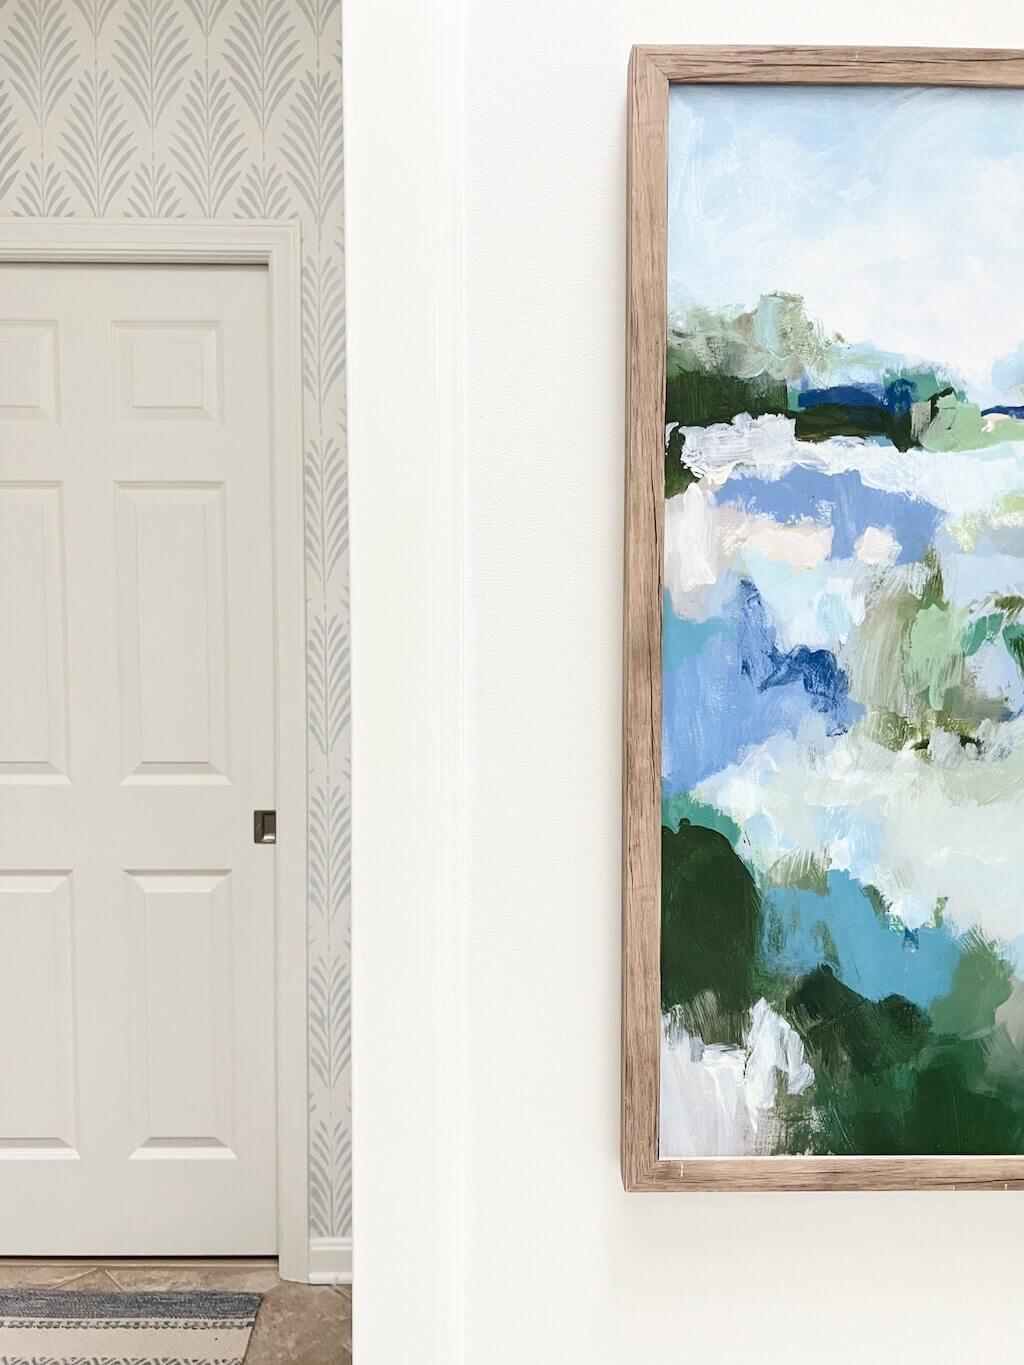
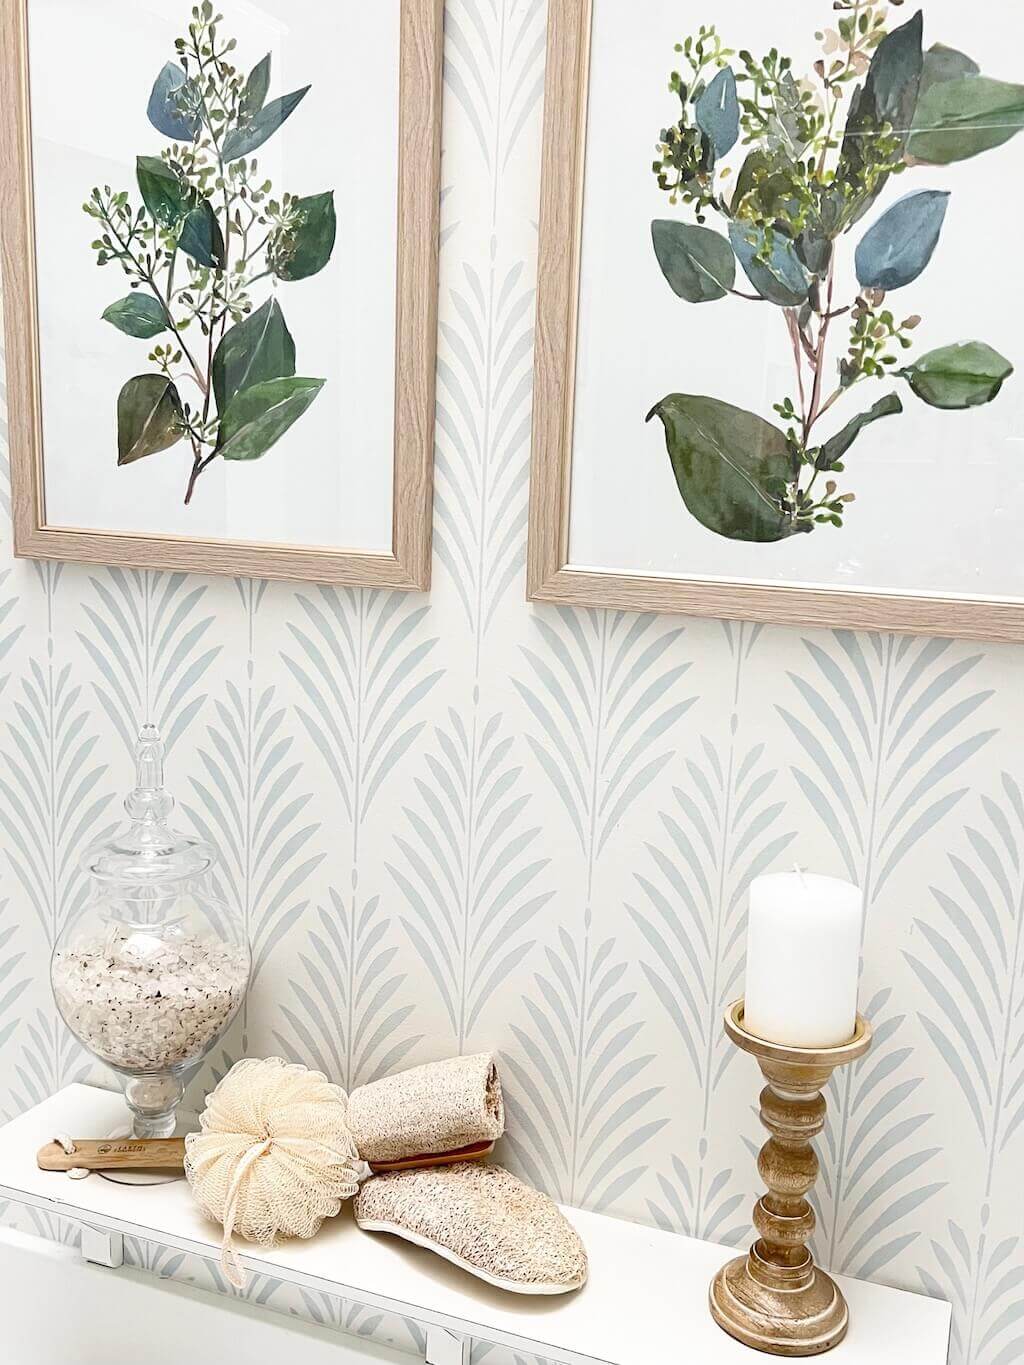
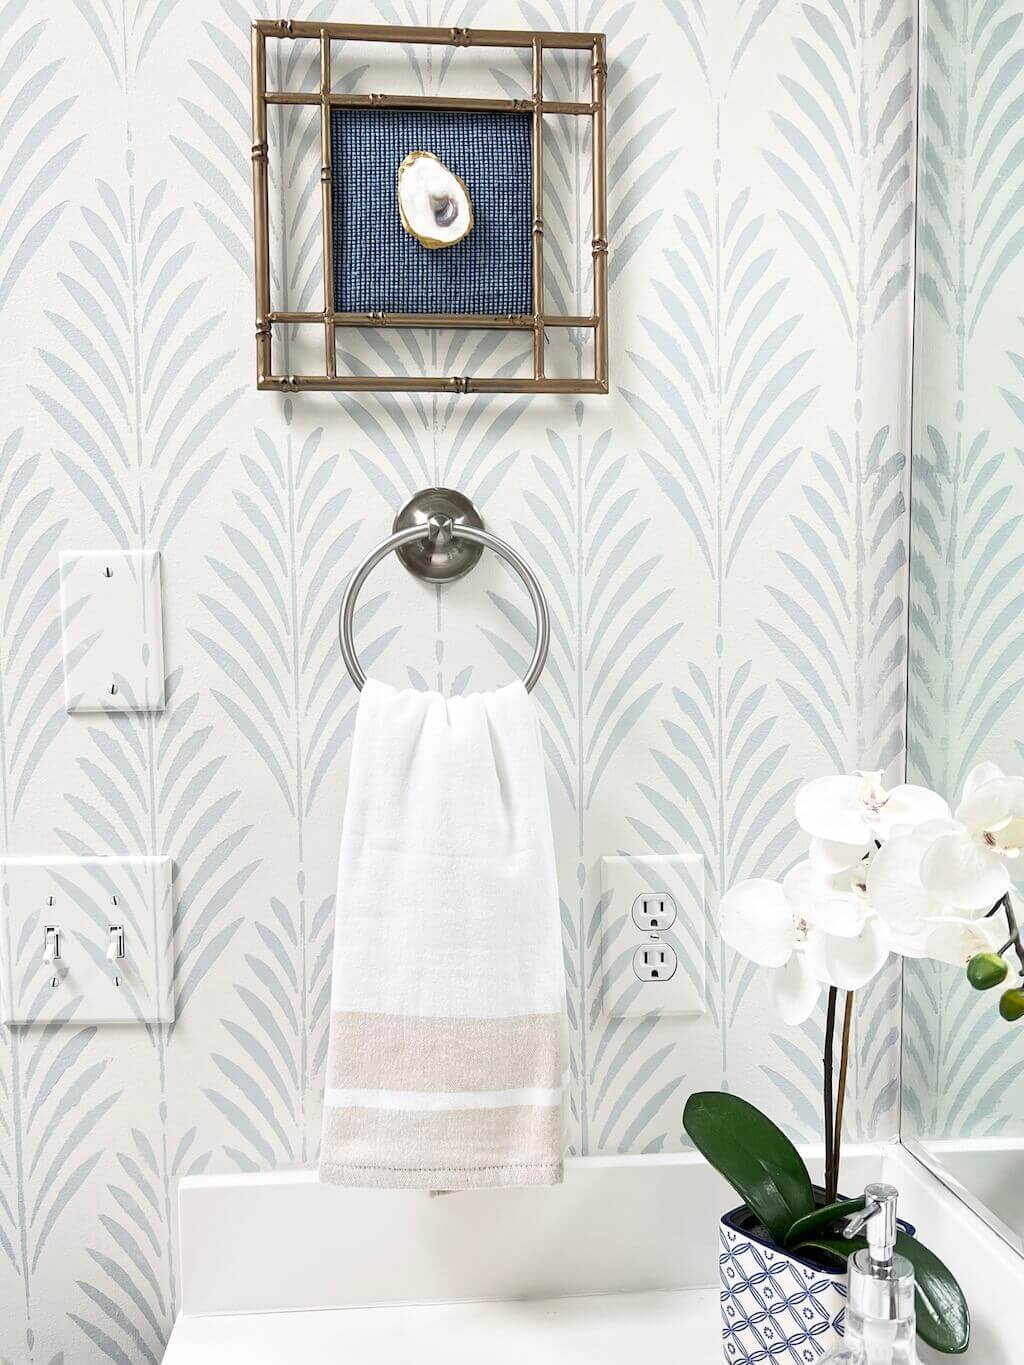
I also added some artwork, including this DIY Shell Art completed during Week 3.
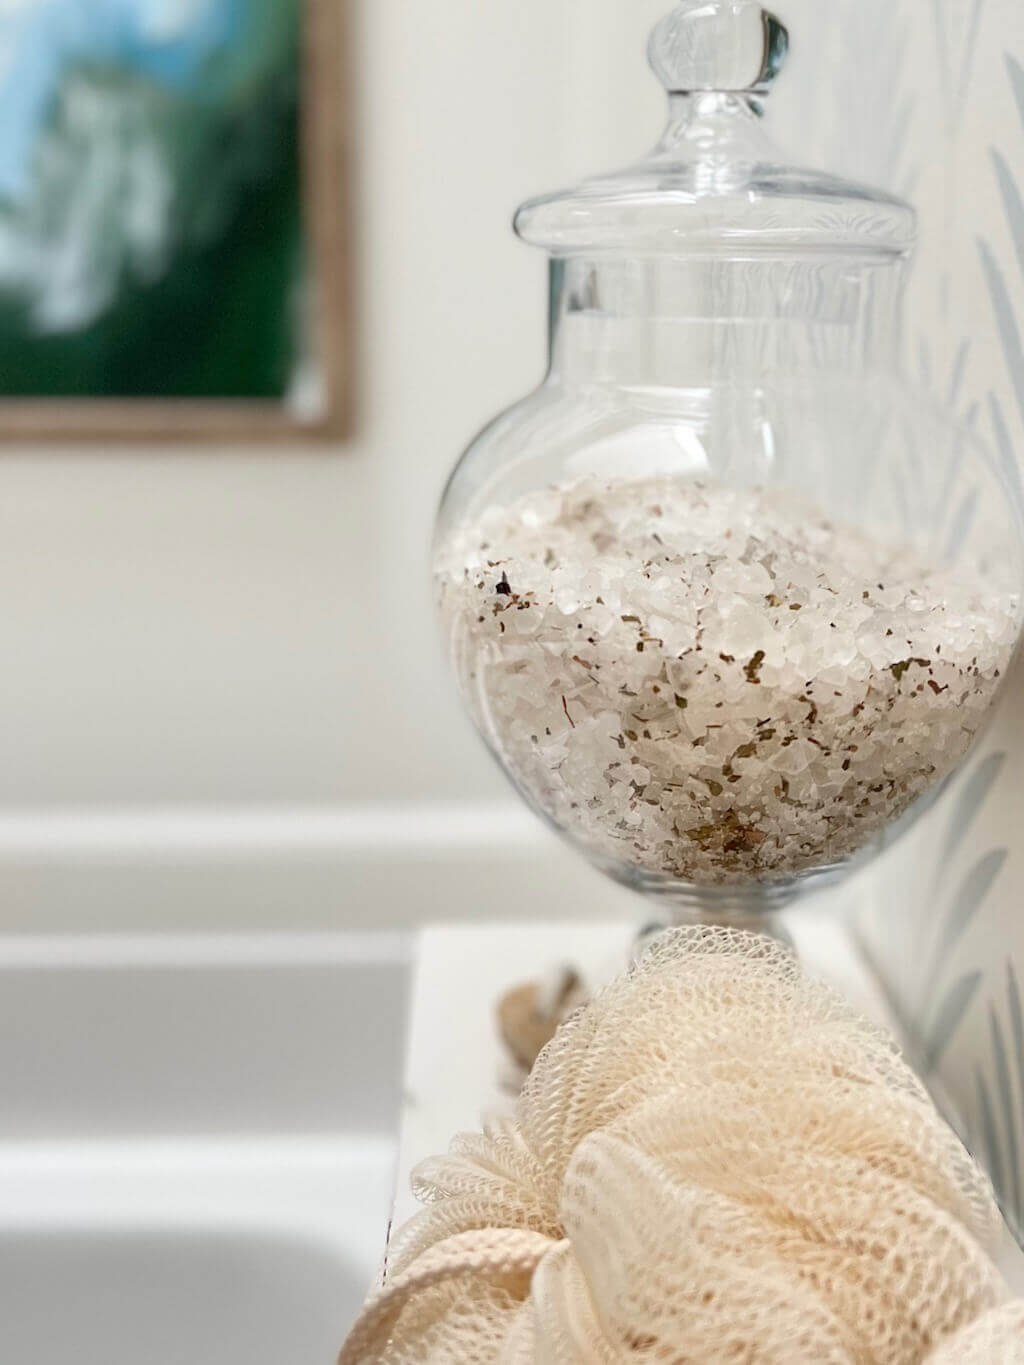
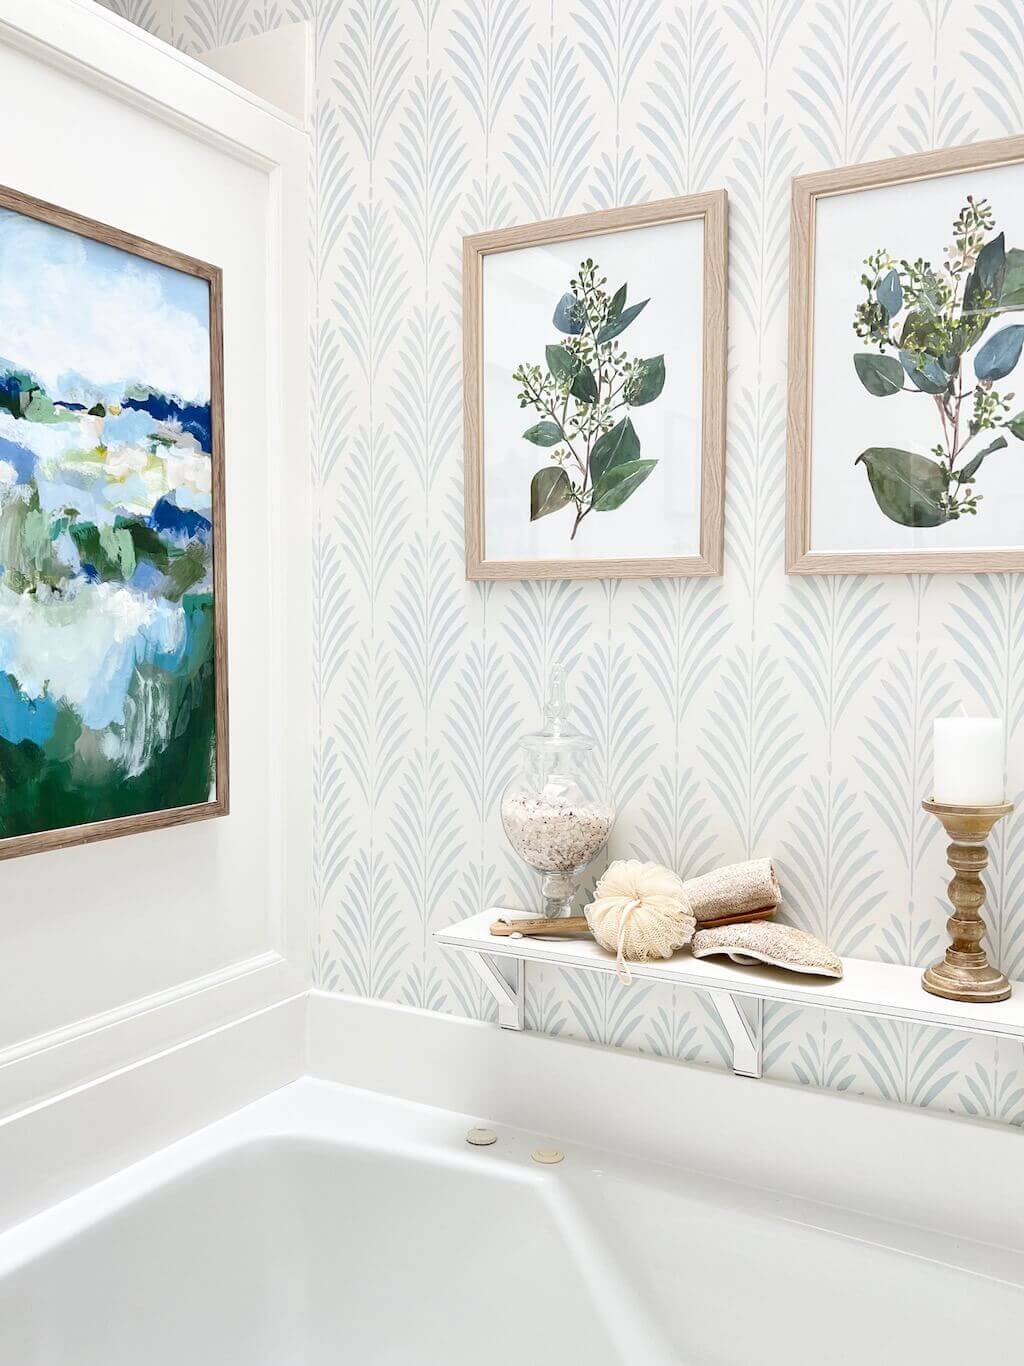
We added a small decorative shelf to hold bath essentials above the garden tub and a pretty white garden stool as a decorative touch. Our garden tub has a small surround, so we’ve never really been able to add all the pretty decorative bathroom essentials around the tub. The shelf and garden stool are perfect for holding bath salts, loofahs, and other bath accessories!
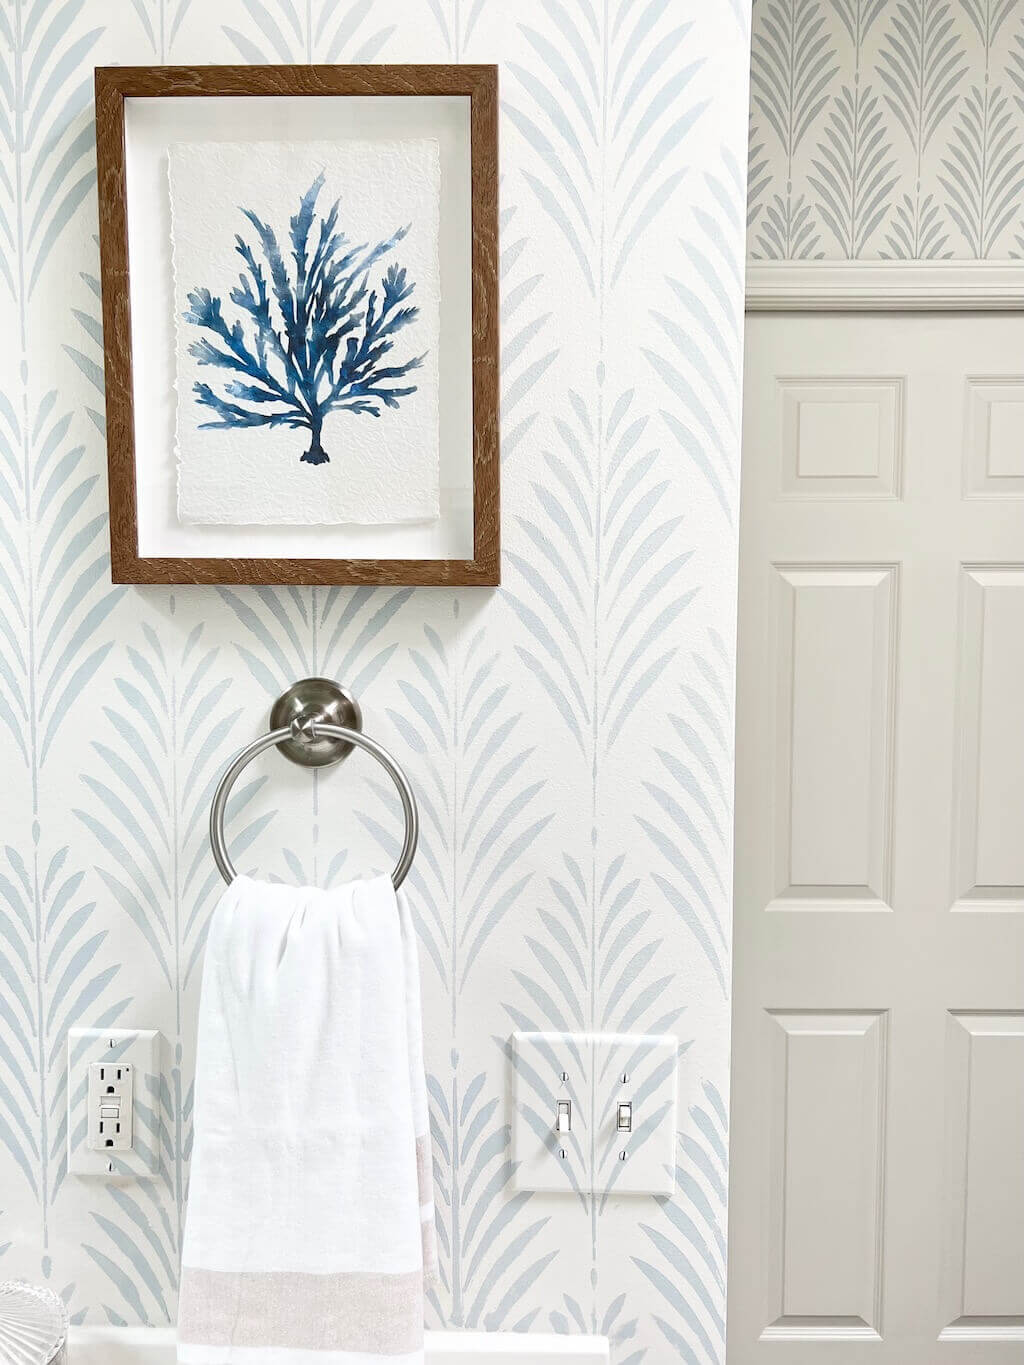
The wall stenciling process, by far, took up the bulk of the time in the primary bathroom makeover. It was a slow-going process that required a great deal of patience, and a few essential items to make the process go a little easier. You can read all about our stenciling process here and some of my best stenciling tips here.
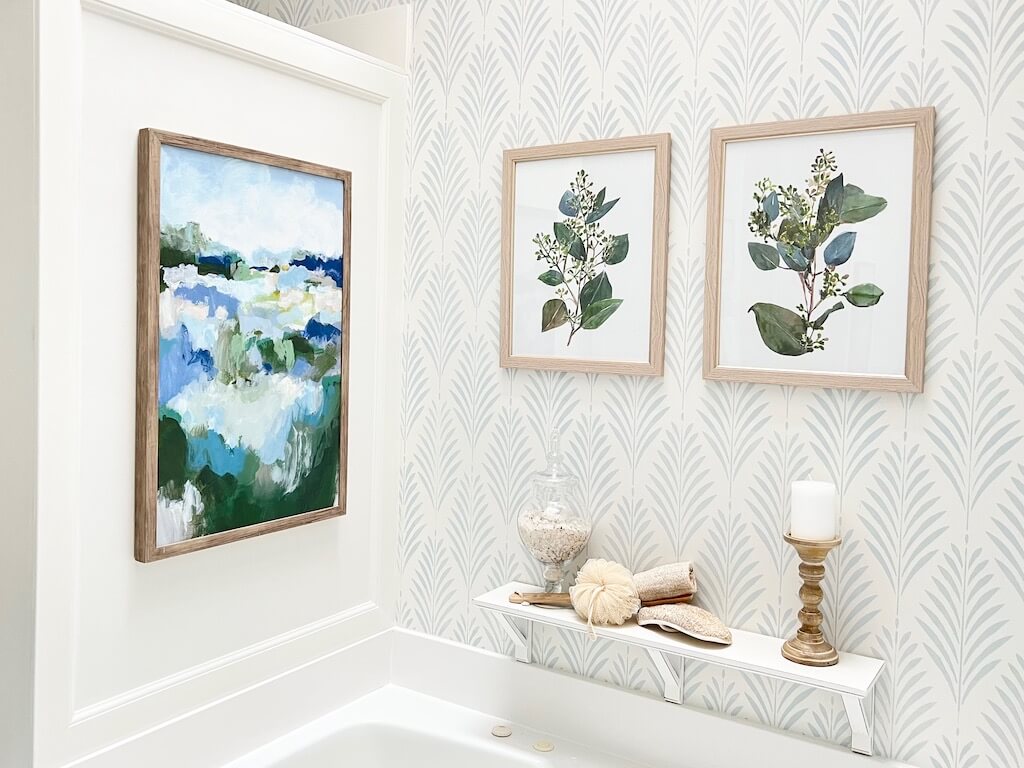
Our Primary Bathroom Paint Colors:
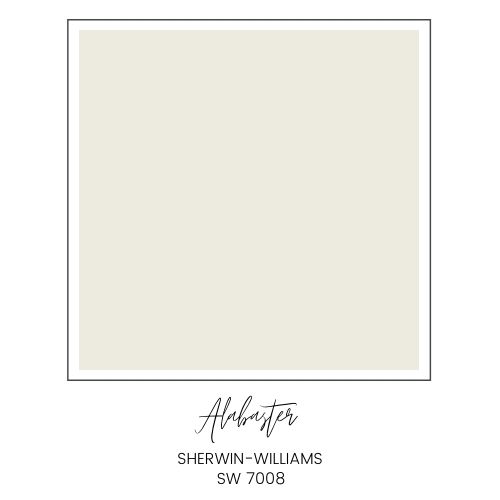
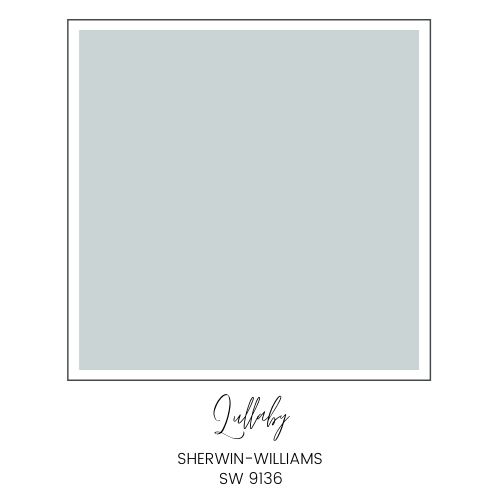
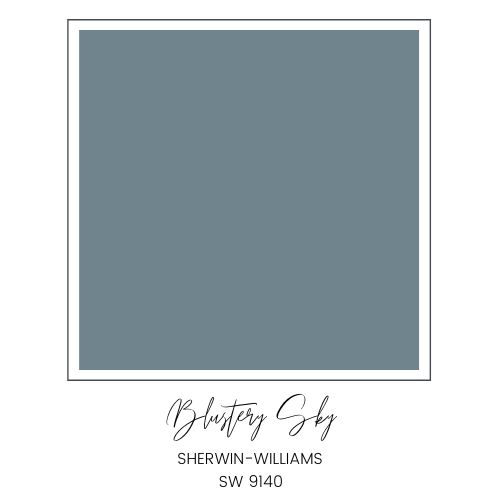
We used the following Sherwin-Williams paint colors in our bathroom makeover.
Background color on the walls and trim color: Sherwin-Williams Alabaster (SW 7008)
Stencil color: Sherwin-Williams Lullaby (SW 9136)
Vanity color: Sherwin-Williams Blustery Sky (SW 9140)
Supplies for Wall Stenciling:
The supplies below were absolute essentials for completing this all-over stencil design in the bathroom.
Palm Frond Stencil (You should purchase one or two extras!)
Stencil Spray Adhesive (an absolute must!!)
Frog Tape (You’ll use a lot!!)
Putty Knife (for applying the stencil in the corners)
Broad Knife (to apply stencil along edges and bottoms)
Light Fixtures, Cabinet Hardware, and Other Bathroom Decor to Complete the Look:
I already owned a few of the decorative pieces, and some items were purchased at Homegoods, but I’ve included other items below for similar looks to the items I don’t have links for. You can click on the pictures to link to the products.
I had a great time completing this primary bathroom makeover on a budget! We had a few bumps along the way (you can read about one of them here), and made some design changes here and there, but I am so pleased with how the room turned out. It’s a huge change from where we started, and I am so glad we did it! Many, many thanks to my sweet husband for all of his help and carpentry skills!!
Be sure to stop by the link below to see all of the other amazing reveals of all the guest participants of the One Room Challenge.
Thank you so much for stopping by and for following along with this fun project!! It’s been so exciting to participate in the One Room Challenge, but it’s even better to be finished!! Now, it’s time for a vacation!!
Have a lovely day!!



It turned out soooo lovely! It’s so peaceful and calming along with fresh feeling!
Congrats!!!!
Thank you so much, Diane!!
Wow!!! Your bathroom makeover looks amazing! I love the calm colors you chose! I know that stencil was a lot of work, but it is lovely! The addition of the shelf was very smart to make the tub more functional! Your pretty artwork is the icing on the cake! Great job! Donna
You are so sweet, Donna! Thank you so much! It was definitely a lot of work, but I’m so glad I did it!
Your bathroom looks so lovely. I am so excited to feature you on the Fabulous Friday Link Party. Hugs and blessings to you.
Oh, thank you so much, Renae! What an honor! I appreciate you so much, especially all of the work you put into the link party each week! Thanks so much for featuring this project!
Kim, your bathroom turned out stunning. I love the stencil. It looks like wallpaper on the walls. One of the artwork you have listed as artwork options “Renditions Gallery Peacock Rift Wall Art, Colorful Abstract Artwork, Blue and Green Textured Landscape”, I have in my master bath and love the colors in it. You did an amazing job on your ORC project. I love everything about this room.
Thank you so much, Tammy! It was a lot of fun completing the project, and we’re so happy with the results! I love the artwork and I’m sure it looks gorgeous in your master bath! Thank you so much for your sweet comment and encouragement!
You did a beautiful job! I love the peaceful colors and I especially like how you wallpapered over the switch plates. It’s the little things.
Thank you so much, Linda! We certainly enjoy the room a lot more now! Thanks so much for your sweet comment!
What wonderful choices you made. The room feels larger, fresh, cozy and elegant. The trim on that shower wall looks amazing; it makes the room feel more substantial and more expensive. Well done!
Thank you so much, Tania! What a wonderful compliment! I really appreciate it!