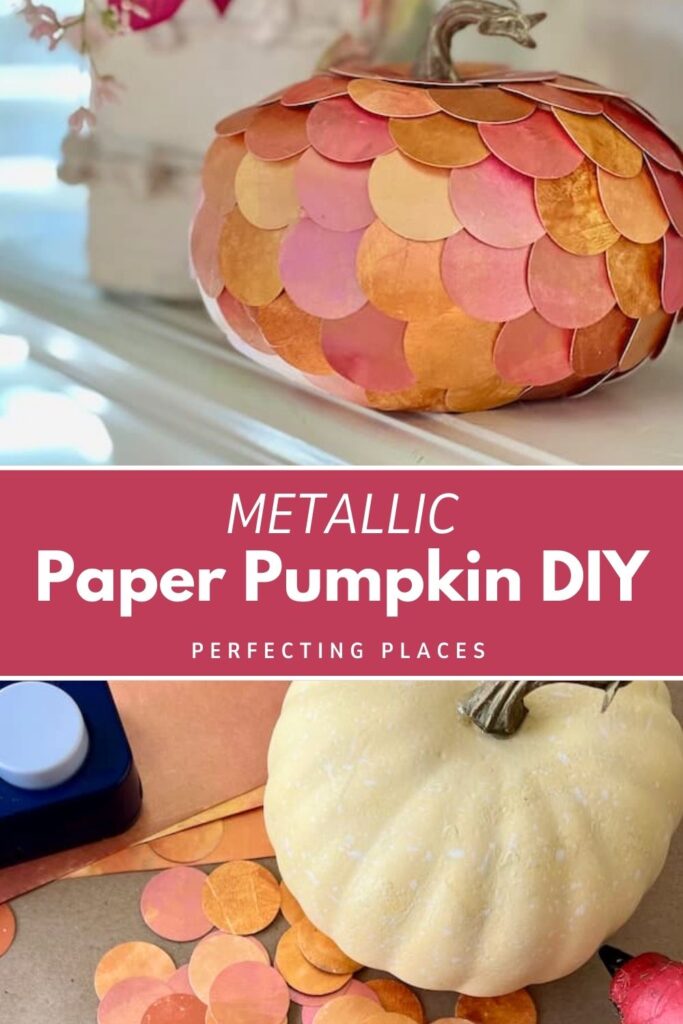
Glam Up Your Fall with This Easy DIY Metallic Paper Pumpkin
Want to give a plain faux pumpkin a colorful update? This easy DIY metallic paper pumpkin is fun to make and adds just the right amount of shimmer and style to your fall decor. With just a few simple supplies, you can transform a plain faux pumpkin into a stunning fall accent!

(This post contains affiliate links, so I may earn a small commission when you make a purchase through links on my site at no additional cost to you. As an Amazon Associate I earn from qualifying purchases.)
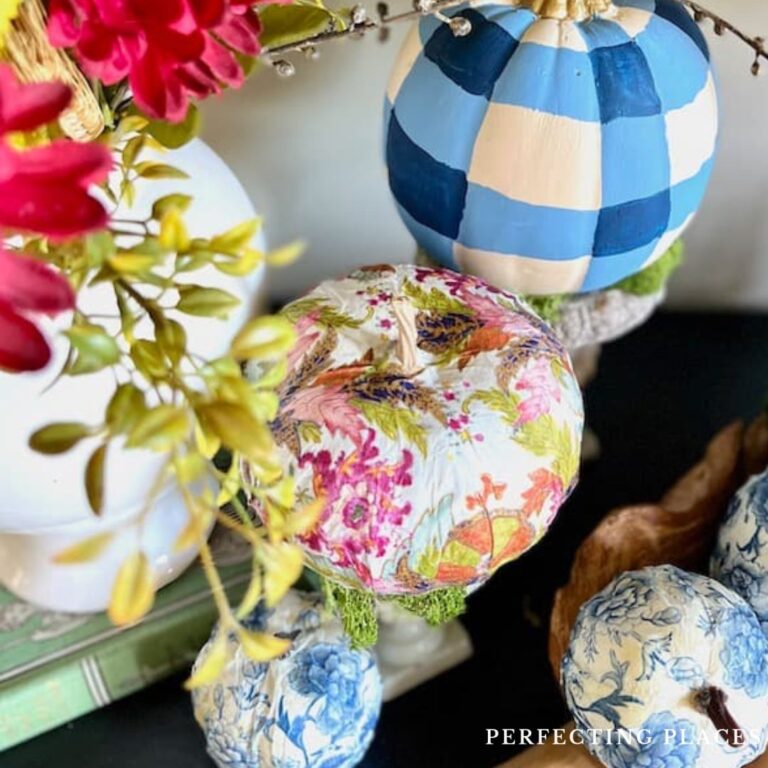
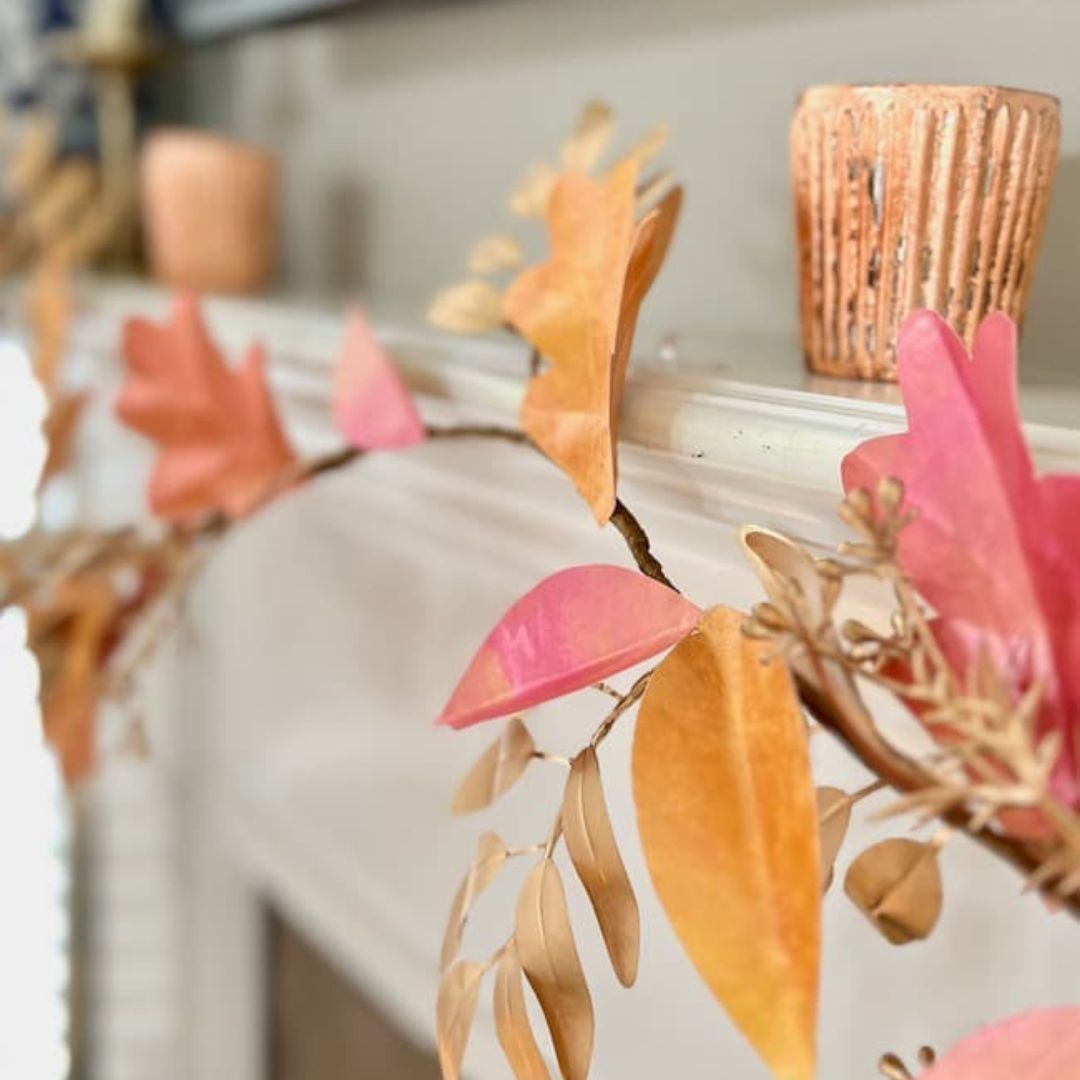
Last fall, I created a colorful metallic paper leaf garland for our mantel. I made the garland with leaves cut from hand-painted card stock.
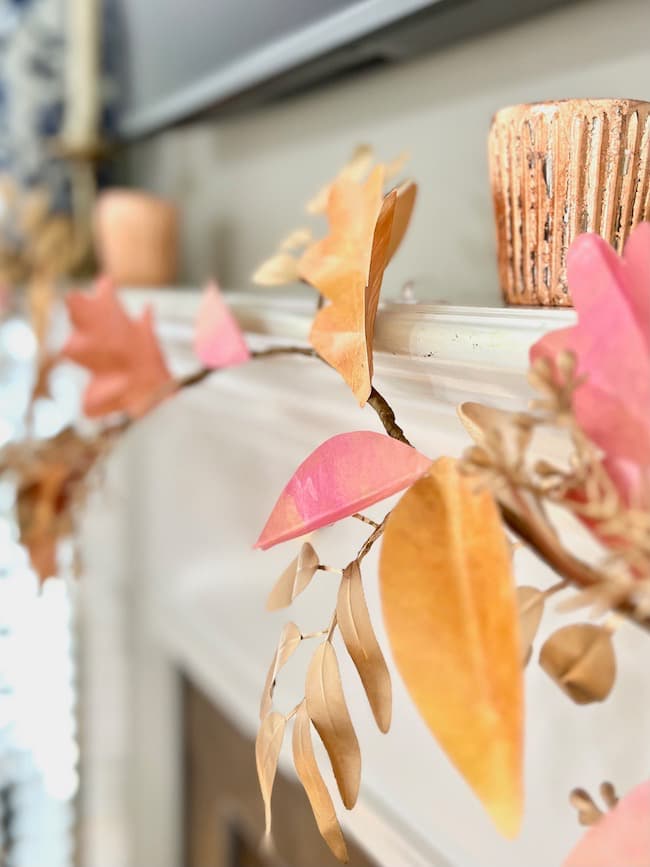
I had the best time painting the card stock with metallic acrylics in stunning fall hues using a rubber brayer. It was the first time I had ever used this technique, and it was so much fun! You can read all about the technique in this post.
I love the way the garland turned out, and, fortunately, I had lots of paper left over. These pretty painted metallic papers have been sitting on the shelves in my craft room for over a year just waiting for the inspiration for another creative DIY project to strike.
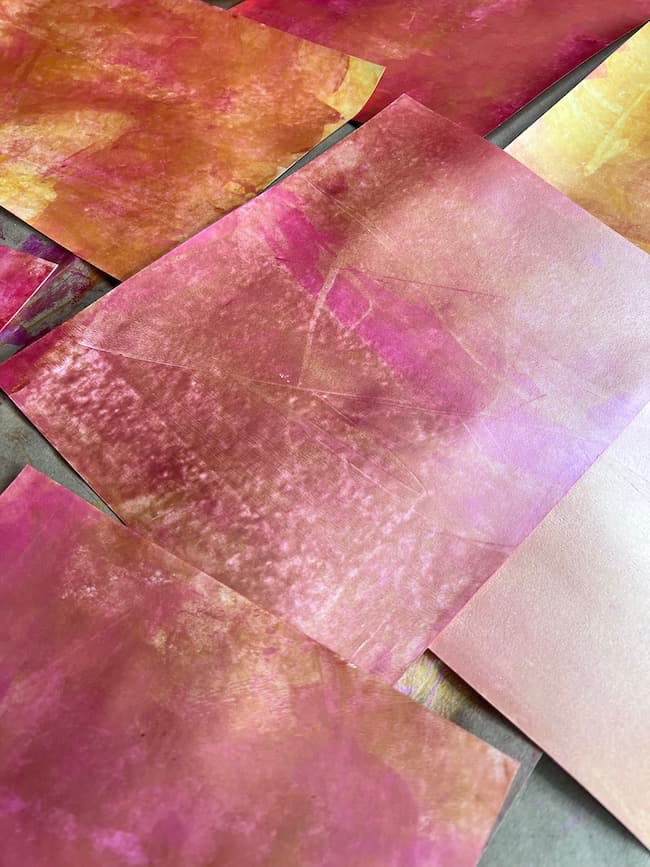
I think these colorful papers are so pretty, and I decided a metallic paper-covered pumpkin would be the perfect way to use them!
How to Make a Paper-Covered Pumpkin
This fun pumpkin craft calls for lots of small paper circles to fully cover the pumpkin. Obviously, the size of your pumpkin will determine how many circles you’ll need.

Supplies Needed:
- Card stock paper
- Metallic acrylic paints
- Rubber brayer
- Circle punch
- Pencil
- Hot glue gun and glue sticks
- Small faux pumpkin
- Glue gun finger protectors
Step 1 — Paint your card stock.
I was lucky because I already had these papers made, so this project was very, very quick. All I had to do was punch out the circles and glue them on. However, if you want to paint your own paper in this same manner, here’s the easy process.
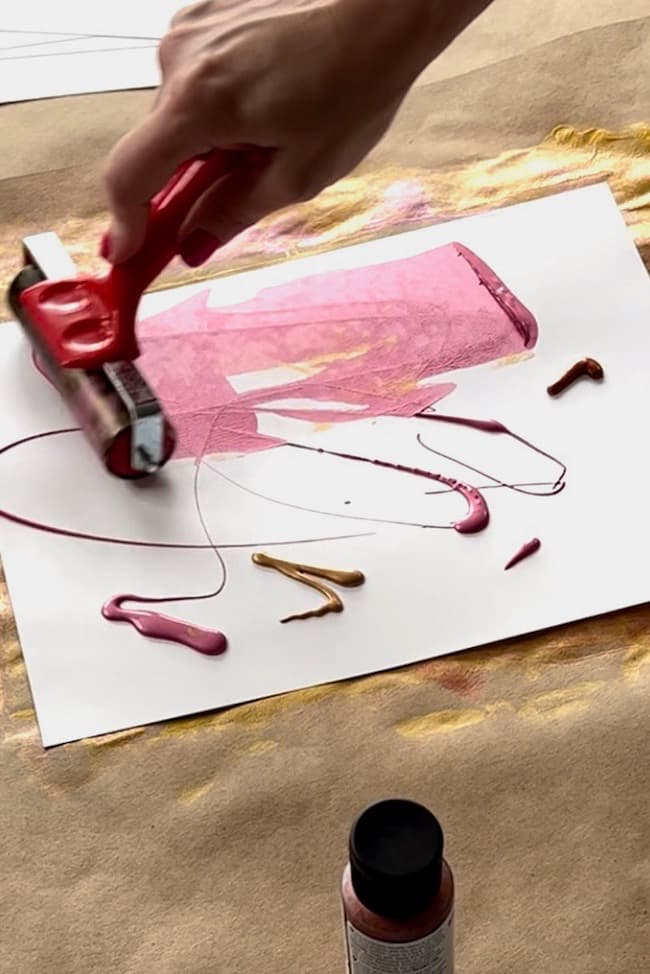
I used three different metallic paint colors to create these different designs. Begin by squirting a few drops and squiggles of the paint onto a piece of card stock, and then use the rubber breaker to roll and spread the paint out around the paper, mixing the different shades together covering the entire page. The end result will be a beautiful mixture of metallic color.
Alternative: It’s really fun to make the colored paper with the rubber brayer; however, if you don’t want to go to the trouble of making your own colorful paper, you can certainly use colorful card stock in a variety of colors to make your pumpkin. You can even choose metallic papers to get a similar effect.
If you choose to make your own, you will certainly need to allow time for the paint to dry completely before you punch the circles for the project.
Step 2 — Make the circles.
The easiest way to make lots and lots of circles is to simply use a circle punch.

My circle punch is an old Creative Memories circle punch that I’ve had for years, but this hole punch would be a great option.
The size of your pumpkin will determine the number of circles you need.

For reference, my hole punch made a 1 and 1/4 inch circle, and I used between 140 to 150 circles to cover the surface of my pumpkin.
That sounds like a large number, but it really went very quickly.
Step 3 — Curve your circles.
This simple step should be done before gluing the circles to the pumpkin. Since your pumpkin is spherical, you need to curve the circle pieces so they are rounded and not flat.

Wrap your circles around a pencil to round them. You can grab small stacks of several circle pieces at a time to curve around the pencil. You just need a slight curve.
Step 4 — Glue the circles to your pumpkin.
Turn your pumpkin upside down to glue the circles from the bottom up.

Use your hot glue gun to squirt a bead or line of glue, and then attach your circles to the pumpkin overlapping them as you go.

It isn’t necessary to cover the entire bottom of your pumpkin with circles. You won’t see them, and it will help your pumpkin to sit flat on the surface of your table.
Be careful not to burn your fingers as you use the glue gun. It’s always a good idea to use finger protectors when working with hot glue.

After the first row of circles is complete, add the next layer and then the next until you’ve worked your way up and reached the top of the pumpkin.

Your pumpkin is all finished, and now you’re ready to display your fun fall creation!

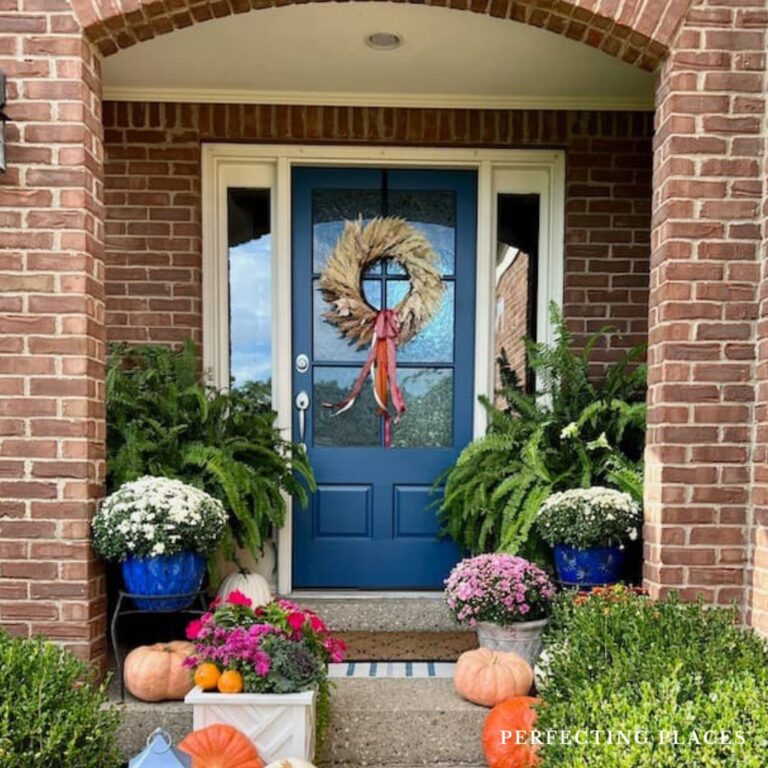
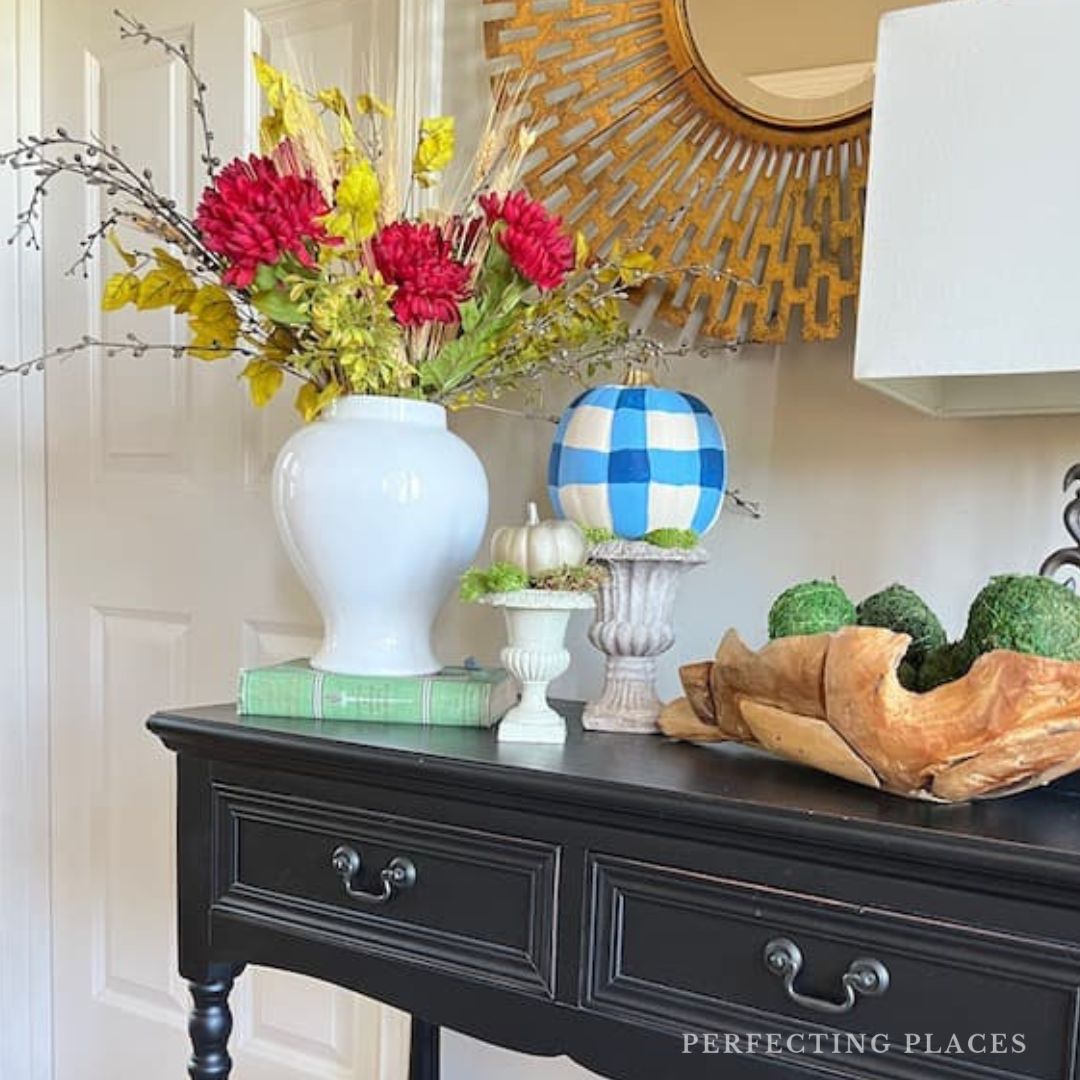
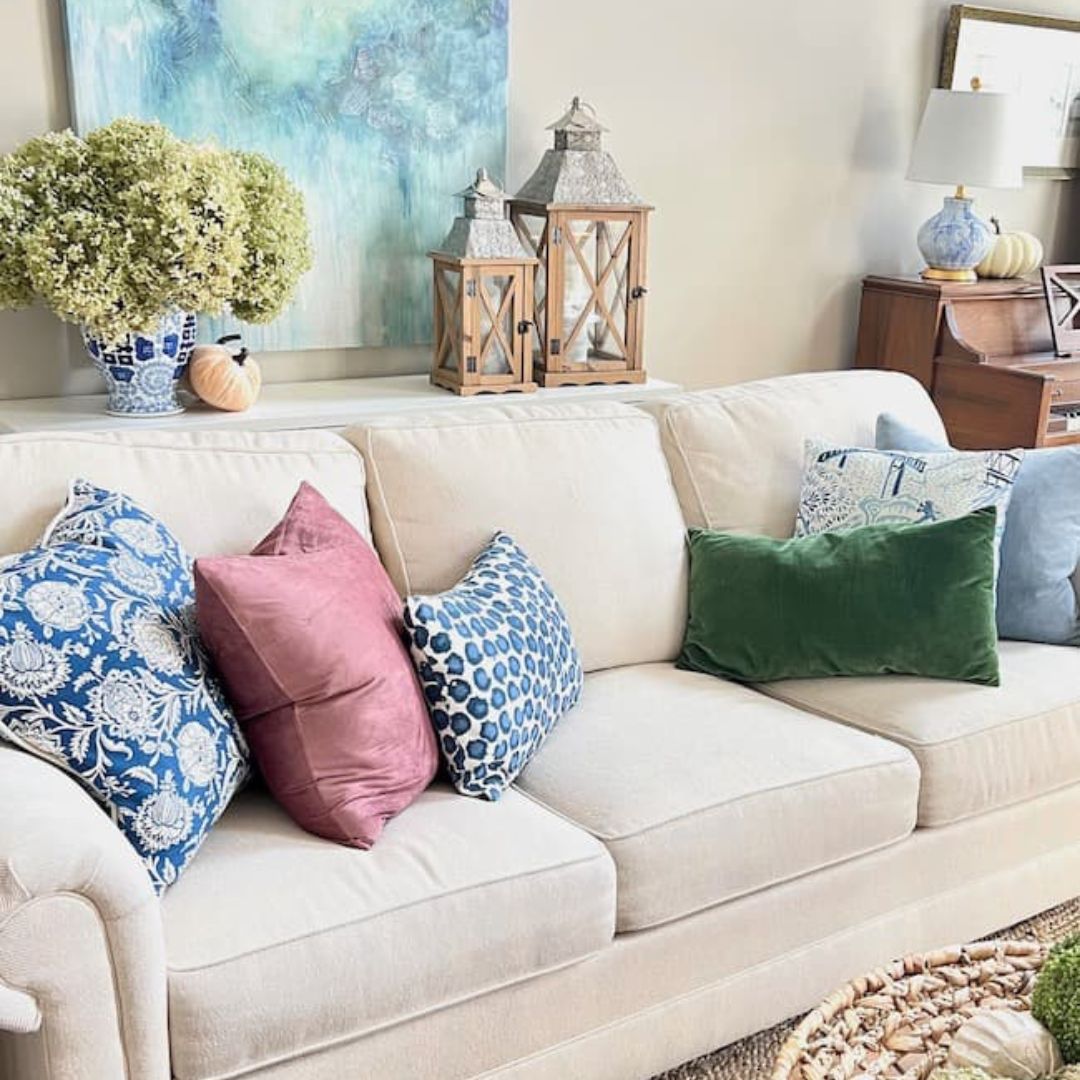
I love the way the pumpkin looks on our mantel styled with a fall arrangement!

Ideas for Styling Your Metallic Paper Pumpkin
Now it’s your turn to shine!
Ready to get started? Grab your supplies and let’s transform your plain pumpkin into a metallic masterpiece.
Happy Fall Crafting!


By the way, do you follow me on all the socials? If not, check out my Pinterest, Instagram, and Facebook and be sure to follow along so you don’t miss out on any of my decorating and DIY ideas!


Super cute idea, Kim!
Thank you so much, Jennifer! It was so much fun to make!