How to Make Stunning DIY Hydrangea Ornaments for a Vintage Christmas Look
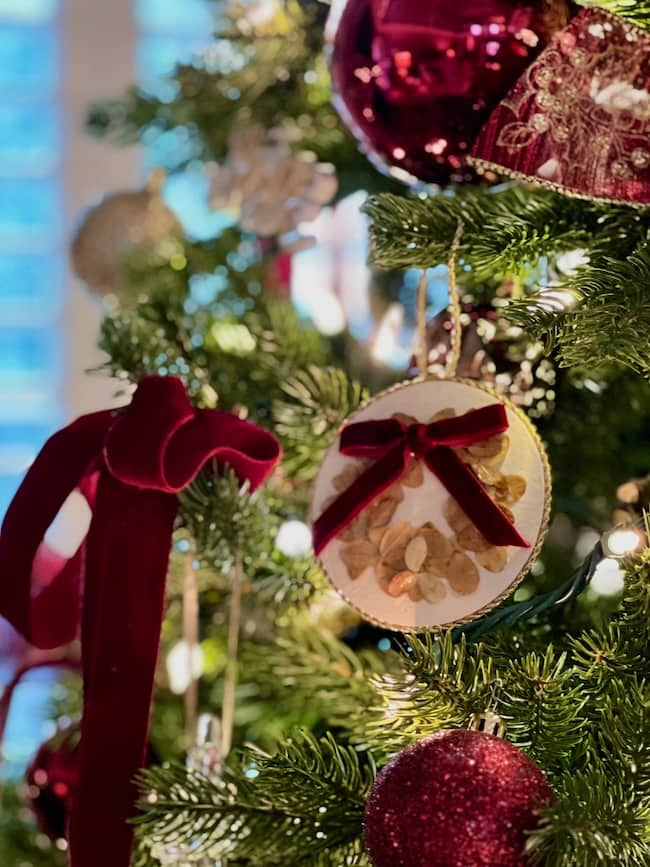
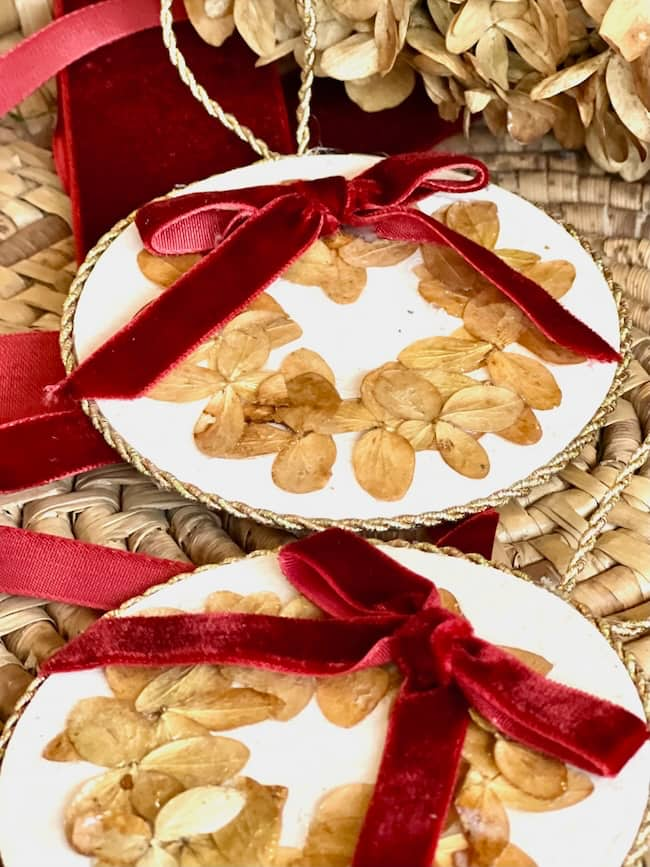
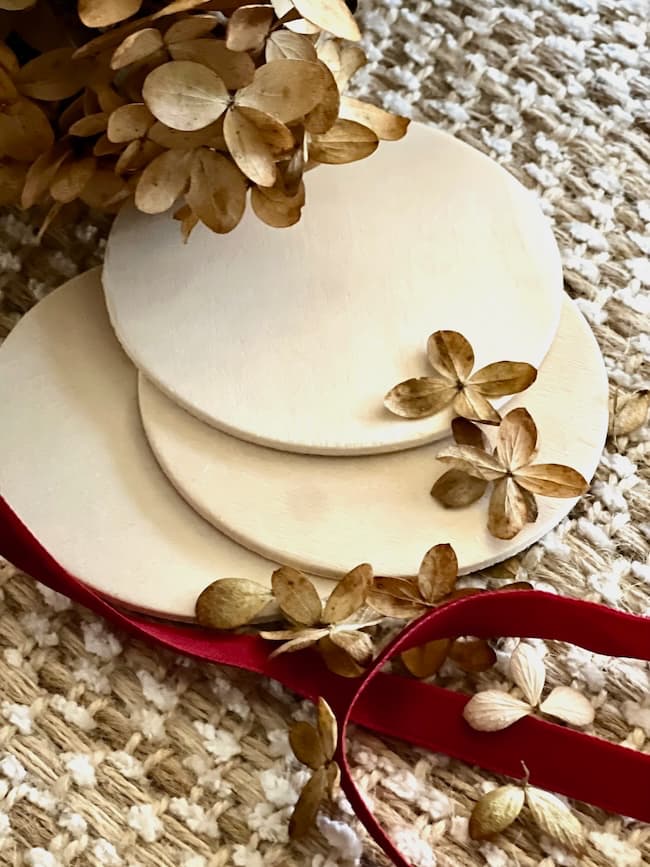
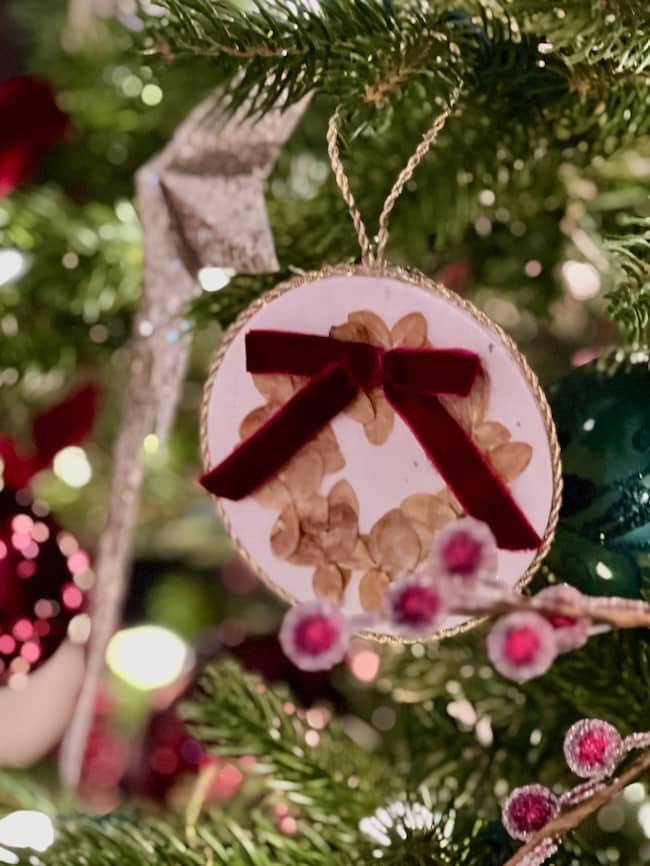
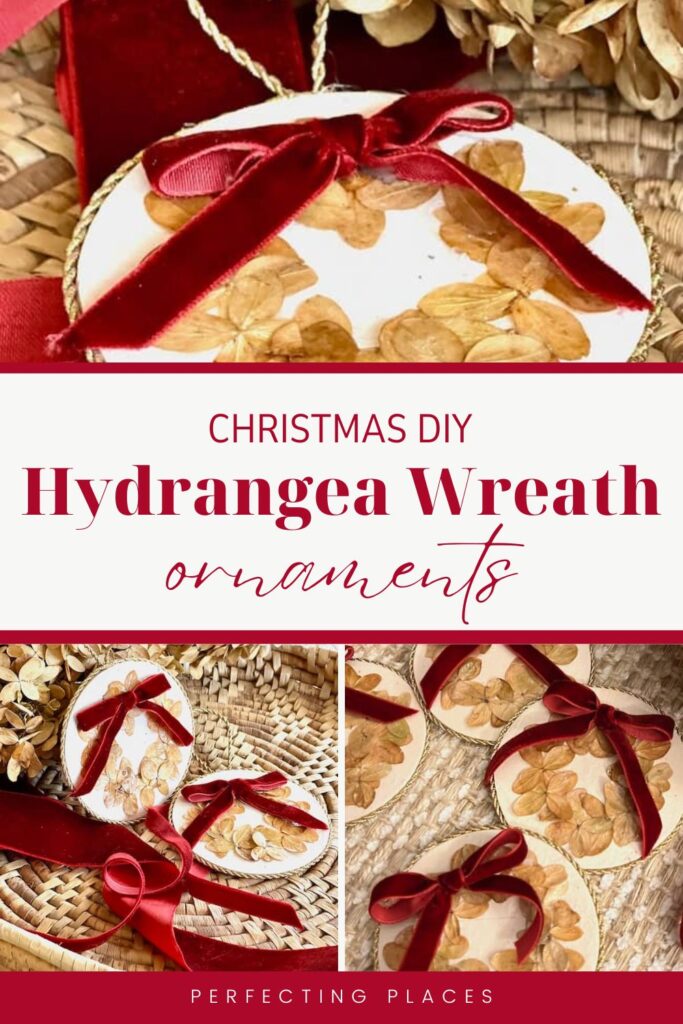
Creating your own Christmas ornaments adds such a personal touch to holiday decor, and these DIY hydrangea ornaments bring an extra bit of natural elegance to the tree. With dried golden hydrangea blooms, some wood circles, and velvety ribbon, these ornaments are easy to make and add a warm, vintage feel to your holiday home.
These Christmas ornaments are not only budget-friendly, but they’re also a meaningful way to incorporate natural elements from your summer garden into your Christmas decor!
(This post contains affiliate links, so I may earn a small commission when you make a purchase through links on my site at no additional cost to you. As an Amazon Associate I earn from qualifying purchases.)
The Inspiration Behind the Project
This project started last summer with a trip to Lowe’s. I’ve always loved growing hydrangeas and have wanted to plant limelight hydrangeas for years. Finally, last Mother’s Day, we planted a few. While they didn’t produce many blooms in their first summer, they produced enough to dry for great fall projects and decorating!
This year, my Christmas theme is all about vintage-inspired colors: deep burgundies, greens, and golds. When I saw the beautiful golden hue of the dried hydrangeas, I knew they were perfect for creating delicate, timeless ornaments.
The craft I’m sharing today combines all the best elements of Christmas DIY: natural materials foraged from our yard, elegant classic details, and a personal touch that creates something truly beautiful for the holidays. So, let’s get to all the step-by-step details for creating these fun and lovely ornaments!
How to Create Elegant Christmas Ornaments with Golden Dried Hydrangeas
I had all of the craft supplies needed to make these hydrangea ornaments on hand, and used leftover velvet ribbon from our holiday decorating.
Materials You’ll Need
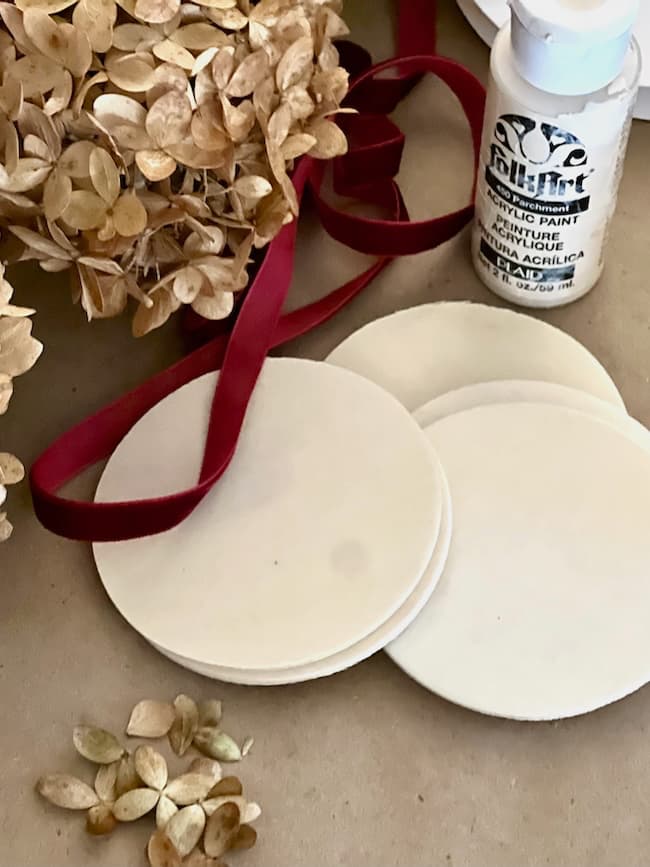
- Dried hydrangea florets
- 3-inch wooden circles (pre-drilled) (no holes)
- Acrylic paint in a neutral tone
- Mod Podge (gloss finish)
- Gold metallic twine
- Small velvet or satin ribbon (⅜ inch or smaller)
- Scissors
- Hot glue gun and glue sticks
- Hot glue finger protectors
- Foam paintbrush
- Q-tips
- Wax paper
- Optional: Disposable gloves
How to Make the Ornaments
1. Prepare the Wooden Circles
Begin by painting the wooden circles with acrylic paint in a soft, neutral tone.
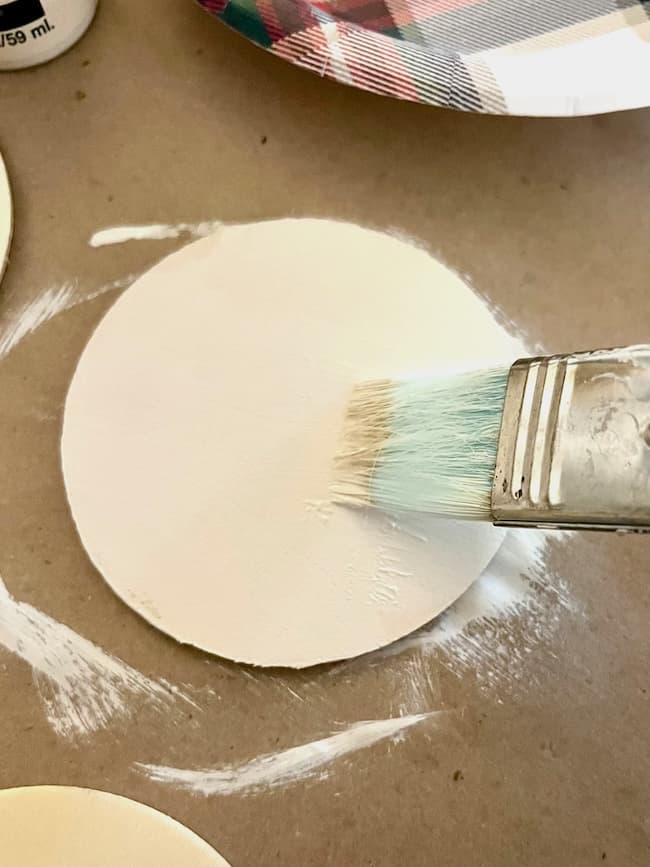
I used FolkArt acrylic paint in the color “Parchment” to create a light, but soft backdrop for the tiny hydrangea wreath — but any neutral color will work. Paint both sides of each circle, allowing one side to dry completely before painting the other. Fortunately, the acrylic paint dried very fast.
2. Prepare the Hydrangea Florets
Carefully separate the smallest clusters of petals, known as florets, from the dried hydrangea blooms. Trim any remaining stem bits to make the florets lay as flat as possible on the wood circles.
3. Attach the Hydrangea Florets in a Wreath Pattern
Apply Mod Podge to both the wooden circle and the back of each floret.
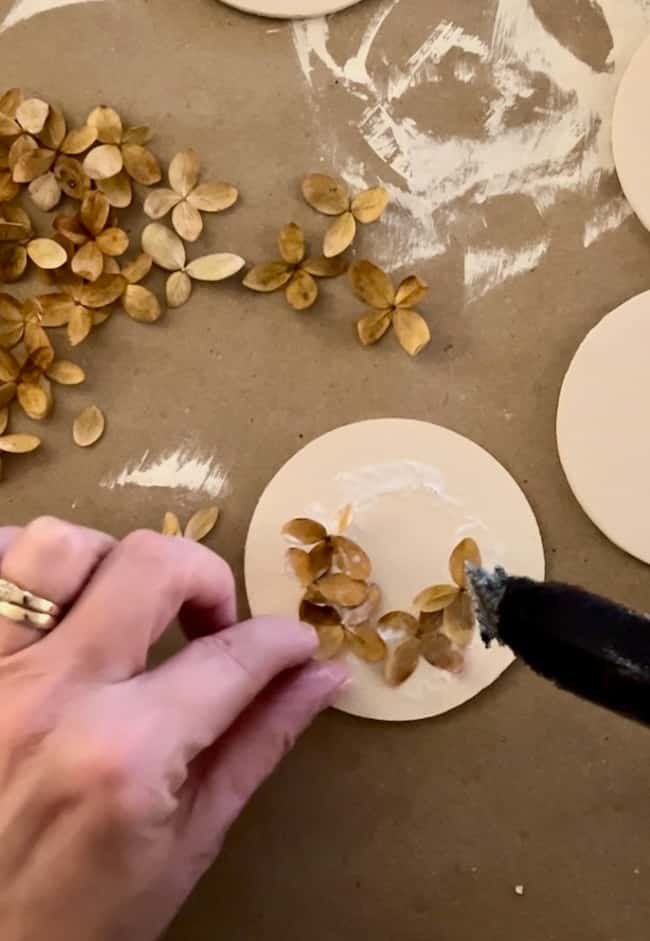
Place the florets on the circle, arranging them in a wreath pattern. I overlapped the floret pieces to create some dimension and interest.
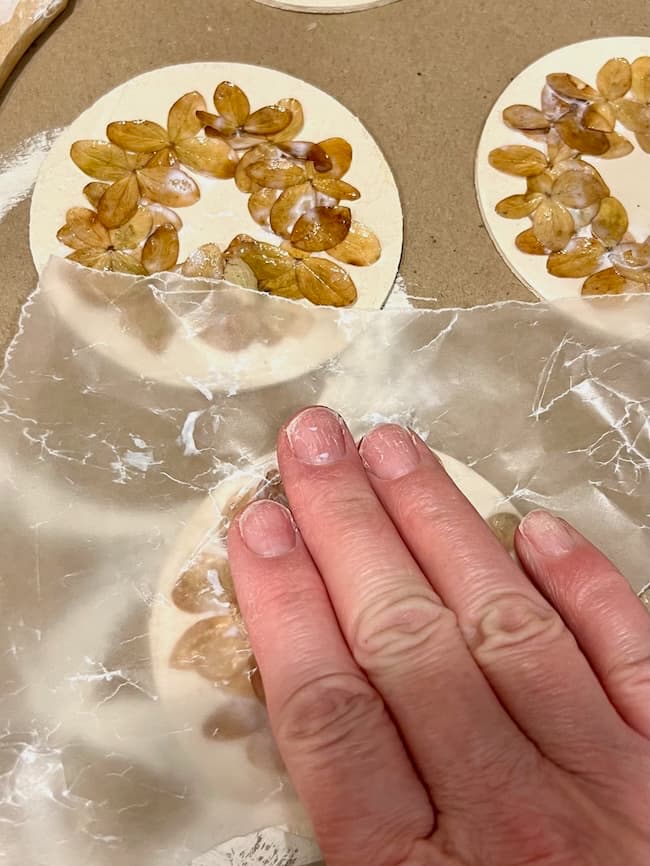
Helpful Tip: While the glue is still wet, the florets may not lie completely flat, so allow the Mod Podge to become tacky. Simply let the glue set up for a few minutes. Once it feels tacky, gently press down on the florets to flatten them. I found it helpful to lay a piece of wax paper over the florets to help me press and flatten them without getting my hands so sticky.
5. Seal the Wreath Design
Once the florets are arranged and flattened, apply a top layer of Mod Podge over the entire wreath.
This seals and secures the florets while adding a subtle sheen. It will look very messy and thick, but don’t worry. The adhesive will dry to a clear, glossy finish. Allow this layer to dry completely before moving on.
6. Frame the Ornament with Gold Metallic Twine
Wrap thin gold metallic twine around the edge of each circle to create a frame effect. Apply a thin layer of Mod Podge to the edge and press the twine into place.
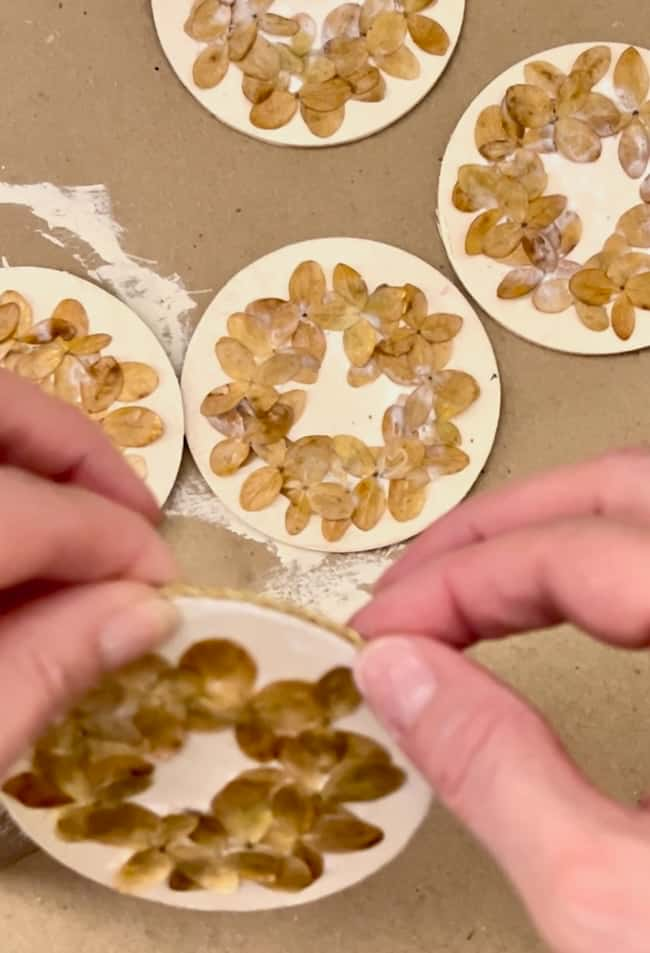
Allow it to set for a few minutes. Then, flip the ornament over and run a bead of hot glue along the back side where the gold twine meets the wood for additional security.
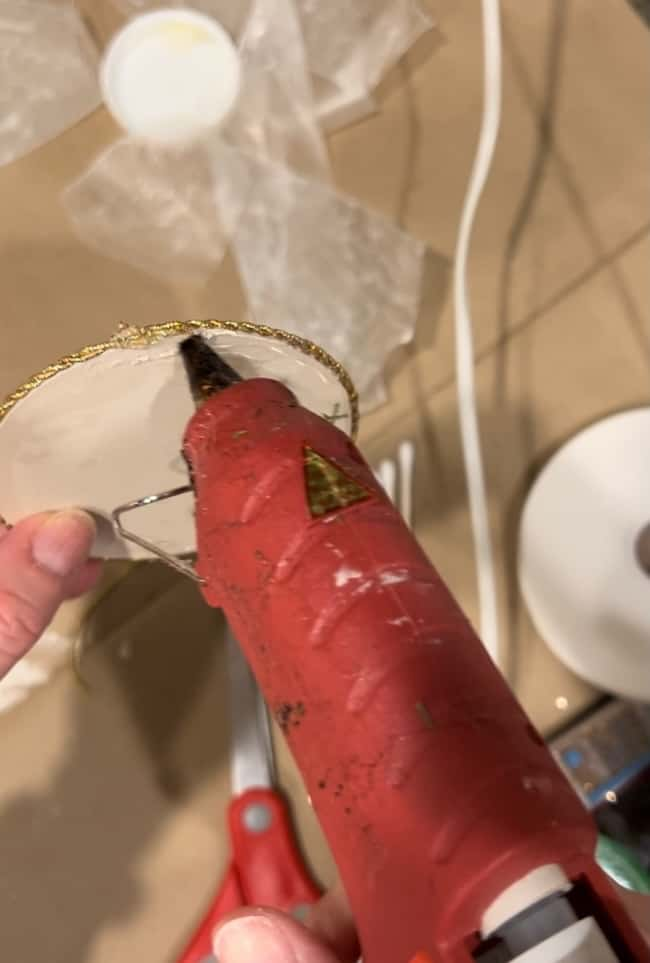
Use Q-tips to clean up any excess glue if needed.
7. Add Velvet Bows and a Hanging Loop
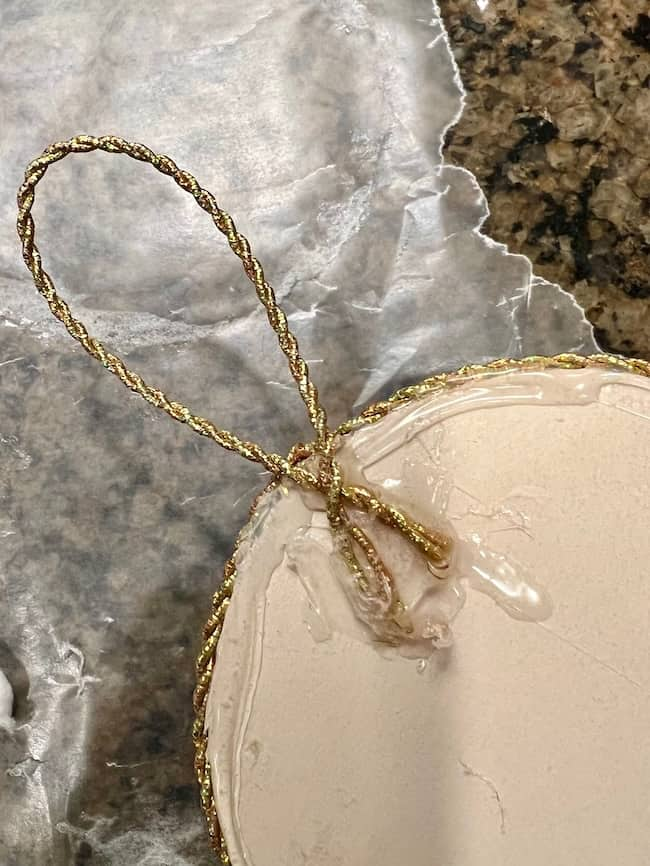
Create small bows from ⅜-inch velvet ribbon and attach them to the top of each wreath with a hot glue gun. To hang the ornaments, make a small loop with the gold twine, securing it to the back with hot glue.
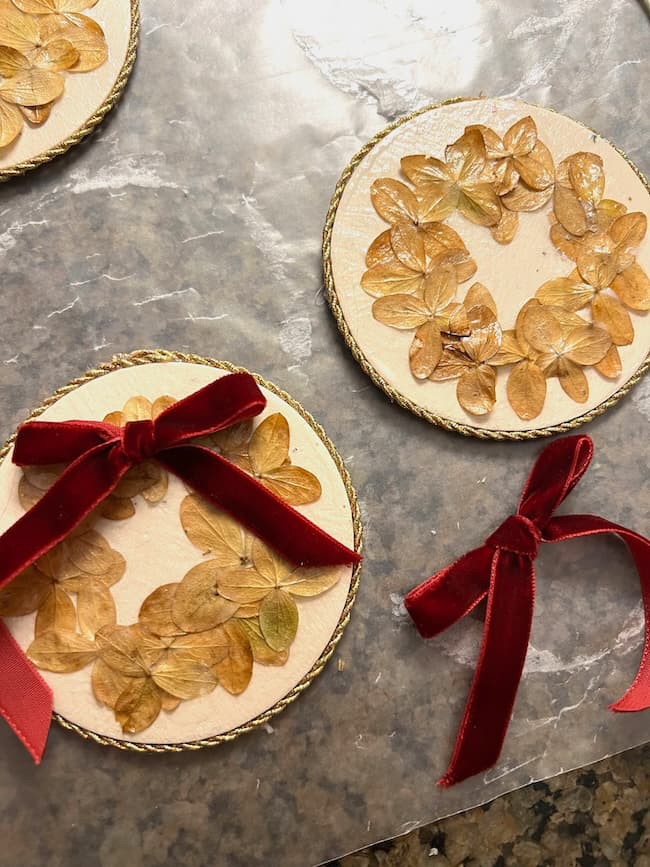
The wood circles I had on hand did not have pre-drilled holes, so I simply glued my hanging loops to the backs of the circles. If you used pre-drilled circles, you can tie the gold twine through the hole for hanging.
Now you’re all done with these lovely ornaments and they’re ready to hang on your tree!
These golden hydrangea wreath ornaments bring a touch of vintage elegance and natural beauty to your Christmas tree. They’re an easy and meaningful way to incorporate nature into your holiday decor, and each one will be uniquely beautiful thanks to the golden hydrangea florets.
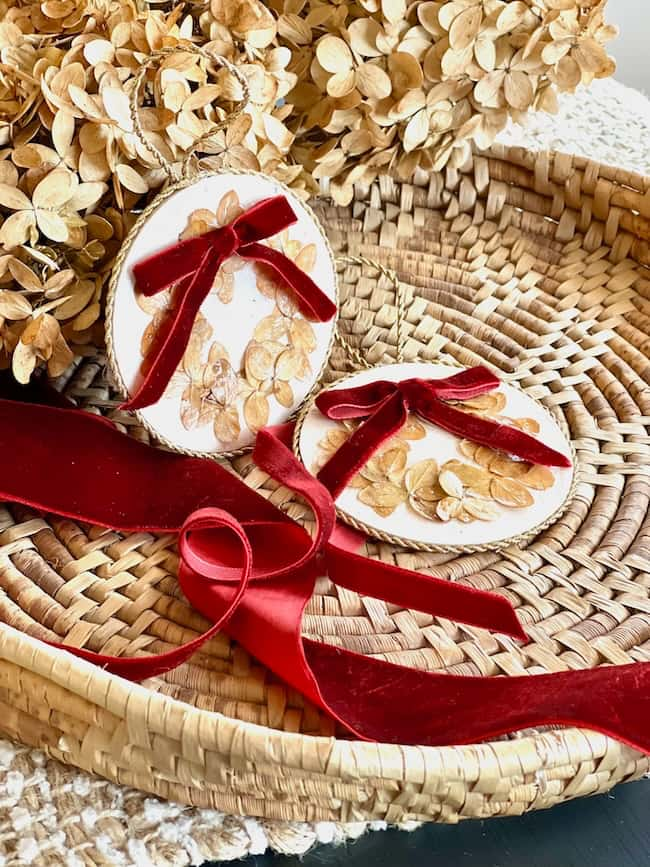
Who knew that planting a few limelight hydrangeas last spring would lead to such beautiful Christmas creations? It’s amazing how nature and a little creativity can come together to make something so special!
Want more DIY ornament ideas? Check out these posts!
- How to Make 3D Folded Paper Christmas Star Ornaments
- DIY House Ornaments for a Kitchen Christmas Tree
Christmas always brings out my joy of creating, and it brings me so much joy to fill our tree with handmade ornaments that carry both beauty and meaning. I hope it brings you that same joy and inspires you to craft your own fabulous creations this holiday season — and maybe even plant a few limelight hydrangeas next spring!
Happy Crafting, and Merry Christmas!


By the way, do you follow me on all the socials? If not, check out my Pinterest, Instagram, and Facebook and be sure to follow along so you don’t miss out on any of my decorating and DIY ideas.


Beautiful! Can’t wait to try this!
Thank you so much, Leslie! They were fun to make!