DIY Dollar Tree Pumpkin Wreath: A Twist with Moss and Dried Hydrangeas
Want budget-friendly fall decor that looks high end? Create this stunning DIY Dollar Tree pumpkin wreath with moss and dried hydrangeas to elevate your autumn home decor.

(This post contains affiliate links, so I may earn a small commission when you make a purchase through links on my site at no additional cost to you. As an Amazon Associate I earn from qualifying purchases.)
Sometimes a craft project just has to evolve. I suppose that’s the case with most creative endeavors. I get the initial inspiration and get to work, but then other ideas creep in, creative juices start flowing, and sometimes a project takes on a whole new life of its own.
That’s kind of the case for today’s pumpkin wreath DIY project.
I bought two wire pumpkin forms from the Dollar Tree last fall, but they sat on a shelf just waiting for inspiration to strike.
Inspiration struck this week when I decided to cover one of the wire forms in moss — but as with most of my creative projects, this pumpkin wreath craft took on a life of its own.
I’m sharing all the details of how I turned a plain, boring, inexpensive wire pumpkin wreath from the Dollar Tree into a high-end creation with beautiful natural elements.
How to Make a Dollar Tree Pumpkin Wreath with Moss and Hydrangeas:
This beautiful pumpkin wreath isn’t hard to make, but it does take a little time, and I highly recommend you use a low-temperature glue gun or finger protectors for this project.
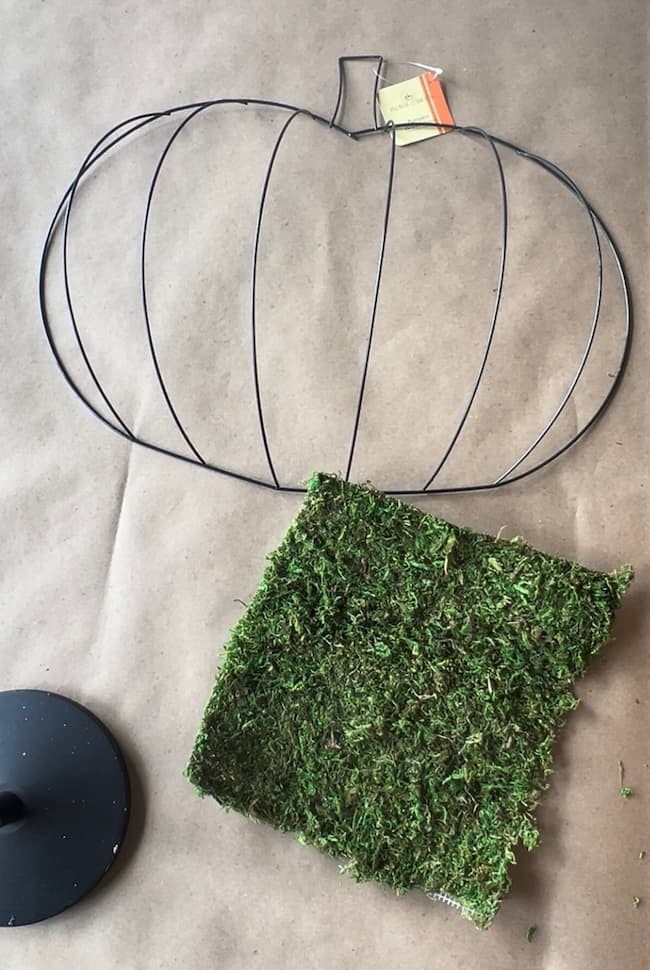
Supplies for the Pumpkin Wreath:
I was able to make this pumpkin wreath almost entirely with items I had at home, since I had already purchased the wire wreath last fall.
- Wire pumpkin form
- Moss sheets and bag of preserved moss
- Glue gun and glue sticks — strongly suggest low-temp glue gun for this project.
- Hot glue fingertip protectors
- Jute twine
- Dried hydrangeas
- Velvet ribbon
- Disposable gloves
- Scissors
- Something to protect your work surface
Step-by-Step Instructions for Making the Moss-Covered Pumpkin Wreath:
Again, these pumpkin wreath instructions are not difficult, but you do need to exercise caution when glueing the moss to the wire pumpkin frame. I used a hot glue gun because that’s what I had, however, it was very easy to burn my fingers.
This is a very messy project, so be sure to cover your work surface. I usually use brown craft paper over my work surface, and then when I’m all finished I can simply roll up my mess and toss in the trash.
Step 1: Attach the moss to the wire pumpkin frame.
I found it helpful to use a moss sheet or roll to cover the wire.
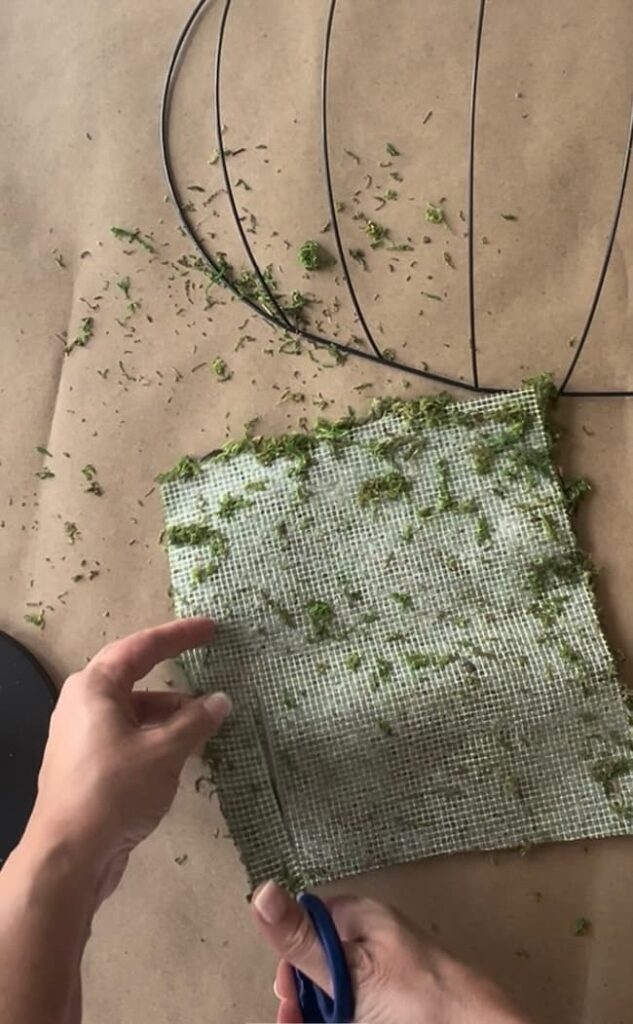
I cut strips of the moss sheeting about 1 inch wide. I was using moss leftover from a previous project, so it wasn’t long enough to cover the full length of each wire. I had to piece the moss sheeting onto the pumpkin, but it worked just fine.


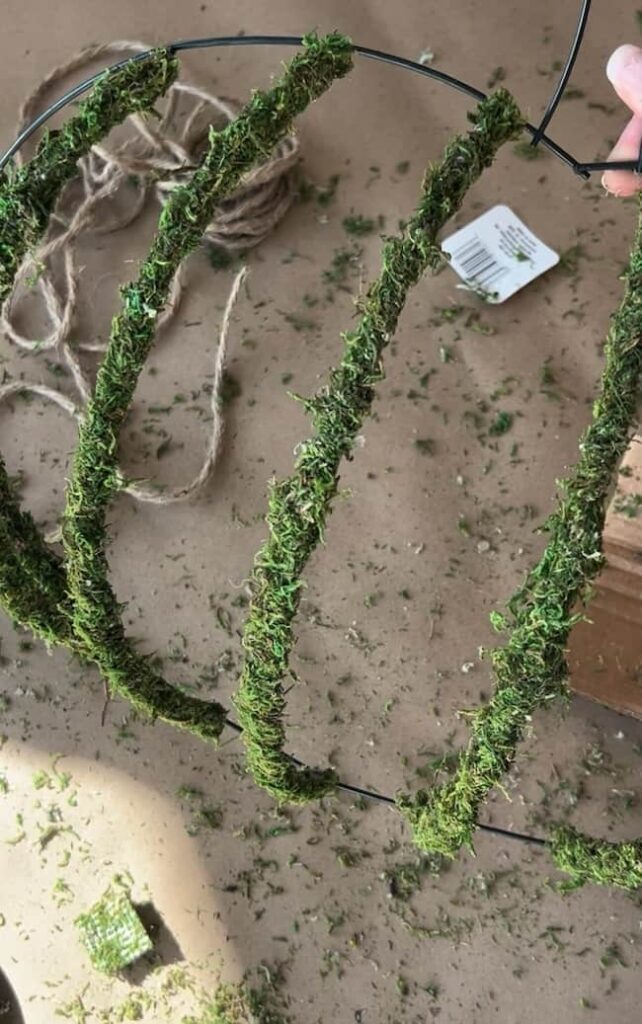
Use a glue gun or craft glue to wrap the moss onto each wire on the pumpkin. Be VERY careful if you decide to use a hot glue gun to wrap the moss around. If you have a low-temperature glue gun to use, that’s what I recommend — otherwise use caution not to burn your fingers! Actually, these hot glue finger protectors would be perfect for this project, and I certainly wish I had them when I did this project. I’ve ordered them for my next hot glue project!
Cover all of the wire surface on the pumpkin.
Honestly, you could just stop here for a pretty and simple moss-covered pumpkin look. I, however, had other ideas!
Step 2: Weave the jute twine in and out of the moss-covered frame and tie off and the sides.
I first decided that I would weave jute twine in and out of the moss-covered wire frame for a fun look.
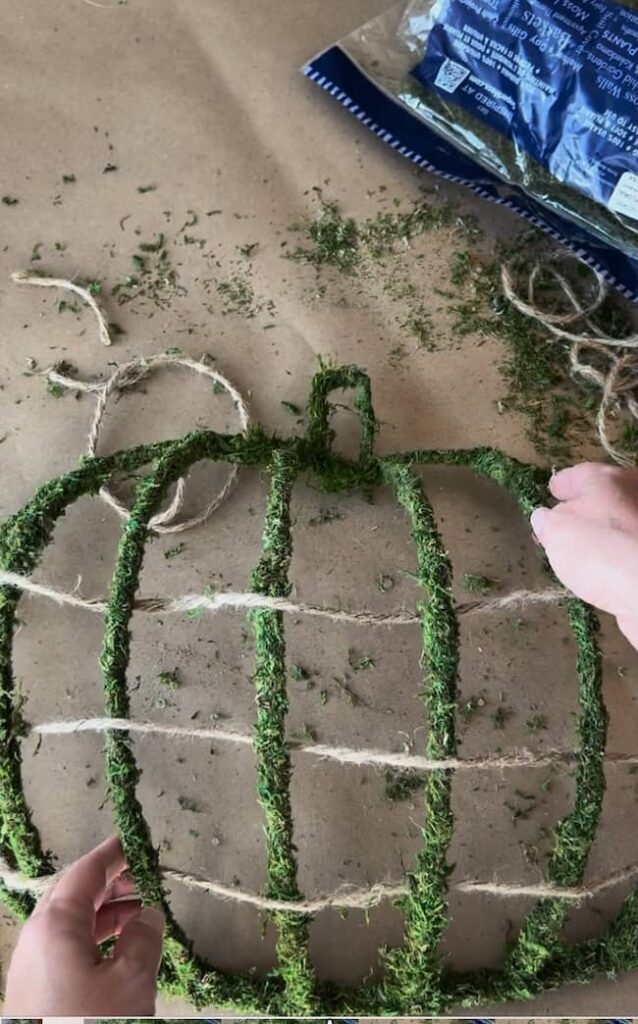
Simply tie the jute string to the side of the pumpkin and work across the frame weaving the jute in and out of the wire frame.
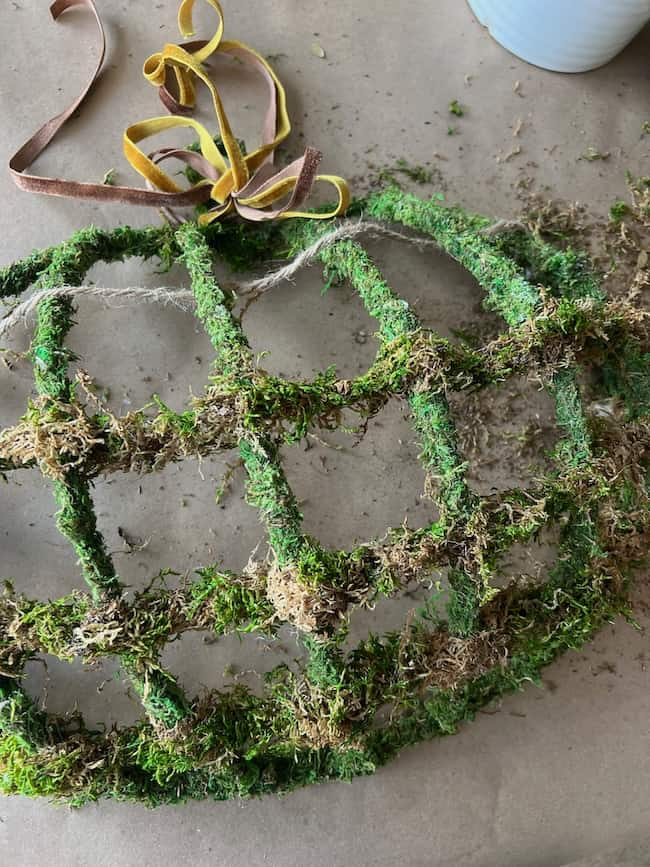
I initially planned to stop at this point with my pumpkin project. I attached some velvet ribbon and hung it outside on our porch.
After hanging it outside, I felt like it needed a little extra something. I liked the look of the moss-covered pieces much better than the jute woven through them, so I decided to cover the jute twine with moss as well!
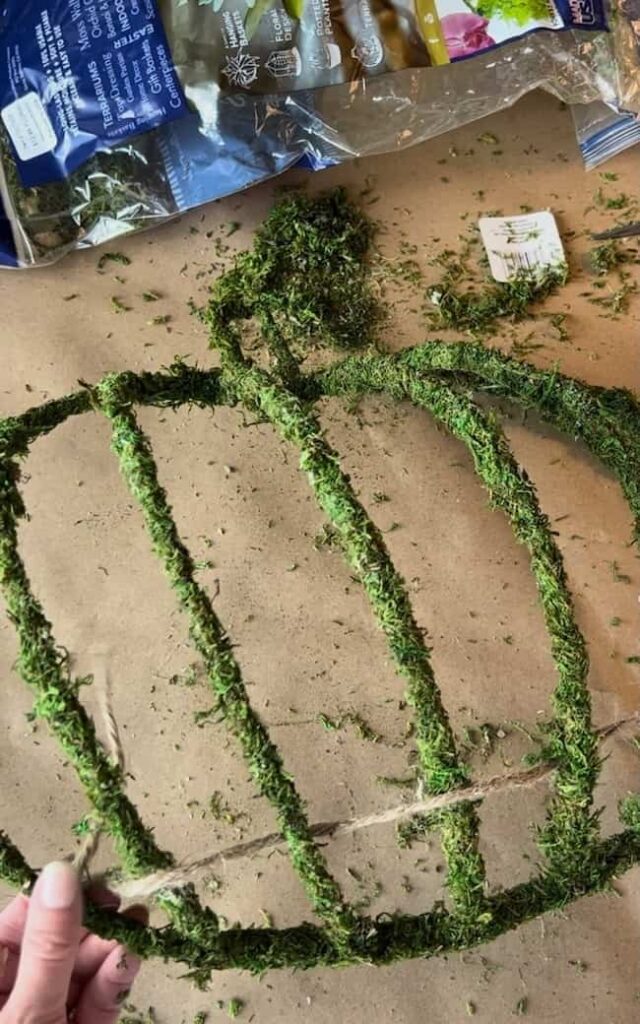
Step 3: Cover the jute twine with moss.
Unfortunately, I had run out of the moss sheeting and had to resort to using pieces of moss to cover the jute string. Again — be very careful with this step. Use extreme caution if using a hot glue gun, or just use a low-temperature glue gun.
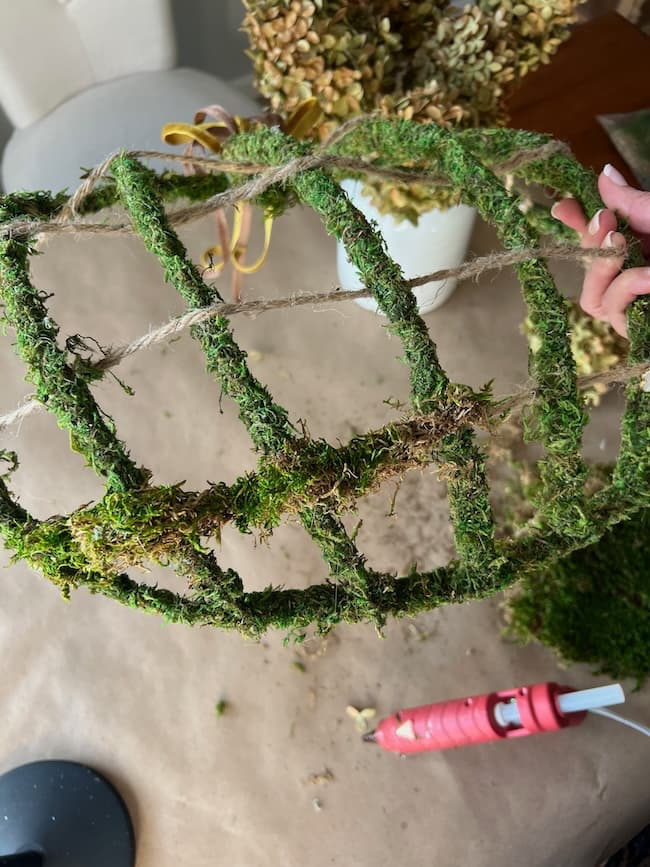
Carefully attach the moss along the jute twine using the glue gun until the entire pumpkin is covered.
I love the look of the interwoven moss-covered pumpkin.
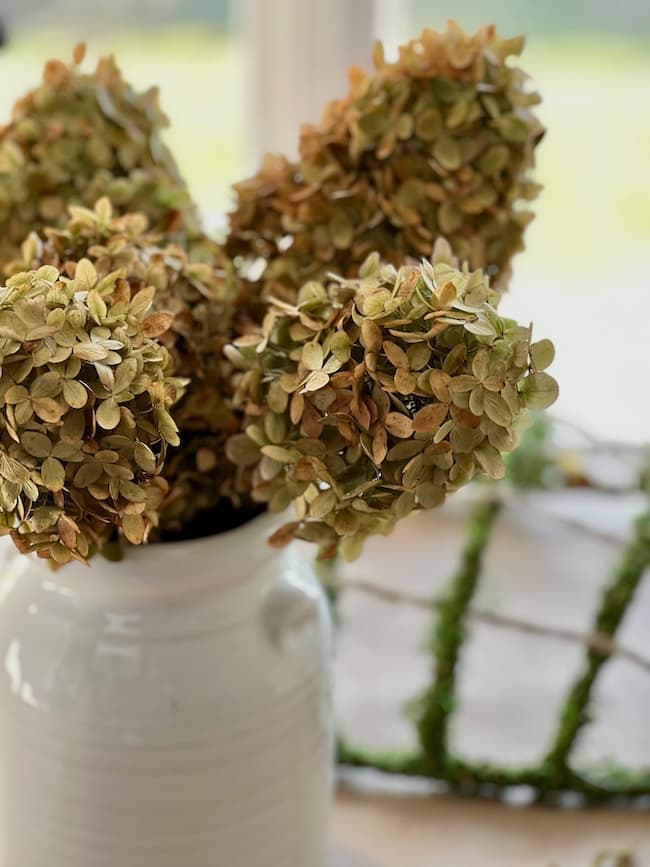
However, as I mentioned above, some projects just evolve, and when I saw the limelight hydrangeas that were drying in a vase on our screened porch, I decided the blooms needed to become part of the wreath! The muted green and warm brown colors were perfect for the moss-covered look.
Step 4: Glue on pieces of dried hydrangea blooms.
I used limelight hydrangeas from our yard for this project. The golden browns and muted greens in the blooms were the perfect natural look I wanted for this pumpkin wreath!
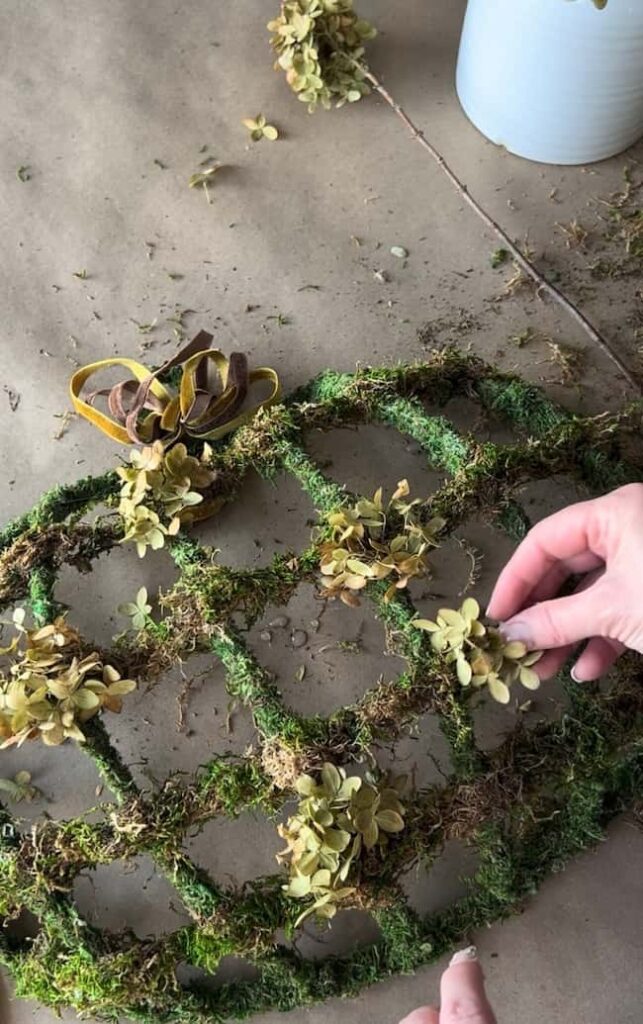
Use scissors to snip sections of the blooms and attach them to your pumpkin wreath in a random pattern. It only takes a small amount of glue to hold them into place.
Step 5: Attach the velvet ribbon and hang.
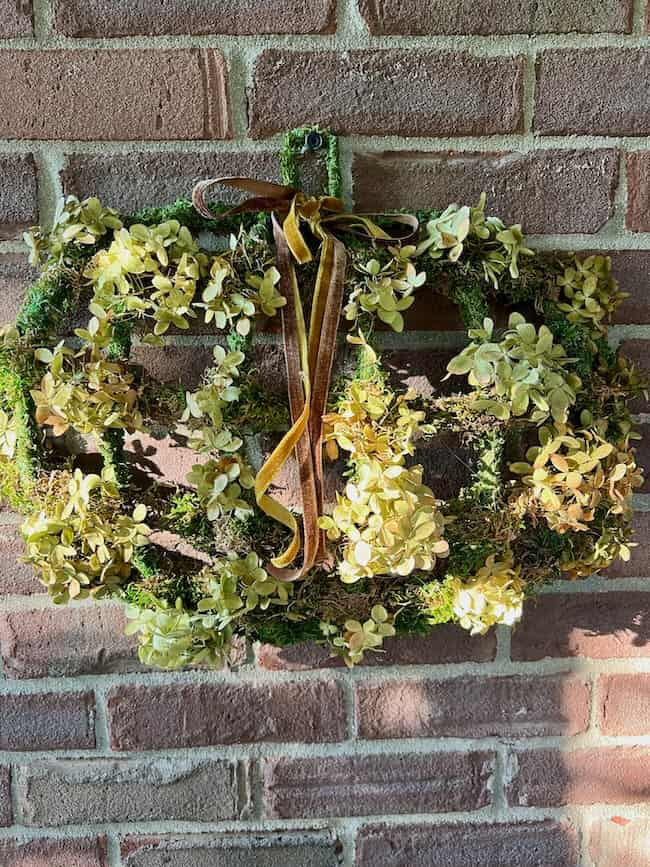
Now that your wreath is complete, it’s time to attach the velvet ribbon. I used brown and gold ribbon on my pumpkin wreath. Simply tie a bow to the top of the pumpkin stem.
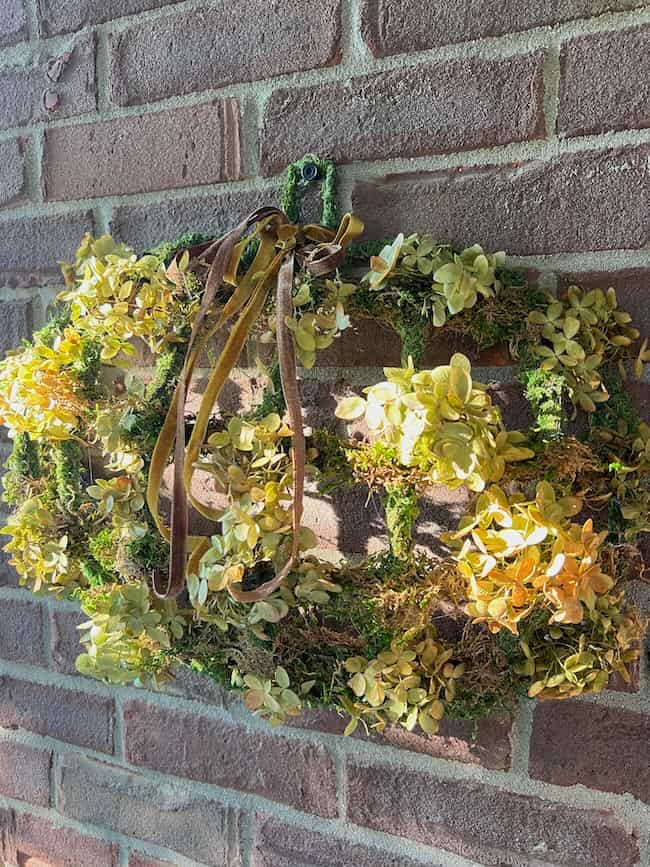
Now you’re all ready to hang your wreath! I hung ours on our screened porch, and I love the way it looks against the brick! If you hang yours outside, I recommend hanging in a protected area.
I hope you’ve enjoyed this fun and easy Dollar Tree pumpkin wreath DIY with a natural twist of moss and dried hydrangeas! It’s a beautiful and budget-friendly way to bring natural, seasonal charm into your fall decor.
Whether you hang it indoors or outside, this wreath will add an elegant and natural touch of fall to any space!
Happy Crafting!


Want more fall decor ideas?
Check out the fall decor and DIY favorites below!
Pumpkin Decor Ideas
If you love decorating with pumpkins for fall, check out these creative pumpkin decor ideas.

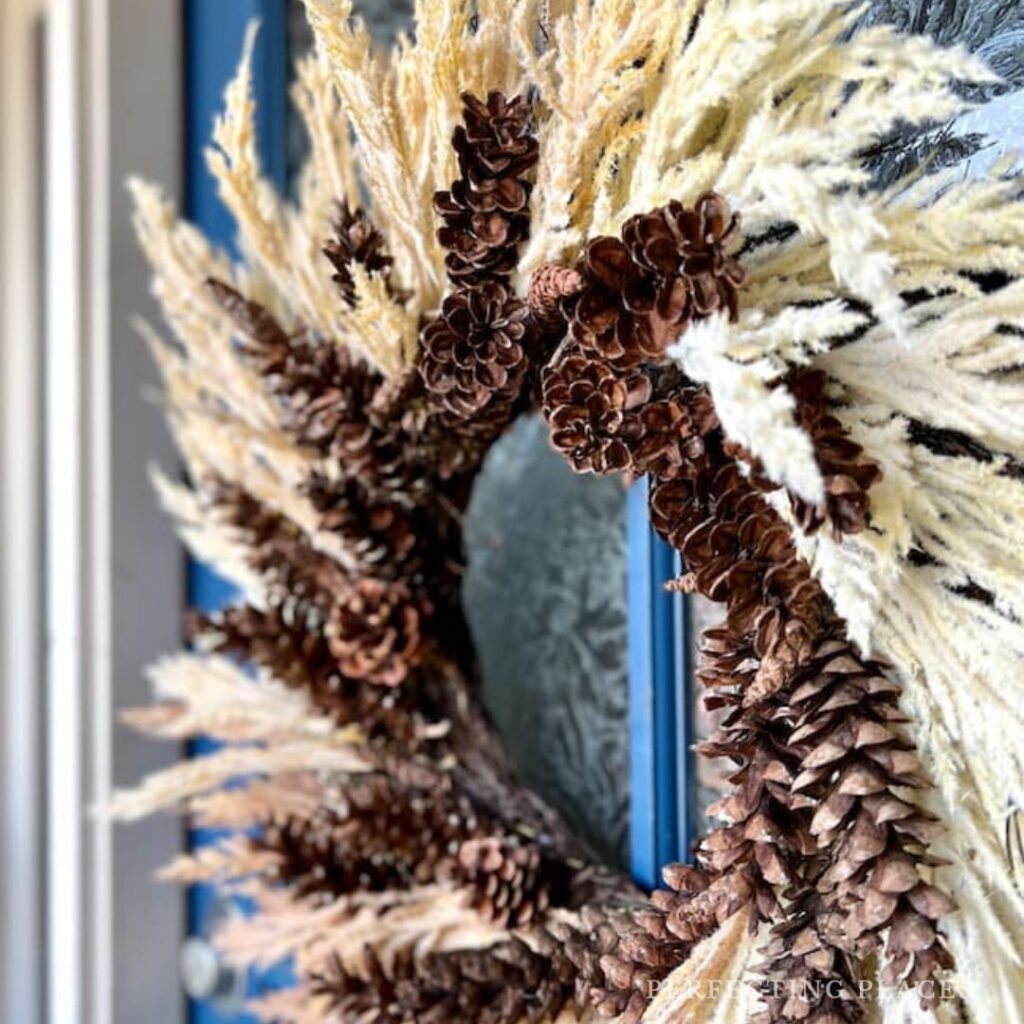
A Fall Pinecone Wreath
Make a lovely statement on your front porch this fall with this easy DIY pinecone wreath!


Very pretty! Anything with moss and hydrangeas I’m all in!
Thanks so much, Cindy! You’re so sweet!
I love how you think, Kim! This looks so elegant and boutique! You would never know you started with a dollar tree frame! Beautiful!
Thanks so much, Missy! I’m really pleased with how it turned out!
Kim, this is such a beautiful wreath. I love the organic charm of it.
Thank you so much, Tammy! I’m so glad you like it!