Craft Your Own Magic: 3D Folded Paper Christmas Star Ornaments
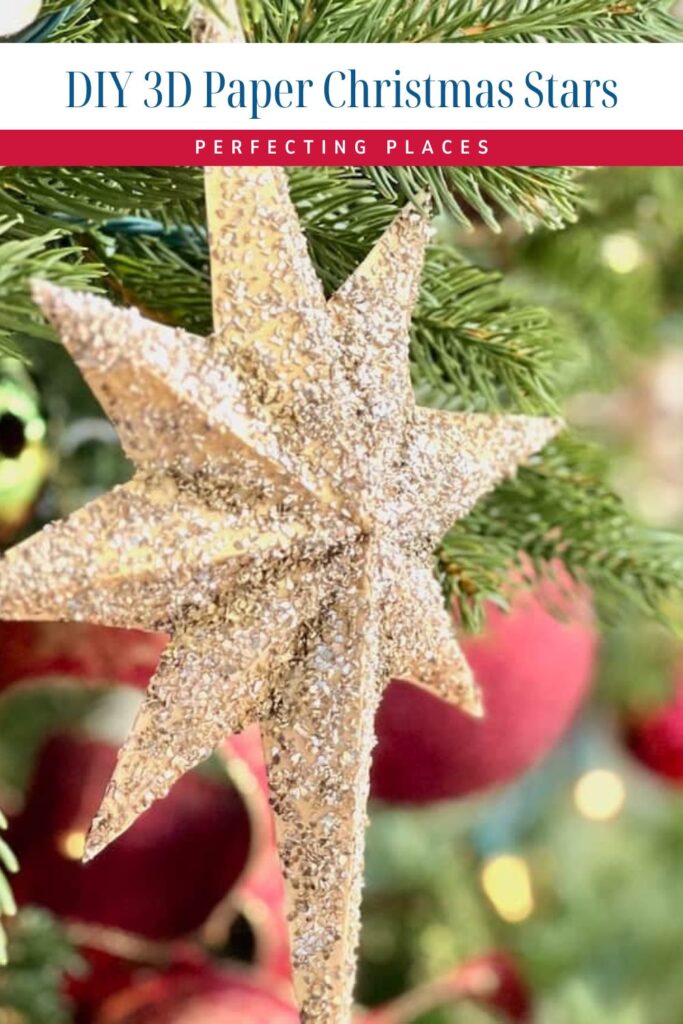
Looking for a fun and festive DIY ornament idea? These 3D folded paper Christmas star ornaments are an easy and affordable way to add a handmade touch to your holiday decor.
In this post, I’ll guide you through the steps to make these shimmery paper stars. Whether you’re a seasoned crafter or just getting started with DIY projects, this is a creative way to add a personal touch to your holiday celebrations.

(This post contains affiliate links, so I may earn a small commission when you make a purchase through links on my site at no additional cost to you. As an Amazon Associate I earn from qualifying purchases.)
Christmas is the perfect time for crafting, and today’s project is one of my favorite Christmas DIYs.
Maybe it’s just the sentimental part of me; maybe I’m just picky and like to create exactly what I want; or maybe somewhere deep inside there’s the hope that my children will appreciate some handcrafted items created by their mom.
Whatever the reason, I love to create, and it’s fun to make handmade ornaments for our tree.

I’ve been enamored with this DIY folded glitter star tree topper shared by Kristen at Ella Claire & Co. for quite a while, so I decided I wanted to create this look in some shimmery star ornaments on our tree. I decided to use Kristen’s printable star tree topper template to create smaller star ornaments for our own tree. Plus, I kind of wanted to play with glitter, particularly glass glitter!
You can find the star tree topper template that I used to create these stars here. It’s an easy template to print out and you can see how Kristen used the template to create a gorgeous tree topper for her tree. I love the three-dimensional aspect of this star design, but wanted various sizes of the star ornaments for our tree.
How to Make DIY Folded Christmas Stars
Using Kristen’s star template made creating these paper star decorations a much easier process!
You’ll need the following supplies to create these origami paper stars.
Supplies
- 8 1/2 X 11 White card stock
- Star template found here
- Printer
- Pair of scissors
- Gold acrylic paint
- Paintbrushes
- Mod Podge
- Glass Glitter
- Sewing Needle
- Ornament hooks
- Alternative method: 12 x 12 “Champagne” Glitter scrapbook paper, printer paper, ruler
Step-by-Step Guide:
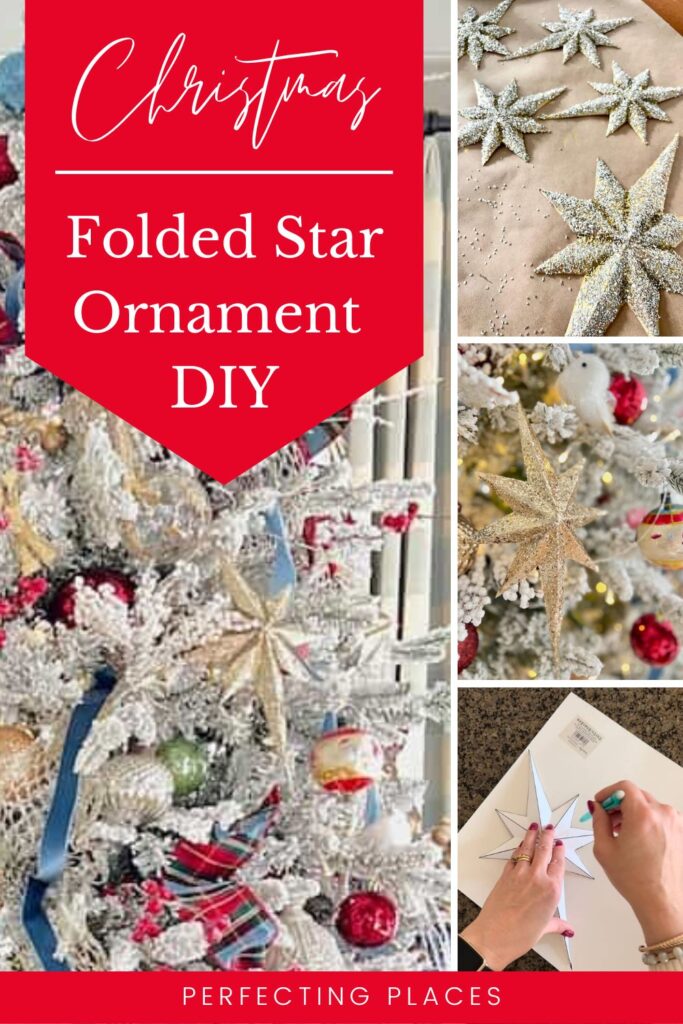
1. Print your first star on a couple of sheets of white cardstock, using a printable template. Cut out this larger template and tape the halves together. The size of the star requires two pages for printing. This larger size is for a large tree topper.
2. You’ll need to reduce the size of this star to create smaller ornaments. I used our printer to resize the star pattern into “ornament size” pieces. You can create stars in various sizes for your tree. Play around with different sizes to determine what you prefer, and print out the number of stars you need.
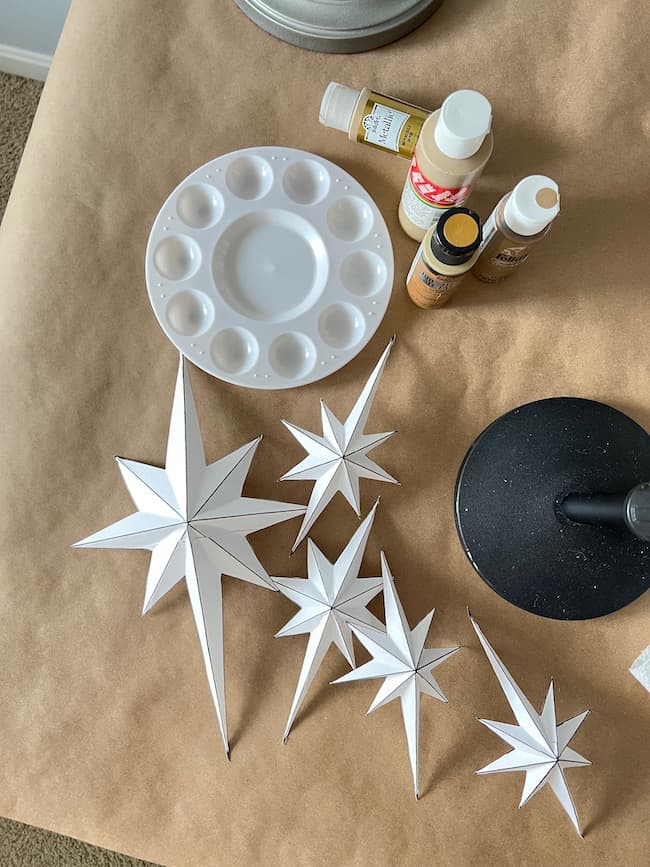
3. Cut out your stars and fold along the lines to create a 3D effect. Fold down the middle line of the arms of the star. After all the downward folds are made make the inner folds for the creases between the arms.
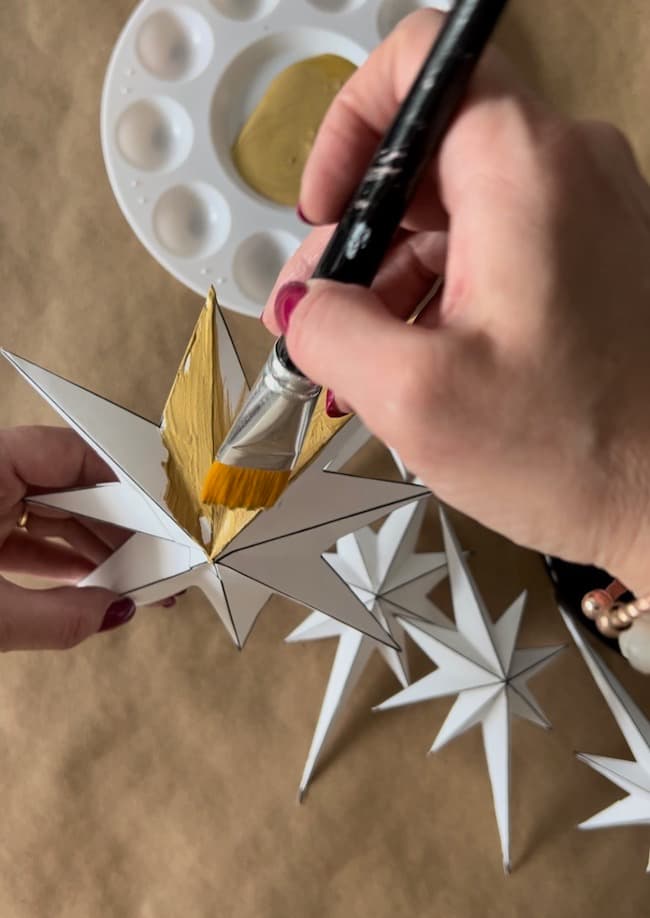
4. Paint the stars with a subtle champagne gold acrylic paint for a metallic finish.
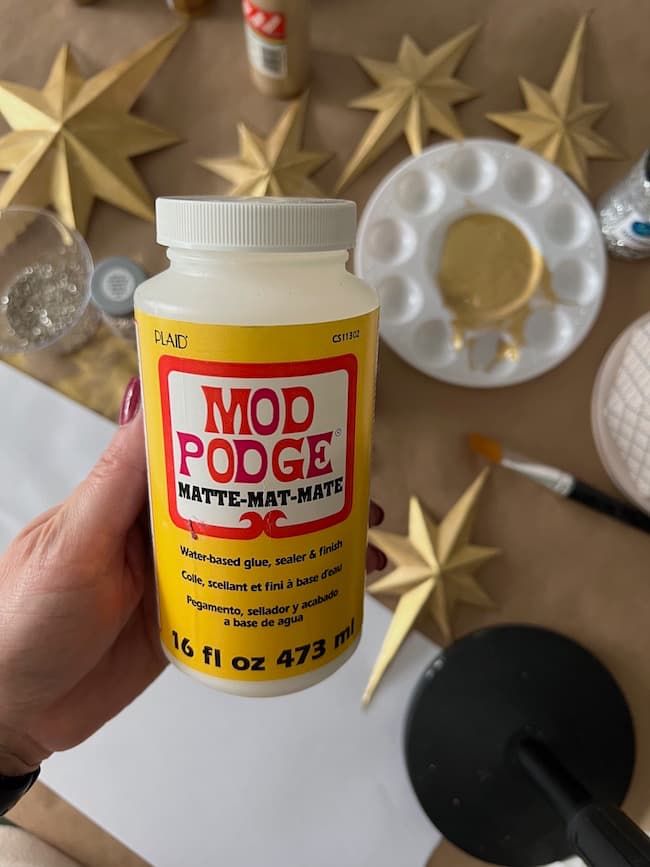
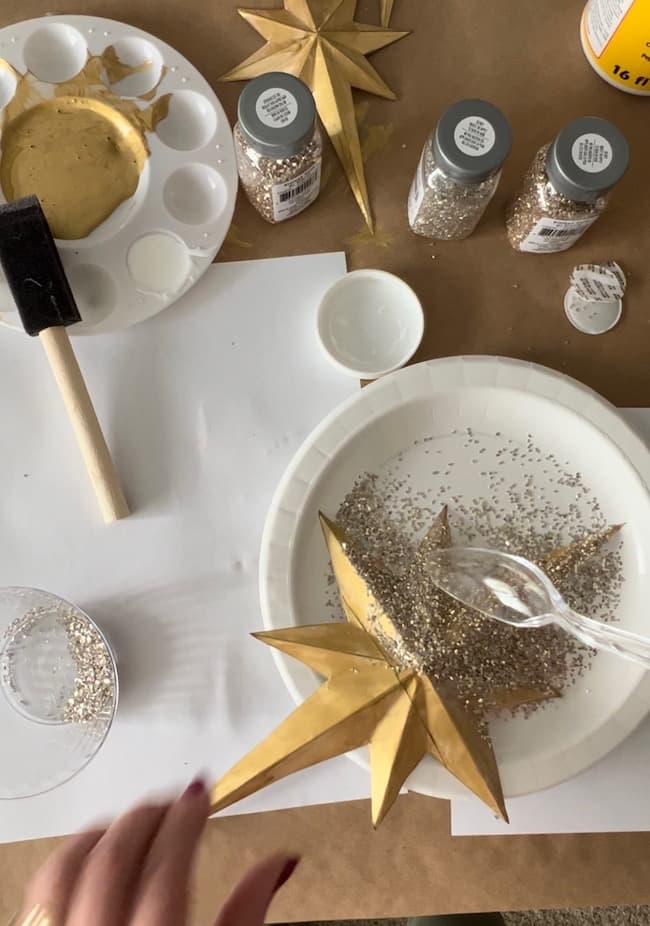
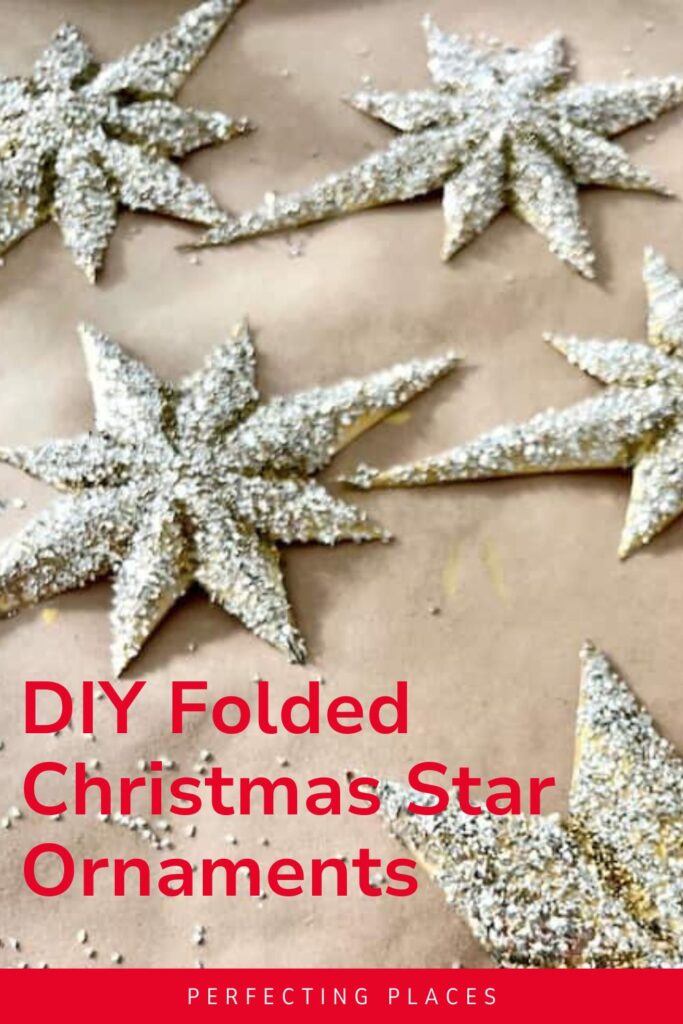
5. After the paint dries, apply Mod Podge and sprinkle with gold and silver glass glitter for a vintage look. I purchased both gold and silver glass glitter and mixed it together before sprinkling on the star. You should sprinkle this over a paper plate to catch the excess to reuse.
6. Enhance the shading with black paint along the inner creases for added dimension and shadow effects. I used a flat brush and dipped it in a little black paint, then dabbed off the excess.
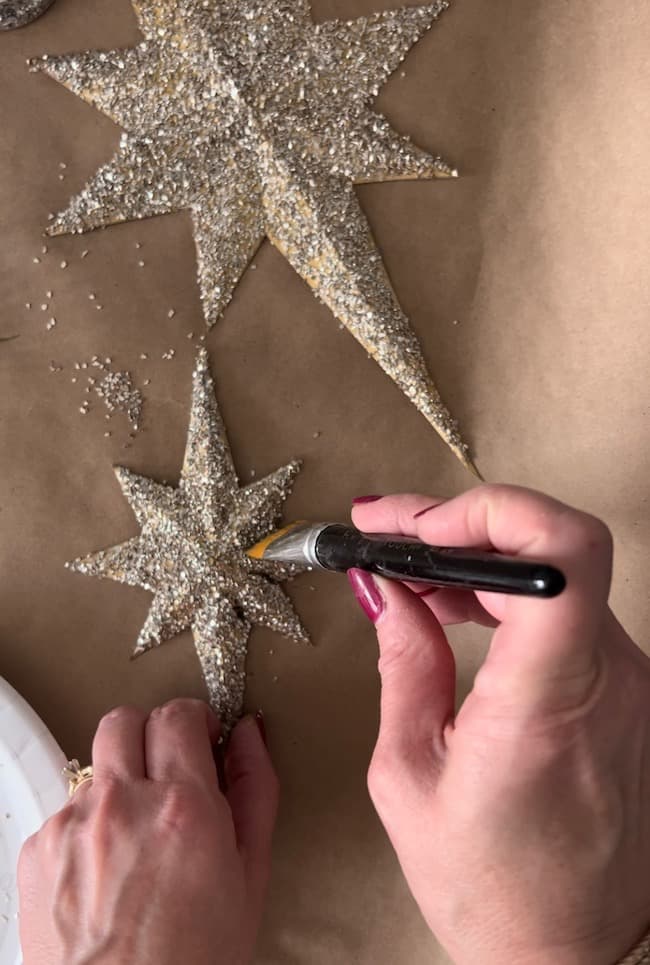
7. Finish by attaching a hook for easy placement on the tree. I used a small sewing needle to poke a small hole in the star for the ornament hook to fit through.
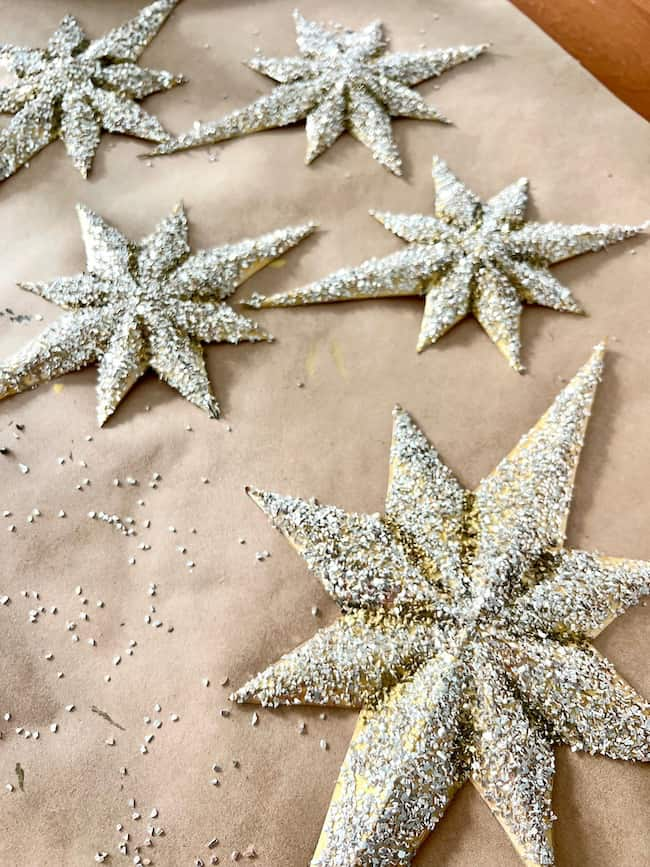
A Simple Glitter-Free Alternative Paper Star
The glass glitter was lots of fun to work with; however, for those who prefer a less messy option, I discovered a glitter-covered scrapbook paper at Michael’s.
It’s easy to fold, doesn’t break along the creases, and creates a similar, elegant look without the need for paint or glass glitter.
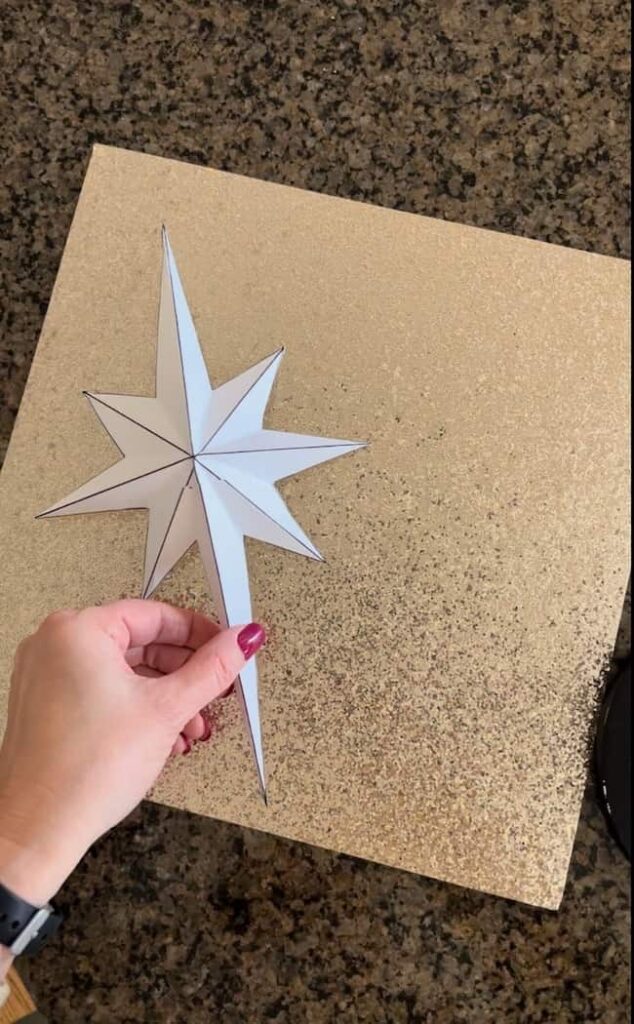
Create your star shape on printer paper or cardstock using the the template. Cut out this design and then trace onto the back of the glitter-covered scrapbook paper.
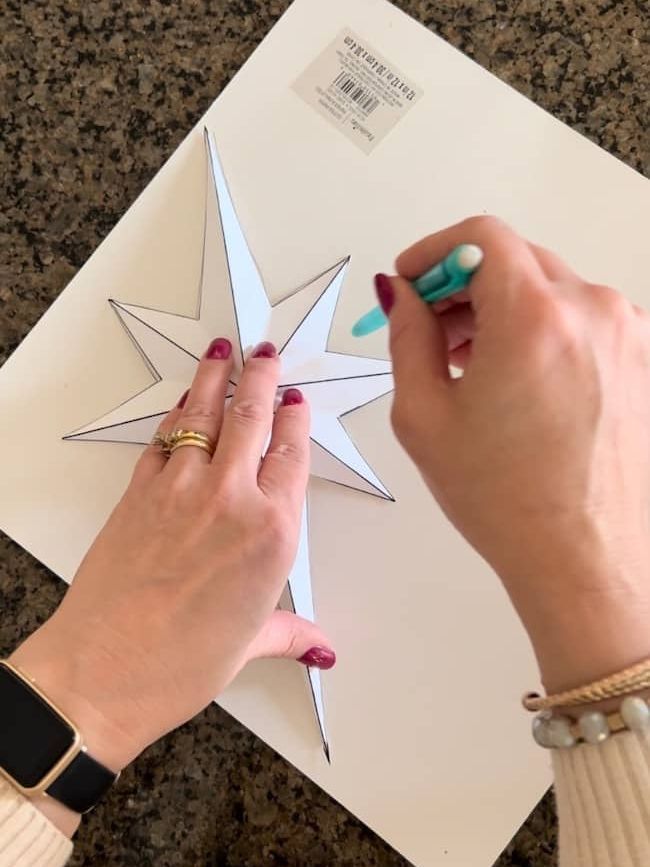
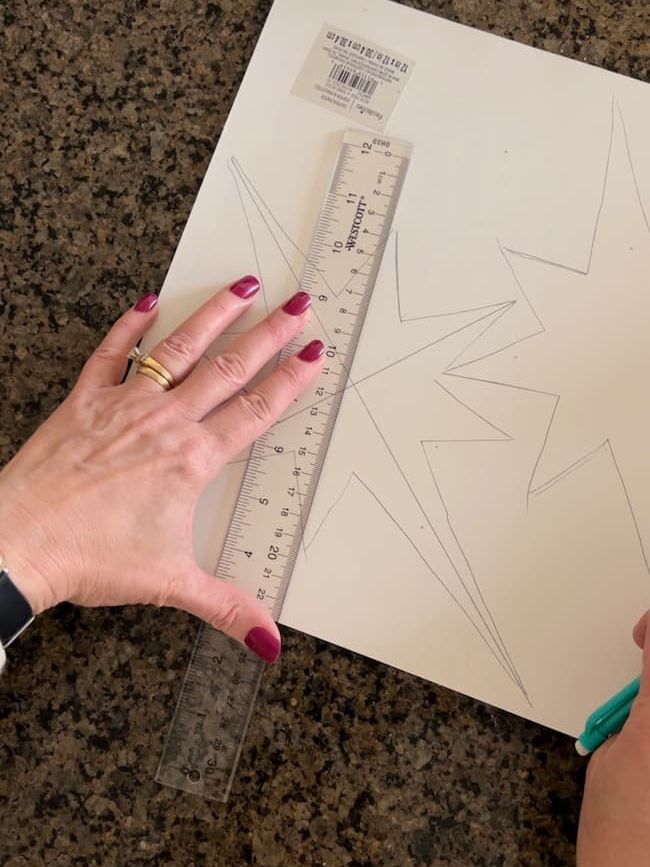
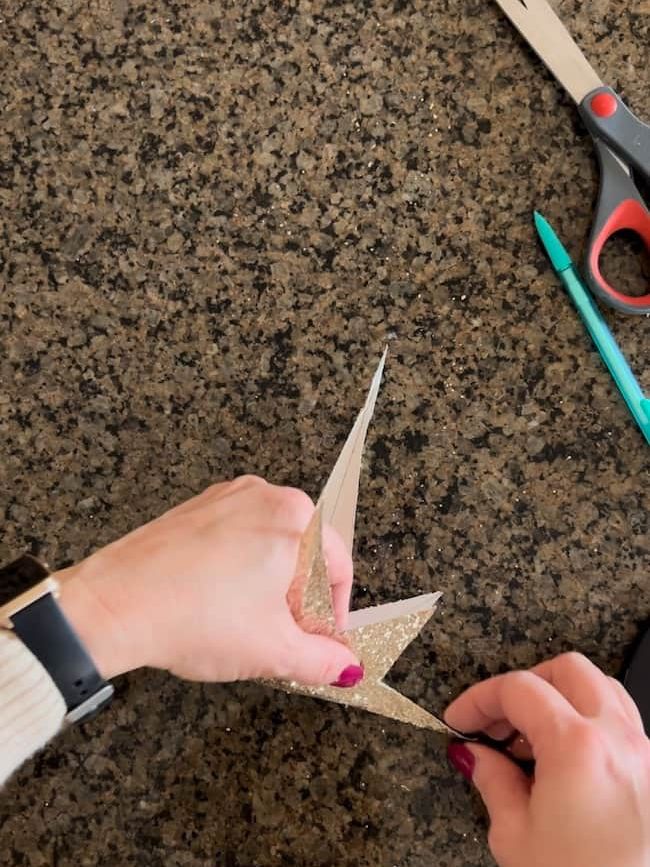
Use a ruler to draw the fold lines. Cut the star pattern out of the glitter paper, and then fold according to the directions above.
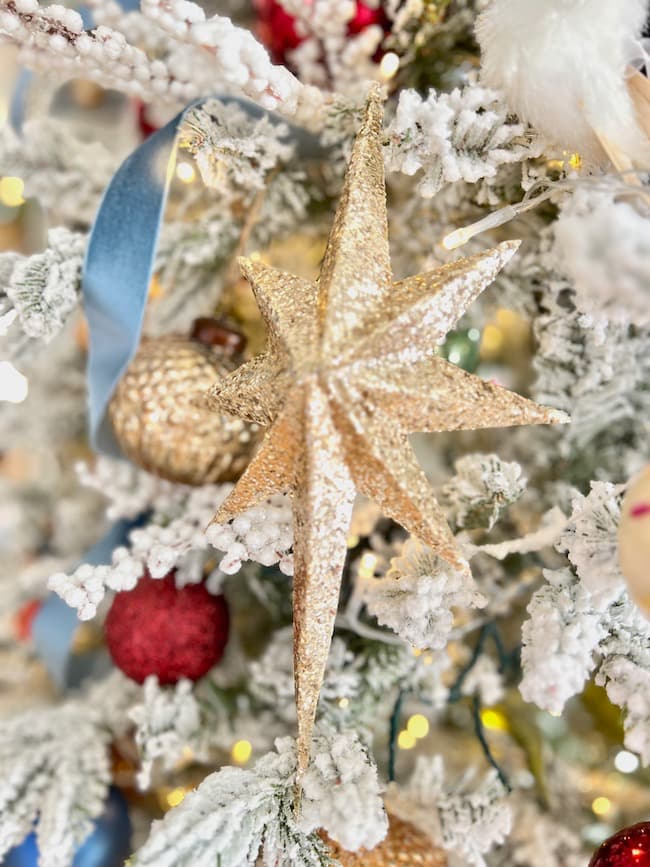
I was a little concerned that the paper might tear at the folds, but it did not. The star is a great mess-free alternative to the glass glitter technique. I do, however, love the texture and vintage look that the mixed gold and silver glass glitter provides on each paper ornament.
If you want to create a more vintage look with this scrapbook paper, you can apply the same black paint technique described above in the folds of the star.

Versatile Uses for Paper Star Ornaments:
These DIY stars are such versatile Christmas decorations. Don’t just stop at using them as Christmas tree ornaments. You can create a large tree topper like Kristen’s original intent using one of the larger stars, add them to gift packages, make a star garland, or even use several of the smaller stars to create a star wreath for your door. The possibilities are endless, and I encourage you to explore these ideas and enjoy the process of creating.
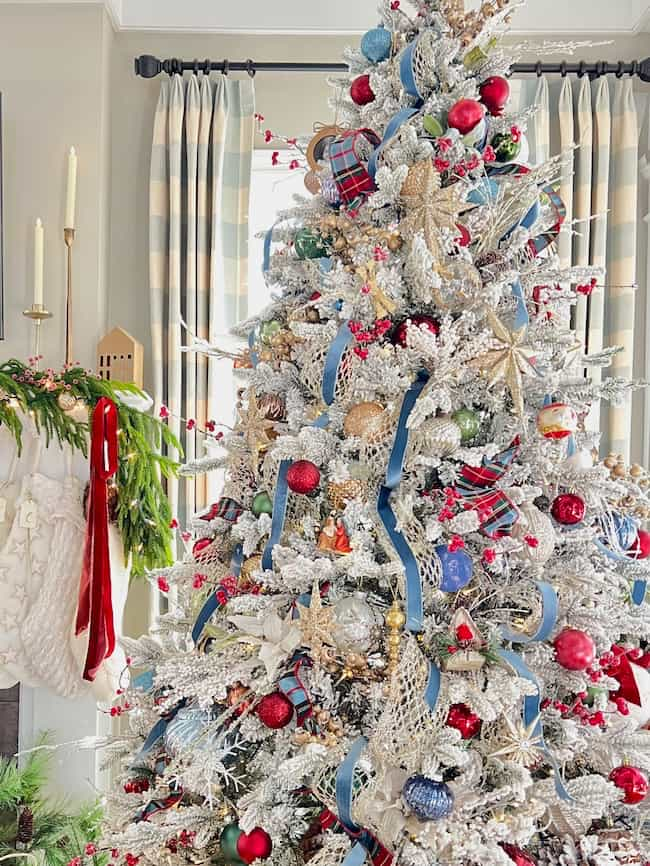
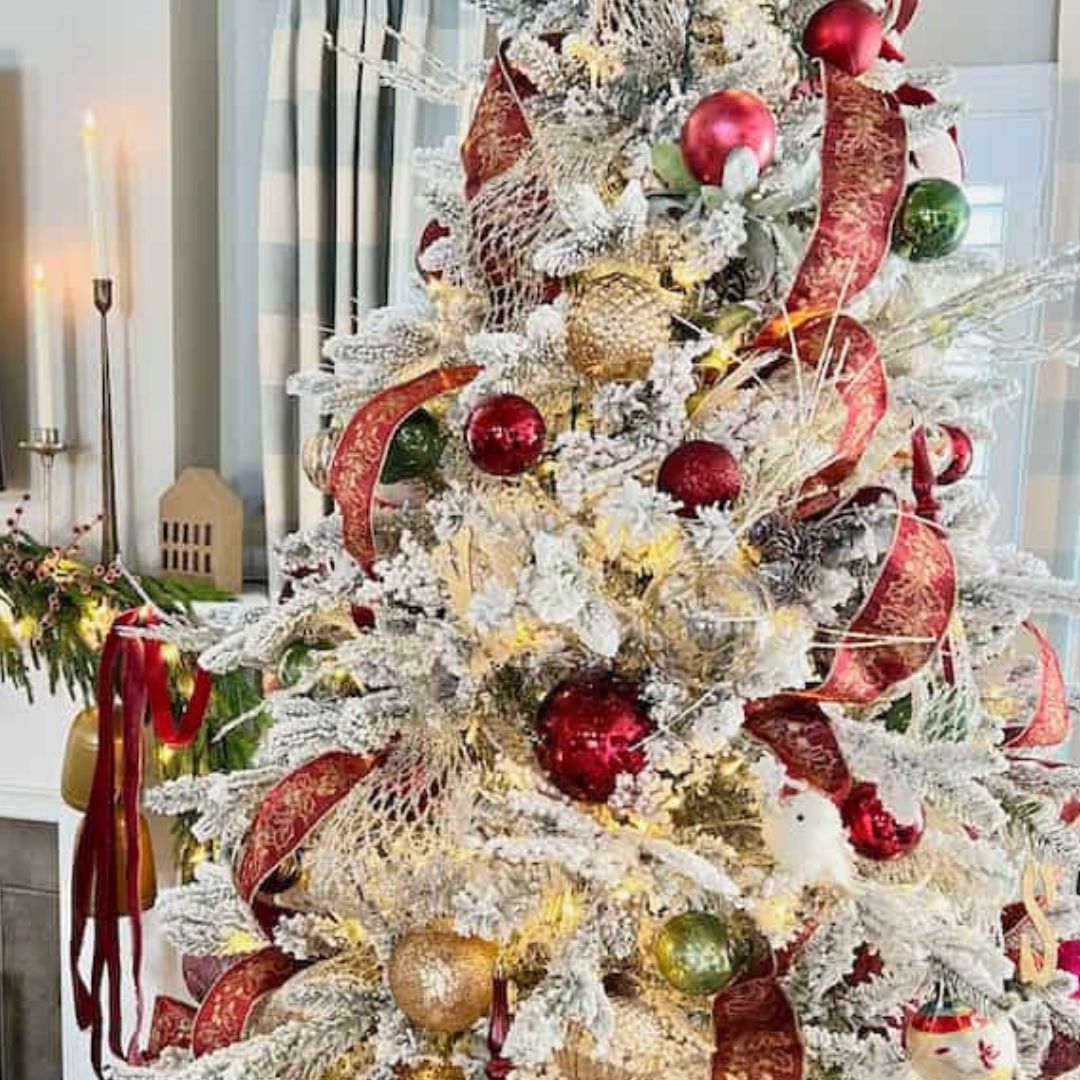
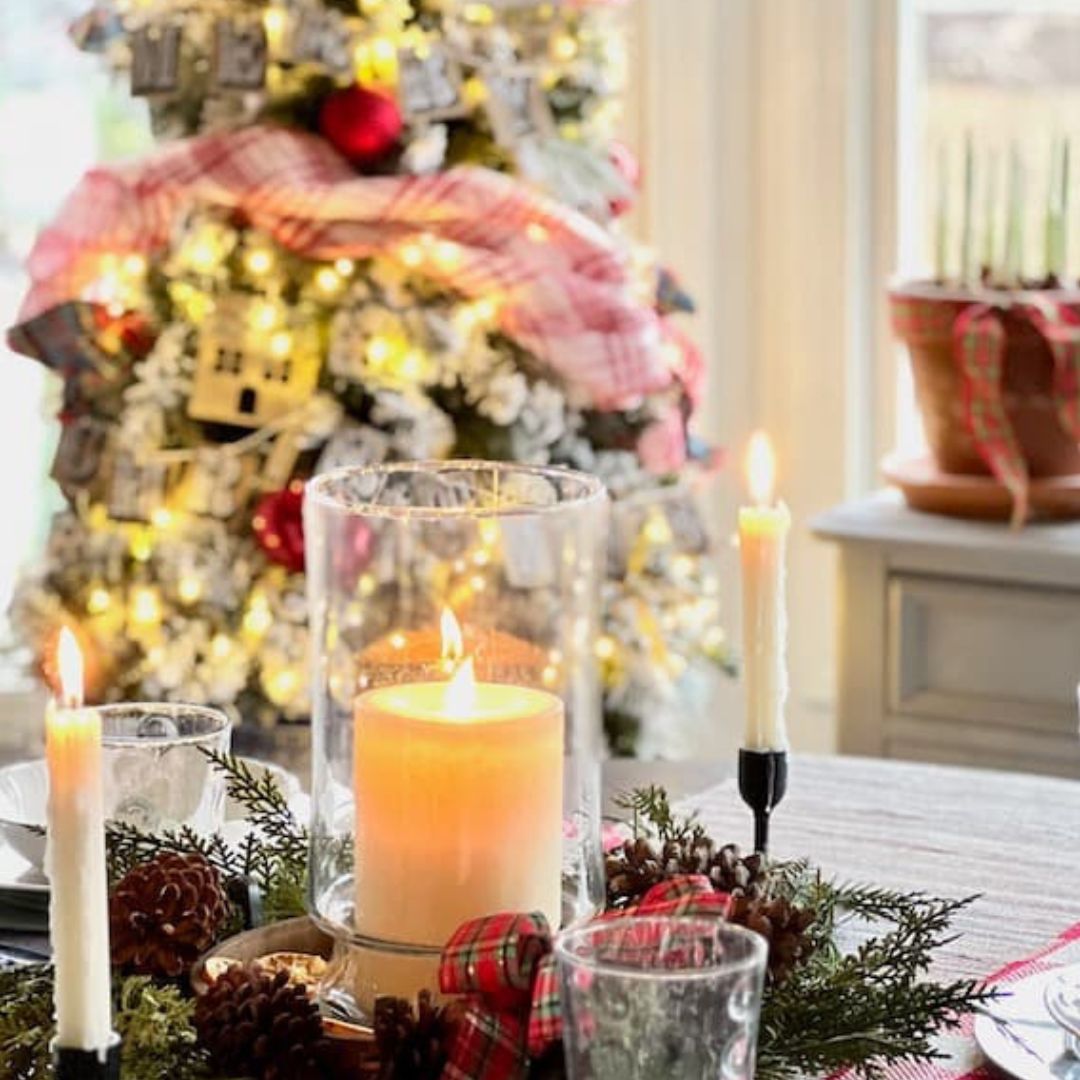
I absolutely love the look of these ornaments on our King of Christmas Queen Flocked tree! The joy of creating these ornaments has added a special touch to our holiday decor. Whether you opt for the glittery stars or the scrapbook paper version, these ornaments are sure to add a unique and personal charm to your Christmas tree.
May your holiday season be filled with joy and creativity!
Happy Creating!

Other Favorite DIY Ornaments:
DIY House Ornaments for a Kitchen Christmas Tree
Gold Leaf Letter Ornaments and DIY Star Garland
An Easy Chinoiserie Christmas Ornament to Make

By the way, do you follow me on all the socials? If not, check out my Pinterest, Instagram, and Facebook and be sure to follow along so you don’t miss out on any of my decorating and DIY ideas.



I LOVE these, Kim!!! So sparkly!! I’m sharing this post in my Journey Jots this Sunday!
Thank you so much, Rachel!! You’re so sweet!