Gold Leaf Letter Ornaments and DIY Star Garland
You know I just couldn’t leave well enough alone!! Today, I’m adding some gold leaf letter ornaments and DIY star garland to our tree and mantel for some personal decorative touches.
Our Christmas decorating was finished!! You can see our Christmas Home Tour here. The tree was decorated, mantel was done, kitchen and dining rooms all decked out, but I just needed to do a little more fiddling and fluffing! That’s the blessing (and curse) that comes with decorating for Christmas early! You can keep adding just a few more touches.
(This post contains affiliate links, so I may earn a small commission when you make a purchase through links on my site at no additional cost to you. As an Amazon Associate I earn from qualifying purchases.)
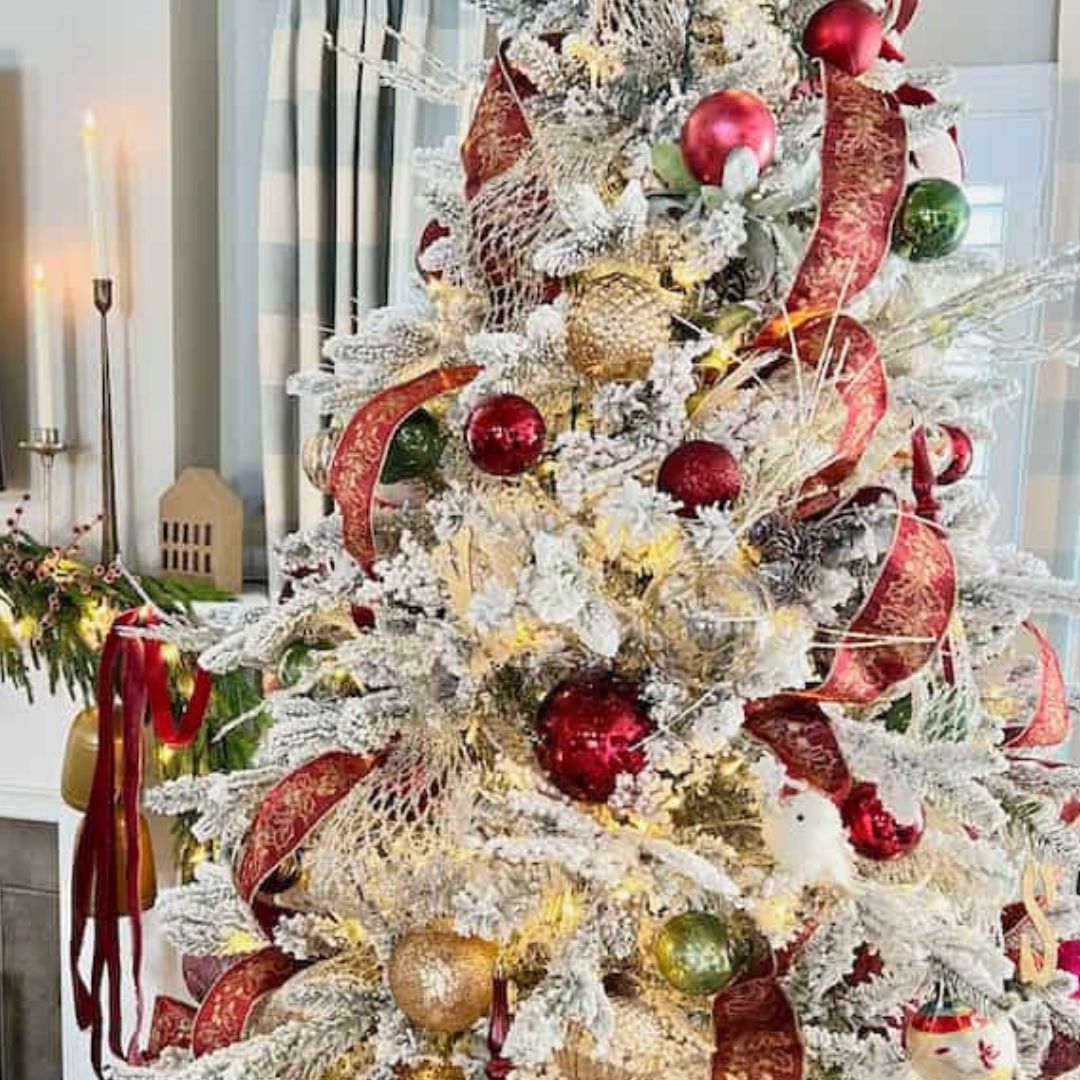
We have two main Christmas trees in our home. The one upstairs in the living room is our “fancy” tree.
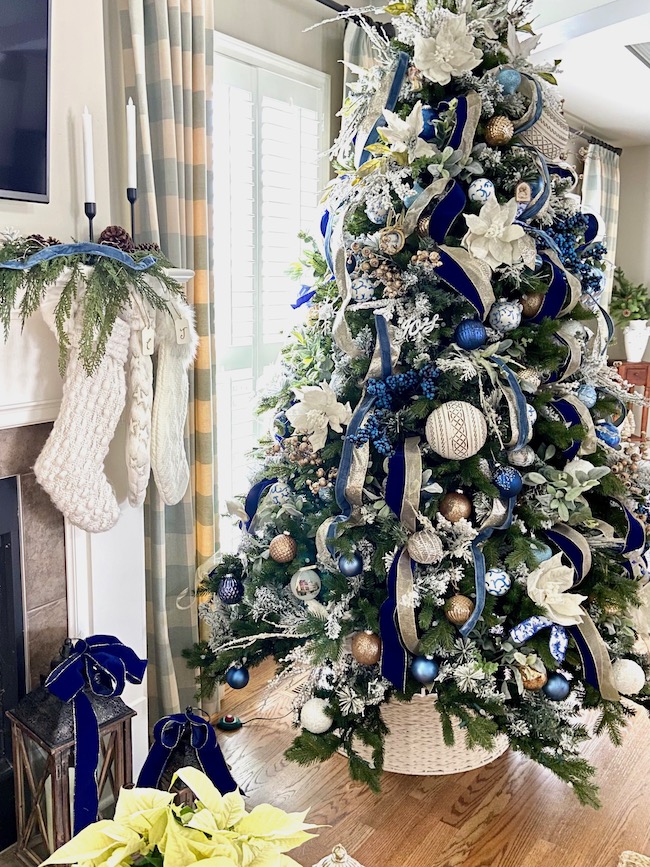
My kids and husband refer to it as “Mom’s tree”, but I think they all like it as well. It’s the tree that changes year to year with different color themes.
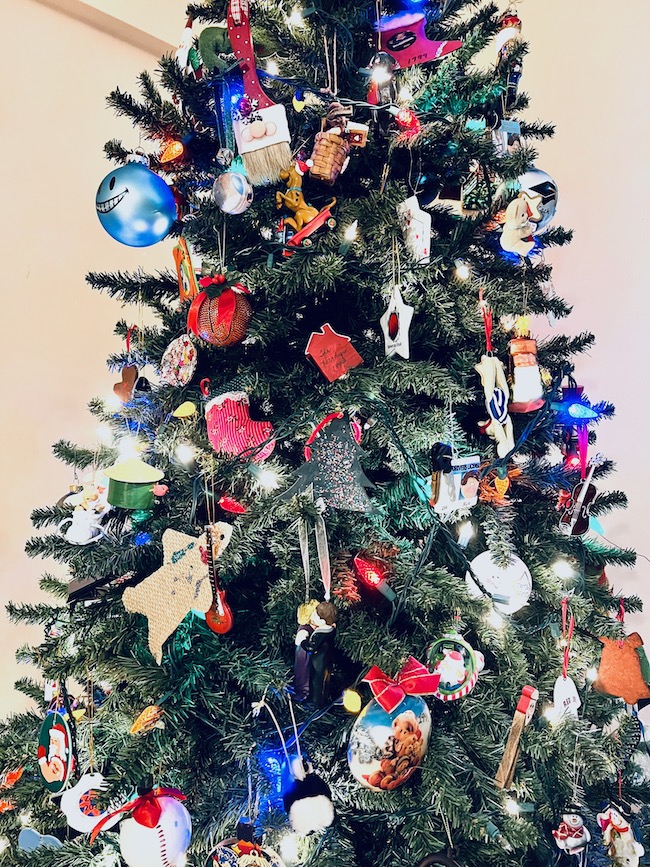
The downstairs basement tree is the “fun tree” with all the personal and hand crafted ornaments collected and gifted throughout the years. I try to gift each of our children a special ornament each year specific to something they’ve done or experienced that year. Some years it’s easy to come up with ideas, others not so much.
One of my favorite Christmas traditions is when we all gather to decorate the basement tree. There’s a lot of commentary on all of the ornaments, and accomplishments, and activities, (and parenting failures as our boys love to point out) through the years, memorialized by all those ornaments.
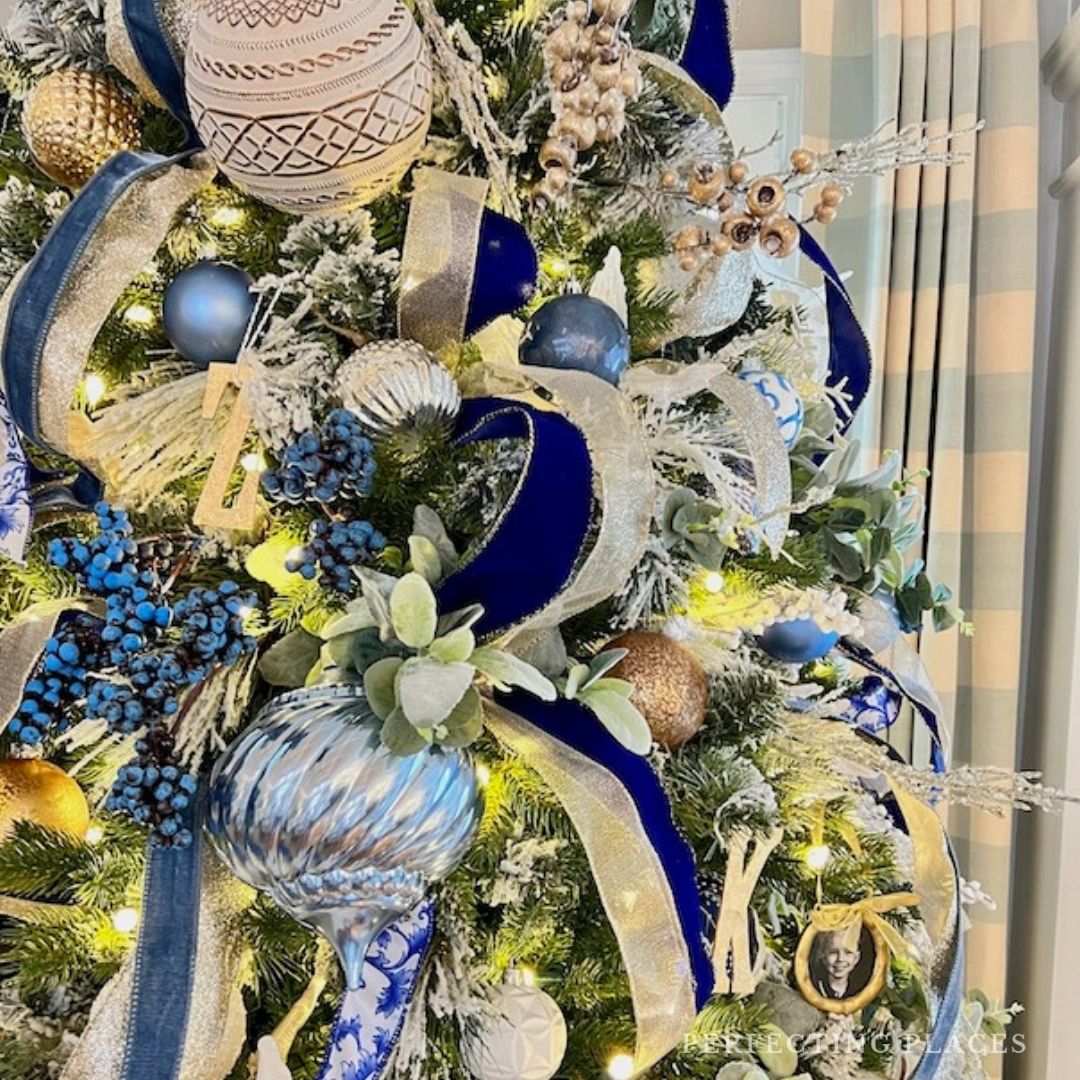
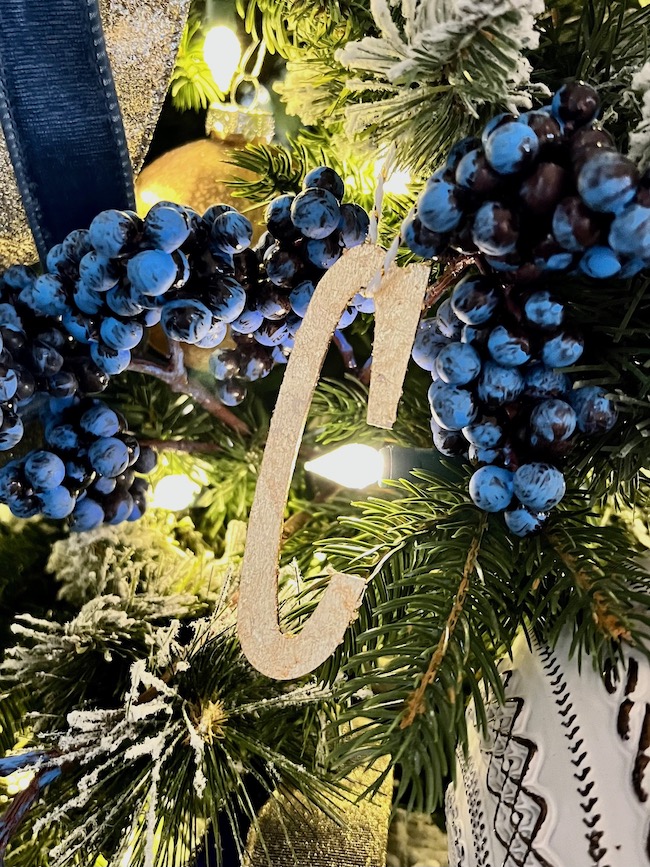
I felt our upstairs fancy tree needed some personal touches as well, so I added some handmade gold leaf ornaments of all of our initials.
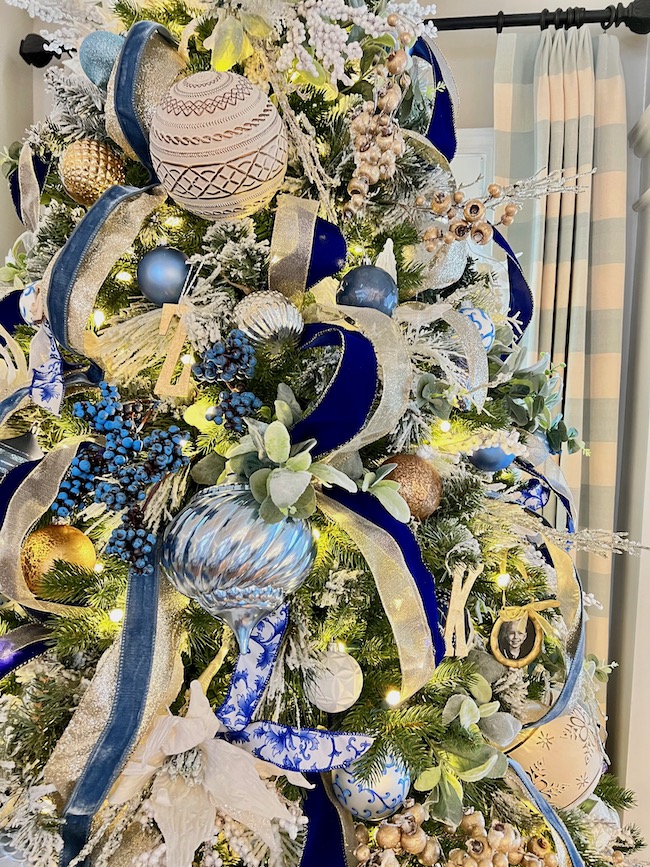
I used thin precut wood letters and gold leaf adhesive, and completed the gold leaf initial ornaments in short order. The longest part of the project was waiting 30 minutes after applying the adhesive for the glue to get tacky to apply the gold leaf. The gold leaf, while a little messy, is pretty much a no-fail craft. Just wait for the glue to get tacky, drop the gold leaf scraps on the letters, then use a stiff paint brush to tap the gold leaf pieces down and cover the wood letters. Brush away the excess gold leaf and you’re ready to hang.

These make really pretty personalized gold ornaments for your tree. They would also be great for place settings at your holiday table, or added to Christmas packages.
I think they add a nice personal touch to our tree!
How to Make Gold Leaf Letter Christmas Ornaments:
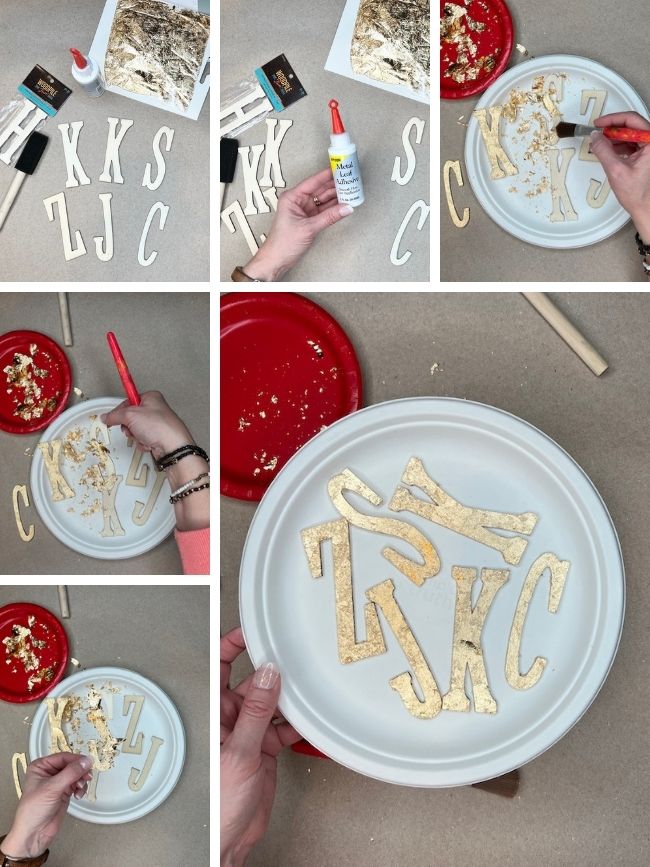
- Gather materials. Use thin wood letters, gold leaf adhesive, a sponge brush, and a small stiff paint brush.
- Using a small sponge brush, apply a very thin layer of the adhesive to the entire surface of all the letters, and set aside to dry for 30 minutes. You want the surface to feel tacky, but not wet.
- Once the letters are tacky, sprinkle the gold leaf pieces on one letter at a time.
- Use the paint brush to tap around and brush down the gold leaf to completely cover each letter.
- Brush away any excess, and use your fingers to smooth down the edges of the letters.
- Once the letters are covered, add ribbon or string and hang on your tree!
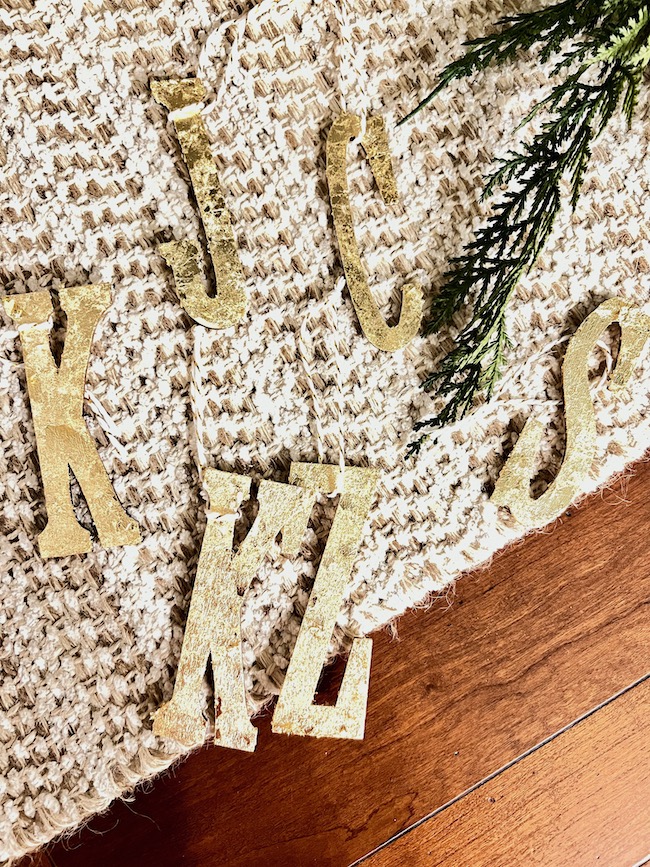
It’s really a very easy project. I had gold leaf scraps on hand for this, but you might find it easier to use gold leaf sheets. Either will work just fine.
How to Make a Gold Leaf Star Garland:
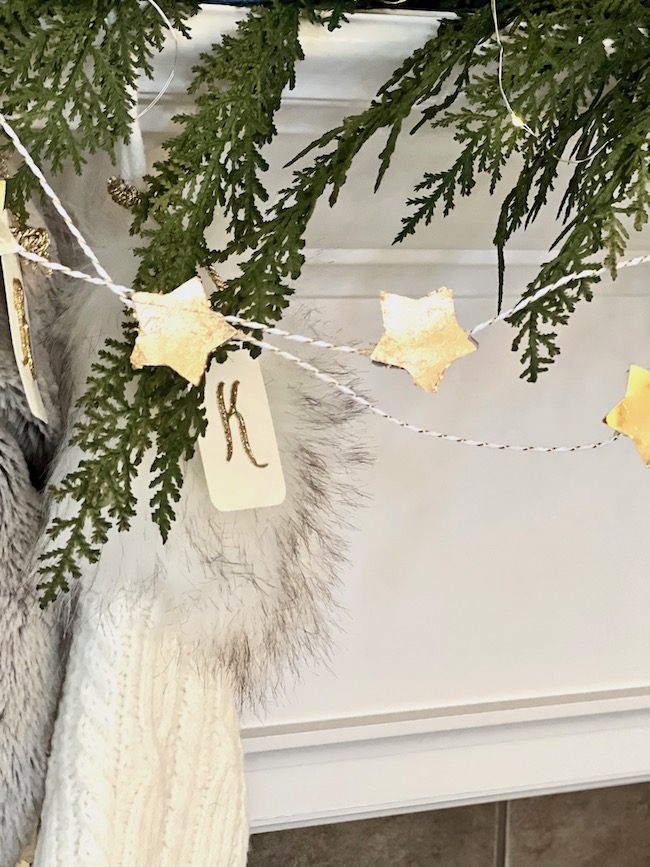
I didn’t stop there!! I was in a gold leaf creative zone and decided to make a star garland to add to our mantel.
I had some gold scrapbook paper on hand, but wanted to have a brushed gold look for some of the stars, so I use the gold leaf to create that look. I used brown craft paper to make the gilded stars. To make the stars I used a star punch.
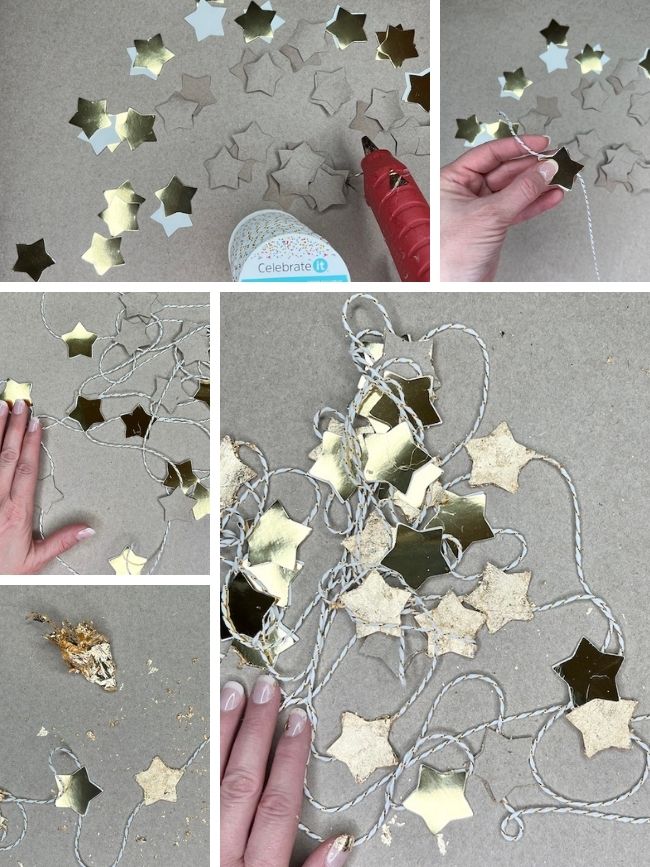
- Gather your supplies. I used shiny gold scrapbook paper; brown craft paper roll; a star punch; decorative string; a hot glue gun; gold leaf; gold leaf adhesive; a small sponge brush; and a small stiff paint brush.
- First, punch out all of your stars. You could even do different size stars if you have various star punches.
- Use the hot glue gun to glue the fronts and backs of the stars together, adding the string in between the front and back layers.
- Add a new star to the garland string every 5 inches, alternating the shiny gold stars with the brown paper stars.
- After all of the stars are added to the string, apply a thin coat of the gold leaf adhesive to the brown paper stars using the sponge brush. I only did one side, but you could do both. If you decide to do both sides, I would complete one side of all of the stars first and then do the other side of all the stars.
- Like the initial ornaments above, let the stars set up for about 30 minutes. You want them tacky to the touch, not wet.
- In the same manner as above, sprinkle the gold leaf scraps on the brown paper stars, and use the small paint brush to tap down and spread the gold leaf to completely cover one side of the brown paper stars, brushing off the excess.
- Once the brown papers stars are covered in gold leaf, you are ready to hang your garland!
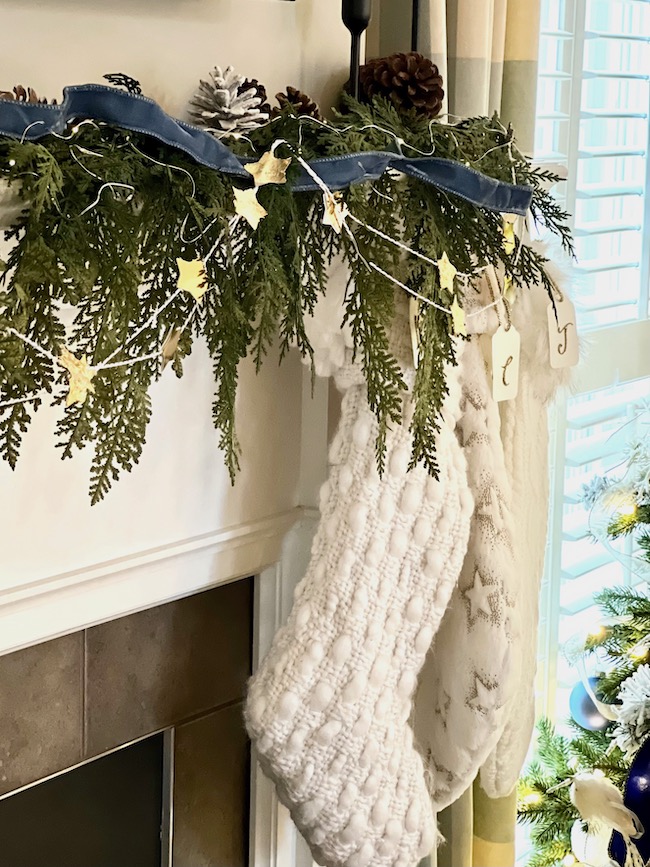
I added ours to the greenery on our mantel, but you could add this to a window, a tree, or anywhere you’d like to add a little extra holiday sparkle. It would also be pretty woven into greenery for a centerpiece.
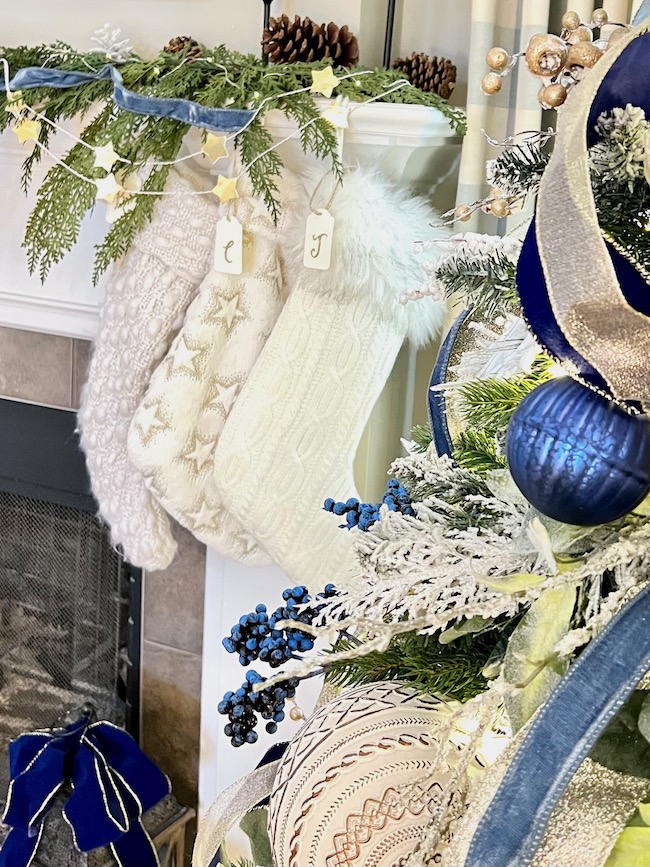
I think these gold leaf crafts add just the right amount of sparkle and shine to our Christmas decor, and hopefully they spark some ideas for you to use in your own home!
Let me know in the comments if you’ve tried gold leaf before, or if you plan to this year in a project!
Happy crafting!!
Materials Used:
More Christmas DIY ideas:
DIY Christmas Decor You Can Make with Yarn — Tassel Trees and Pom Pom Wreaths
An Easy Chinoiserie Ornament DIY and Christmas Tour
