ORC Primary Bathroom Budget Makeover Week 2
Welcome back to Week 2 of our primary bathroom budget makeover!! It’s Week 2 of the spring One Room Challenge, and today I’m sharing some updates from the week as well as a few decisions still to be made.
As I explained last week, I am updating our primary bathroom with mostly cosmetic changes, relying on the power of paint to create maximum impact at the lowest cost. I have larger scale plans that I’d like to do eventually in our bathroom, but this time around the budget just doesn’t allow for a full on bathroom renovation. So, I’m not changing the footprint of the room, and I’m not replacing any of the fixed elements like tile, countertops, cabinets, tub, etc.
(This post contains affiliate links, so I may earn a small commission when you make a purchase through links on my site at no additional cost to you. As an Amazon Associate I earn from qualifying purchases.)
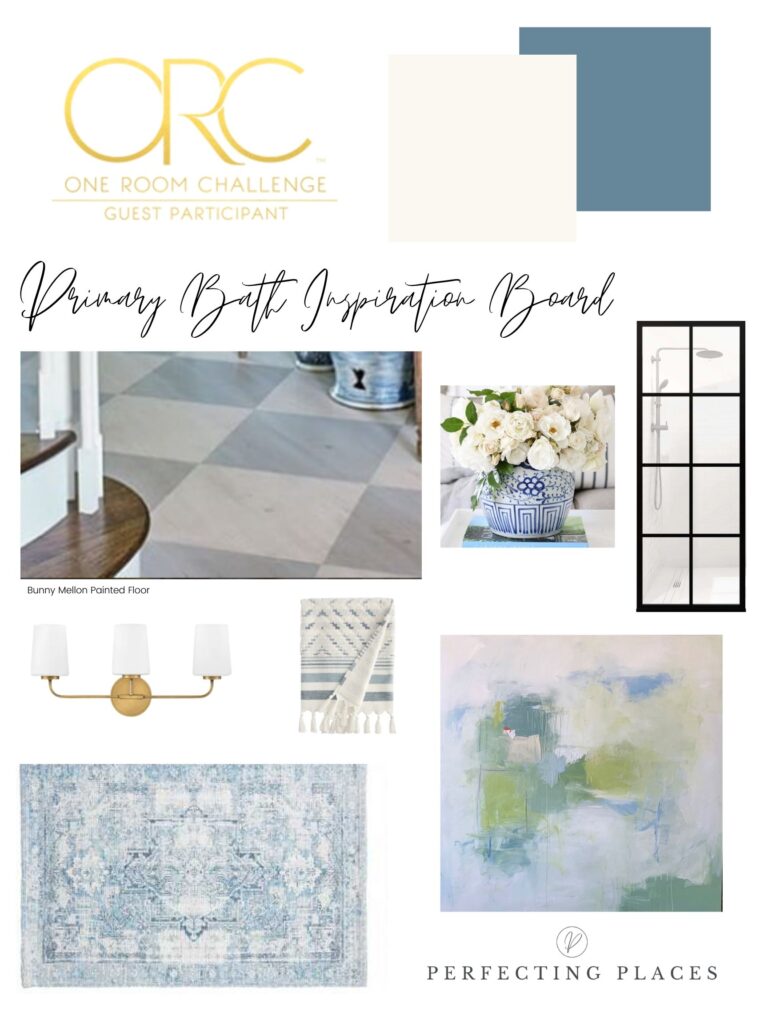
I shared my mood board with the general concept for the room last week, and this week I’m fine-tuning it a bit. You can read my Week 1 post here. This design will continue to evolve over the next few weeks as decisions are made. But, that’s the fun part, right?
During Week 2, I’m focusing on the walls and floors, and the best way to achieve pattern in the space.
I absolutely love wallpaper, but I’m not using wallpaper this time around because of cost, and because any future updates to the existing shower and tub would impact it. So, my plan for the One Room Challenge budget-friendly primary bathroom makeover is to stencil the walls to achieve a wallpapered look.
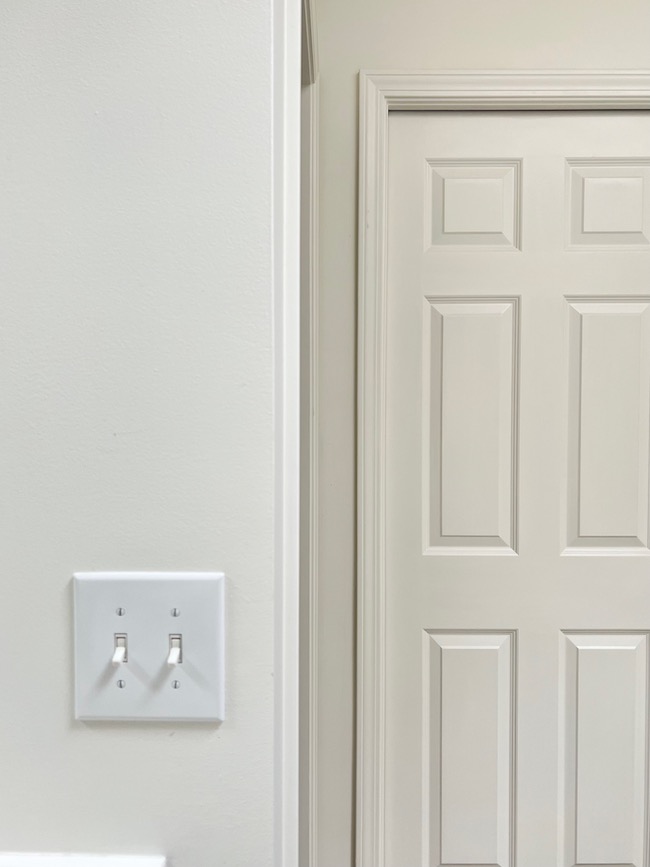
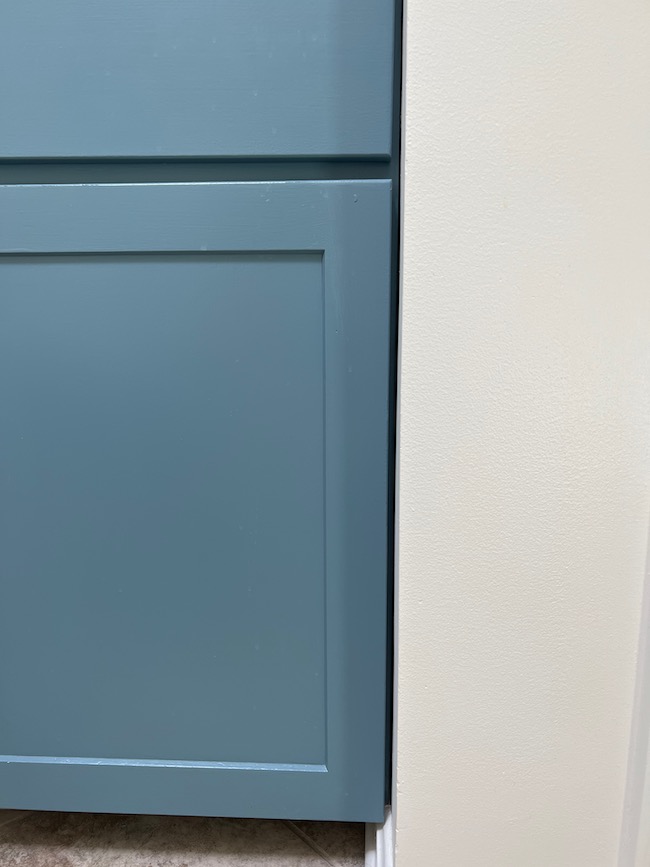
The wall paint has already been updated to Sherwin-Williams Alabaster (SW 7008), and the vanity cabinet is now painted Sherwin-Williams Blustery Sky (SW 9140).
Here’s a sneak peek at the vanity color!
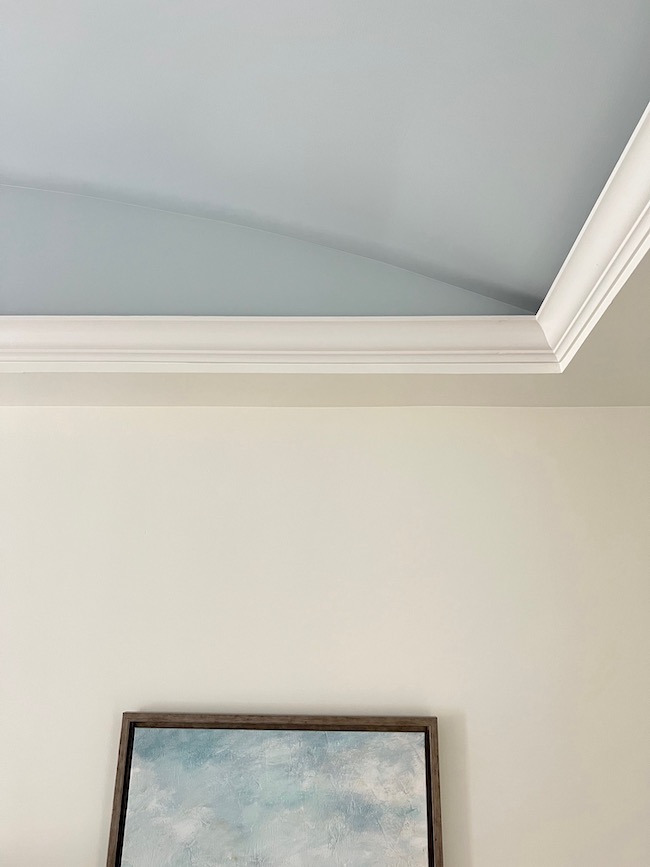
I plan to pull the color of our primary bedroom ceiling into the stencil design to tie the rooms together. Our primary bedroom has Alabaster walls and the barrel ceiling is painted SW Lullaby (9136). I’m using Lullaby, or possibly 50% Lullaby to create the stenciled design on the bathroom walls.

I love the look of this Island Palm wallpaper from Serena and Lily, so I looked for stencils that mimicked this palm frond design as closely as possible.
I’m using this palm stencil to create the look of the wallpaper in the bathroom.
The stencil should arrive this week, so I have a few more days to decide whether I’m using the pattern on all of the walls, or if I want to add any millwork to any of the walls and then stencil above it. I promise I’ll make my decision by the end of the week!!
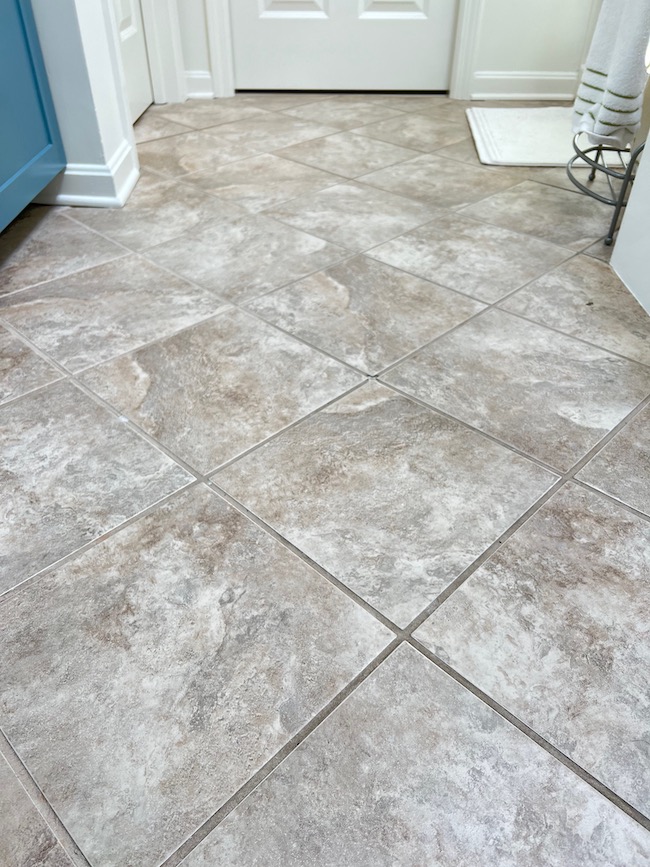
For the floor tiles, I’m doing a checkerboard pattern. To maintain proper scale with the stencil pattern on the walls, I’ve decided to double the size of the squares for the checkerboard pattern on the floor. I had originally planned on simply sticking to the size of the 12″ tiles, but have decided to create the look of 24″ tiles as indicated by the yellow lines below.
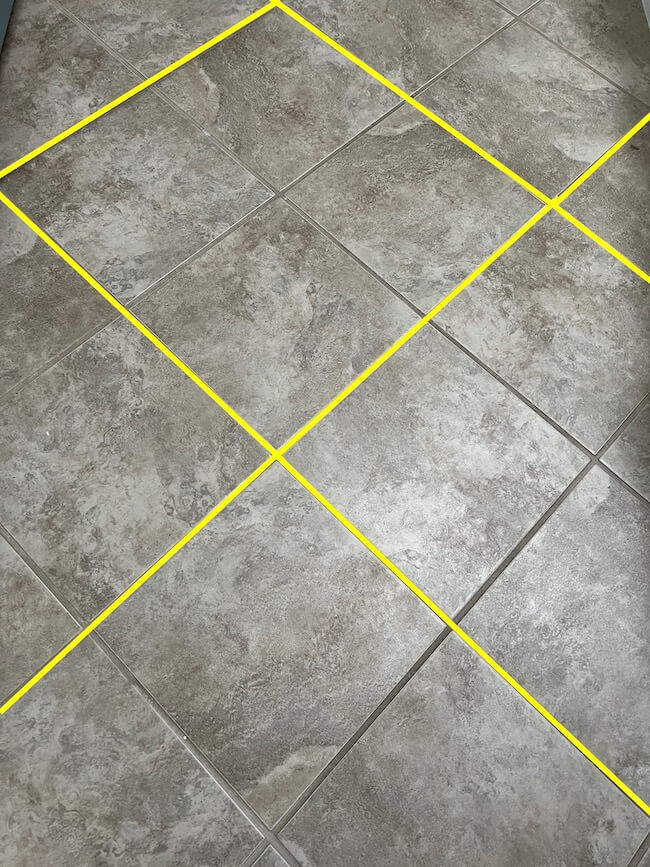
I think the larger scale will be much better with the size of the palm frond design on the stencil since each palm frond is about 13 inches tall.
I’m still deciding whether I’ll create a blue checkerboard pattern on the floor design or go with a neutral color scheme. I will make that final decision after I complete the wall stencils.
So, that’s where I am this week in the process. The real magic will begin after the stencil arrives and I can start painting!
I’m so glad you are here following along with the journey, and I can’t wait for you to see the final result in 7 weeks!
Thanks so much for stopping by, and be sure to follow along with everyone’s progress at the One Room Challenge link below!


I’m so excited to follow your progress during this challenge! Your inspiration board is gorgeous! I want to paint the tile floors in my primary bathroom this summer, in a checkerboard pattern, so I’m very interested to see how yours turns out! Have a great week! Donna
Thank you, Donna!! I’m excited as well! I’m a little nervous about the painting the tile floor, but it needs to be redone anyway, so I’m just going to have fun with it! Thanks so much for following along!!
love the color of blue you painted the cabinet! Can’t wait to see the stencilling on the walls! I would love to stencil the front of my cabinets but am afraid I don’t have the patience! Thanks for sharing your progress!
Thanks so much, Kimberly! We’ll see how much patience I have once the stenciling project gets underway!! Thanks for following along!!
A beautiful bathroom – so serene and spa like. I am excited to see how the stencil goes. I want to try that!
Thank you so much, Kristin! I’m excited to get started on the stenciling! I think the stencil is arriving today!! Wish me luck!
Can’t wait to see how your floor turns out! I’m a sucker for a good checkerboard. Love that you are going oversized!
Thanks so much, Diane! I’m excited, too! The wall stencil should be arriving today, and I can’t wait to get started with that. Then the floor will come next. Thanks so much for following along, and especially for today’s feature on your Fabulous Friday Link Party!!
Love the serene color palette Kim. Interested in seeing the beautiful floor stencil go on. I’ve wanted to try changing our old tile with a stencil as well.
Thank you, Maria! I’m actually doing a checkerboard pattern on the floor tiles, so will tape of the squares to create the pattern since all of the lines will be straight. I am, however, using a stencil for the walls, and I am so excited about it. I’ve tested in on foam board, and it’s going to be so pretty!! Thanks so much for following along!
I can’t wait to see how the stencil works out for the walls. The floor is going to look AMAZING.
Thanks so much for following along, Juliet! I’m so excited about these paint projects and for the end result!