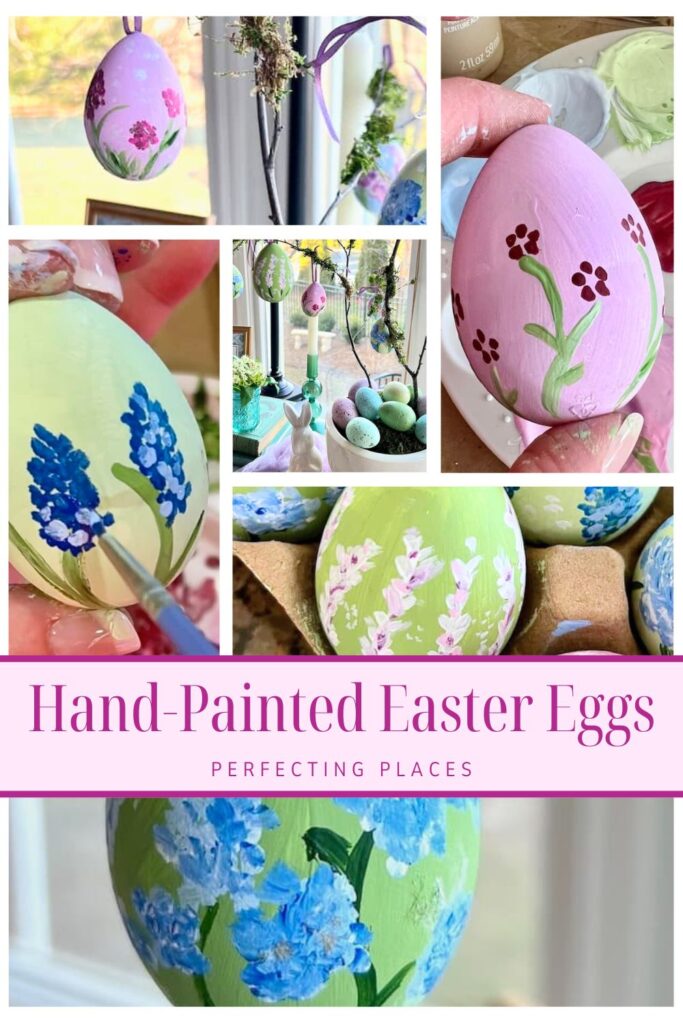
How to Make Hand-Painted Easter Eggs for Beautiful Spring Decor
Want a simple way to add a creative touch to your Easter decor? Hand-painted Easter eggs are a beautiful and personal way to celebrate the season!
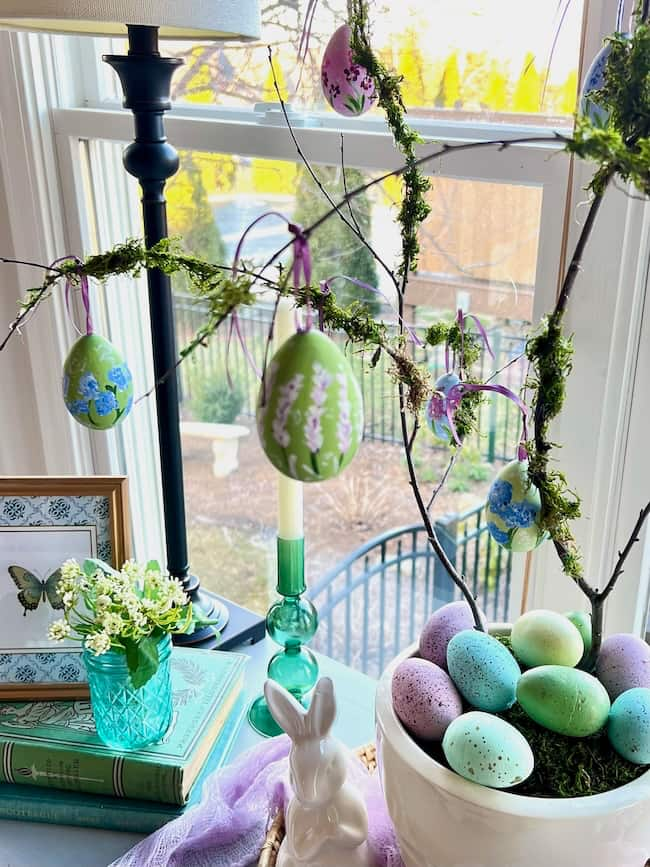
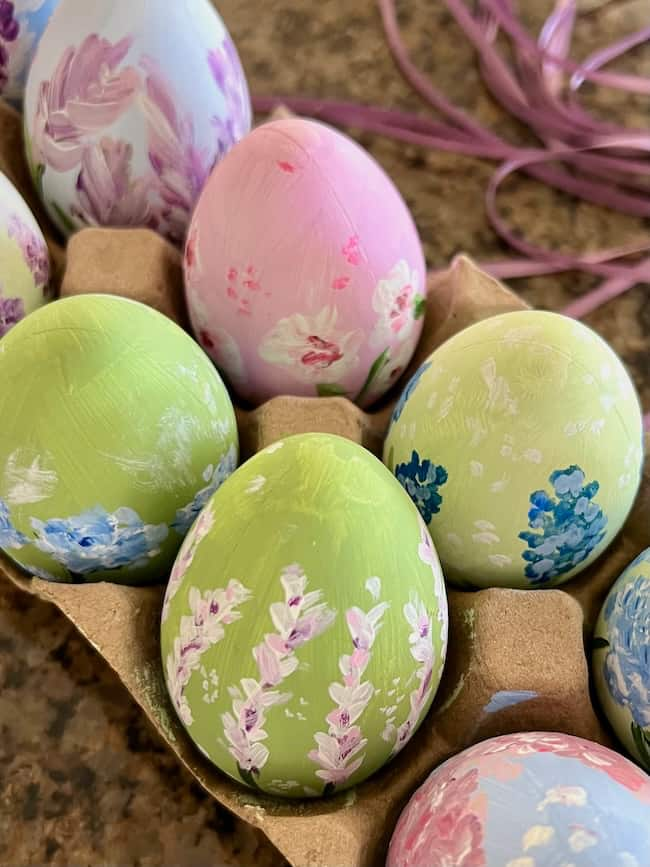
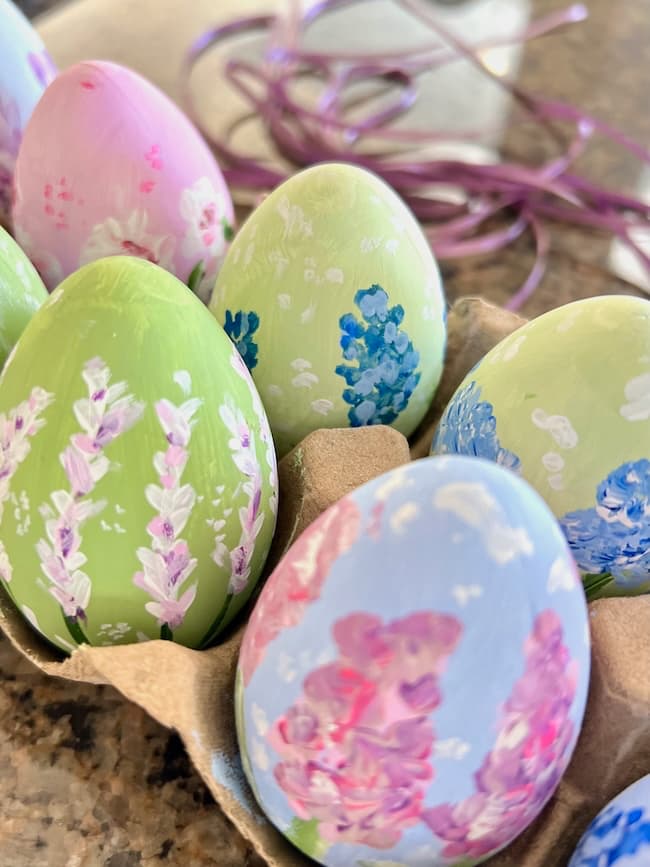
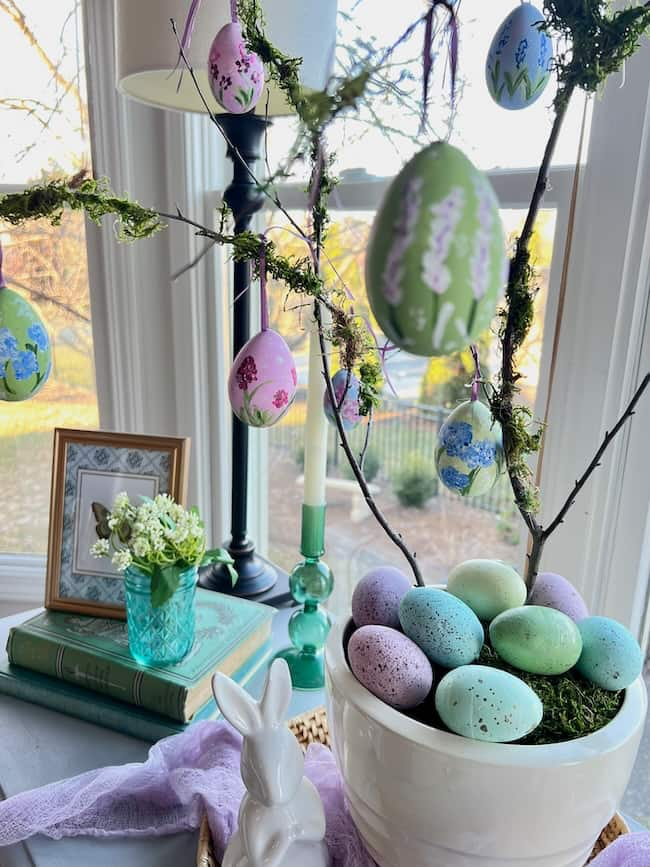
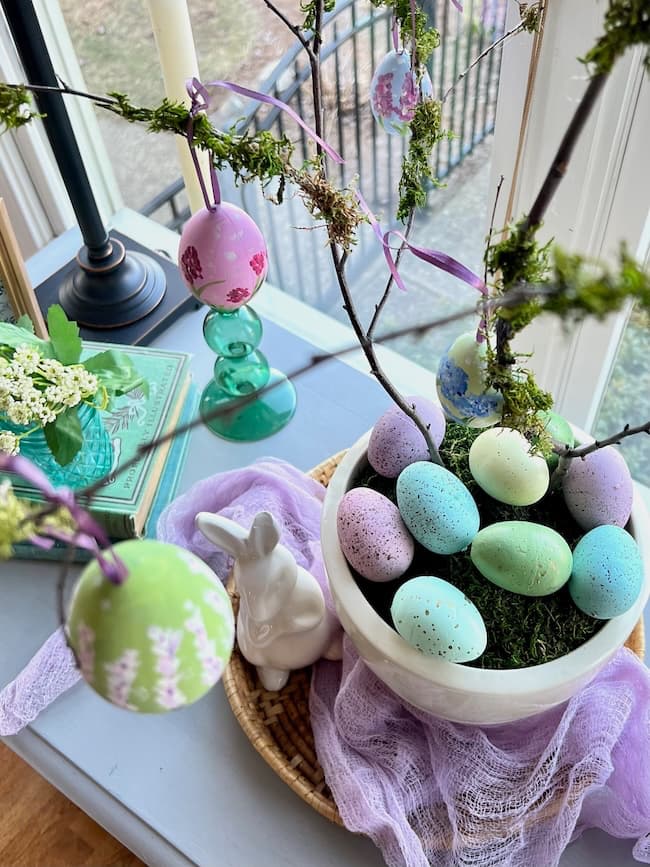
In this post, I’ll show you how I painted pretty floral designs on eggs using soft pastel shades of blue, green, lavender. and pink. Once the eggs were painted, I styled them on a DIY Easter egg tree made from branches gathered from our yard. It’s a simple but meaningful way to display these pretty pieces and bring a little bit of nature indoors.
(This post contains affiliate links, so I may earn a small commission when you make a purchase through links on my site at no additional cost to you. As an Amazon Associate I earn from qualifying purchases.)
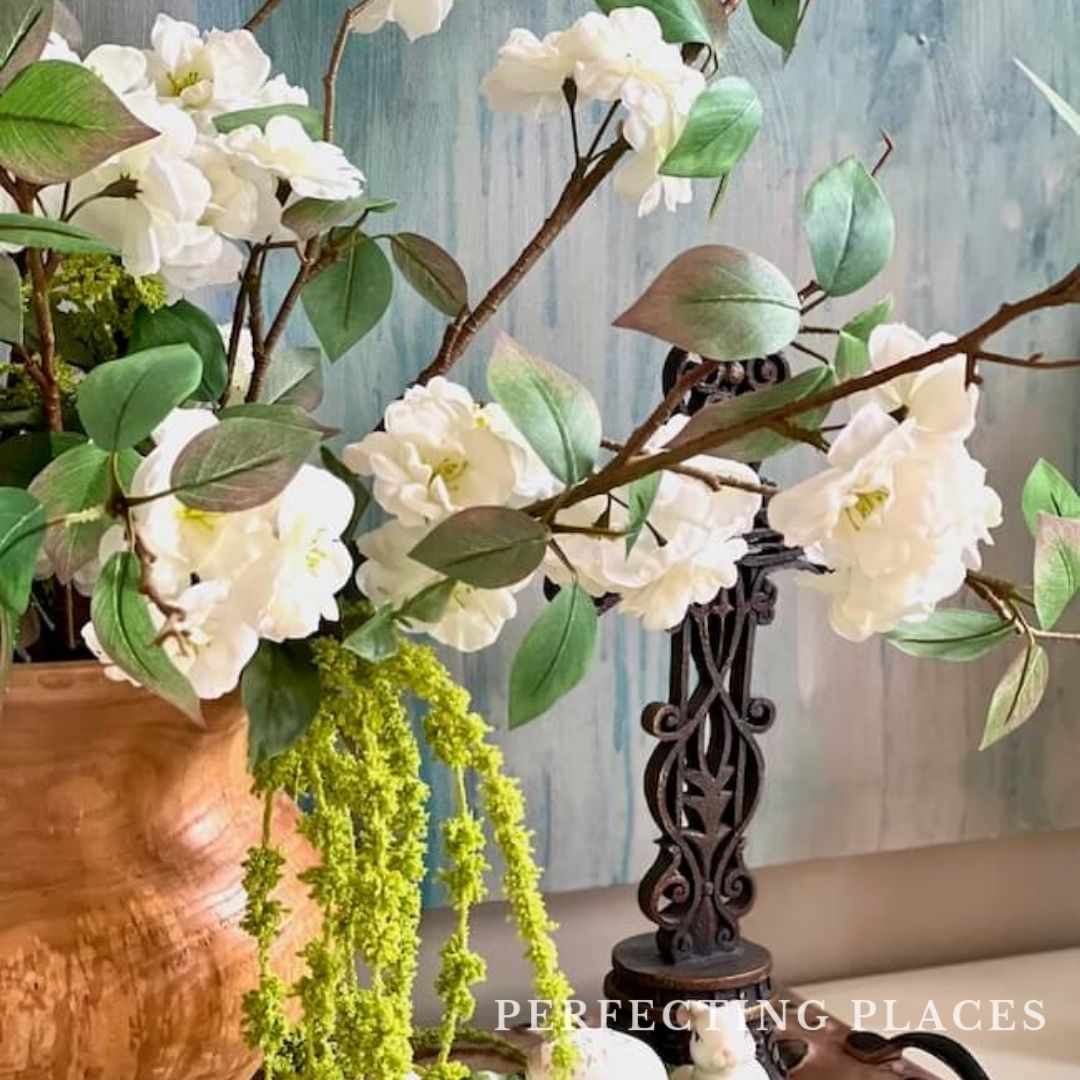
I love the beauty and color of spring and the Easter season. This year, I was inspired to try painting some delicate floral designs on eggs to add to a sprawling Easter egg tree.
I created this egg tree a couple of years ago with small branches from our yard but recently refreshed it with a little extra moss. It’s such a pretty way to display the colors of the season with a handmade touch, and I’m excited to share these hand-painted eggs with you!
Supplies You’ll Need for Hand-Painted Easter Eggs
- faux white Easter eggs (I used these from Target.)
- Artist paint brush set (It’s helpful to have a flat brush and a brush with a fine tip.)
- Acrylic paint set
- Small artist palette (helpful for mixing colors)
- plastic spoons for mixing paint
- something to protect your surface
- water cup for cleaning brushes
- paper towels
- 1/8″ ribbon
- hot glue gun and glue sticks
- fingertip protectors
Step-by-Step: How to Paint Floral Designs on Easter Eggs
1. Prepare your workspace.
- Cover your work area with newspaper or craft paper to protect the surface.
- Remove the faux eggs from the carton, but keep the carton because it’s helpful for allowing the eggs to dry.
- Gather paint brushes and a cup of water for rinsing your brushes.
2. Choose your color palette for your eggs.
- Determine the color scheme you want for your eggs. I decided to use blue, green, and lavender/lilac colored eggs, and darker and brighter shades of these colors, as well as pink and white to paint the floral designs on the eggs.
- Since you’re painting the eggs and the floral designs you can choose any color palette that you wish. It’s a great idea to coordinate the colors with the color scheme of your spring decor for the season.
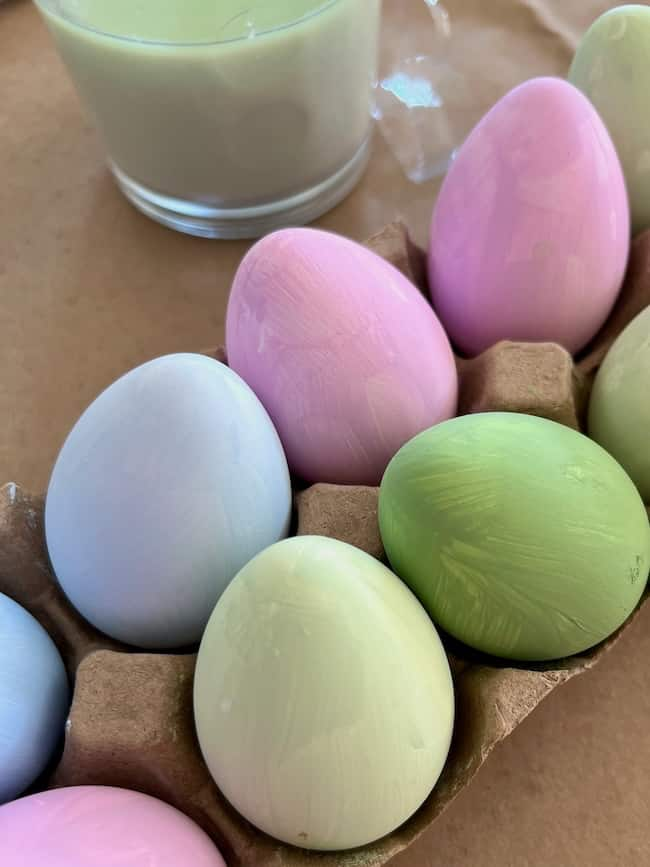
3. Paint the pastel backgrounds on the eggs.
- Since the eggs are white, you’ll need to paint the pastel backgrounds.
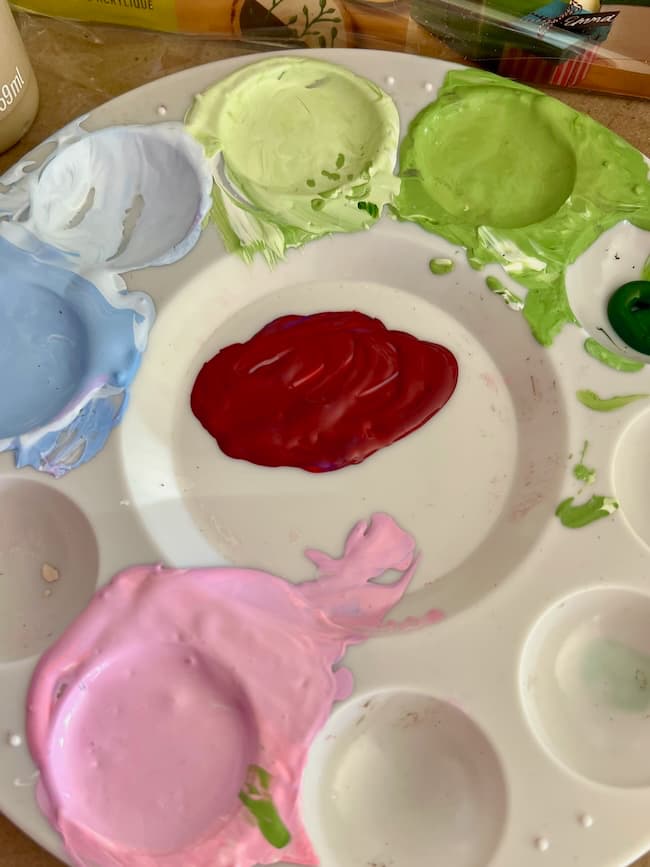
- I used my small paint palette to mix the colors in my set of acrylic paints to achieve the colors I wanted. I don’t really have a recipe, but just added until I had the colors I liked. I created a lilac color, two shades of green, and a blue shade to paint the background color on the eggs.
- Paint all the background colors, and allow the paint to dry. I used the egg tray that came with the eggs to rest the eggs in while the paint dried.
4. Paint the floral designs on the eggs.
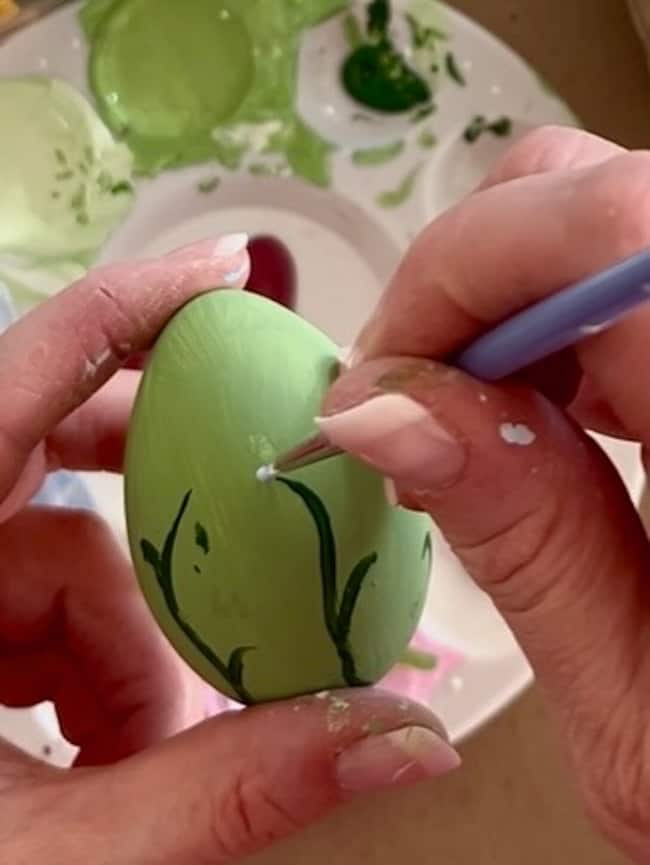
- Keep your flower designs simple. I used a small pointed tip paint brush dipped in the dark green paint to brush on the stems.
- I created simple flowers using a dotted daisy technique for daisy-type flowers.
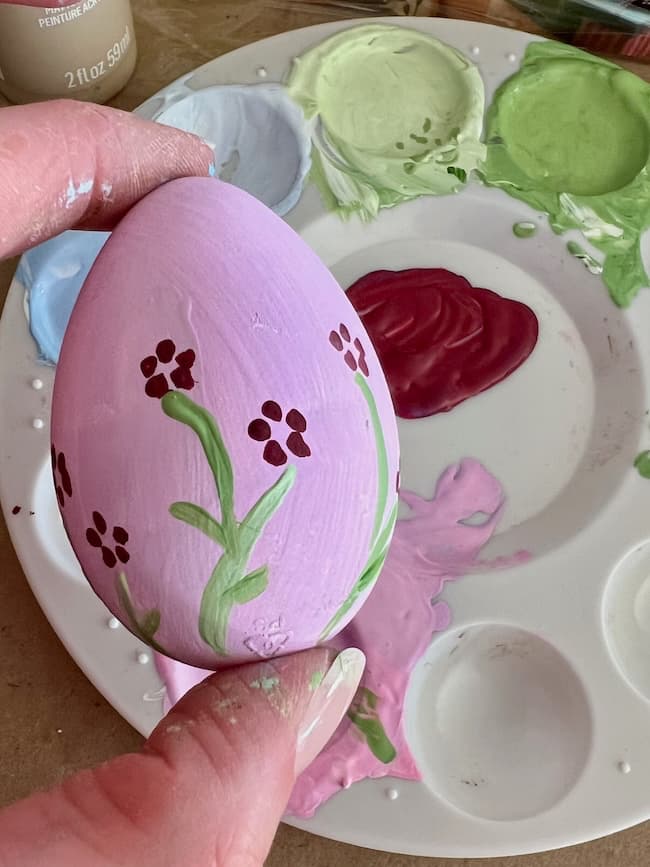
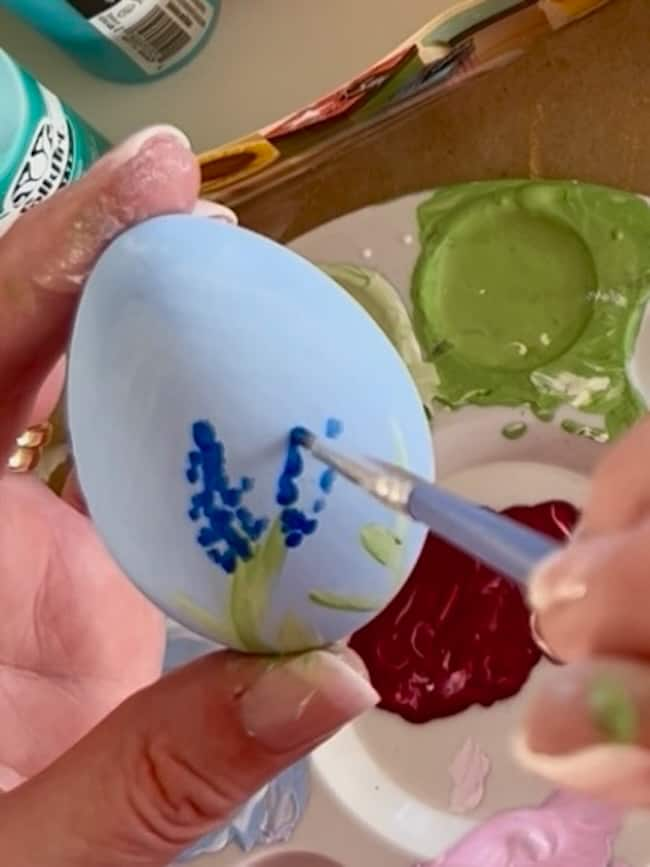
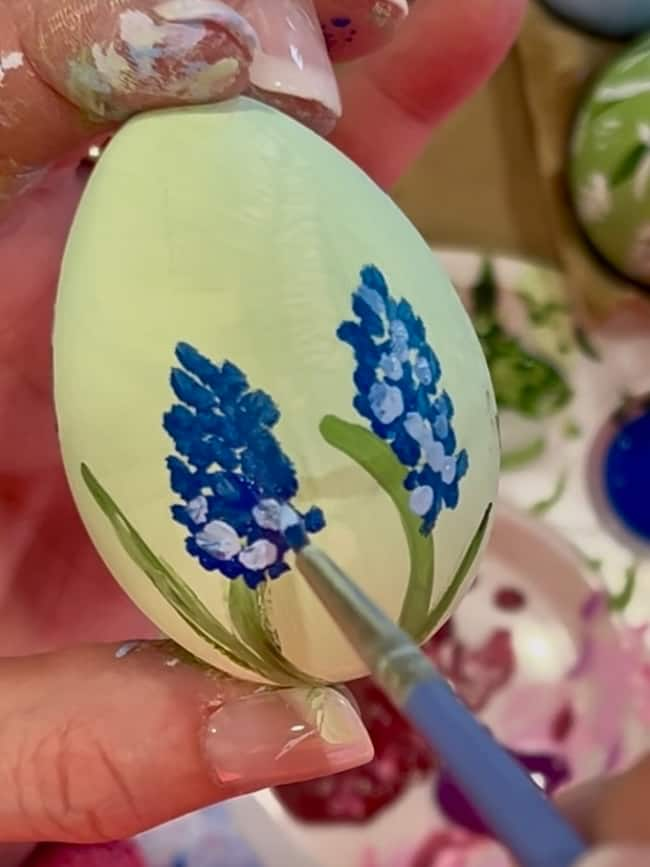
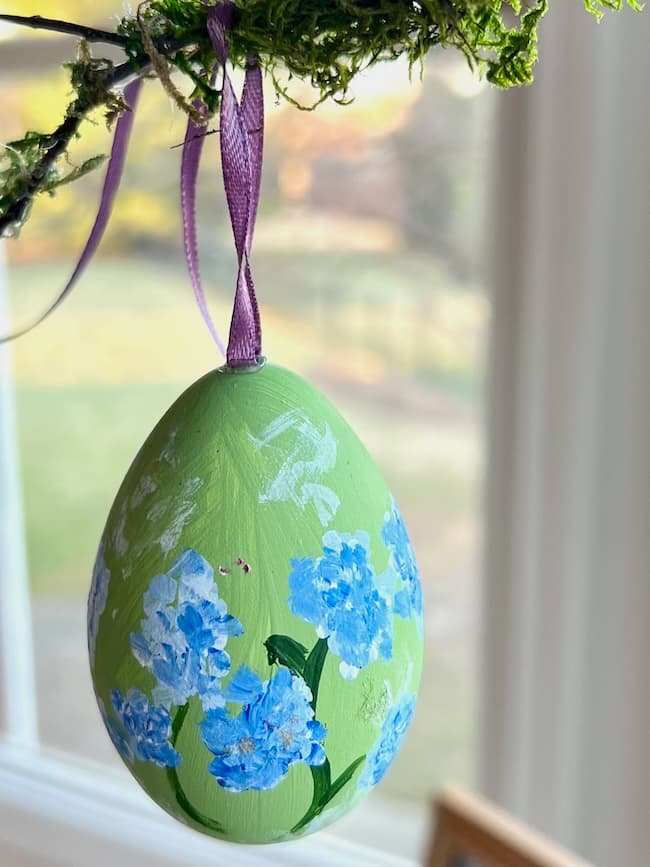
- I used a dot technique to create hydrangea and lilac blooms. To create this realistic look, you need to dip your brush in multiple shades of the color and even white to get the variegated effect of the pattern. It’s really just a lot of dots with a mix of colors to create the look.
- On some of the eggs, I used a feather pattern to create blooms coming off the stem and then added other colors over top this.
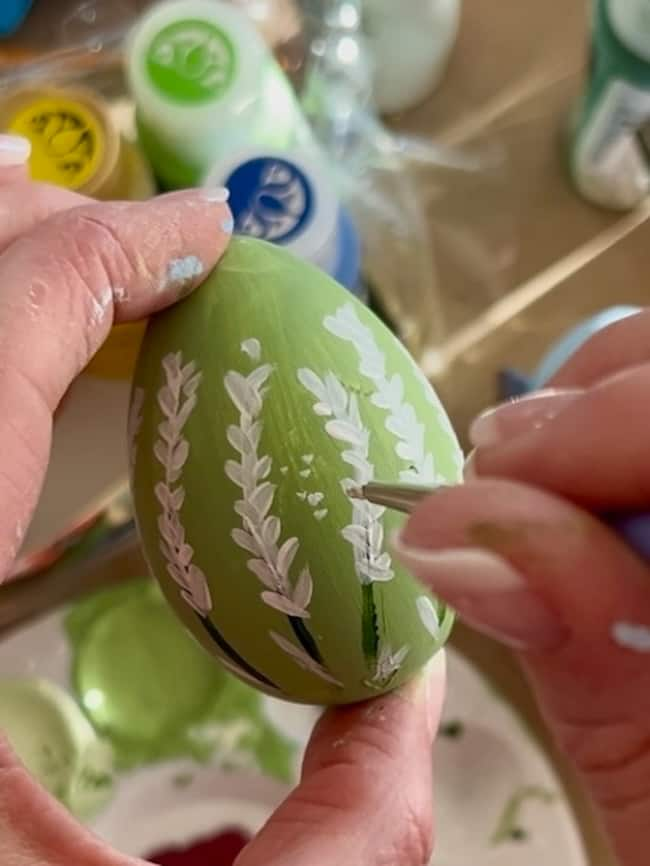
- I added small, delicate dots of white in and around the blooms and stems for added interest.
- Be creative and enjoy the process of adding layers of painted to create the beautiful blooms!
- If you make a mistake, or don’t like something, just paint over it and start again! Have fun!

How to Style Your Hand-Painted Eggs on an Easter Egg Tree
After your eggs are decorated and have finished drying it’s time to attach ribbons and hanging them on the tree.
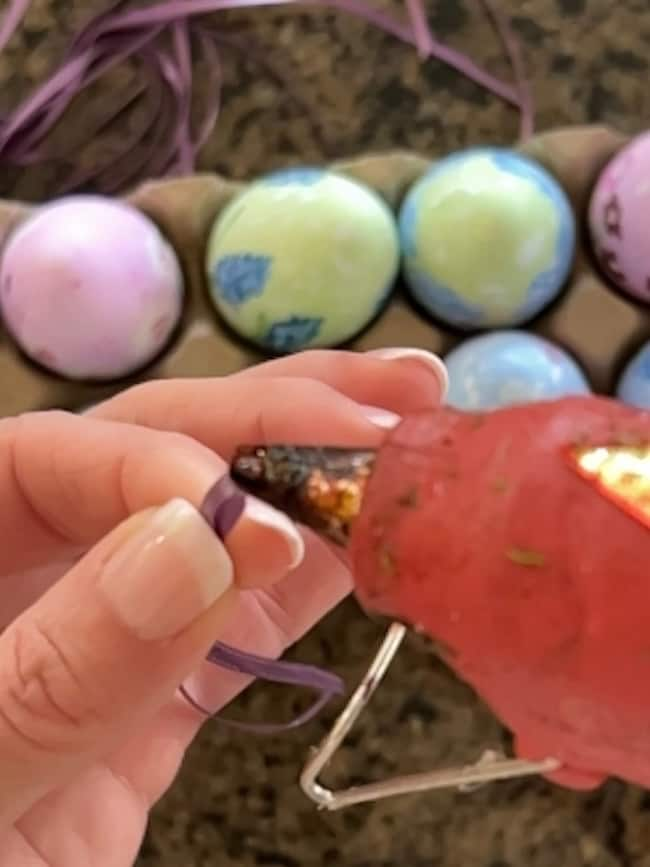
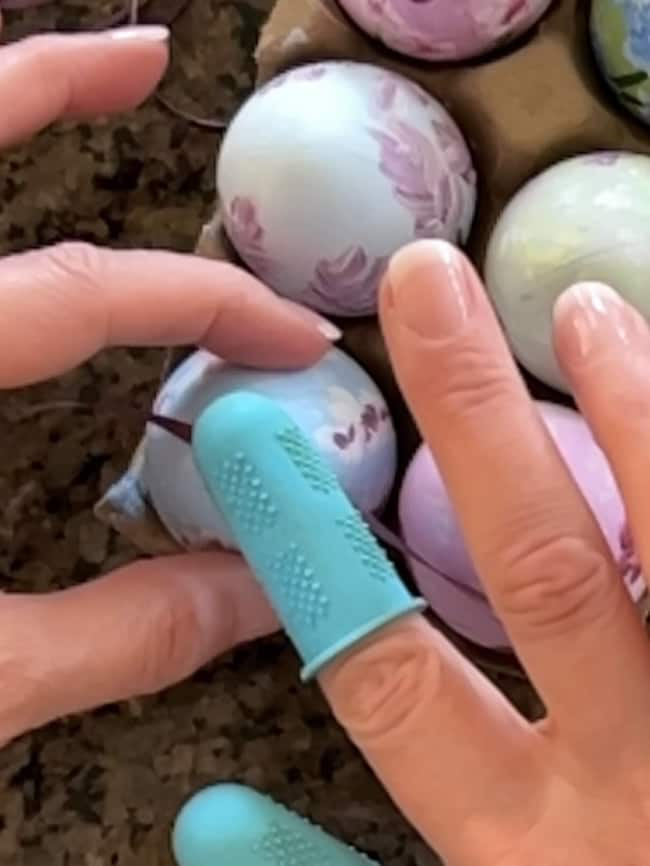
1. Add ribbon to the eggs for hanging.
- cut 1/8″ ribbon into 8-10 inch pieces and use a hot glue gun to add a tiny dab of glue to each ribbon and attach it to the top of the eggs. Use finger tip protectors to keep from burning yourself.
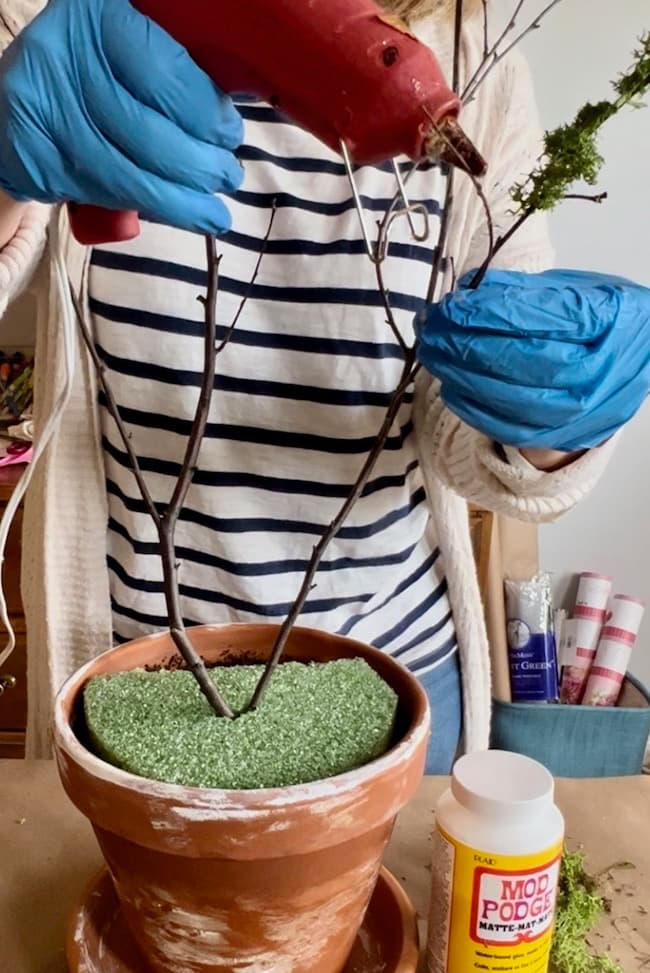
2. Create the egg tree with branches from your yard.
- I shared detailed instructions for creating the Easter egg tree in this post.
- Gather branches from your yard.
- Insert florist foam into a flower pot to anchor the branches and arrange the branches in the pot. Cover the base of your branches with moss.
- For added interest glue moss to your branches to create a natural look for the tree.
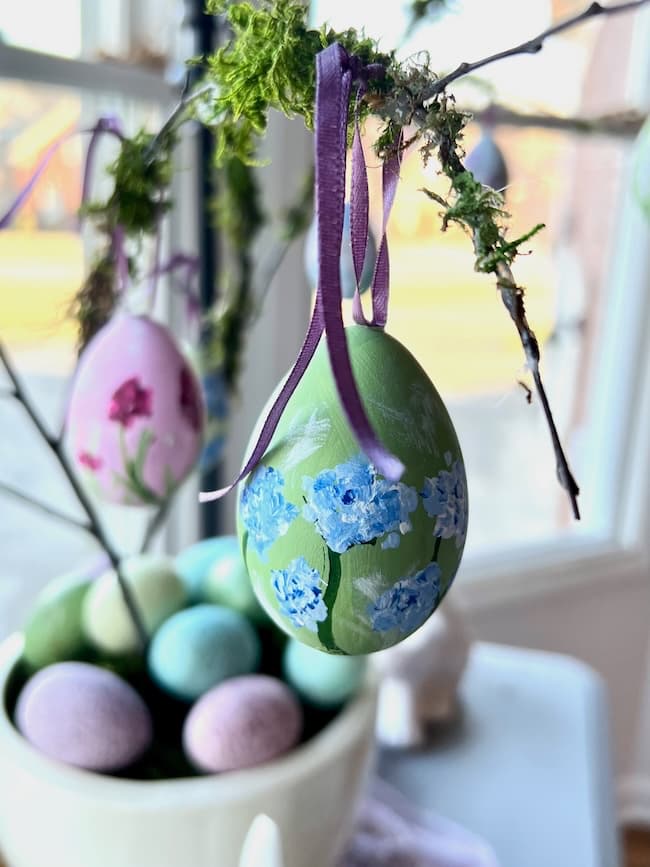
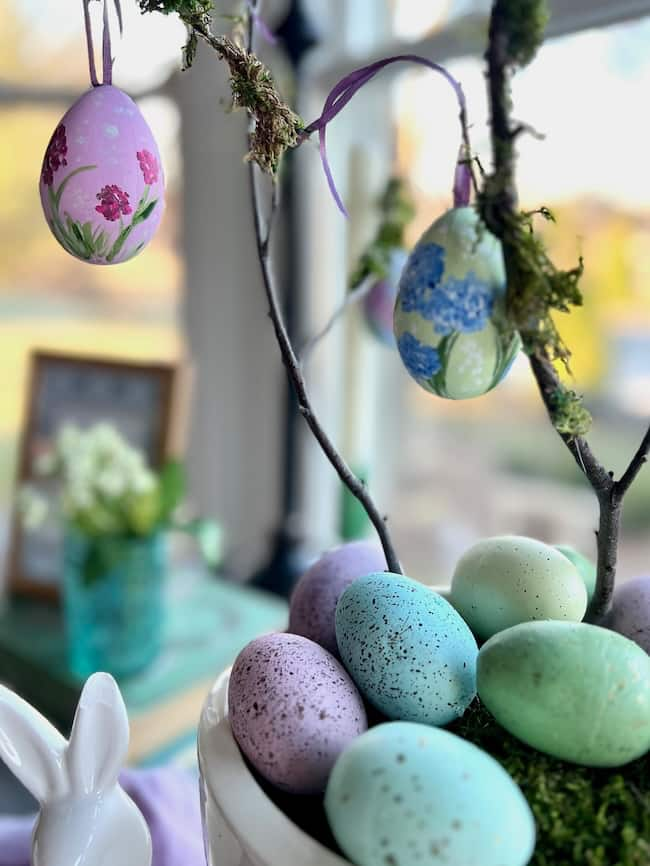
3. Hang the painted eggs on the tree.
- Tie each egg to the tree with the ribbon.
- Space the eggs out along the branches to achieve a balanced look.
Other Creative Ways to Display Hand-Painted Easter Eggs
If you prefer not to hang the eggs on a tree, there are lots of creative ways to style them around your home for the season.
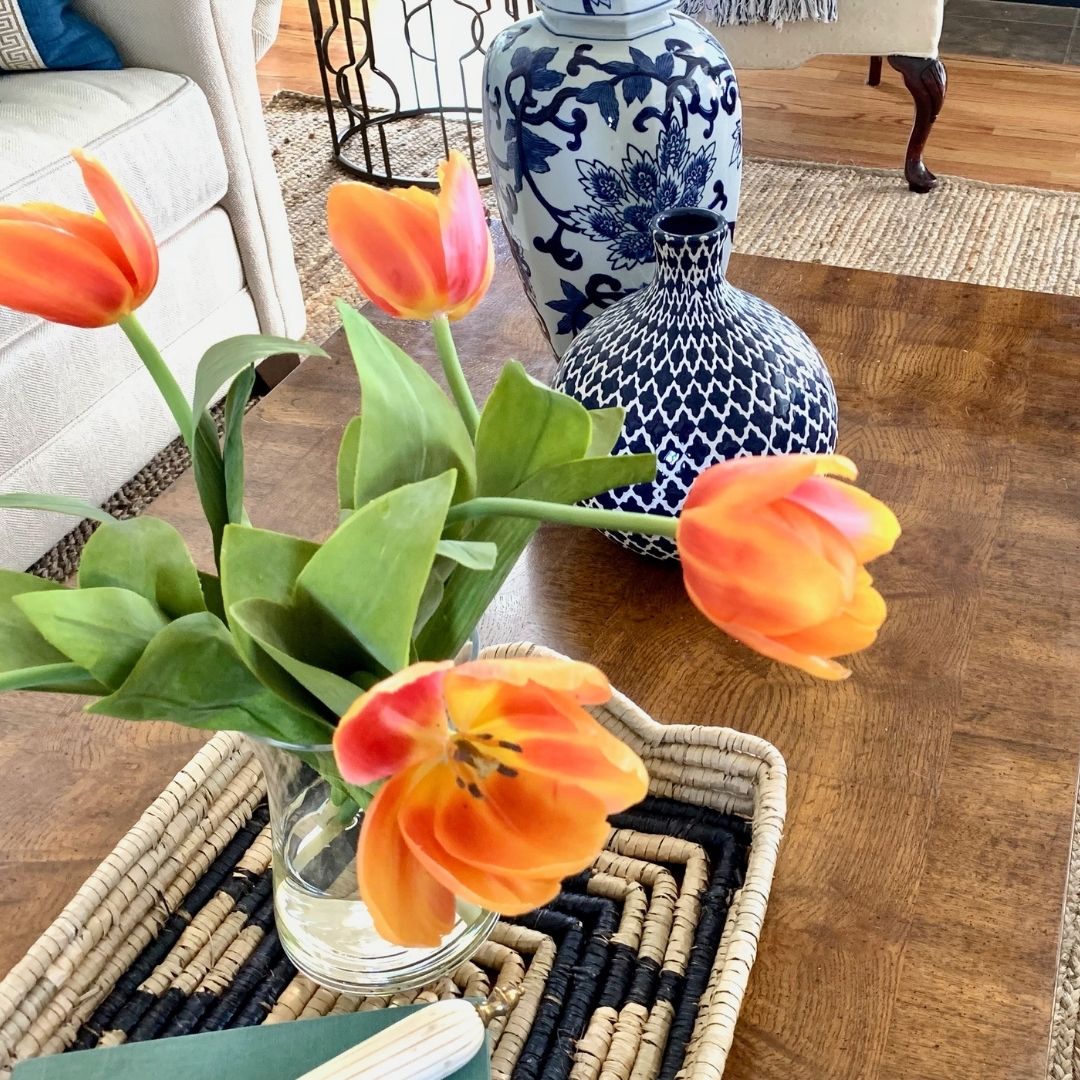
- Add them to a pretty egg platter on your coffee table.
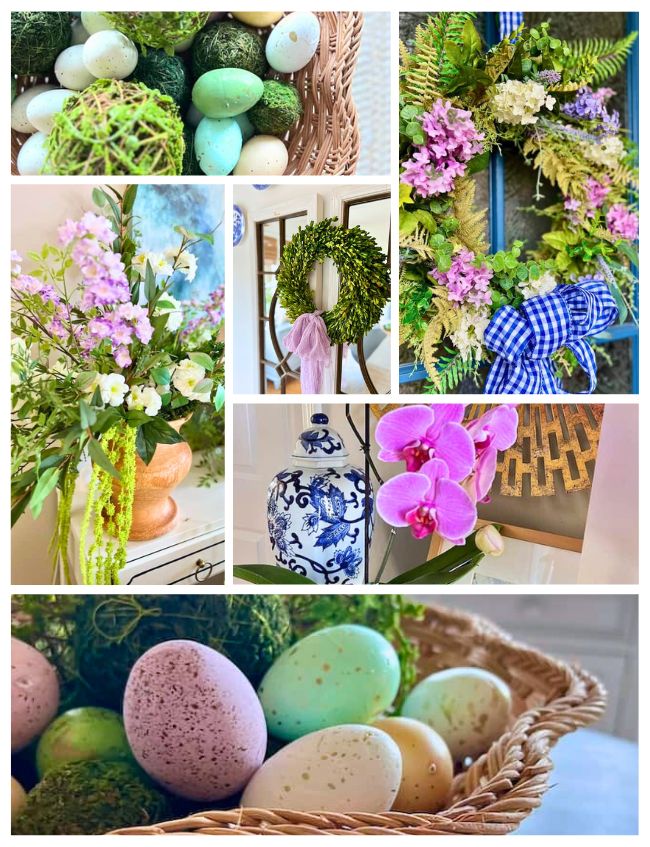
- Add them to a decorative bowl, rattan basket, or tray.
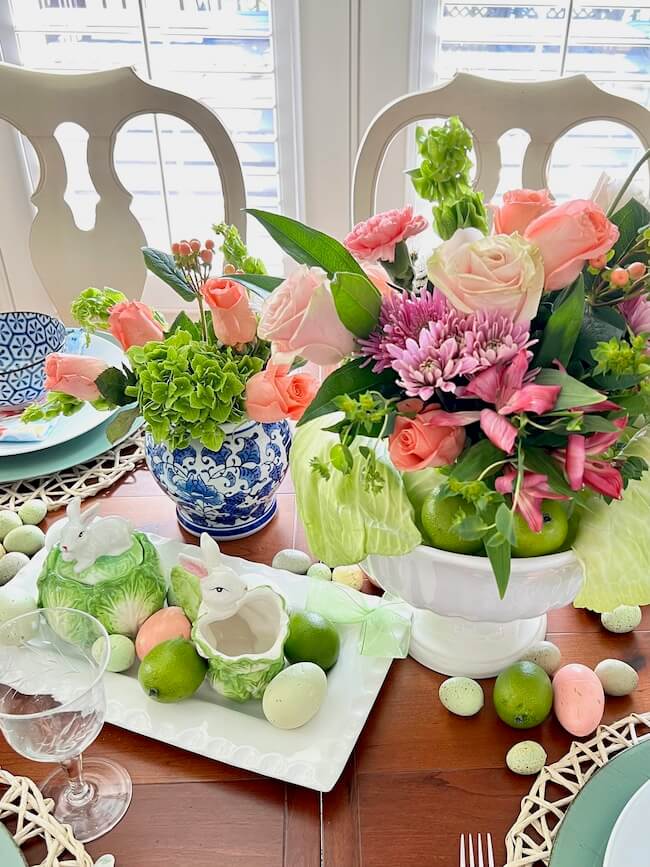
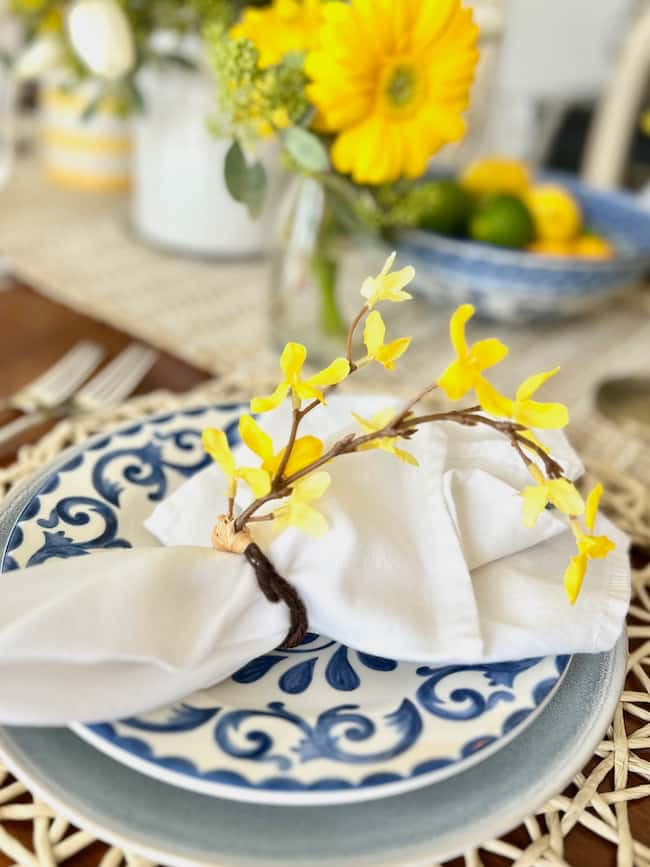
- Use them at place settings on your Easter table.
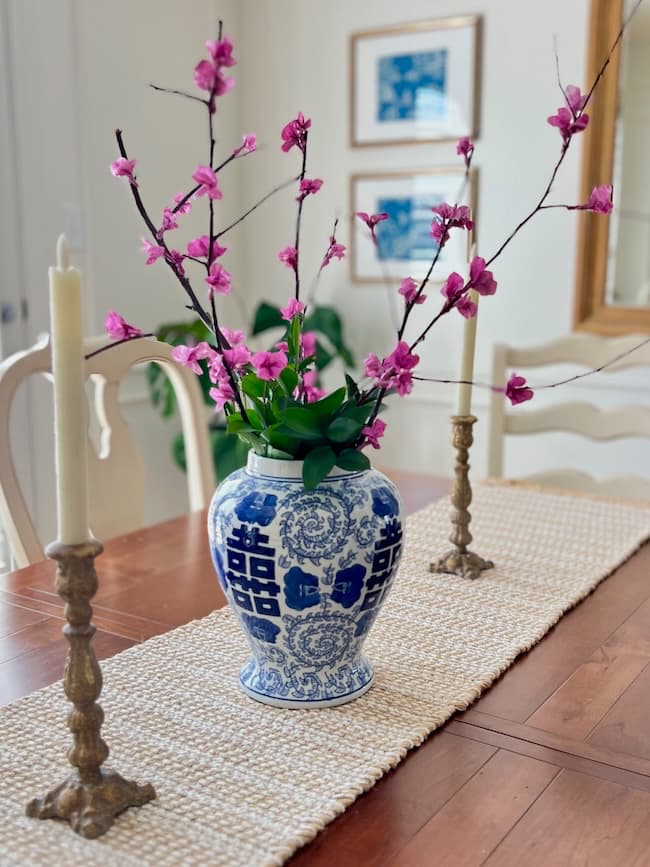
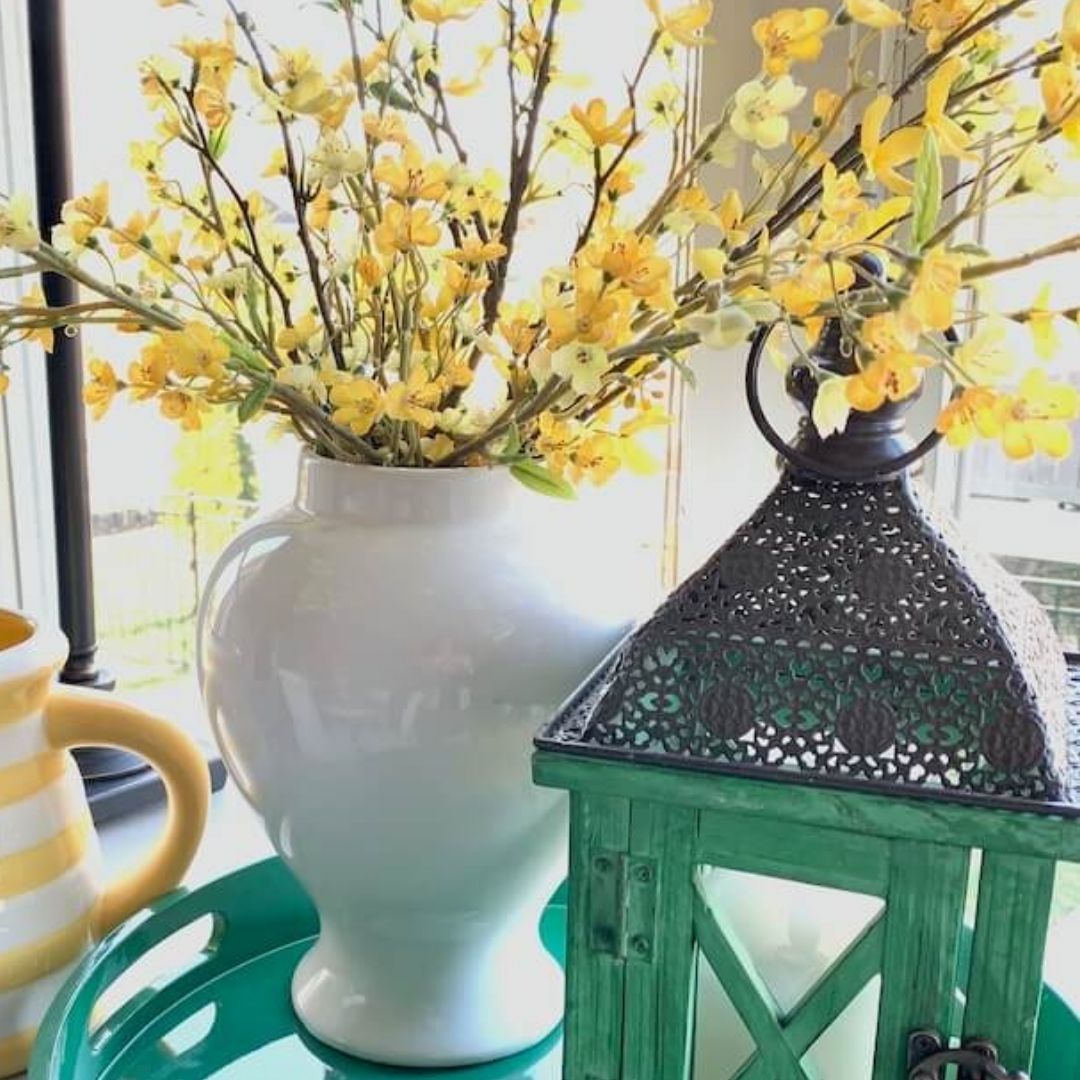
- Incorporate them into a spring centerpiece.
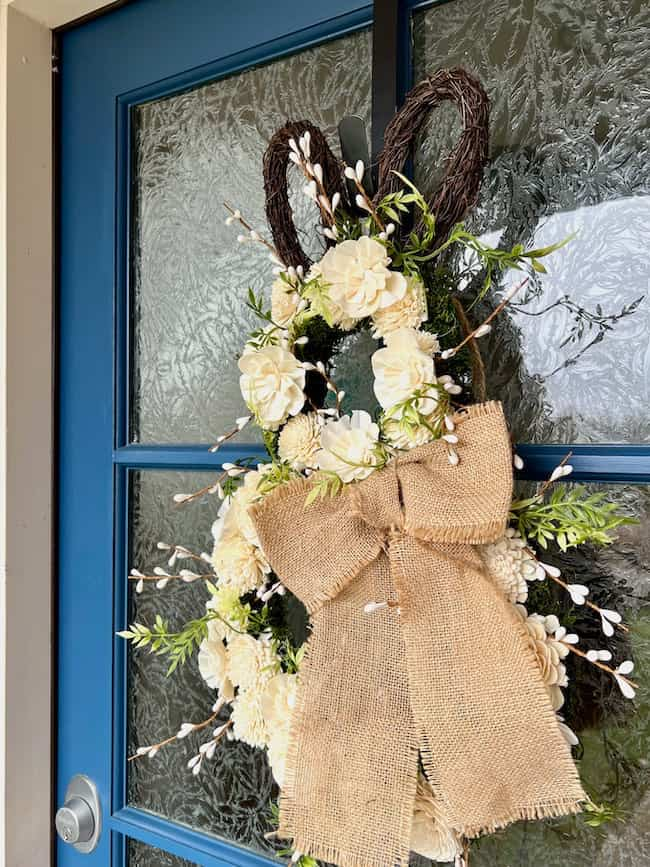
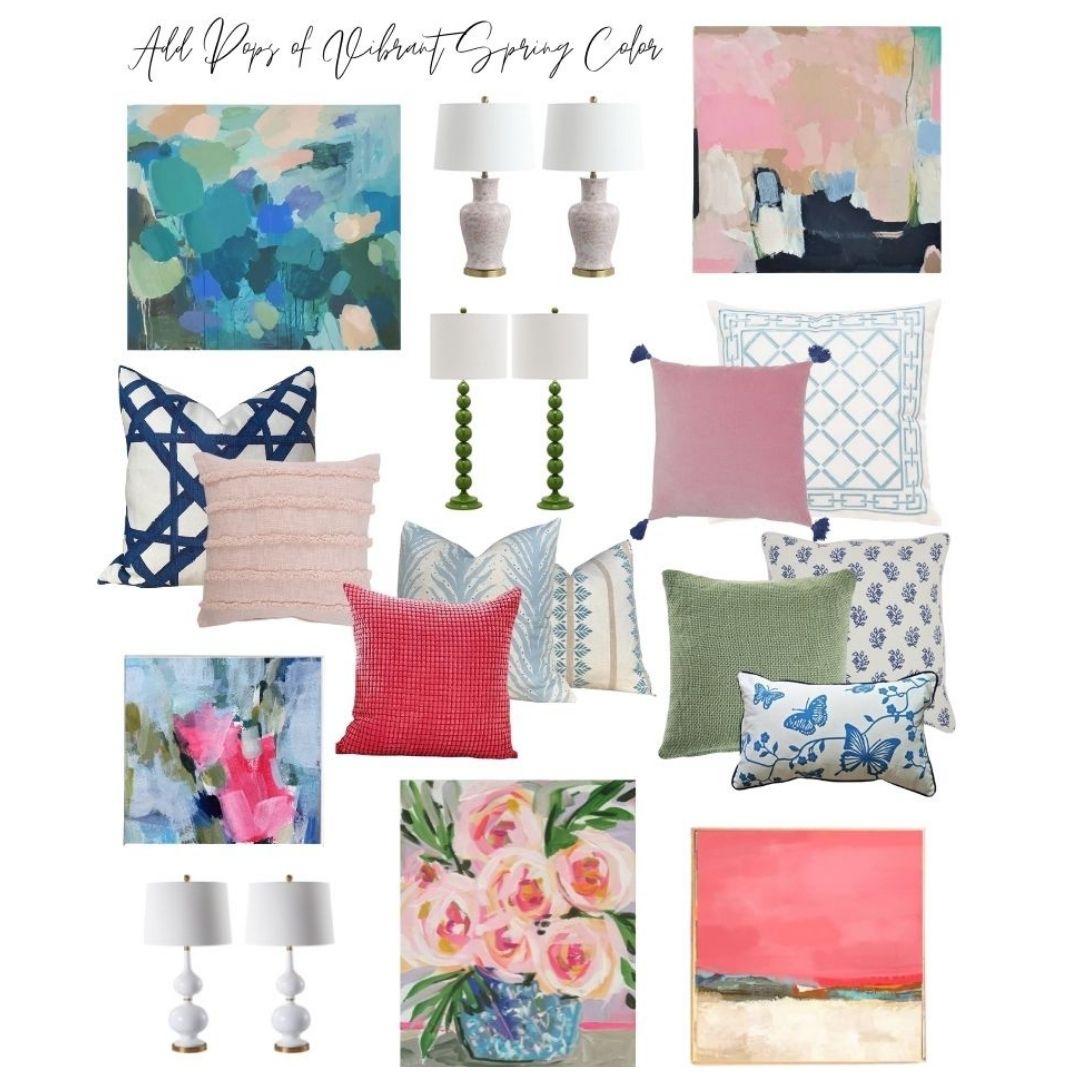
More Easter Decor Ideas
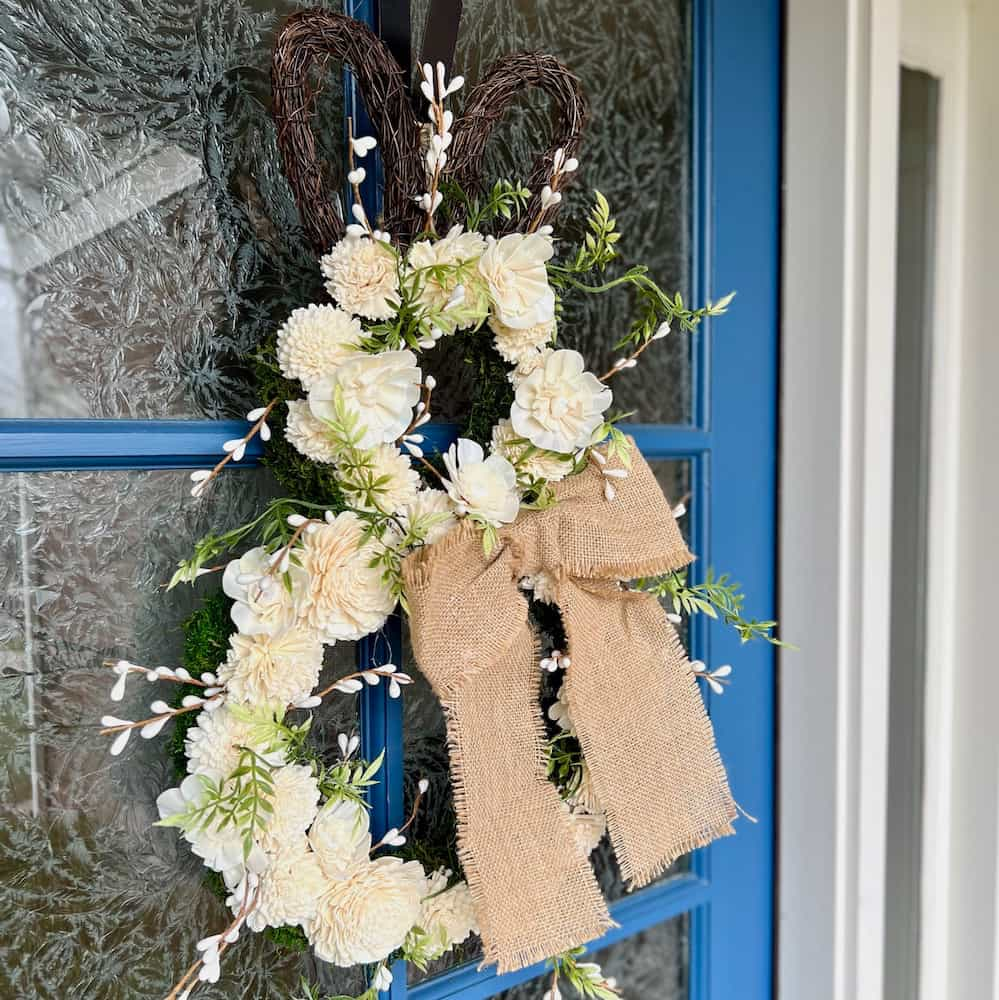
If you’d like more ideas for decorating your home for spring and Easter, you might enjoy the following posts with some of my favorite spring decor ideas!
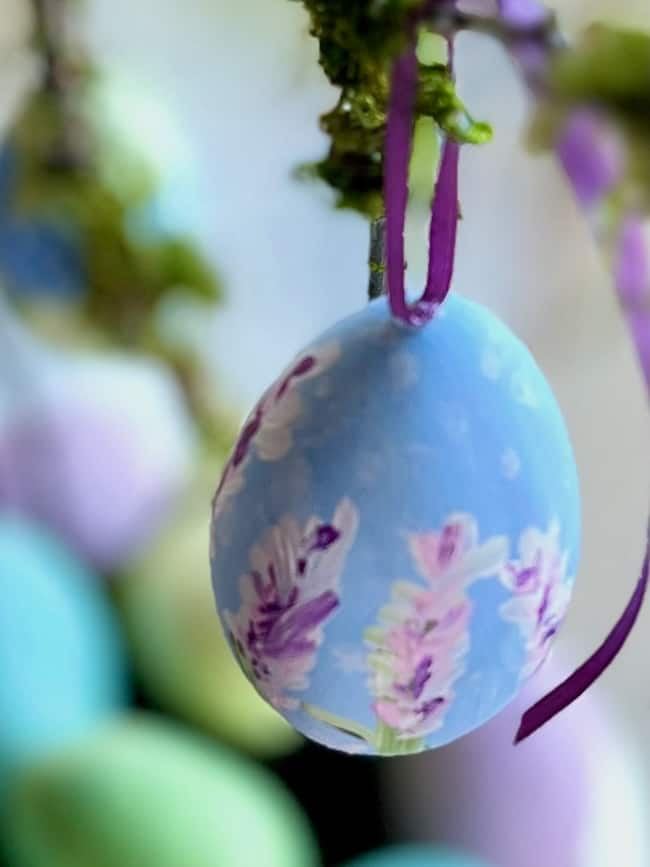
The soft pastel colors and simple floral designs in these Easter eggs definitely feel like spring! This little project was such an easy way to add a handmade touch to our Easter decor, and I love how it turned out. I had the best time painting these eggs.
If you’re in the mood for a creative afternoon, painting a few eggs is such a fun way to welcome the season. Plus, it’s a great excuse to slow down and enjoy the process—no perfection required!
If you give this project a try, I’d love to know! Share your creations with me in the comments or tag me on Instagram (@perfectingplaces) — seeing your beautiful designs would make my day.
Happy Decorating and Happy Easter!


By the way, do you follow me on all the socials? If not, check out my Pinterest, Instagram, and Facebook and be sure to follow along so you don’t miss out on any of my decorating and DIY ideas.
Beautiful! I have never thought to paint eggs, perhaps because I am not very artistic. But I think I may give it a try using your tutorials.