DIY Valentine’s Day Garland with Paper Hearts
Want to add a touch of Valentine’s Day to your living room? Decorate your mantel with this DIY Valentine’s Day garland.
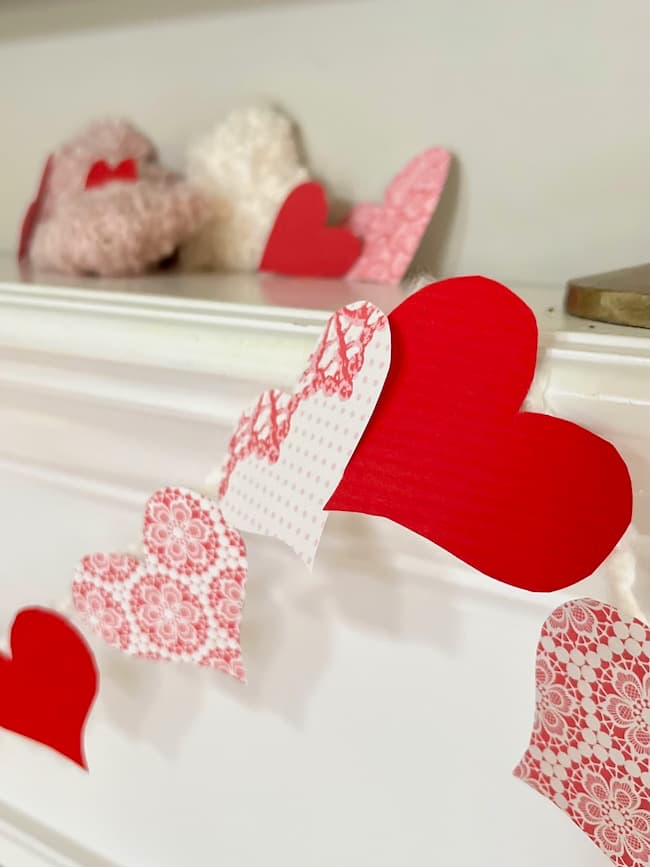
This pink and red paper heart garland adds a simple touch of color and pattern to create a festive touch to your living room mantel.
(This post contains affiliate links, so I may earn a small commission when you make a purchase through links on my site at no additional cost to you. As an Amazon Associate I earn from qualifying purchases.)
Now that February has arrived it’s fun to add a few heart-themed touches to our home.
I think pink and red is such a fun and cheerful color combination, and Valentine’s Day is the perfect time to showcase these colors around our home.
I don’t go overboard, but it’s fun to add a few special accents here and there to celebrate the special day. Whether you host a Valentine’s Day Party for friends, or simply like to make the day feel special for your family, this simple Valentine garland makes decorating a breeze!
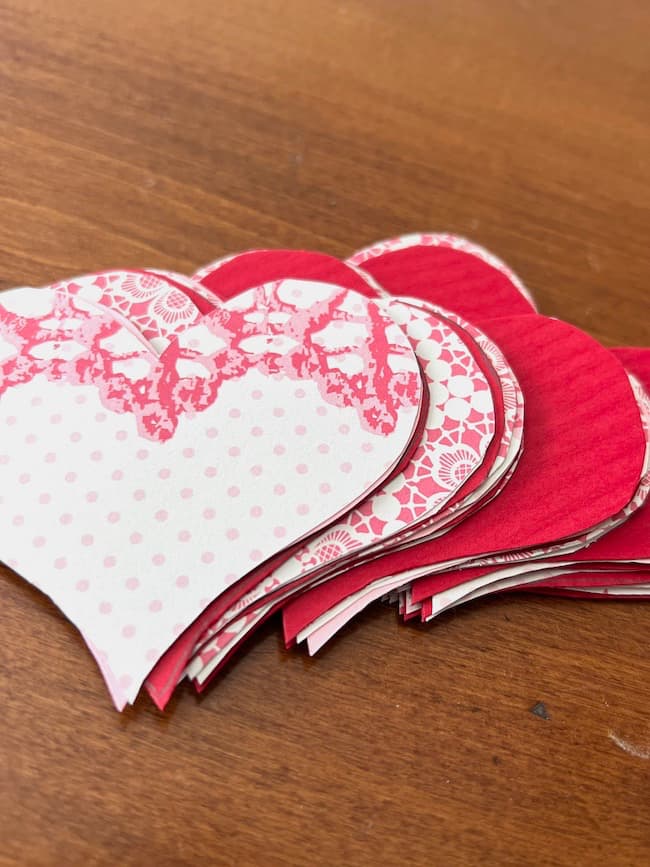
How to Make an Easy Valentine’s Day Garland with Scrapbook Paper:
The possibilities are endless when designing your Valentine’s Day heart garland! Simply choose card stock papers in your favorite colors and patterns to create your perfect custom look.
I chose a combination of pink prints and solid pinks and reds to create my garland, but you could also create a pretty neutral garland using various neutral prints.
Craft Supplies for the Heart Garland:
- Card stock paper in solids and patterns
- Scissors
- Pencil
- Fuzzy yarn
- Glue gun and glue sticks
- 3M hooks for hanging
Step-By-Step Instructions:
These steps are so easy to follow to create this simple garland!
1. First create your heart template.
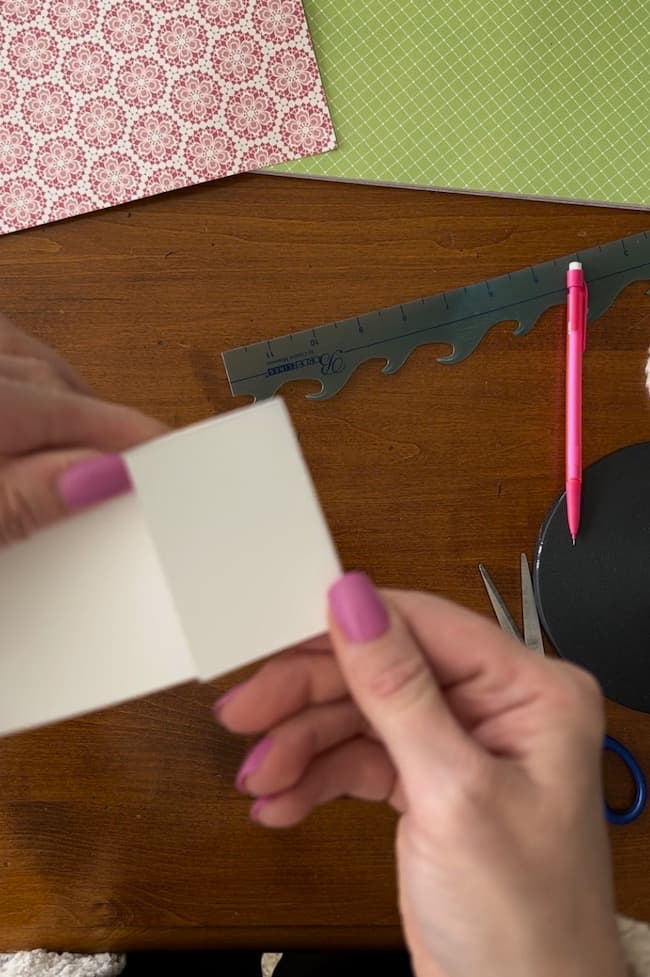
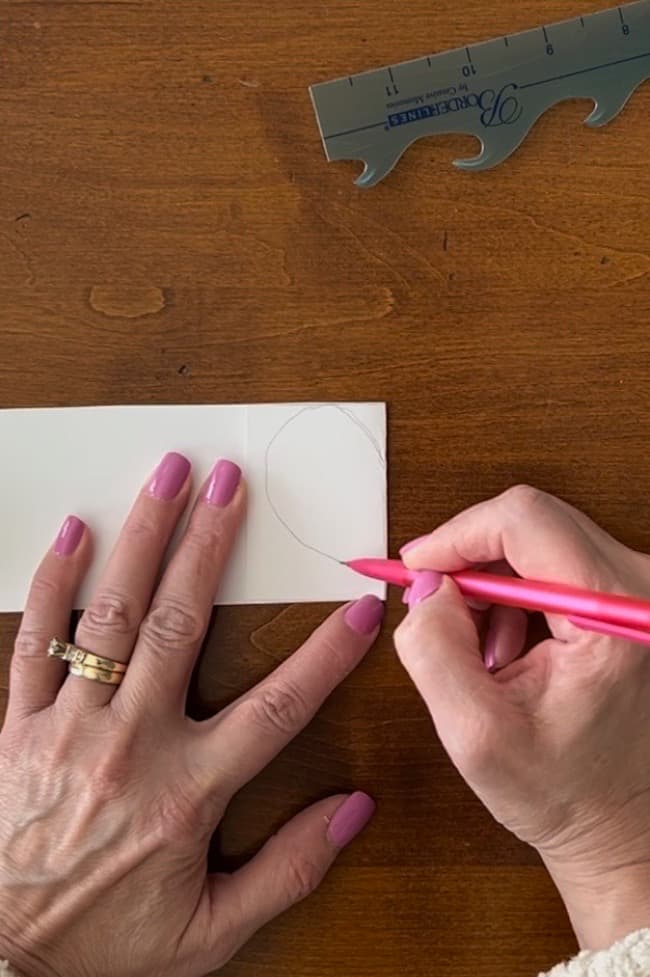
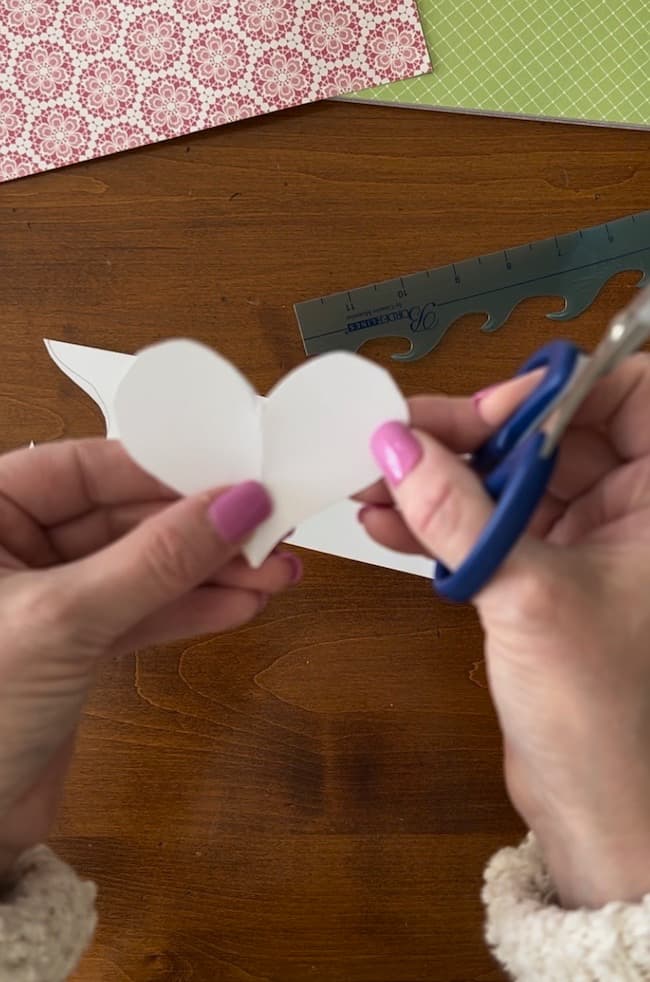
I wanted 2.5 inch hearts, so I used a piece of white card stock to create a simple heart pattern. Cut a 2.5 inch strip and fold the paper. Draw one side of your heart along this fold. Cut out the shape and when you unfold the paper you’ll have a perfect heart template.
2. Select your paper for the hearts.
I used a combination of 5 different patterns and solids, but you can use any number of patterns and colors that you like.
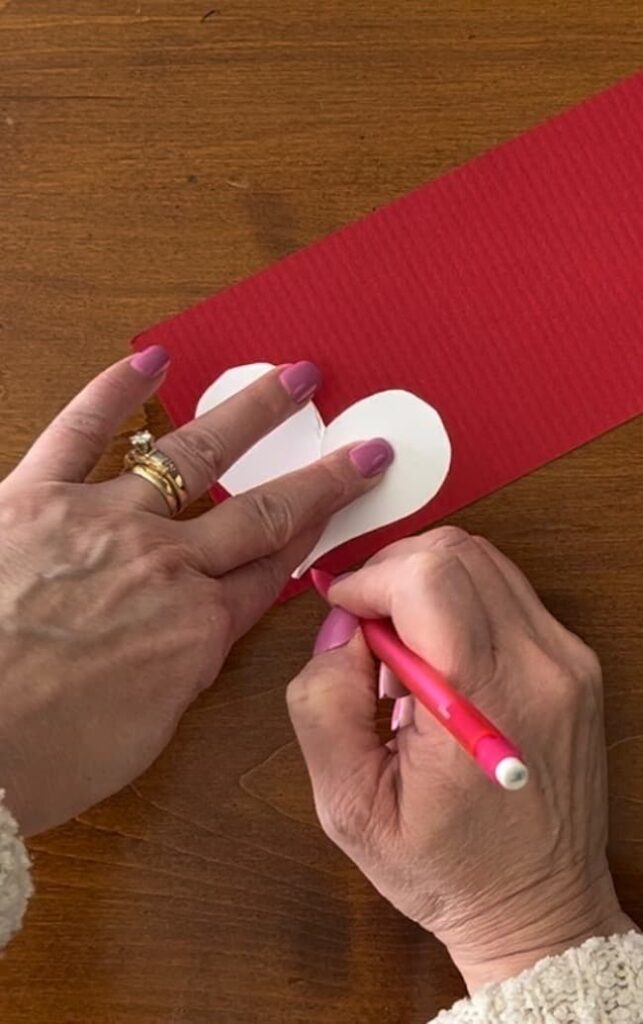
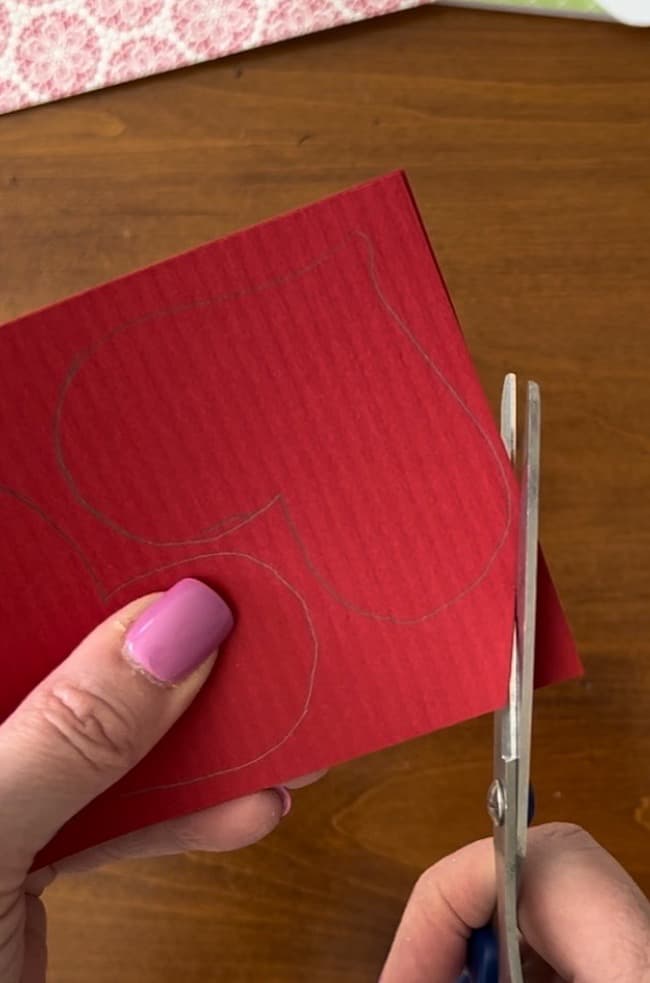
3. Use your card stock pattern to trace all of the hearts on your colorful cardstock and cut out all of your hearts.
The length of your mantel will determine how many hearts you will need. I used 37 hearts for my garland.
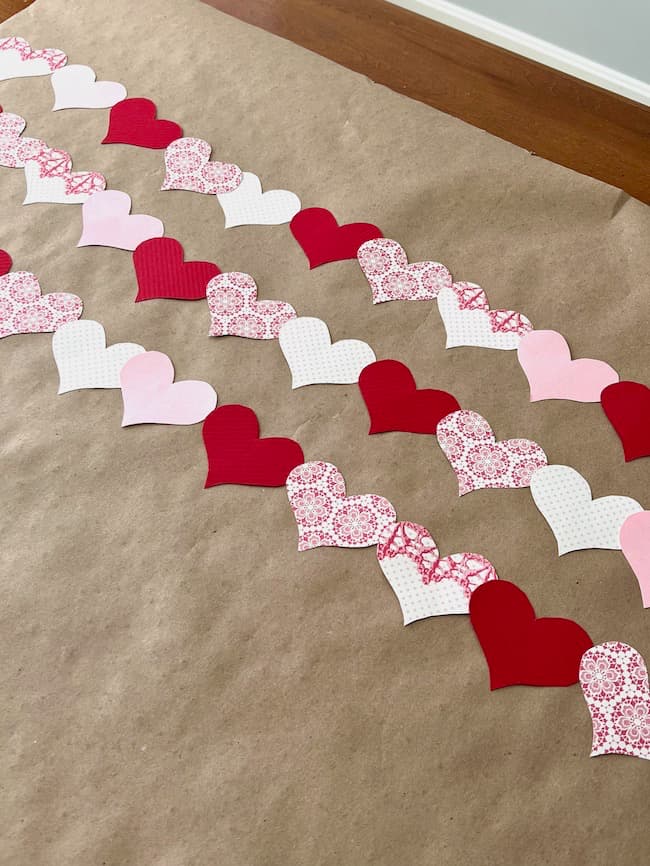
4. Arrange all of your hearts in the pattern order you like.
5. Cut a long length of fuzzy yarn.
My string is approximately 11.5 feet inches long.
6. Use a hot glue gun to glue a strip along the upper edge of each heart just below the center dip, and add it to the strand of yarn.
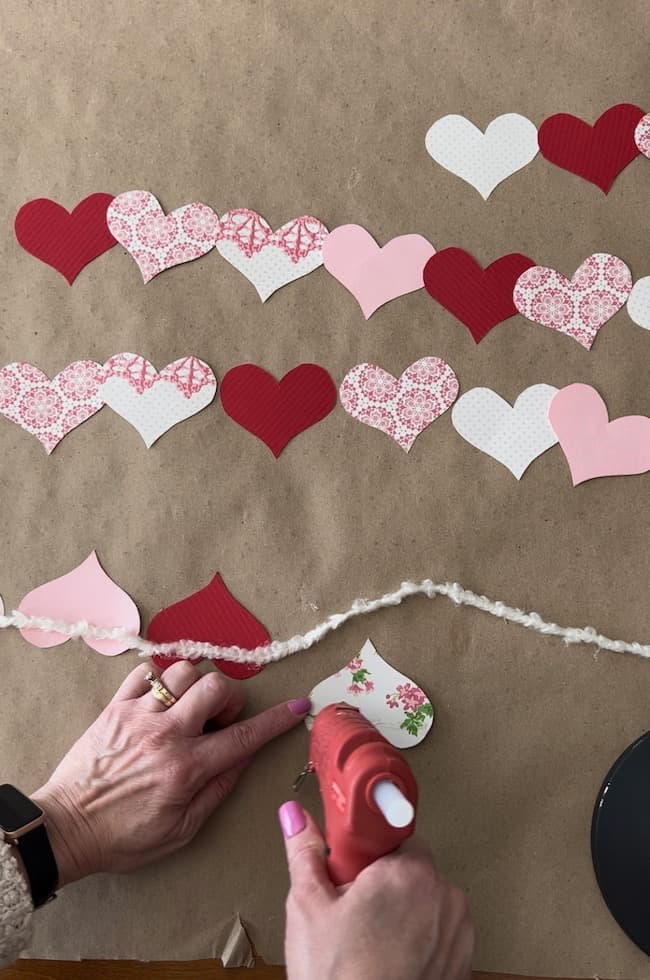
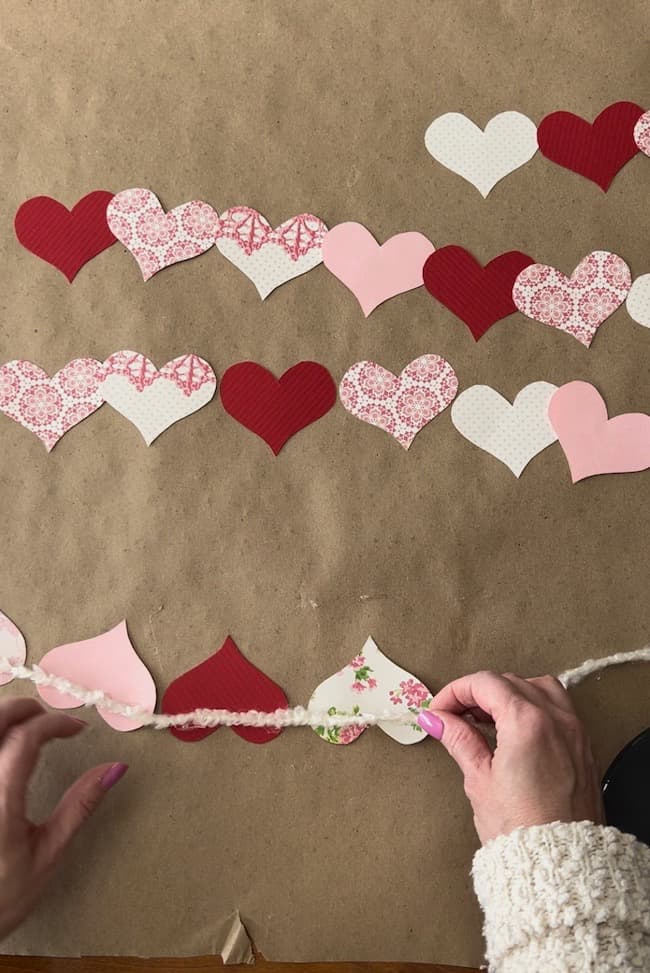
I kept about 1/4 inch of yarn between each heart to allow a bit of the thick, fuzzy yarn to show. I found the easiest way to attach the yarn was to lay the heart on the table, add the glue, and then lay the yarn across the glue.
7. Continue alternating your hearts in your desired pattern until you reach your desired length.
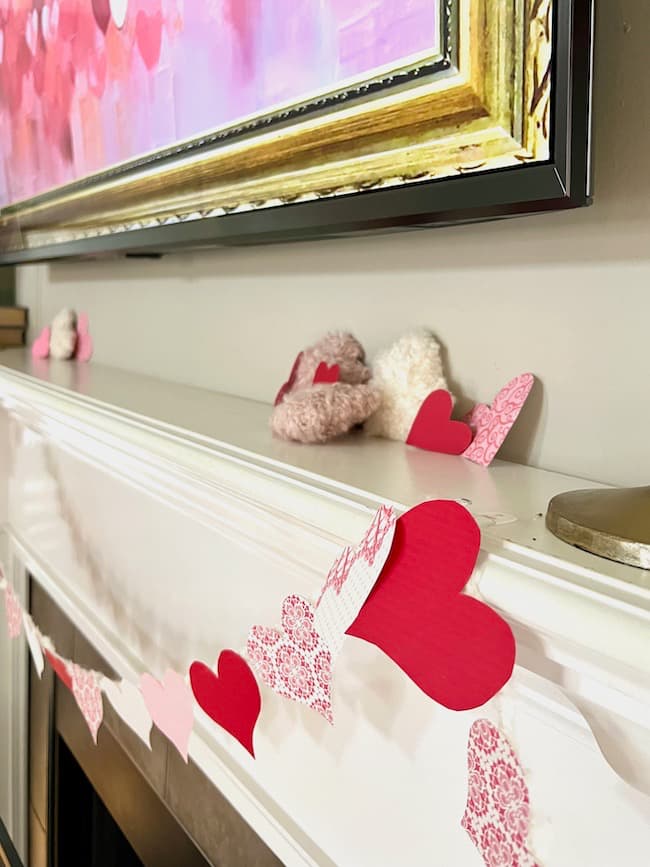
8. Hang your garland.
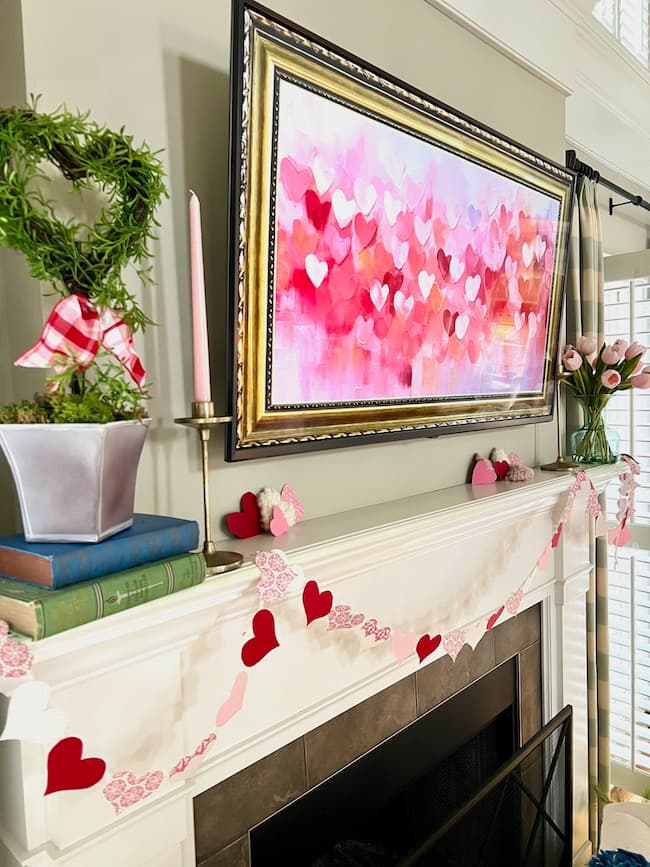
I used small command hooks to hang my garland along our mantel. I played around with it to decide how I liked it hanging the best.
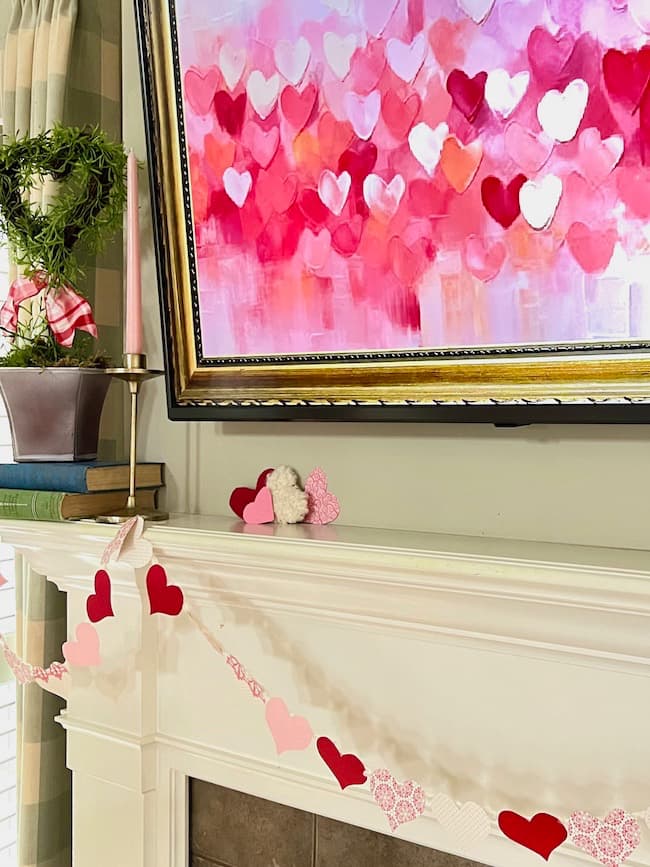
How I Styled Our Mantel for Valentine’s Day:
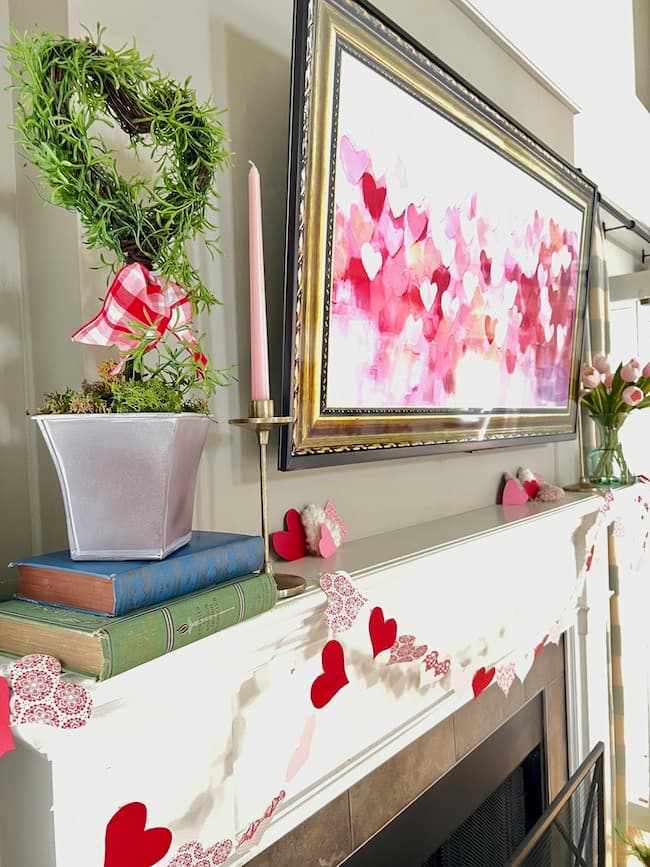
My new Valentine’s heart garland is the perfect way to add a splash of color to our mantel, but I didn’t want to stop there!
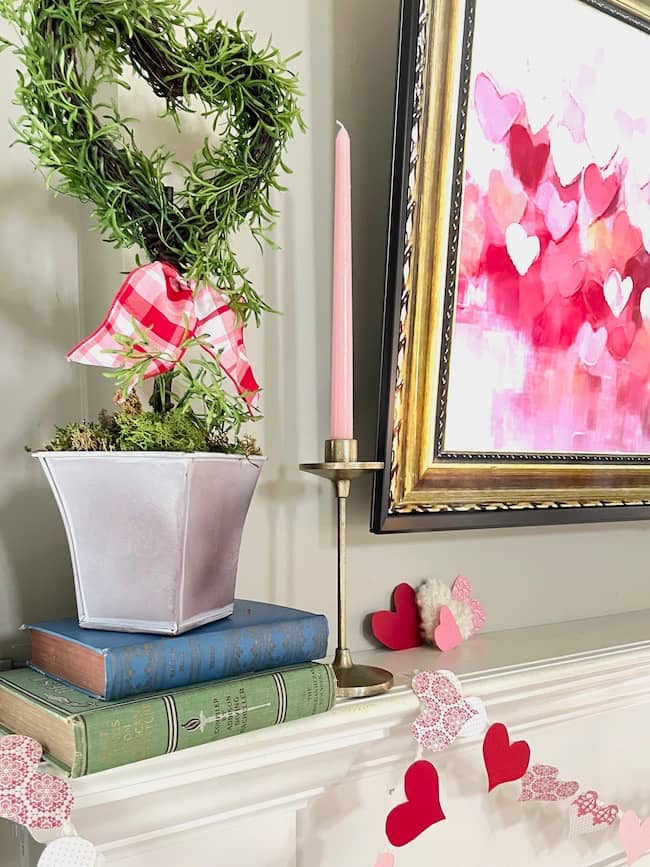
I added a few additional Valentine’s Day decorations to take it up a notch.
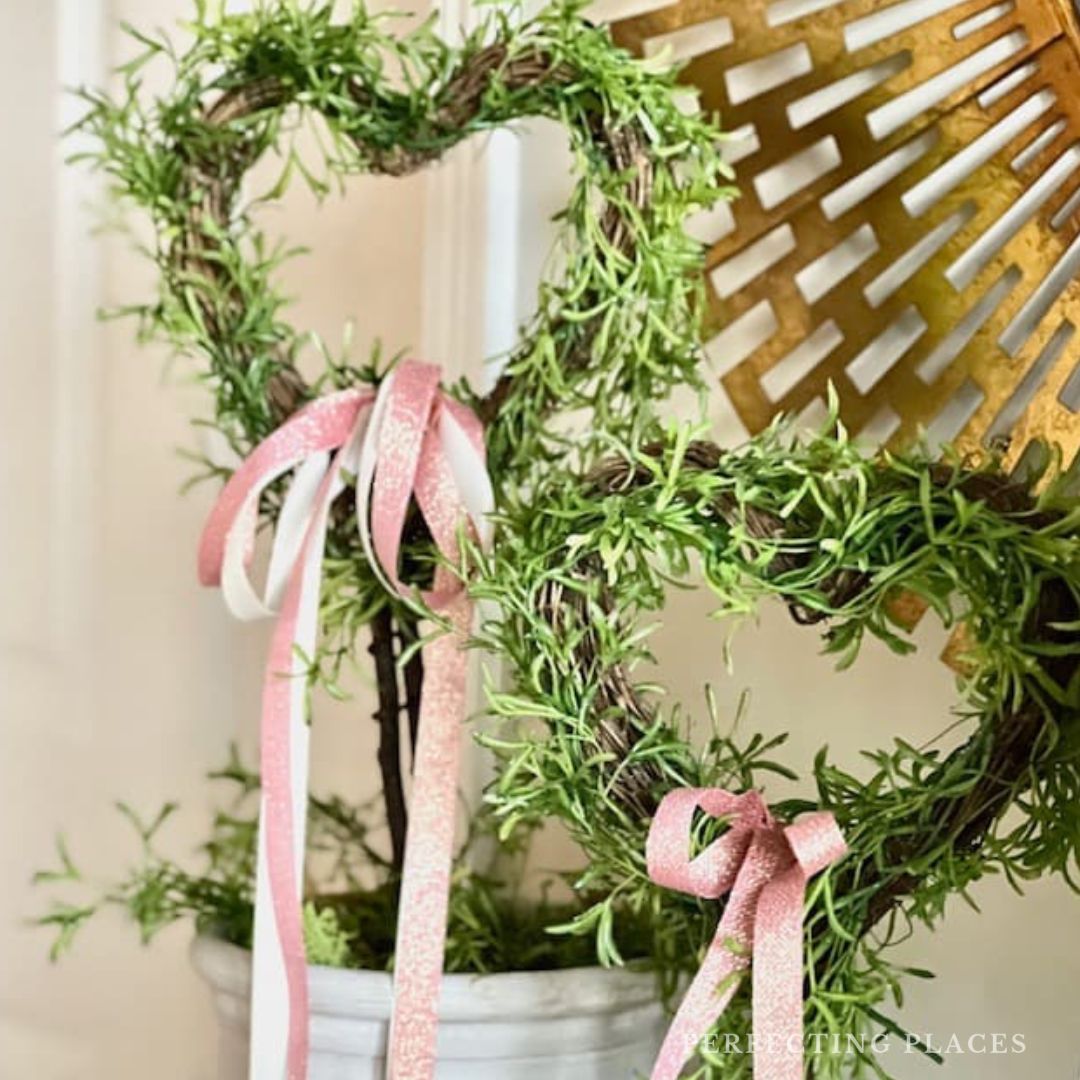
I started by adding a small heart topiary to a stack of books. You can see how I made this Valentine topiary in this post using a faux vining plant from Hobby Lobby. It adds such a warm touch to the mantel. I placed it on a stack of books for added height. The pink and red plaid ribbon repeats the colors in the heart garland.
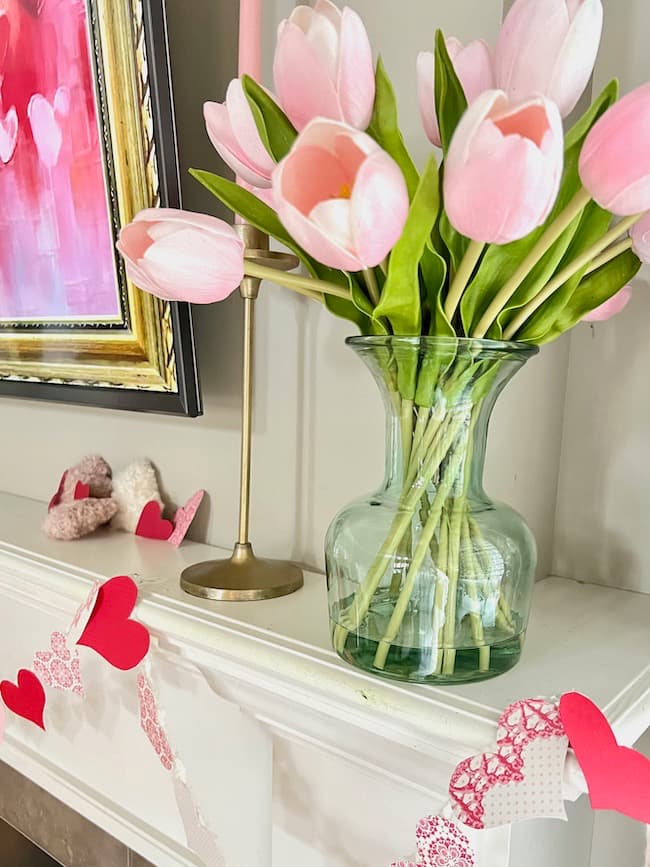
I found the prettiest arrangement of faux pink tulips in a glass vase at Homegoods. The blooms look so realistic and they’ll be perfect to use throughout the spring season.
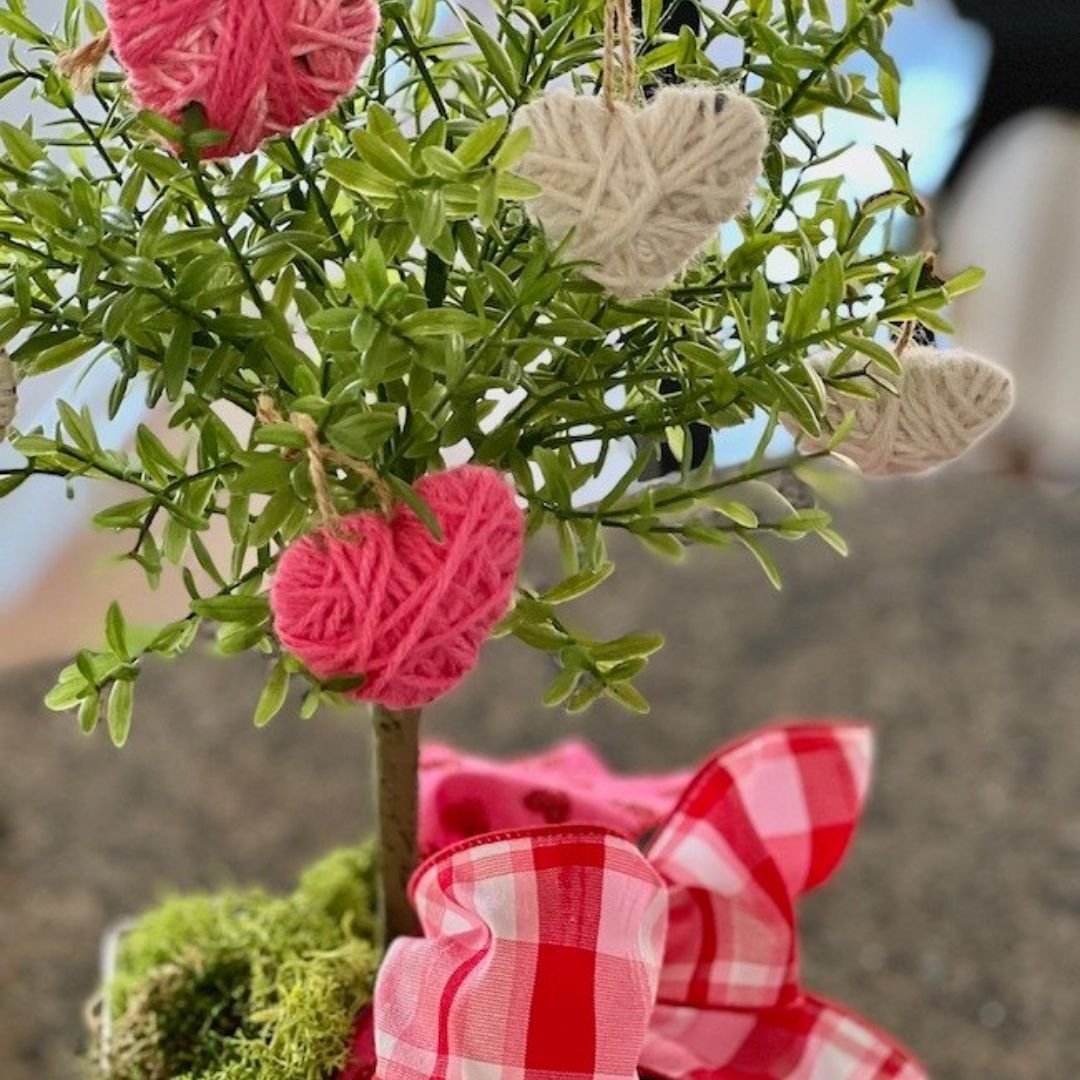
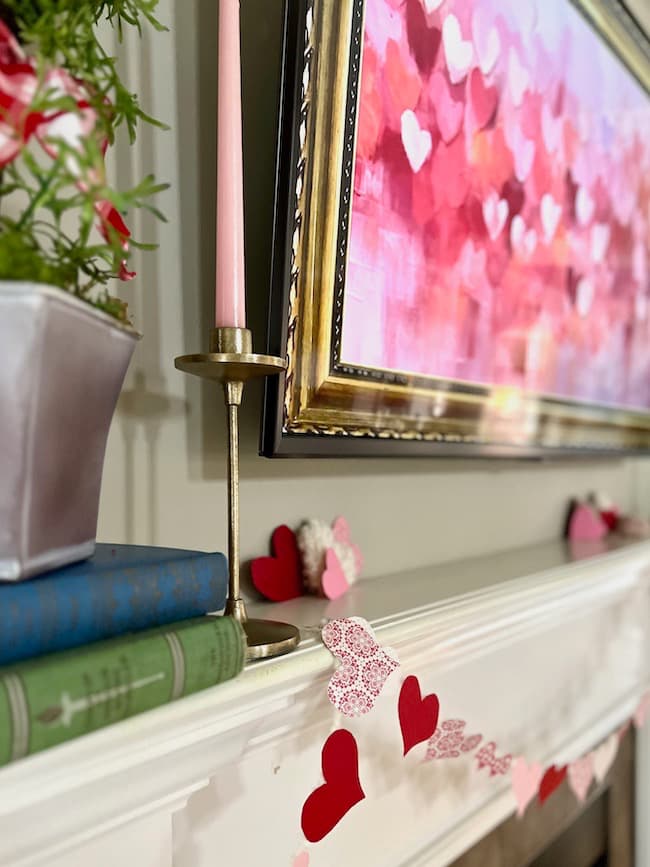
I added 2 tall pink taper candles to gold candlesticks, and sprinkled more paper hearts and fuzzy yarn-wrapped hearts across the mantel to add more festive color. You can see how I made the fuzzy yarn hearts in this post.
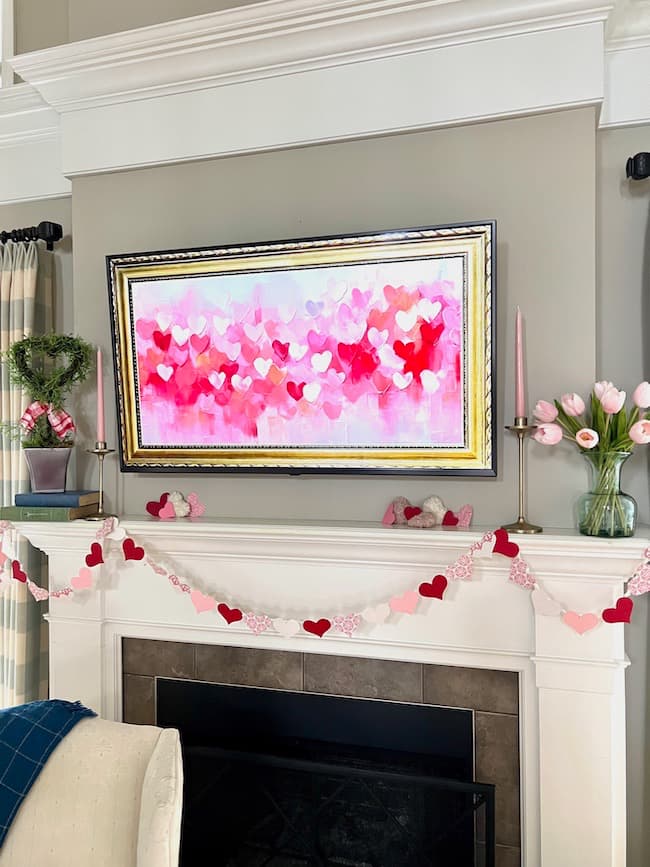
I found the cutest digital TV art on YouTube to add the finishing touch to our Valentine’s Day mantel.
Now we’re all ready to celebrate the holiday!
Neutral Valentine’s Day Garland and Decor:
The best thing about a simple paper craft project such as this DIY Valentine’s Day garland, is how versatile it is for suiting your particular color preferences!
If you prefer a more neutral color palette for your heart-themed decor, simply choose neutral solids and prints for your card stock papers.
Instead of pink and red ribbon, stick to creams and whites, and instead of pink candles use white or off-white.
An arrangement of white tulips or hydrangeas would be perfect paired with your neutral scheme.
It would even be fun to select papers that coordinate with your living room color scheme.
I could have chosen pretty blue and white prints with a touch of green and repeated that color scheme in my ribbon choice, candles and flowers to create a seamless, well-coordinated look with our living room colors while still getting into the Valentine’s Day spirit.
As you can see, the possibilities are endless to add a little festive decor to your mantel or any corner of your home!

For More Valentine’s Day Projects, You Might Enjoy:
Create Lovely Vignettes with DIY Valentine Topiaries
How to Make Framed 3D Paper Art for Valentine’s Day
Our Simple Valentine’s Day Table Decorations
I hope this simple Valentine’s Day garland inspires you to make your own garland and add a few simple touches of heart-themed decor around your home! Do you love the traditional pinks and reds, neutrals, or a coordinating color scheme with your living room? I’d love to hear in the comments!
Happy Valentine’s Day!


