15 Simple Craft Room Organizing Ideas
Are your craft supplies getting out of hand? These simple craft room organizing ideas will have your space organized in no time!
Create a functional and well-organized space for all your craft projects with these creative craft room organization tips. You’ll find tons of inspiration to declutter and maximize your space to create a beautiful and inspiring room for all of your creative projects.
Today, I’m excited to join several blogger friends for lots of fabulous organization and cleaning tips and tricks!!
I am so excited to be invited to participate as a guest blogger on the Fabulous Friday Hop!! You’re going to love all of the creative ideas from my blogger friends!
If you’re new here, I’m so glad you’ve come. Welcome to Perfecting Places! I’m Kim, and I blog all about home decorating and DIY ideas! You’ll find lots of ideas for designing and decorating your home including favorite paint color suggestions and palettes, room makeovers, organization ideas, and easy seasonal DIY ideas to help you create a home you love! I’m so glad you’re here!
(This post contains affiliate links, so I may earn a small commission when you make a purchase through links on my site at no additional cost to you. As an Amazon Associate I earn from qualifying purchases.)
Today I’m sharing all about my new craft room space.
This craft room project has been a long time coming!
Once upon a time our young son (our second) used this room as his bedroom. That young son grew up and went off to college. One year, knowing he would return home for the summer for a summer internship, he decided the basement bedroom would suit him better.
So, off went the bedroom furniture to the basement room, and in came Mom’s office supplies because this space would now be my office — a lovely office with a lovely window overlooking our lovely backyard.
Then … came … COVID.
Sigh.
Dad came home from work and needed a quiet place to work and hold lots of loud Zoom meetings.
So, Mom gave up her beautiful new office space and moved out to the upstairs loft.
Fast forward to 2023. Our son now lives in Nashville; my husband is back in the office at work; and I am reclaiming my office space!
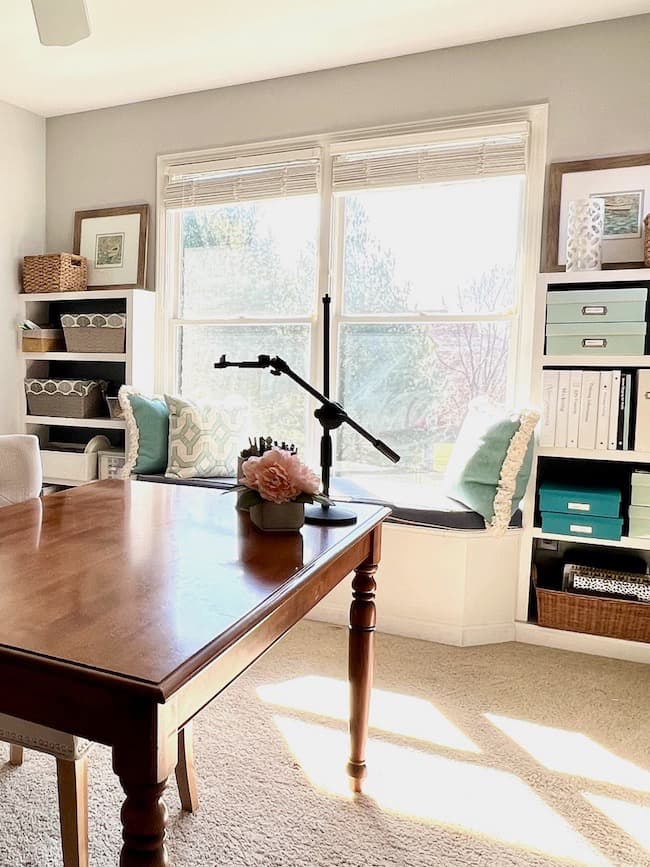
Except this time it’s going to be my office/craft room since I do lots of DIYs for this blog, and need a dedicated space to work.
I now have my designated craft room and office space, and order has been restored in our home!
My Three Goals For Organizing This Craft Area:
Goal 1: Make sure all of my supplies are easily accessible.
I’m much more likely to use and maintain this area when every item has a specific place to call home, is clearly marked, and easy to put back when finished.
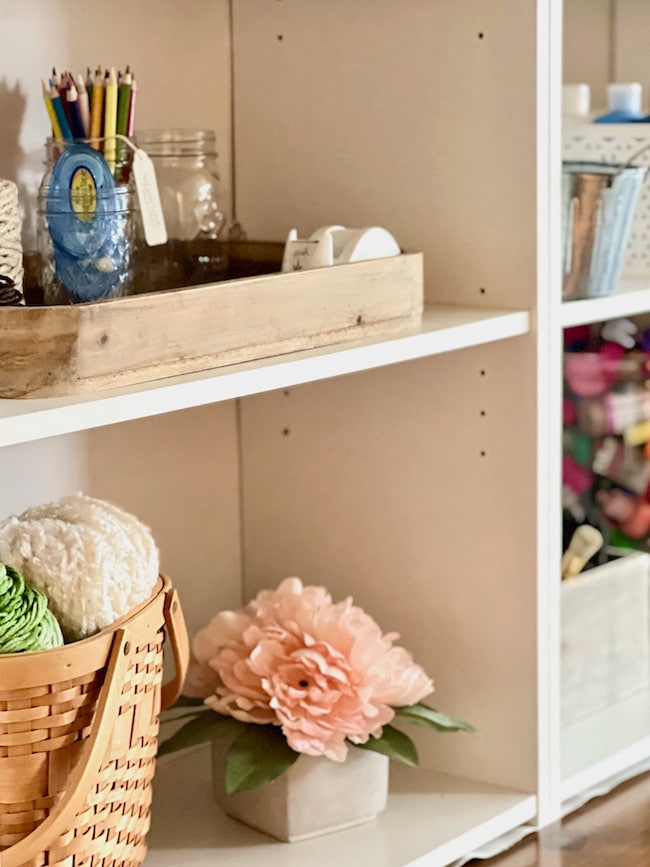
Goal 2: Utilize the storage containers and options I already had on hand in our home.
I admit that it’s fun to buy storage bins and containers, but my goal was to be creative and use what I already had on hand in our home for storage. I got creative and used a variety of items for containers and even created my own “hutch” with some shelves and a dresser we already had.
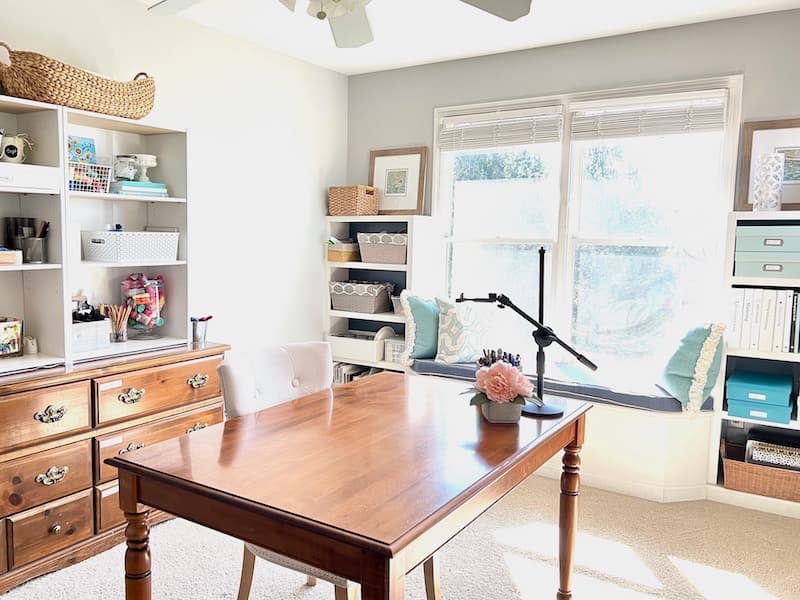
Goal 3: Make the room beautiful.
I work best when I’m in an inspiring and beautiful space. I have plans for a craft room makeover a little later, so this room isn’t in its final state just yet. Fortunately, it was already painted Sherwin-Williams Passive (SW 7064), and this neutral color works for me for now.
When organizing my items and arranging the shelves, I wanted to make sure they still had an element of style and design. My eyes and brain just need that to feel inspired!
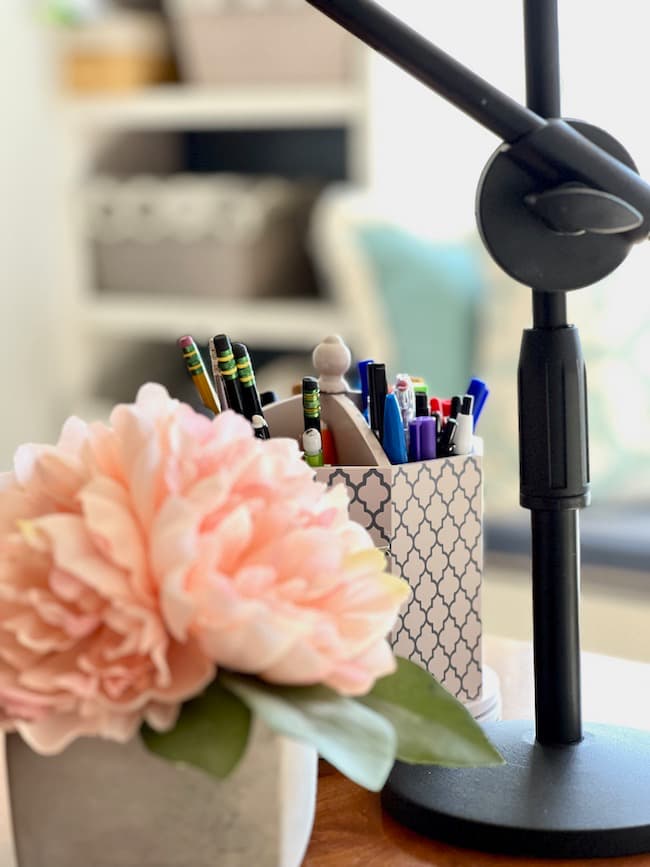
My Best Craft Room Organization Ideas:
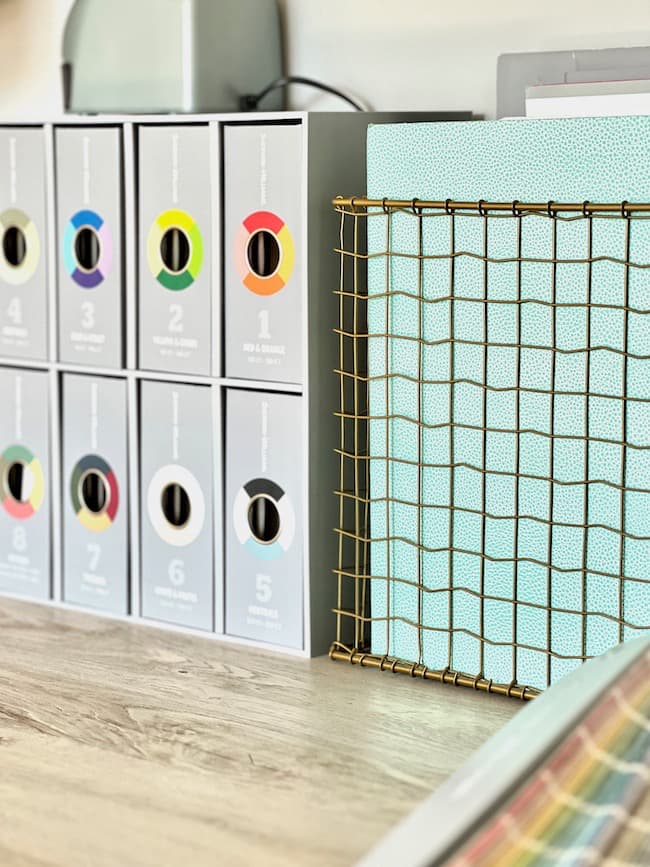
1. Organize scrapbook paper in vertical file boxes.
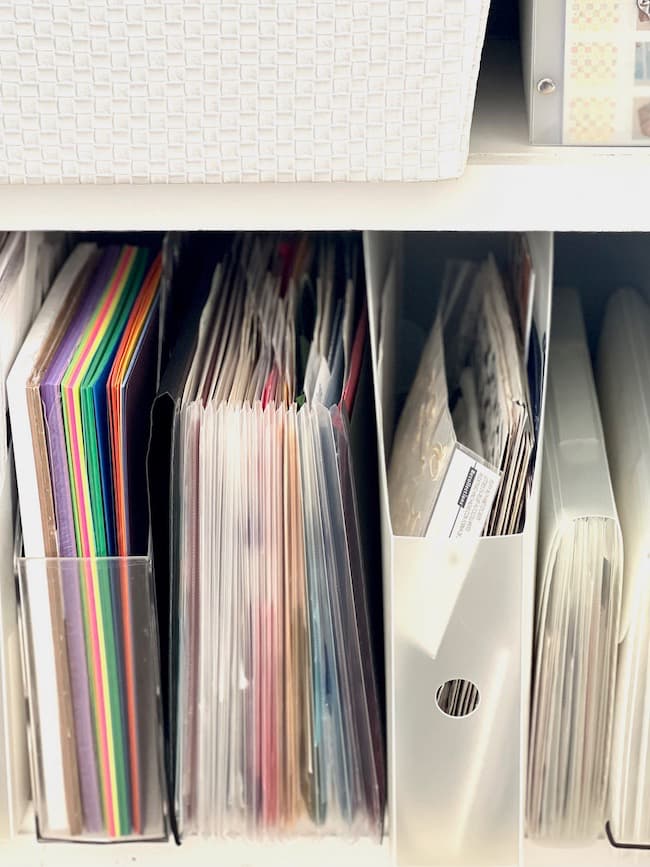
Use file boxes especially designed to accommodate 12×12 scrapbook paper and card stock. You can separate your paper by color and size and use clear pocket inserts to hold paper. An accordion file with individual file folders is another great way to organize your paper by color and design.
2. Store your wrapping paper, ribbon, tissue paper, and bows in a wrapping paper organizer or station.
I keep our wrapping supplies (non-Christmas) in a plastic cabinet with drawers. The rolls of wrapping paper are stored in a bin in the corner. I store our Christmas wrapping supplies in a dedicated wrapping organizer and keep it with our Christmas decor.
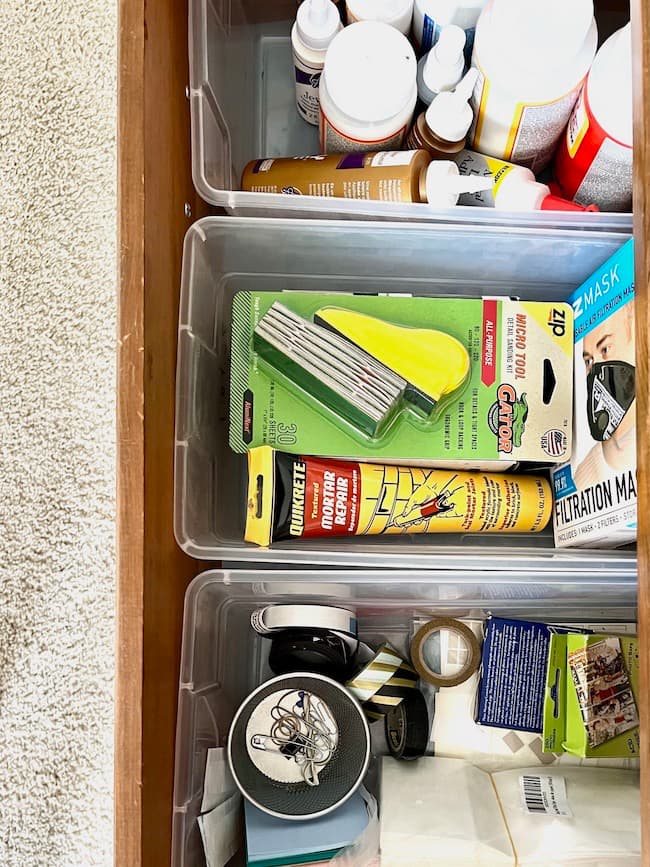
3. Use clear containers to separate items in drawers.
Clear shoebox containers are perfect for sorting and storing items in our large dresser drawers.
4. Add a large workspace or table.
Ideally a counter-height surface is best. Make sure your table or workspace is the right height for working comfortably. It should also have enough space to accommodate your projects. You need plenty of space to spread out.
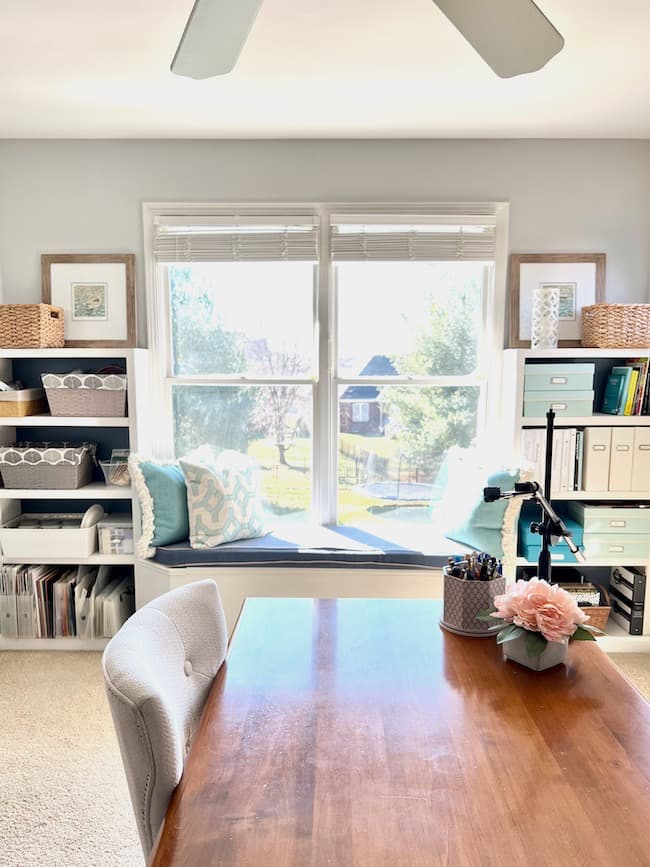
In the spirit of using what I currently own, I have a table in my craft room. I have plans to build a taller work table with a surface that’s better suited for working and crafting. Stay tuned!
5. Protect your table with a cutting surface.
A cutting mat is a great way to protect the surface of your work table. It also makes cutting with a rotary cutter a breeze with fabric or paper projects.
6. Label all of your drawers and containers.
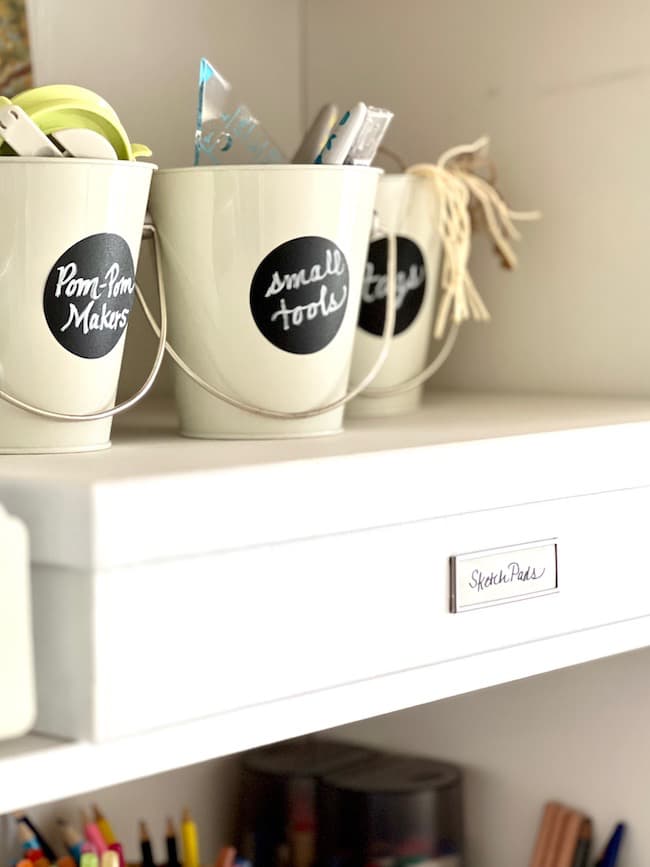
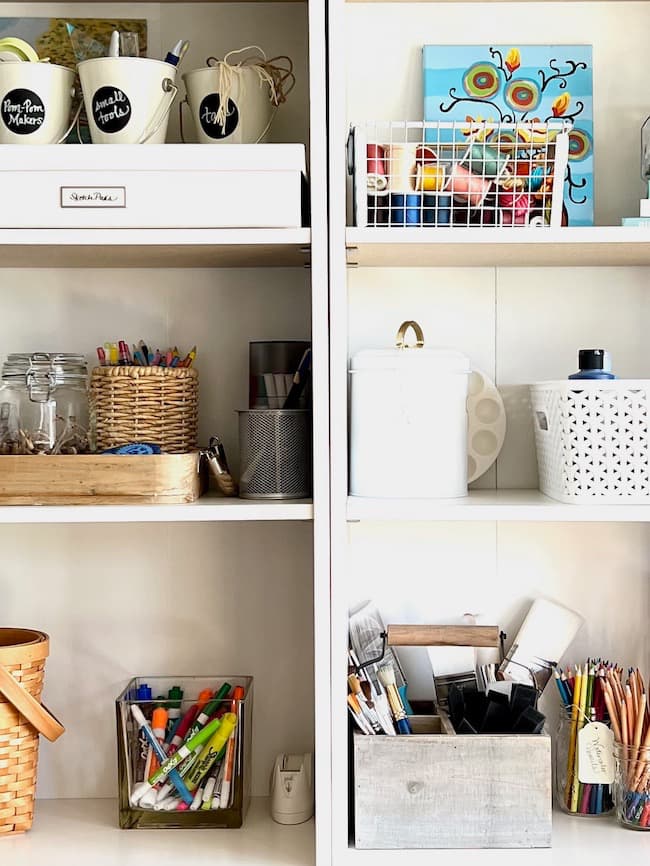
No one wants to waste time searching for tools and craft supplies. Labeling all of your containers and drawers not only helps you locate craft and art supplies quickly, but makes cleaning up a lot faster and easier. Chalkboard labels are perfect because you can easily erase if you want to change the contents of a container.
7. Make everything easily accessible.
This is key for me. Utilize open bins to easily retrieve what you need. I like for everything to be tidy, but easy to access. It makes it easier to see what craft items I have available to work with, which in turn stimulates creativity.
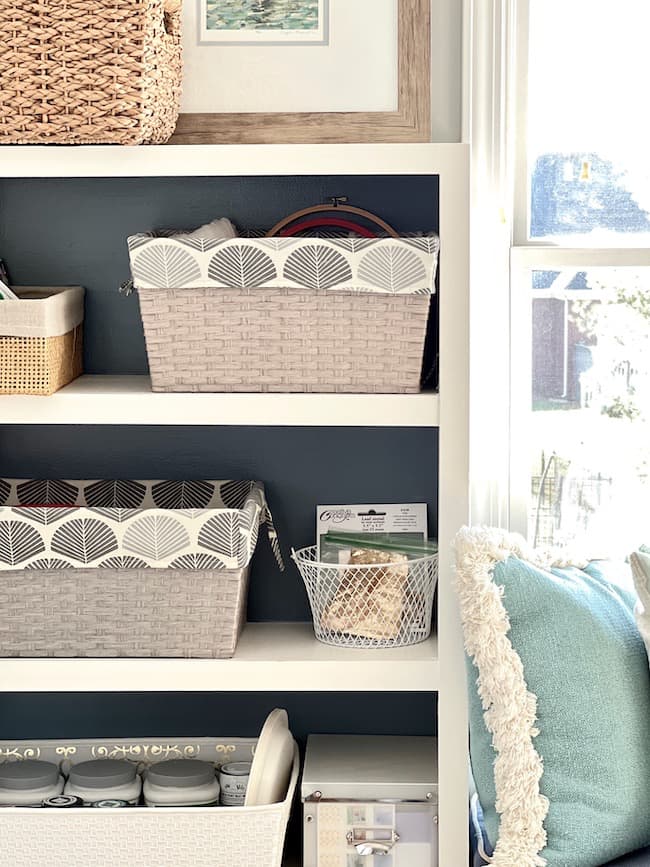
Easily accessible items also means easy cleanup when it’s time to put supplies away. This is key to maintaining an organized craft room.
8. Maximize vertical space.
Use the entire wall space available to store craft supplies. You can add peg boards, hanging baskets, hooks, metallic strips or wall-mounted shelves to utilized the vertical space available on your walls to store items.
9. Categorize your items and crafting supplies.
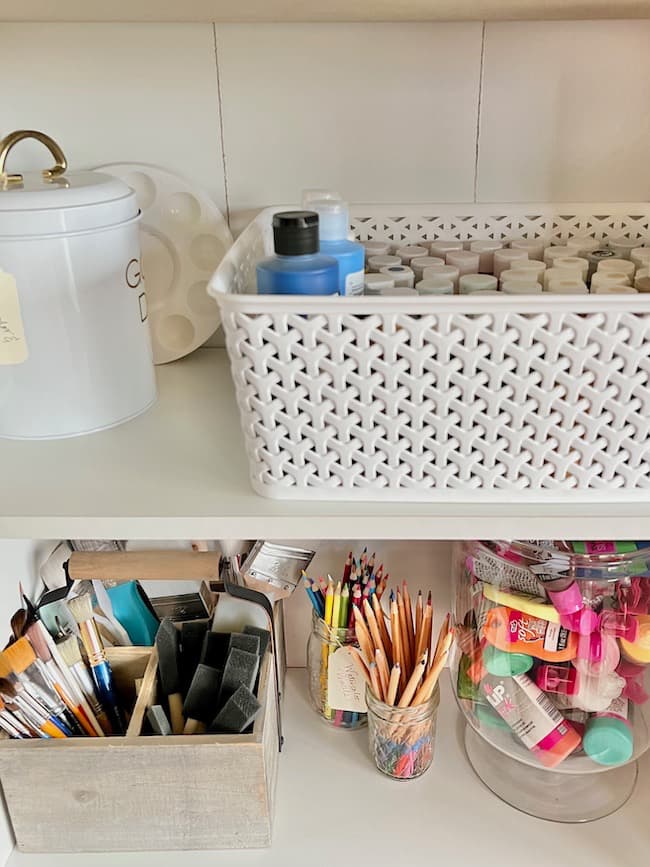
Assess the different types of crafts you like to do and sort items based on how you craft. Store like-items together — for example, your paint supplies, scrapbooking supplies, sewing, etc. You can even create crafting “zones” within your space with all the necessary items for a particular craft medium.
10. Add shelving units.
Shelving storage is essential for maximizing storage space in your craft space.
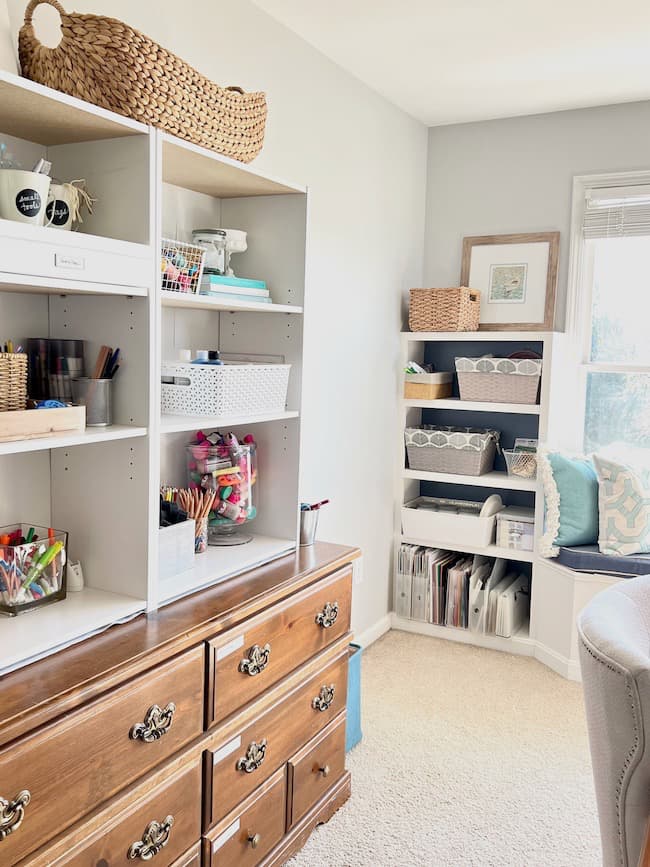
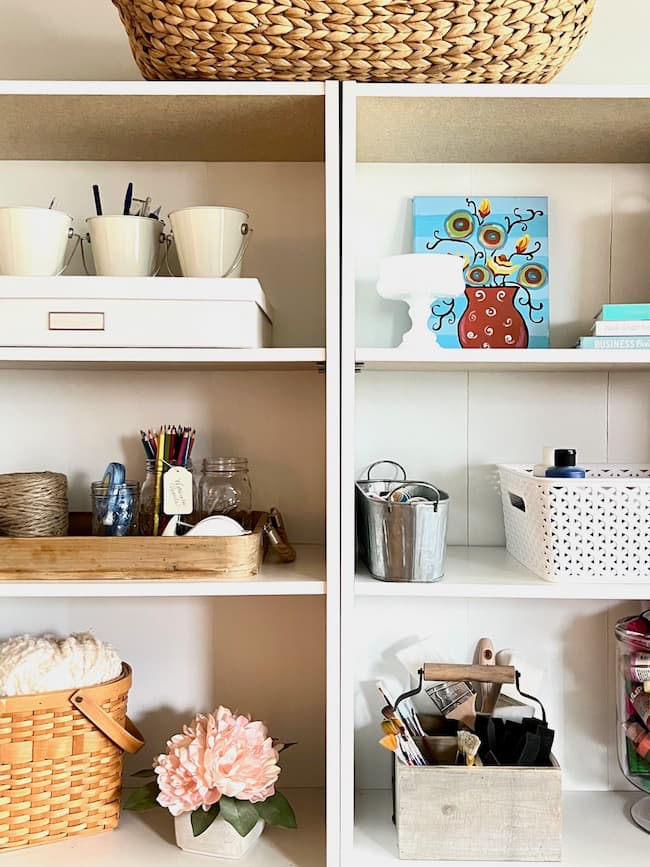
I added a couple of small bookcases on top of an old dresser to create a “hutch” for my supplies. This saves on floor space in the room, and the open shelving makes everything easily accessible.
The built-in shelves in the room are a bonus for storing my office and craft supplies.
11. Be creative with your storage containers.
I made it a goal to use the small storage containers I had on hand in our home rather than buying a lot of new containers and bins.
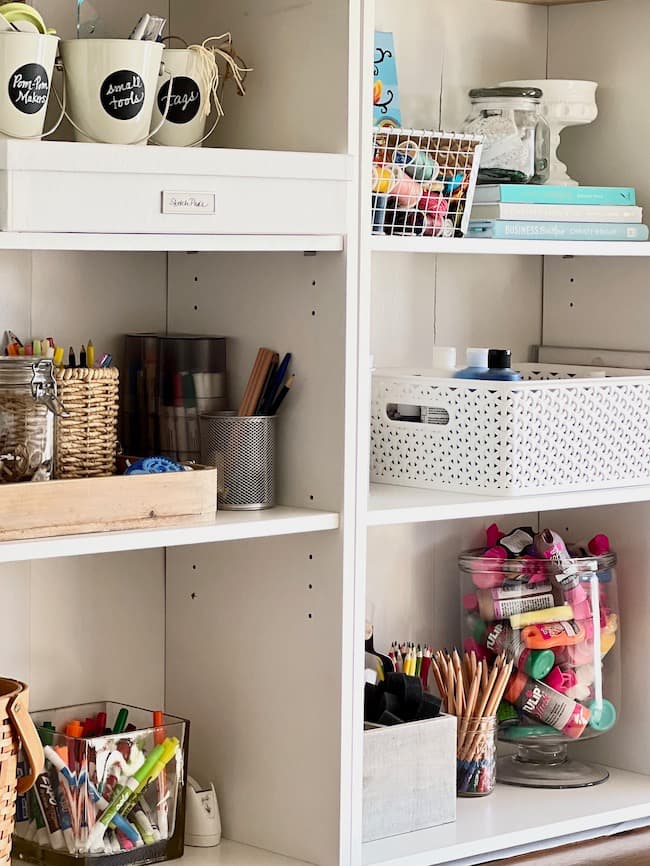
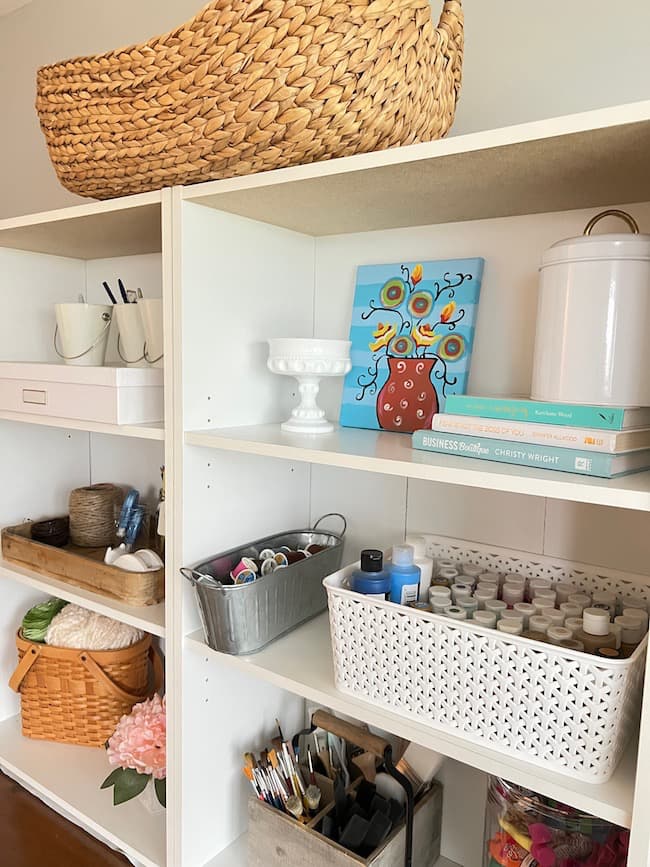
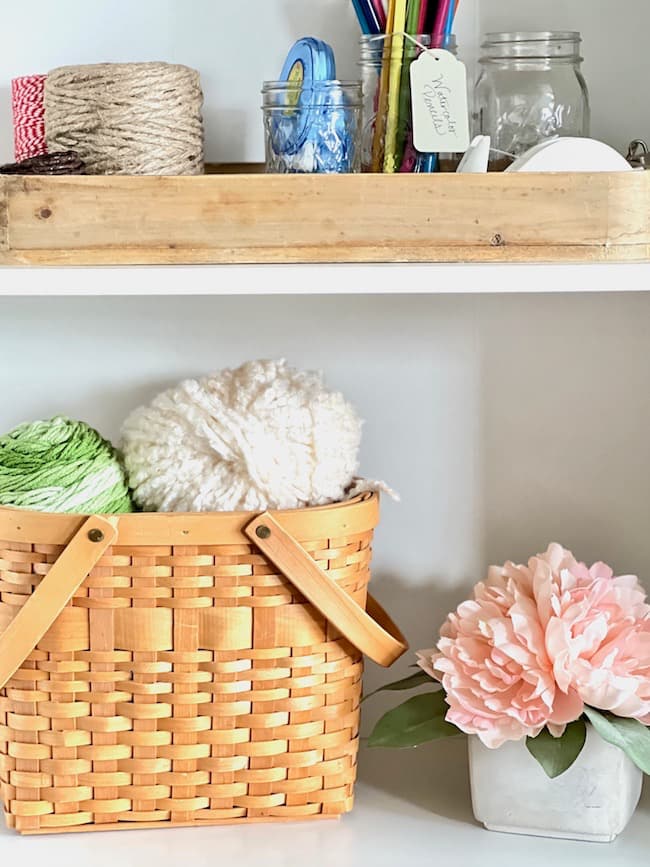
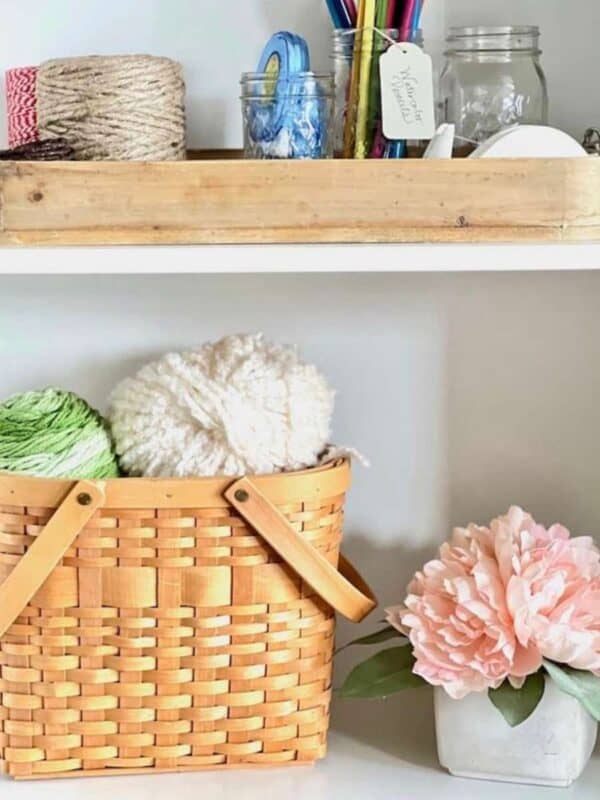
You can use small bowls, pedestal bowls, and glass vases to hold smaller items on your shelves. Not only are you saving money by repurposing, but the variety of pretty containers also adds a charming touch your room.
12. Add a dresser or chest of drawers to your craft room.
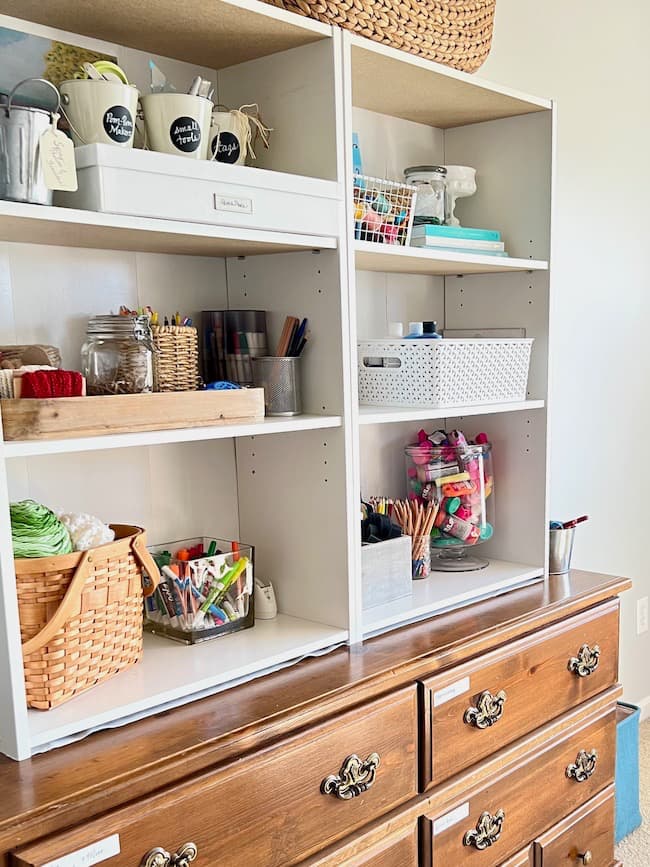
Drawer space is so helpful for organizing craft supplies. I moved this old dresser into the craft room, and the deep dresser drawers are perfect for keeping messy supplies tucked away neatly. The containers and drawer dividers make the dresser even more functional.
This dresser needs little TLC, and a paint makeover will be coming soon. It was sitting in a guest bedroom and was basically empty, so thanks to some helpful furniture sliders it slid right into its new home, and now feels much more useful!
13. Store extra office supplies and art supplies in lidded storage boxes.
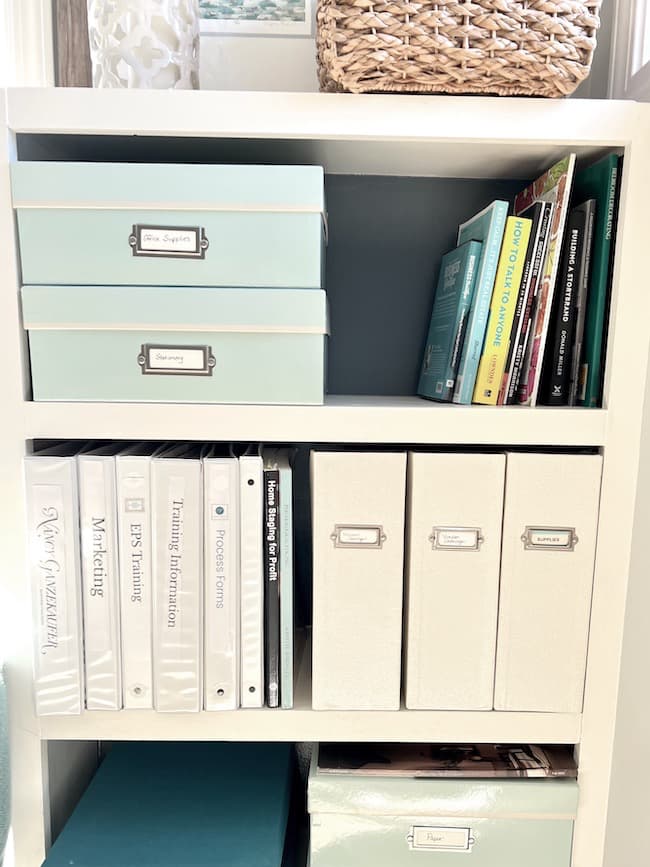
As I mentioned, this room serves as both a craft room and an office space. I store office supplies and business stationery like business cards and brochures in lidded boxes. They’re perfect for stacking to create more space and useful for storing extra items that aren’t accessed as often.
14. Use mason jars to store small items.
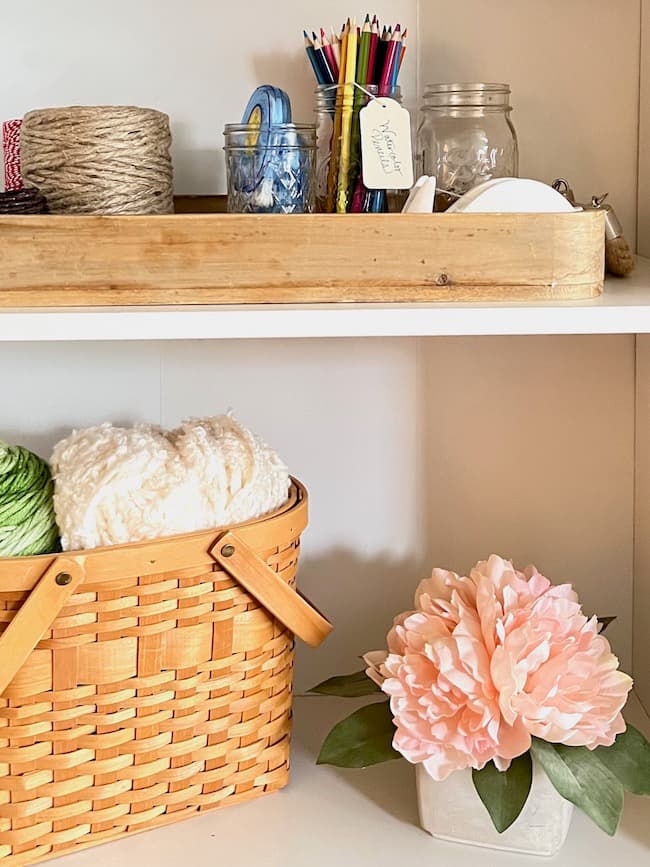
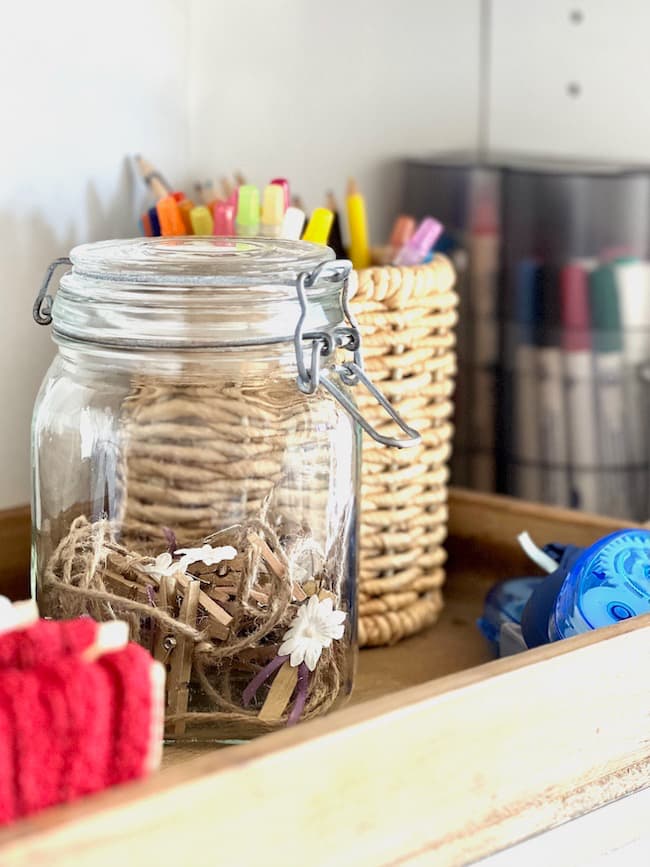
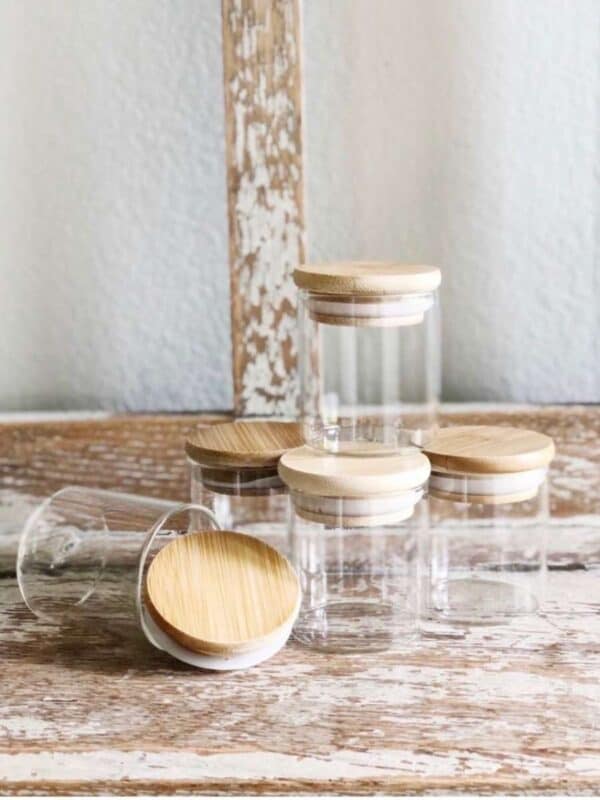
Clear jars are great because you can easily see the contents. They’re perfect for storing markers or your favorite pens, buttons, and other small embellishments you use in your craft projects.
15. Use a kitchen utensil holder to store paintbrushes.
Be creative and use a utensil holder to store your paint brushes of various sizes.
Shop My Craft Room Organization Ideas
Do you have a crafting area in your home? I hope these craft room organizing ideas get your own creative juices flowing to help you maximize your space to create an inspiring area in your home for all those fun projects you want to complete! Whether you have a small craft closet or a spare room available, you can create a functional space to work and create!
Happy Crafting!
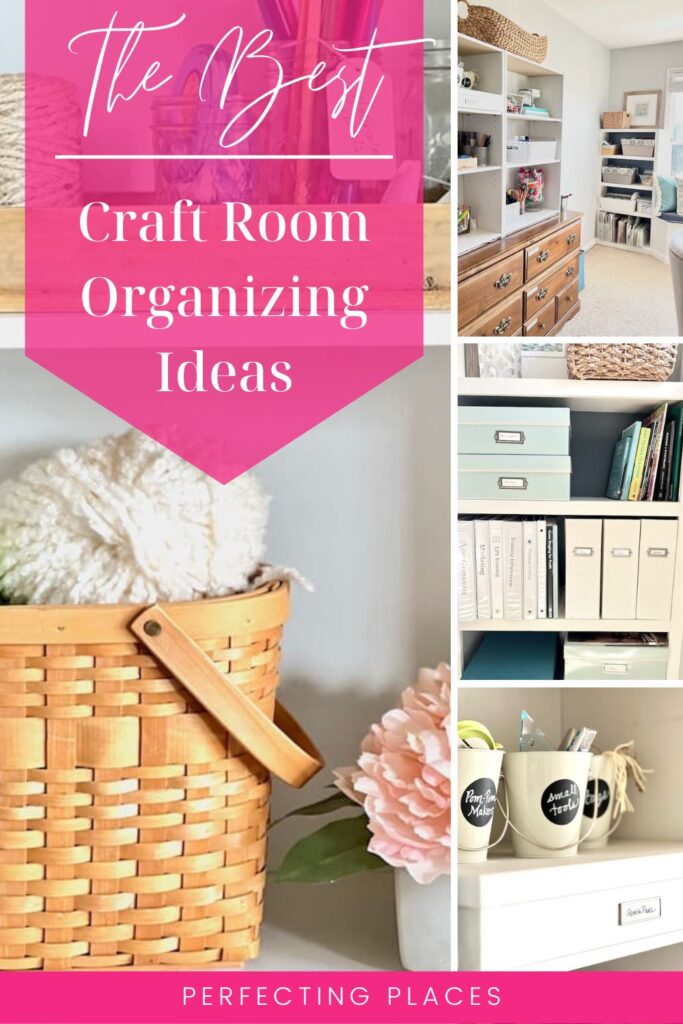
Pin These Organization Tips for Later
By the way, do you follow me on all the socials? If not, check out my Pinterest, Instagram, and Facebook and be sure to follow along so you don’t miss out on any of my decorating and DIY ideas.
Now be sure to hop over to see all of the fabulous bloggers below to find great ideas for organizing and cleaning all the areas of your home!




I love your office/craft room. That window seat just make your room so cozy. Lots of bright light in your space too. All great ideas. I agree with on using what you have to repurpose in your room. Simple items around the house works wonderful and you show how to do it. A great post.
Thanks so much, Tammy! I love all the natural light in the room!
Your office/craft room is amazing! I’m a little jealous. I’m going to take some of your ideas to incorporate my crafts into my office so all of my stuff is in one space. Makes so much sense. Thanks for joining our Fabulous Friday Blog Hop.
Thank you, Lynn! I’m so happy to have reclaimed this space!!
Kim, Your new office/craft space is wonderful! I know you’re going to enjoy working in your beautiful room! I love how you put shelves on top of the dresser, that’s such a great idea! You’re really smart to use what you already have to organize your supplies! Thanks for sharing your creativity with us!
Thanks so much, Donna! I am excited to work in this new space!
You’re so right, Kim! Perhaps even more than the kitchen, having my studio and my craft room tidy and organized makes a HUGE difference. I’m more productive and more creative when they are. Extra kudos for having the goal of using storage you already have around the house!!!
Sooo glad you hopped with us today. And really enjoy having you link up regularly at the Fabulous Friday Link Parties.
Thank you so much, Diane! I’m really pleased with how the room turned out! I’m so thrilled to be able to participate in this fun hop!
Kim, your new office and craft space is so pretty and organized. I’m working on getting mine in shape right now as well, so this is great inspiration! I’d love for you to share it on my link party: Sundays on Silverado!
Niky | The House on Silverado
Thank you so much, Niky! I will certainly do that!!
Such a cute space and so many great ideas! Thanks so much for joining us!
Thank you so much, Michele! It’s been so much fun joining in!
What a great room Kim. You have so much light coming in and plenty of space to work. I enjoyed all the creative ways you store things.
Thank you, Wendy! I love all of the natural light in this room. Thank you so much for the invitation to join in the blog hop fun!! I appreciate you so much!
Kim – What a beautiful space to work from. I started organizing my craft room and then another project begins and I dump everything everywhere again. Yours is not only attractive but super functional. Thanks for the nudge to get back at it.
Thanks so much, Regina! I can certainly relate to that! We’ll see how well and how long I can keep this space organized!
Kim, This space is amazing! You did such a great job organizing your craft/office room and on top of that is it a beautiful place for you to work. My office is half of a guest room and I really wish I had the whole thing to myself. Thanks for all the wonderful inspiration.-Meagan
Thanks so much, Meagan! I’m excited to be able to use this room again and to have the dedicated space for projects.
Kim, you have lots of smart ideas for storing crafts. Love the little buckets and the jars especially! My craft room is reasonably organized until I have three projects going then it looks like a tornado hit. Thanks for the much needed inspiration to spruce mine up again!
Thank you, Michelle! Keeping it organized and tidy is definitely the hard part! The good news is the room has a door that can be closed when those projects get out of hand!
Ok, I’m drooling over your amazing craft room and office Kim! I’m excited to tell you this post will be featured in this week’s Tuesday Turn About Link Party! Thanks for sharing your creativity and we hope to see you at the party this week! Pinned!
Oh, thank you so much, Cindy!! I’m honored and thrilled!! That’s so sweet of you!
These craft room organizing ideas are a godsend! I recently reclaimed my home office space after my kids moved out, only to have it taken over by my husband during the pandemic. But now, I finally have my own dedicated craft room and office space again. I love the idea of using clear containers to separate items in drawers and repurposing small bowls and glass vases as storage containers. It not only keeps everything organized but adds a touch of charm to the room. Can’t wait to implement these tips and get my craft room looking beautiful and inspiring again!
Thank you so much! I’m so glad you found them helpful!