How to Make Framed 3D Paper Art for Valentine’s Day
Do you need a creative handmade Valentine’s Day gift idea? Learn how to make framed 3D paper art for handmade Valentine’s Day gifts and decor.
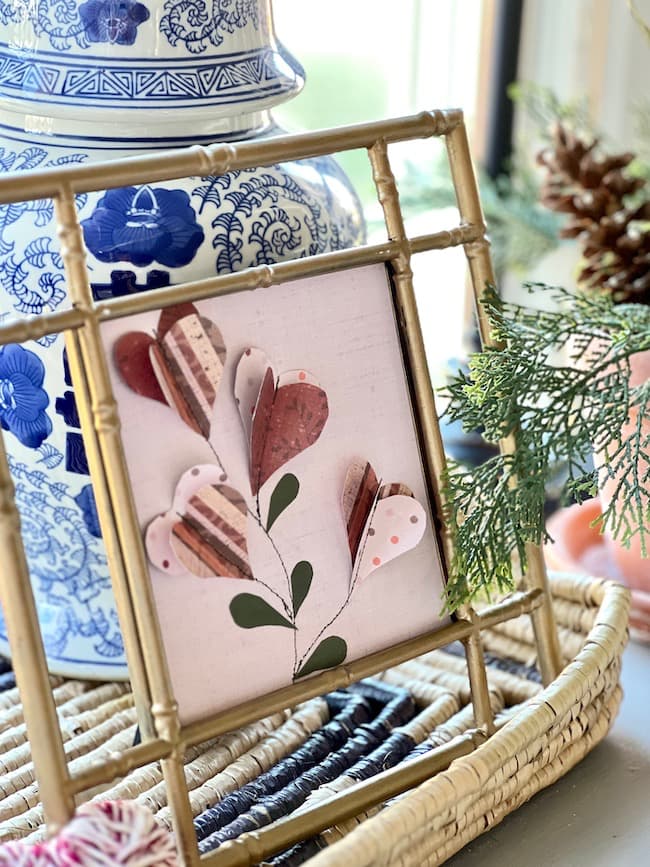
With Valentine’s Day just around the corner, it’s a great time to let your friends and loved ones know how much you care about them. This 3D paper art DIY makes a great handmade Galentine’s Day gift for your best gal friends, or a pretty piece of Valentine’s Day decor for your own home. It’s simple and can be customized with the colors of your choice. You can even turn this idea into a handmade Valentine’s Day card.
(This post contains affiliate links, so I may earn a small commission when you make a purchase through links on my site at no additional cost to you. As an Amazon Associate I earn from qualifying purchases.)
Today, I’m so honored to be a guest blogger in the Handcrafted Society’s monthly blog hop! What a treat to be part of their inaugural blog tour! This month’s hop is all about paper crafting and hearts — just in time for Valentine’s Day! A special thanks to Wendy at WM Design House for creating this special group and organizing this month’s hop! Be sure to visit all of my very creative blogger friends at the end of this post for lots of gorgeous and creative paper Valentine’s Day ideas!
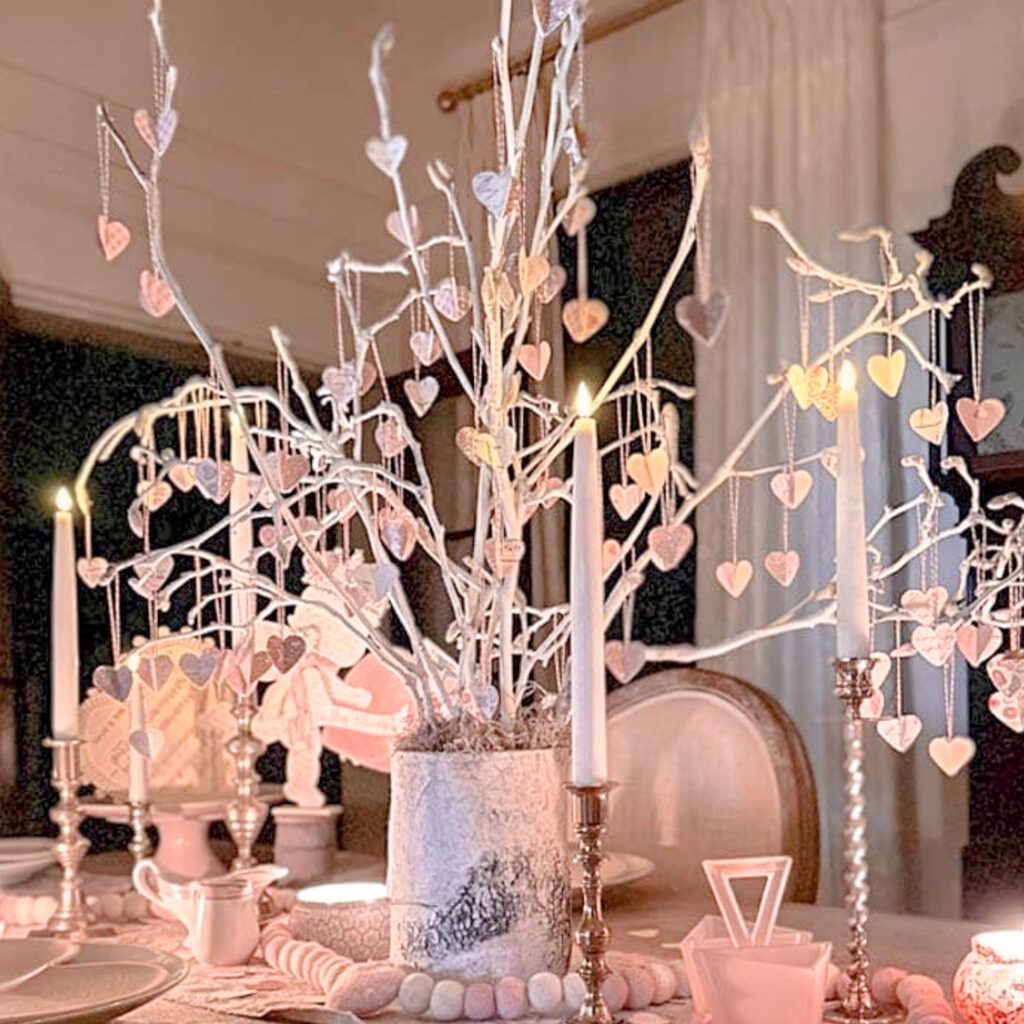
If you’re visiting from Tatertots and Jello, welcome!! Wasn’t Jen’s tissue paper Valentine tree centerpiece just fabulous?
Welcome to Perfecting Places! I’m Kim, and I blog all about home decorating and DIY ideas! You’ll find lots of ideas for designing and decorating your home including favorite paint color suggestions and palettes, room makeovers, and easy seasonal DIY ideas to help you create a home you love! I’m so glad you are here!
Doesn’t it make you feel special when someone takes the time and effort to make something for you?
Valentine’s Day is the perfect opportunity to give a handmade gift. Taking the time to design and craft a special gift for someone you love is a fun way to show you care and makes the gift even more valuable.
Or, maybe you want to add a little touch of Valentine’s decor to a vignette in your home. Sometimes it can be hard to find just the right Valentine’s Day decor that suits the style of your home. This little framed art idea is easy to create and customize to your home’s color scheme and taste.
What is 3D paper art?
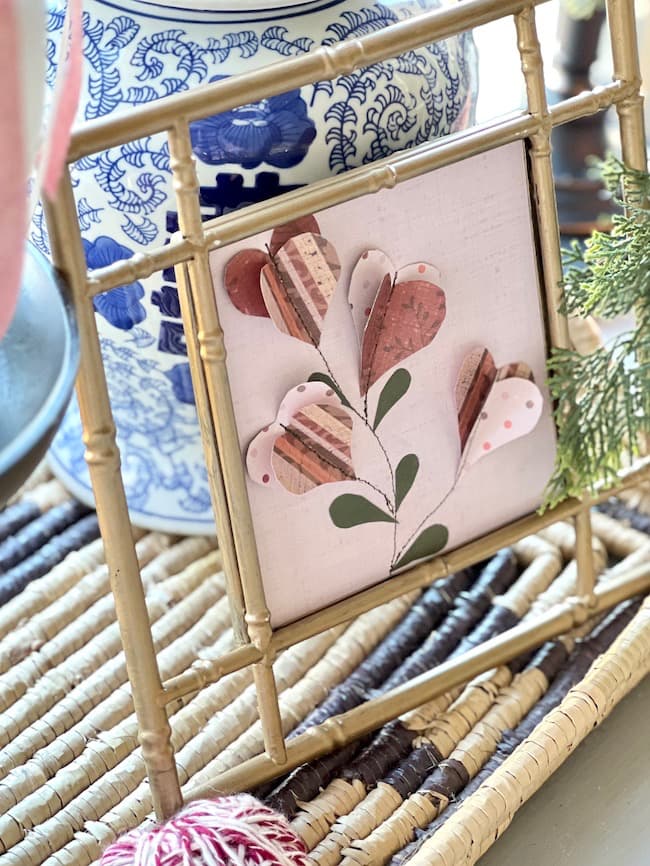
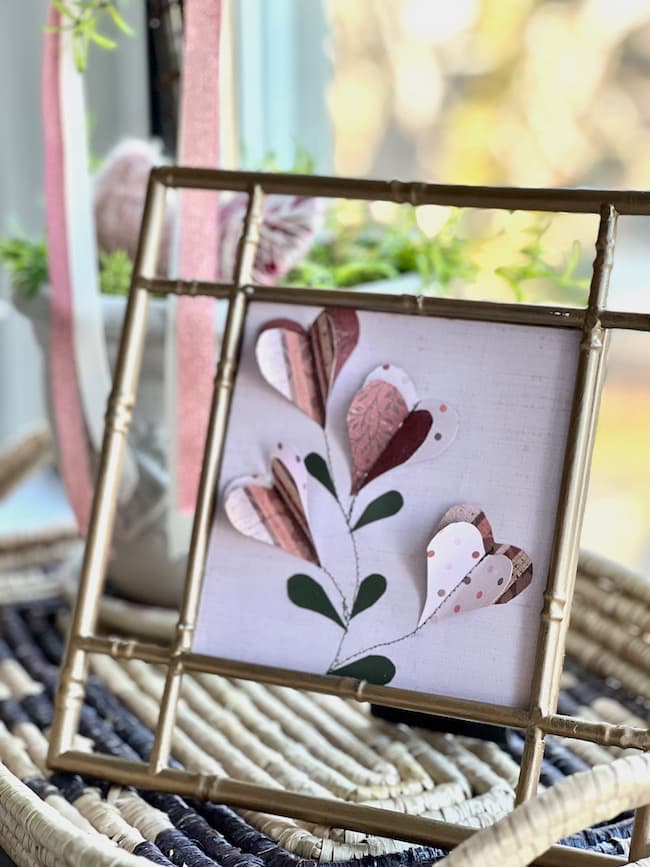
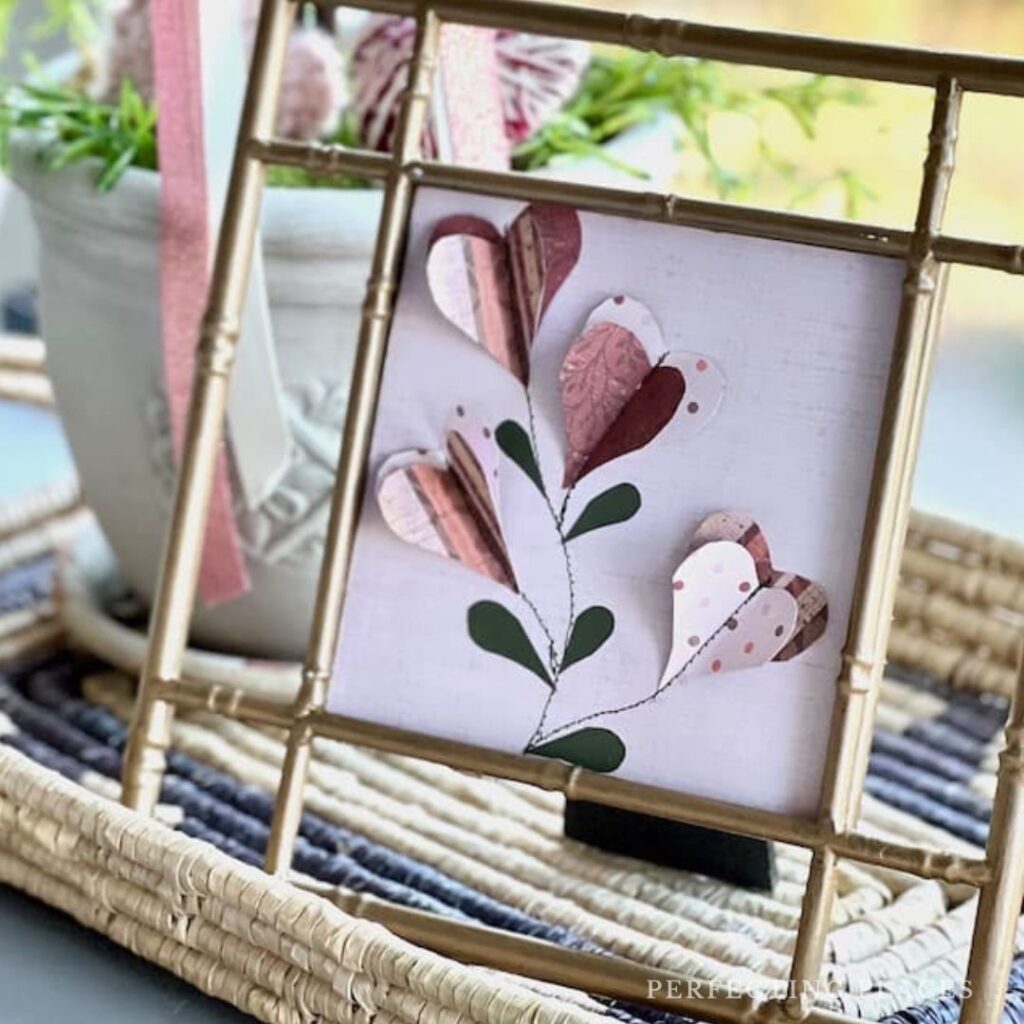
3D paper art is simply art make from paper that is folded or cut into desired shapes to form a design. While there are very detailed and intricate examples of 3D paper art, this project is very simple! It’s simply a few paper hearts folded in half, arranged on a piece of paper, with some stitching details.
What kind of paper is best for papercraft?
Cardstock is usually the best type of paper to use for paper crafts. It’s thicker and doesn’t tear as easily when folding or shaping your designs.
I’m using some printed scrapbook paper for this project to add a little pattern and color. My design isn’t very intricate so I wasn’t worried so much about tearing.
Supplies Needed for This Paper Art:
- scrapbook paper in at least 4 different colors or patterns. (It’s helpful if your paper is reversible for this project.)
- small scissors
- glue stick — school or craft glue
- pencil
- paper cutter
- sewing machine
- green thread
- photo frame or shadow box frame
How to make the Framed 3D Paper Art:
1. Select your papers.
You’ll need at least 4 coordinating colors and patterns for this design to add visual interest. I used scrapbook paper that I had on hand. I wanted a somewhat subtle look for this piece of paper art, so I chose papers in more muted pink, lavender and burgundy.
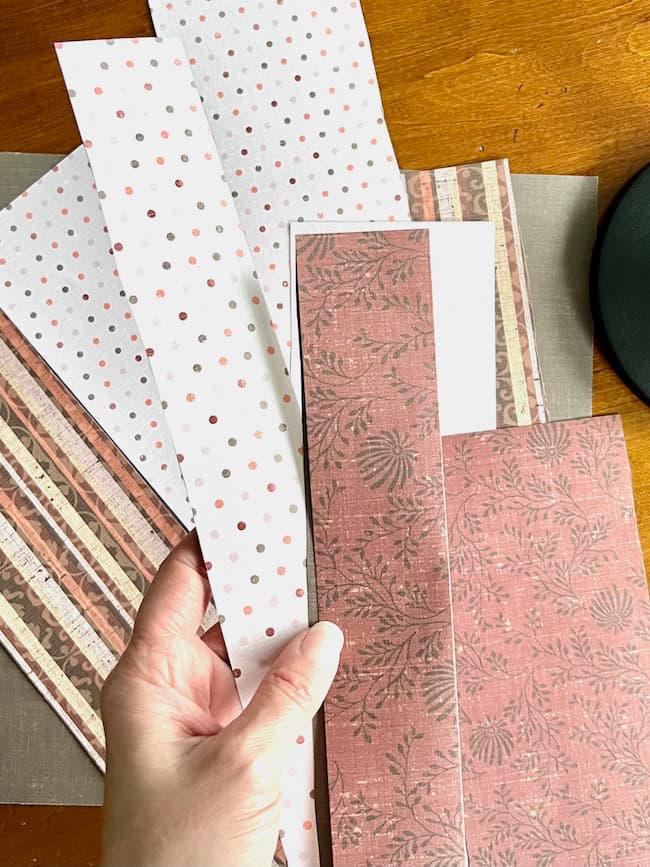
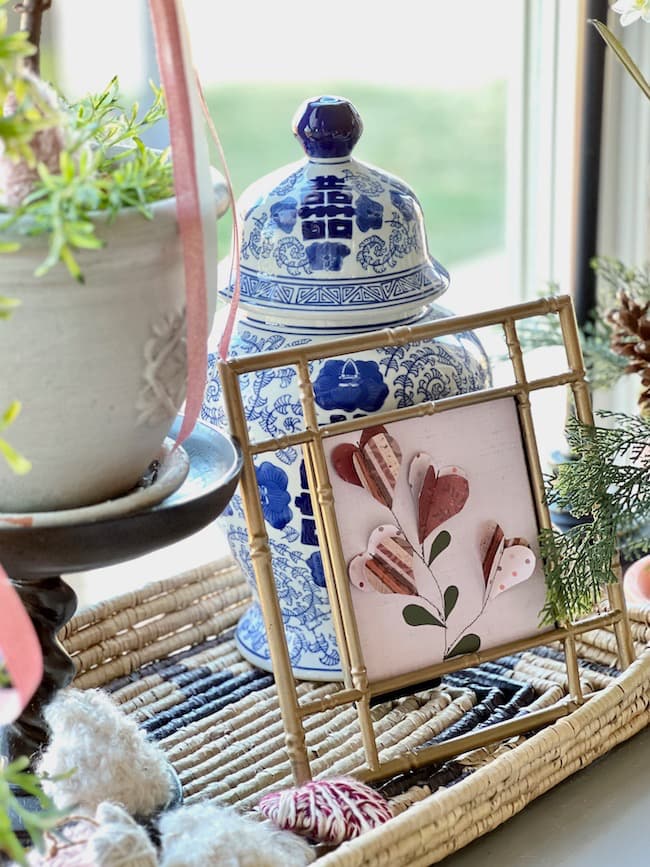
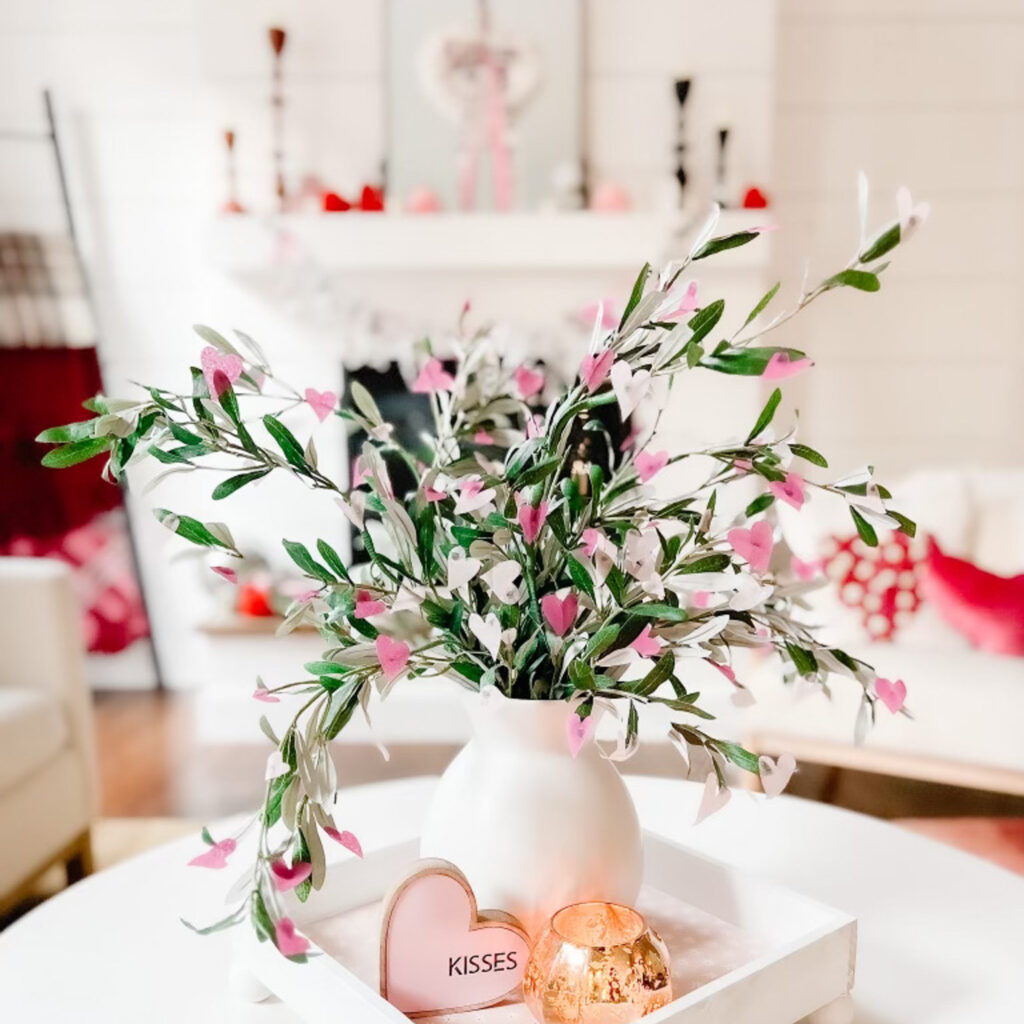
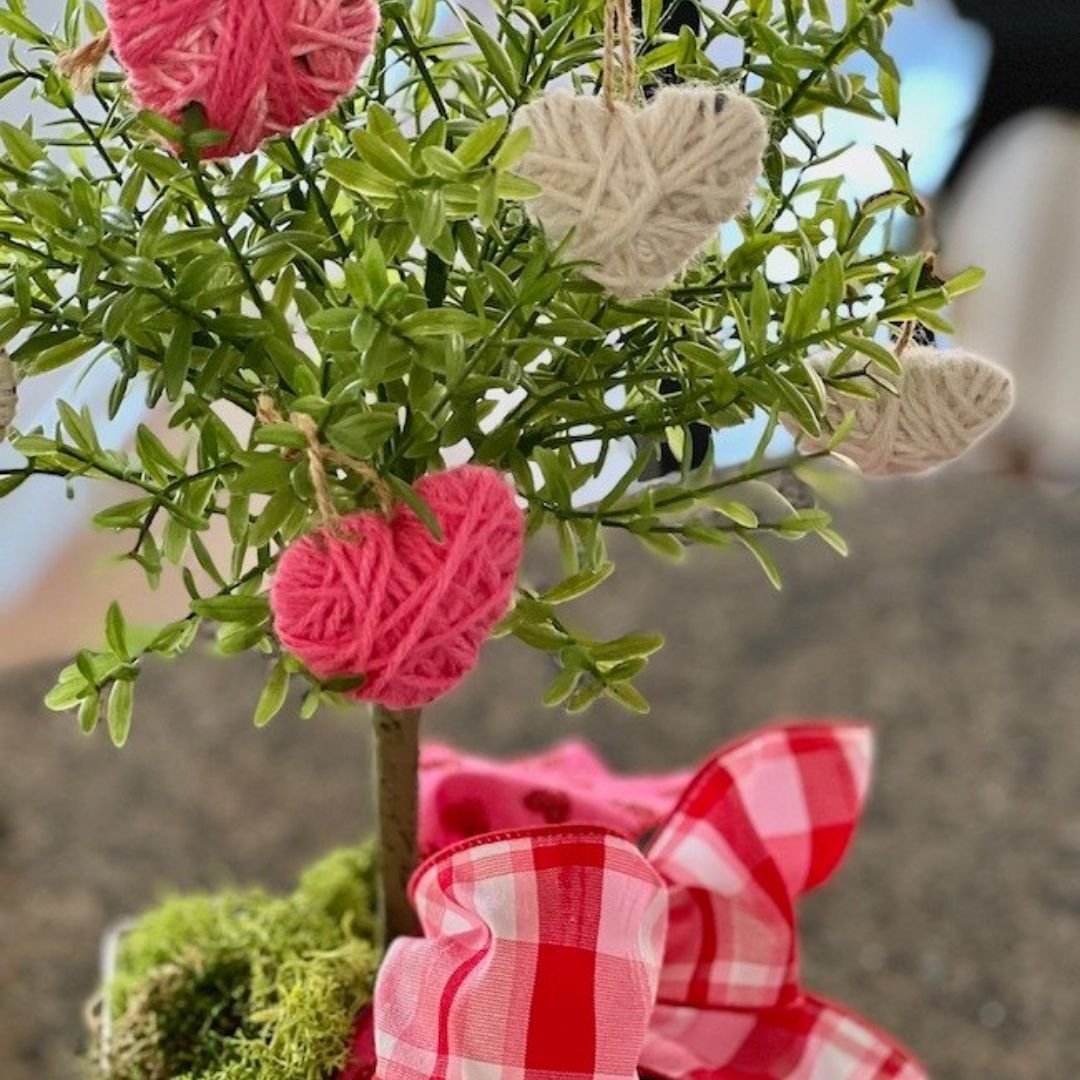
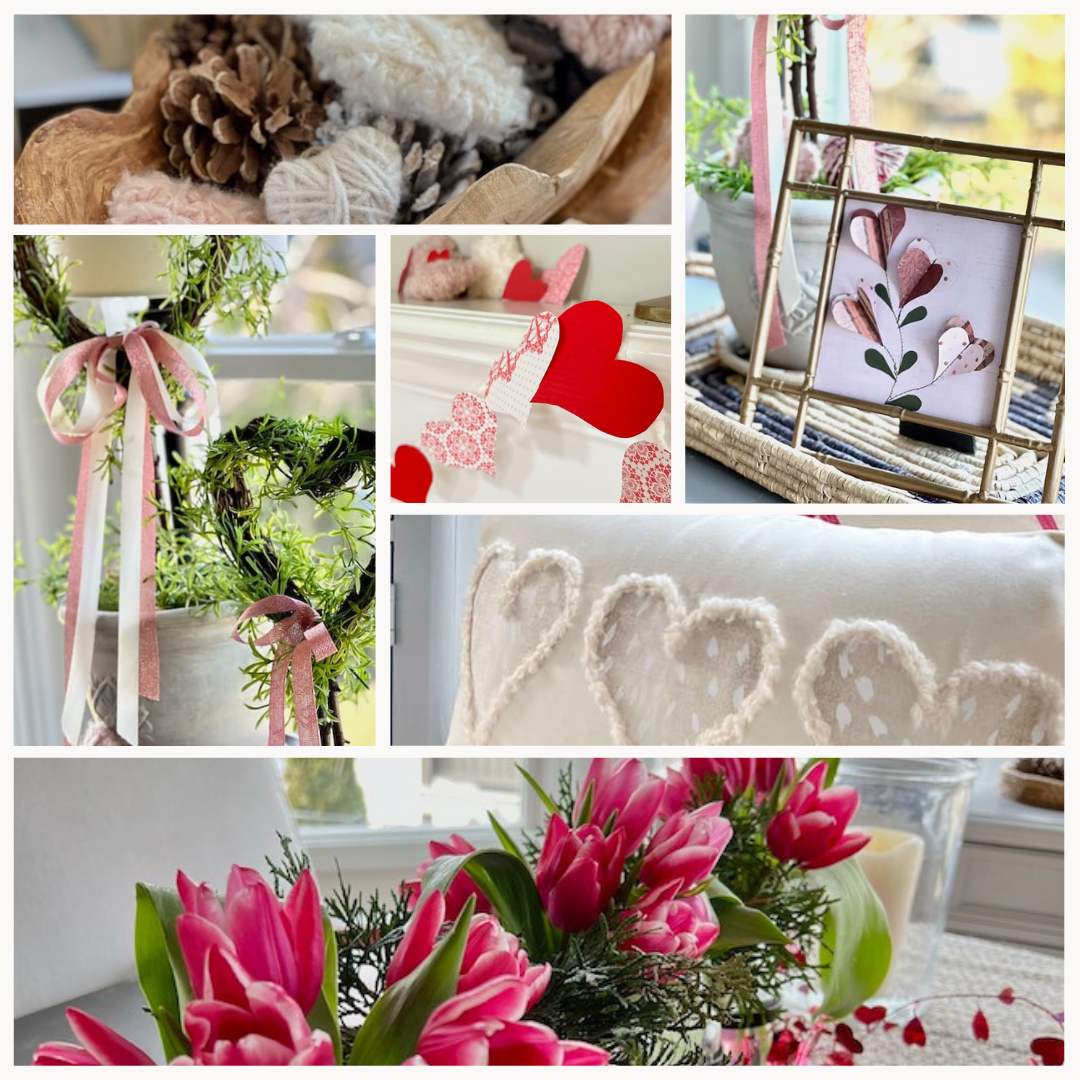
This color scheme actually pairs really well the the yarn-wrapped hearts and Valentine’s topiaries in the table vignette pictured below. These actual scrapbook papers are several years old and from an old Creative Memories paper pack for Valentine’s Day.
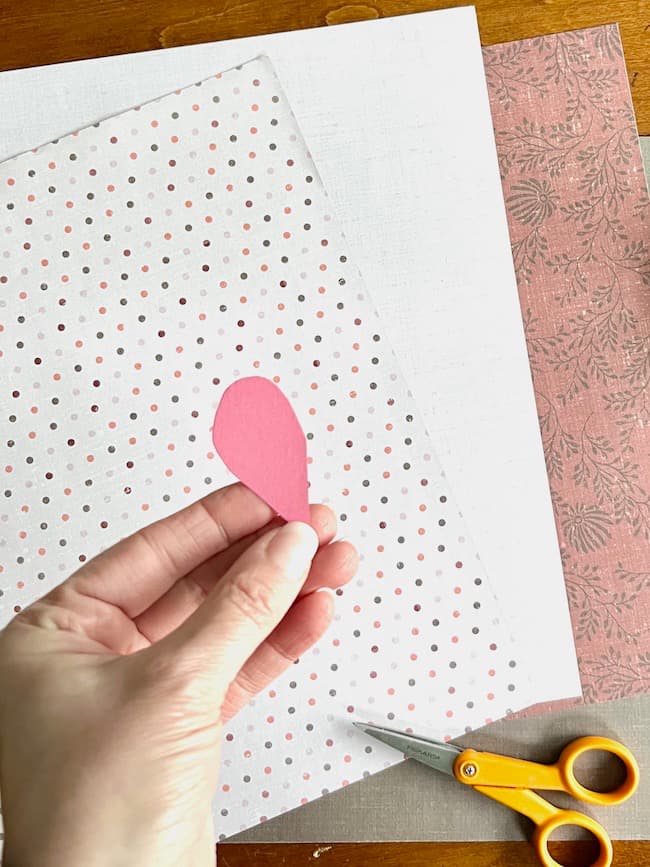
2. Create a small half-heart template for cutting your hearts.
You’ll use this template to cut along the folds of the paper to cut out your heart shapes.
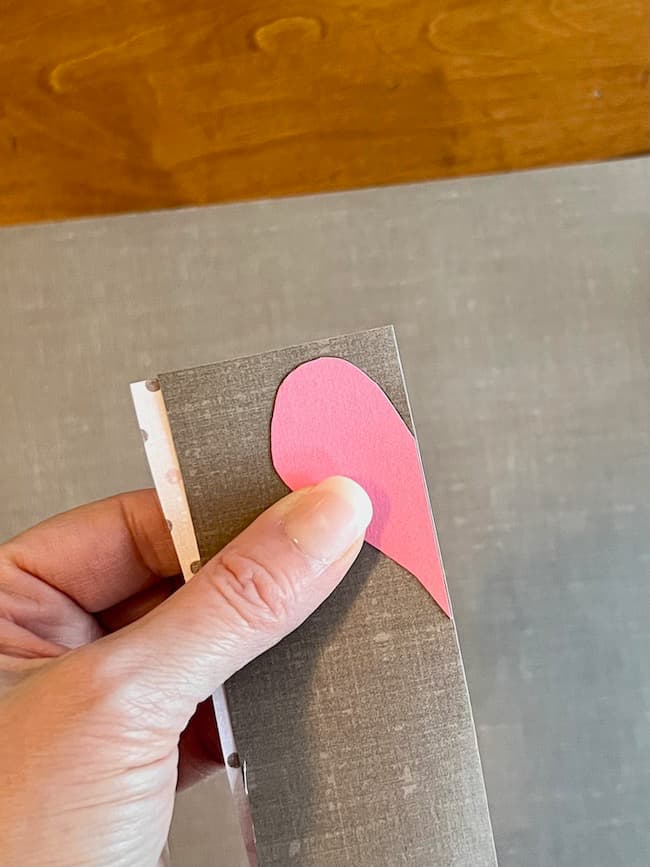
3. Cut your paper into small strips and fold in half.
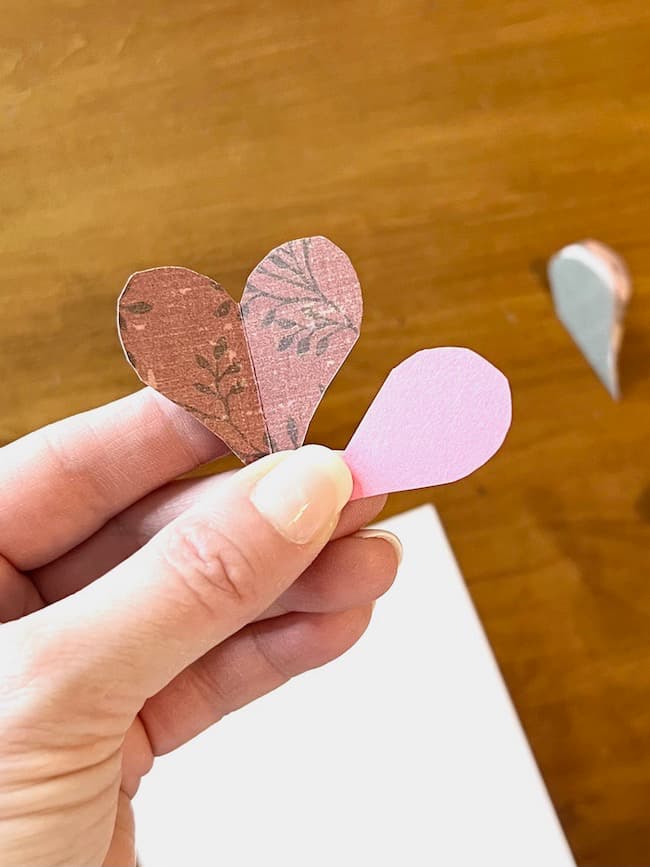
Place your heart template along the folds of the paper and cut out your shapes. If you prefer, you can first trace the design, but I just cut them out without tracing. (I’m more of a keep-it-simple-and-get-it-done kind of gal!) You will actually want the fold in the hearts to remain. This is what gives you the dimensional look to your paper art.
4. Cut out your paper backing.
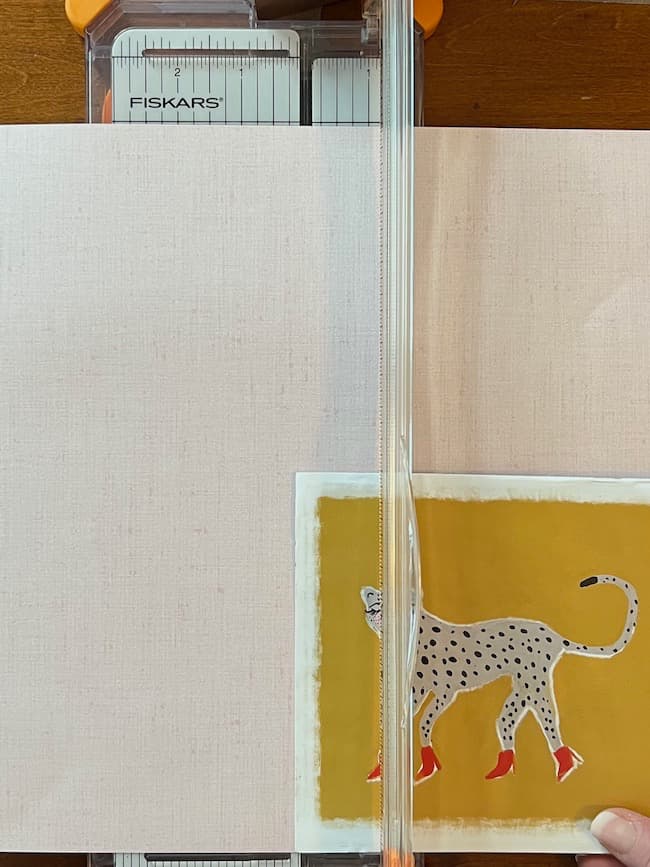
Use the piece of cardboard from your picture frame to measure and cut out the paper backing for your design. I’m using a very pale lavender paper with a subtle linen design in it for the paper backing in this project.
5. Arrange your hearts on your paper.
Pair two printed hearts together to form your “flowers” with two paper layers. Decide which prints you want to pair together and layout them out on your paper backing to determine the placement of your heart flowers.
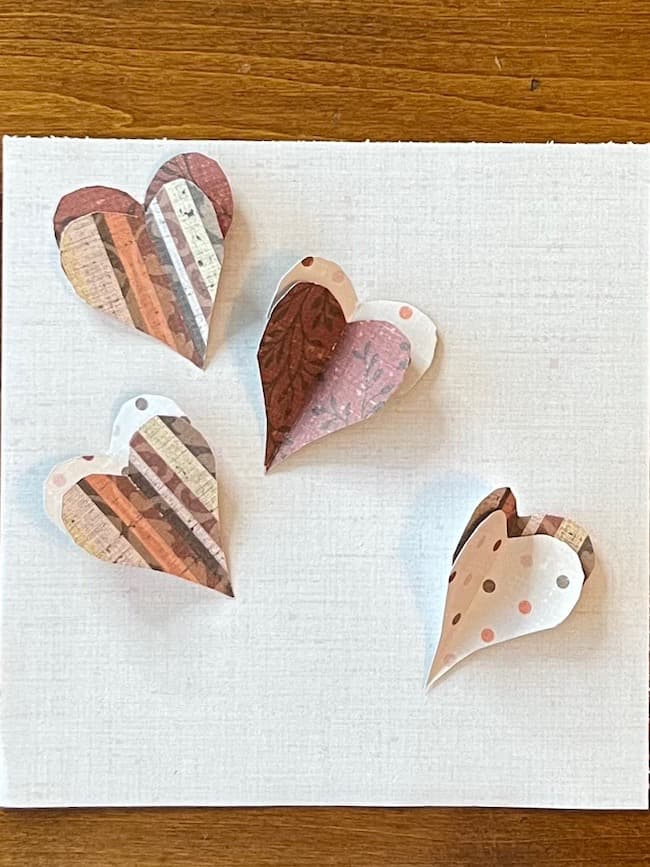
6. Glue your hearts together and on the paper backing.
I used a simple school gluestick to add a tiny bit of glue along the fold of the top layer heart to secure the two hearts together. You just need a temporary fix because you’ll stitch these later to hold them into place. Add a little glue along the fold of the back layer heart to secure the hearts to your paper background before you stitch them in place.
7. Sketch the lines for your stitching.
Use a pencil to sketch the lines for the stitching. This will ensure that you stitch in the right place with your machine.
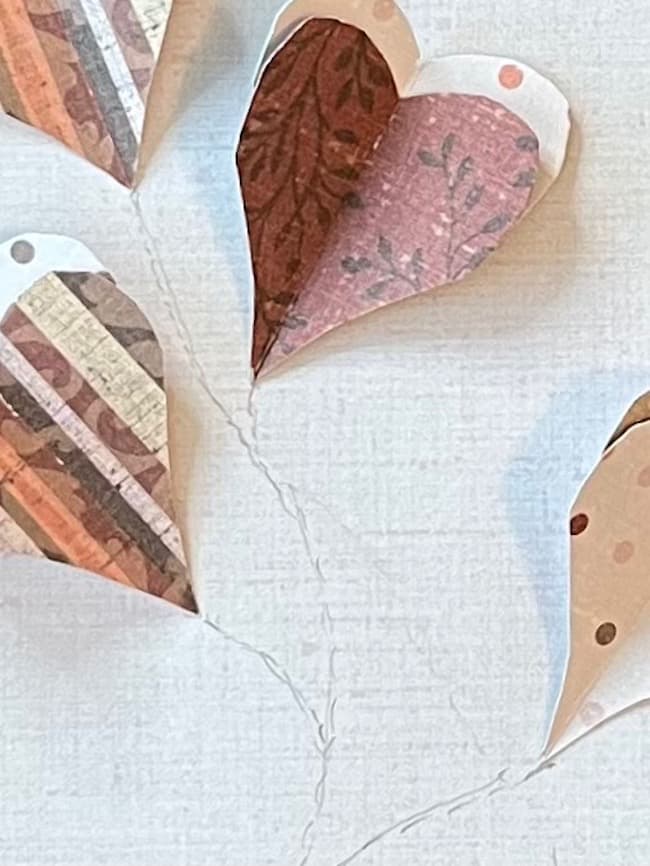
8. Stitch your hearts to the backing.
Carefully start at the top of each heart and stitch down the middle of the fold and onto the pencil markings to create the flower stems.
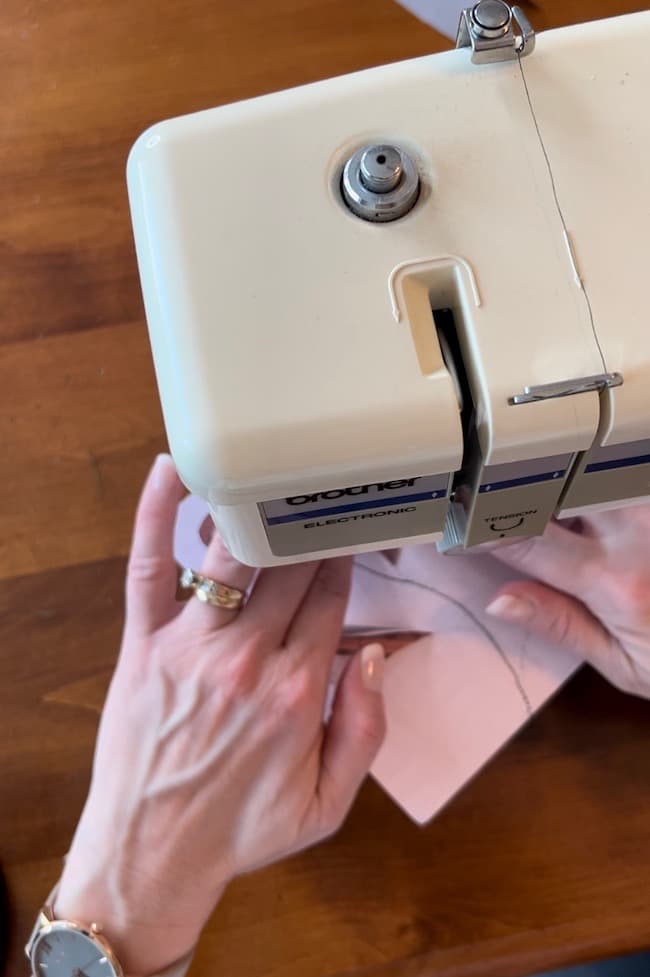
If using a machine you’ll need to use a long stitch length. On my machine it’s a 4. It’s best to test your stitching on a piece of scrap paper to determine the stitch length you want. Stitch slowly and be careful not to tear your paper.
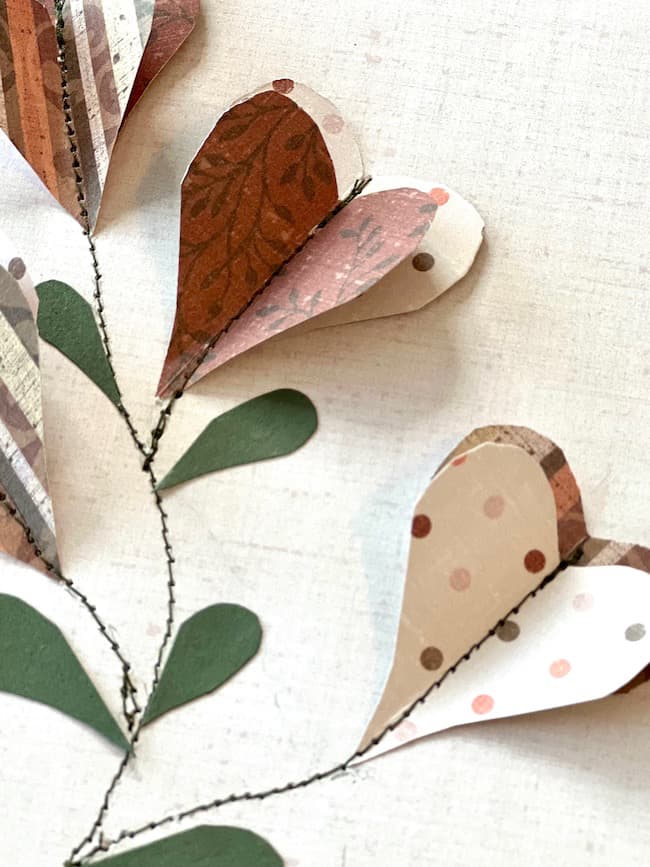
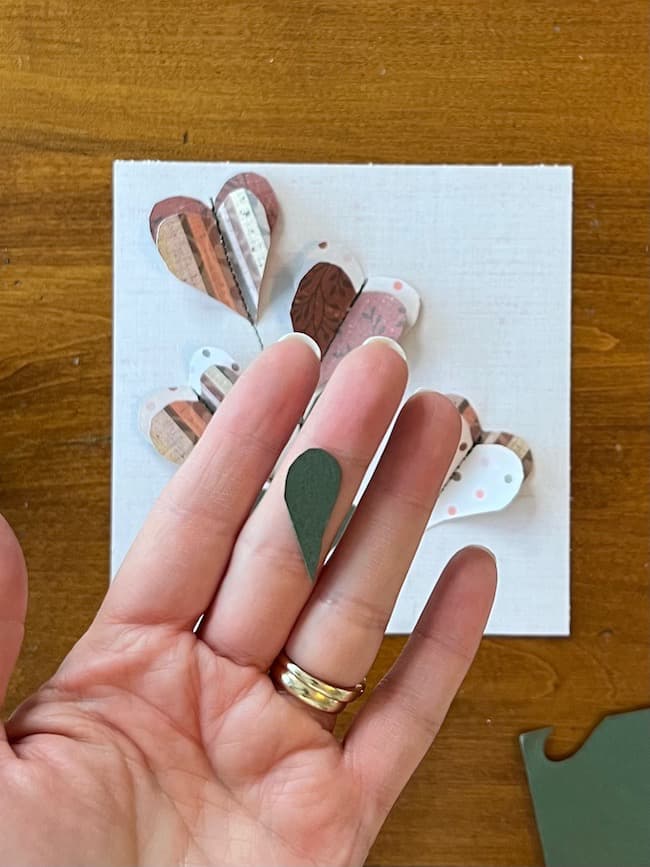
9. Cut out small leaves for your stems.
Cut small leaves for your flowers and glue them to the paper backing.
10. Add your paper artwork to your frame.
I’m using this gold bamboo frame which I purchased on clearance from Hobby Lobby a couple of years ago.
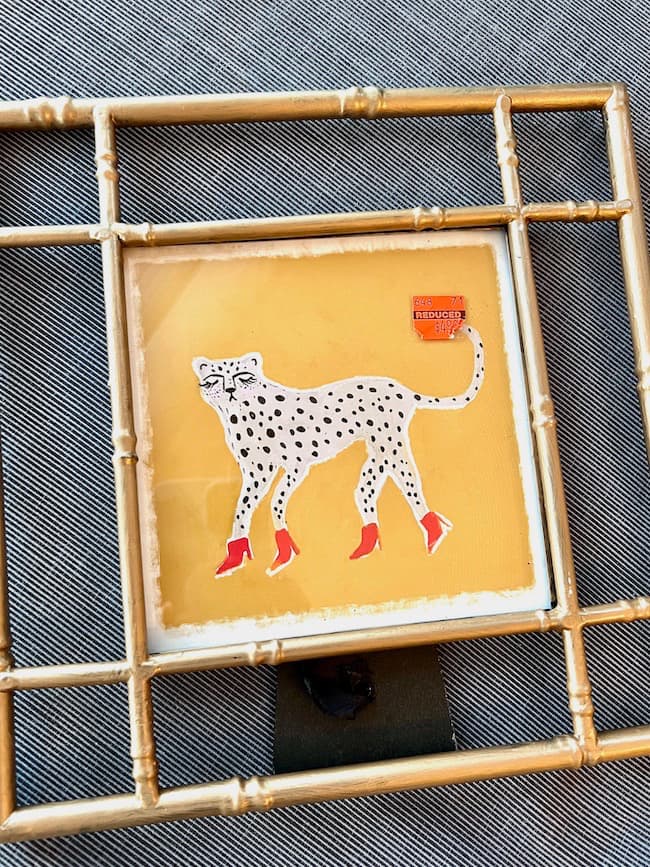
It was originally black, and I painted it gold. I used two others in this DIY oyster shell art project for our primary bathroom. Since this is 3 dimensional art, you’ll need to remove the glass.
You can also use a shadowbox frame for this project if you wish.
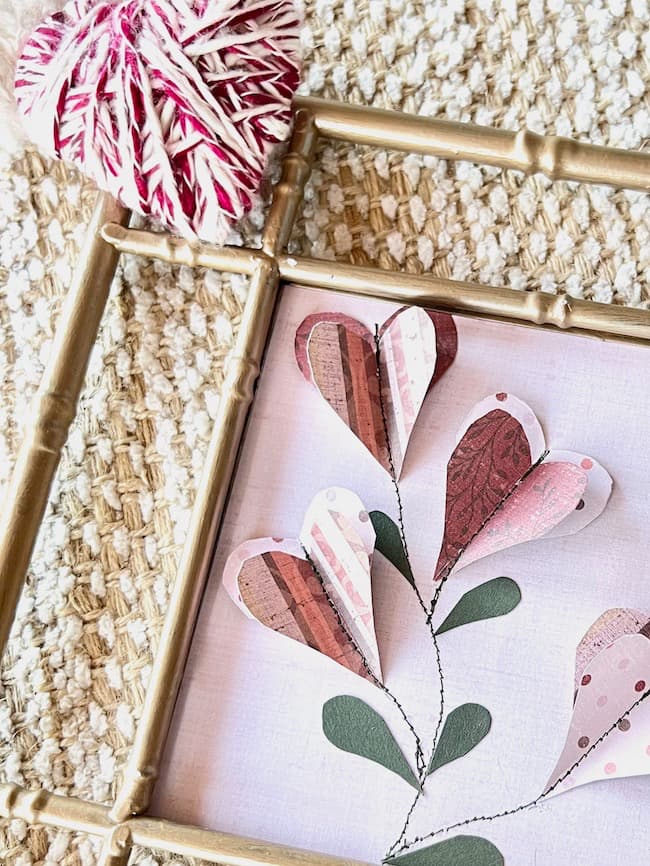
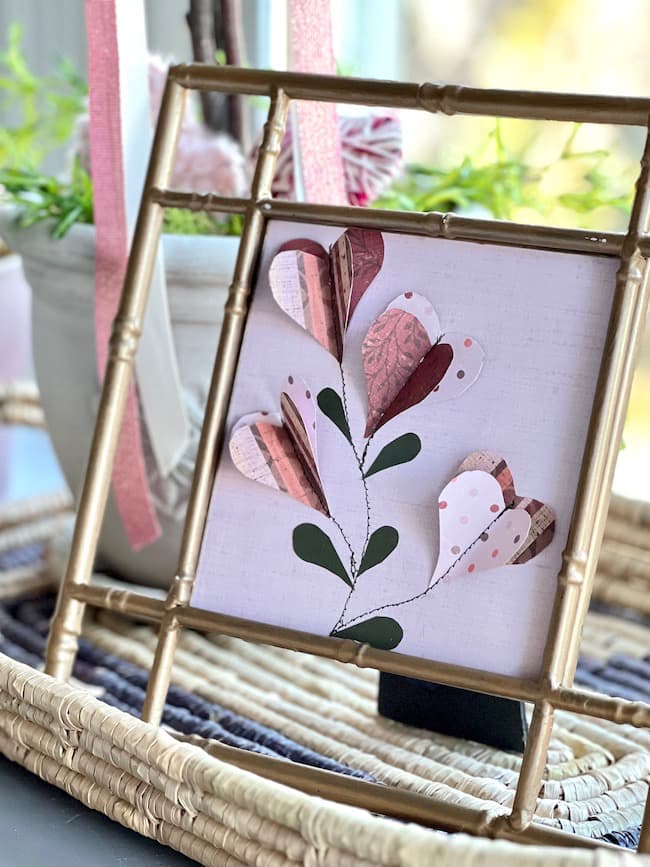
The end result is a pretty piece of framed paper artwork or wall art handcrafted with love!
Tips:
- You can use a needle and thread to sew the stem lines if you don’t have a sewing machine. This will allow you to use a thinner needle, and it’s a little more gentle on the scrapbook paper. The next time I will probably try hand-stitching the lines.
- Test your stitching on a piece of scrap paper first to determine the length of your stitches and to get a feel for how carefully you need to work to not tear the paper.
This framed 3 D art project is so much fun to make. You can be creative and make all kinds of different designs with different sizes of hearts, arrangements, paper patterns, and different color combinations. You can complete it whether you have a sewing machine or not.
Thanks so much for stopping by today! I hope this inspires you to create something special for your loved ones or for your home.
Now, be sure to head on over to WM Design House to see Wendy’s gorgeous Valentine tree! You’re going to love it!
Happy Paper Crafting!
Shop the Look
For supplies to make this craft, or for gorgeous ready-made paper art options check out the links below!
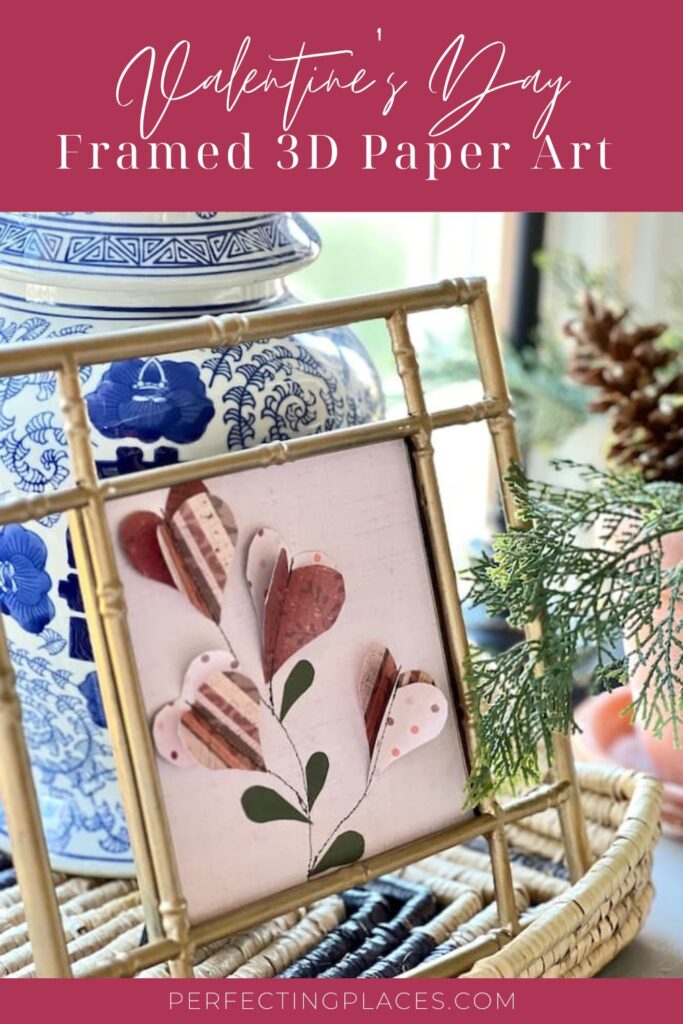
Pin This Idea for Later
By the way, do you follow me on all the socials? If not, check out my Pinterest, Instagram, and Facebook and be sure to follow along so you don’t miss out on any of my decorating and DIY ideas.
More Fabulous Ideas from the Handcrafted Society!
Be sure to visit my very talented blogger friends at the links below!!


Such a pretty idea, Kim!! I love how the hearts are three dimensional too! I pinned it to my valentine board to share 🙂
xoox
So brilliant how you sewed these dimensional hearts! Such a lovely project that is perfect for Valentine’s Day decorating…or year-round for that matter! Pinned!
Kim I love that you turned this into an up-cycling project as well. The frame is a great find and shows off your 3D art perfectly! Love the paper patterns too!
Kim, this is so creative and pretty!! Glad you joined us this month!!!
Love this project Kim, so creative. Who would have ever thought to sew on paper, only you!
Thanks so much, fo rejoining us. We look forward to having you again sometime. XO
Kim, This is so sweet! I love that you sewed the stems! I also love how everything goes with blue and white (my favorite)!
Hi Kim! This is such a creative Valentine’s project! I have never thought to sew on paper, Looks so fun and turned out so pretty! Pinning now!