How to Make a Cute DIY Bunny Wreath for Easter
Need an Easter wreath idea for your front door? Greet your guests with this adorable DIY bunny wreath and create a festive spring entry!
Add a festive touch to your entryway this spring with this gorgeous wreath DIY. Follow these step-by-step instructions and creative tips for creating your own delightful DIY bunny wreath, perfect for welcoming the Easter season.
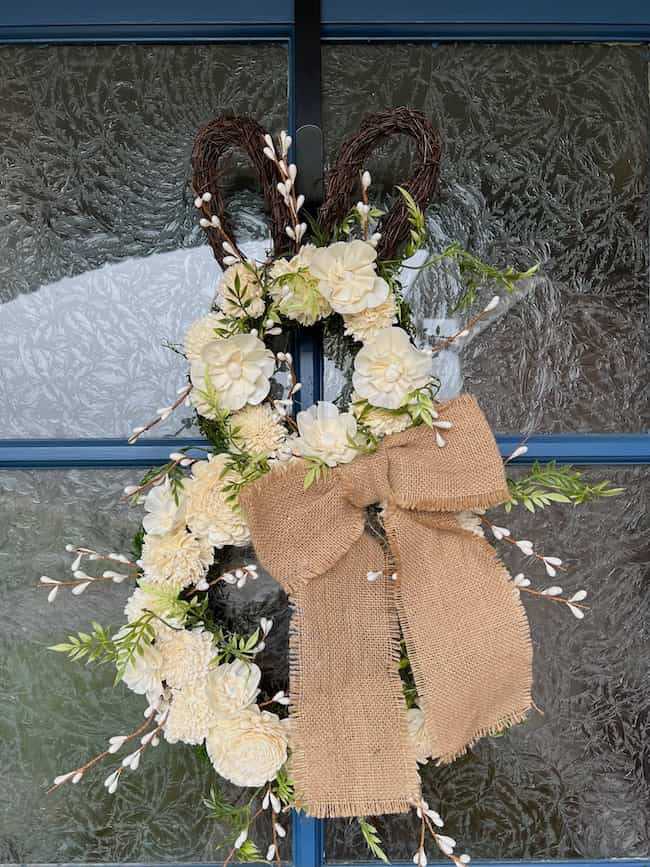
(This post contains affiliate links, so I may earn a small commission when you make a purchase through links on my site at no additional cost to you. As an Amazon Associate I earn from qualifying purchases.)
This bright, sunny not-quite-yet spring day calls for a new front door wreath! With Easter just three Sundays away it’s time to kick the Easter decor in gear around here!
And this post is certainly chock full of Easter front door decor ideas! Today is the March edition of our monthly Handcrafted Society blog hop, and it’s all about spring and Easter wreaths! I’m joining 10 creative blogging friends sharing our fabulous front door creations.
If this is your first time to Perfecting Places, welcome! I’m so glad you stopped by! I’m Kim, and I blog about all things home decor! I love to share easy DIYs and crafts for your home as well as paint colors, design sources, and favorite decorating tips and tricks to help you make your house a home!
The Handcrafted Society is a special group of my very talented blogging and crafting friends who come together each month to share one another’s beautifully crafted creations centered around a specific theme or craft medium for the month.
So if you’re looking for festive front door wreath ideas, this post is for you! At the end of this post you’ll find pictures and links to all of the gorgeous spring wreath ideas, so be sure to click through to see all of the wonderful creations!
How to Make a DIY Bunny Wreath
Every “bunny” deserves a fresh new look! This little DIY bunny wreath idea is more of a repurposed makeover project.
This simple little bunny wreath was given a whole new look with the addition of a few simple materials. He was pretty cute, to begin with, but now he’s next-level!
Craft Supplies to Make this DIY Easter Wreath:
You can find the items to create this DIY project at your local craft store or at the links below.
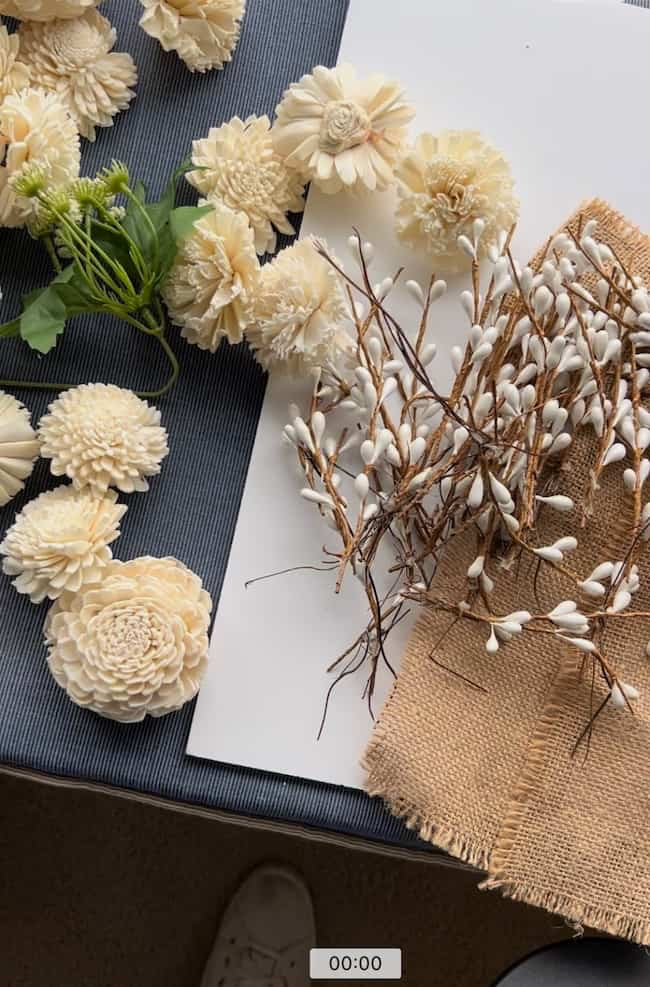
- Grapevine bunny wreath form
- Moss
- Faux spring vining plant
- White berry stems
- Off-white wood flowers
- Burlap bow or ribbon
- Hot glue gun and glue sticks
- Floral Wire
- Rubber gloves
Step-by-Step Process:
To make this DIY bunny wreath, I started with a grapevine bunny form I already owned. It was very similar to this grapevine bunny wreath.
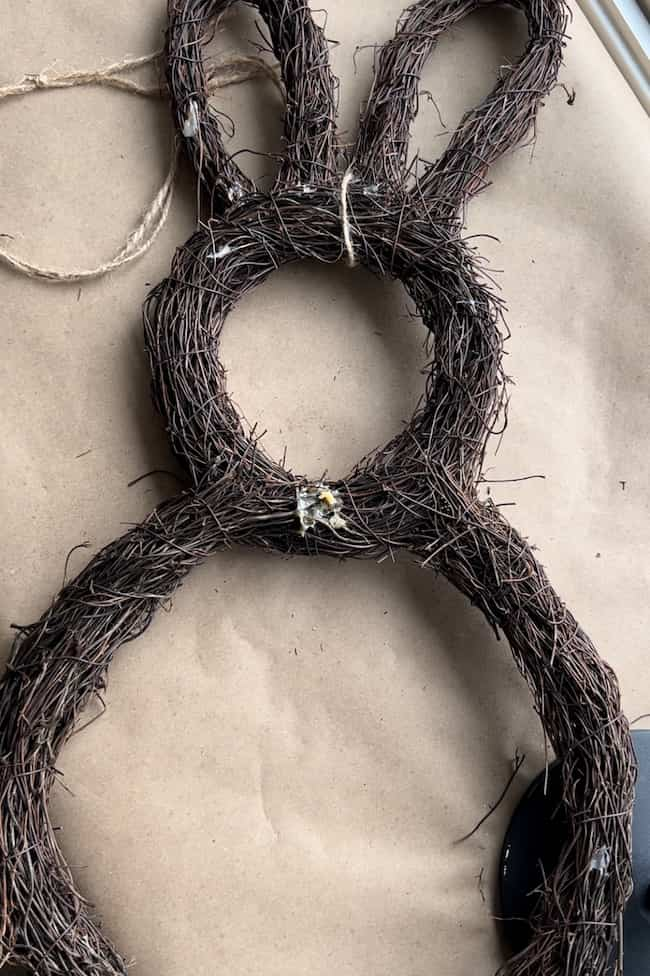
1. First, I deconstructed the wreath, being sure to save the small white berry picks and burlap bow to use again.
2. The second step in my process was gluing on the wood flowers to the front side of the bunny form. I used this bag of wood flowers which contained a variety of styles and sizes of wood flowers.
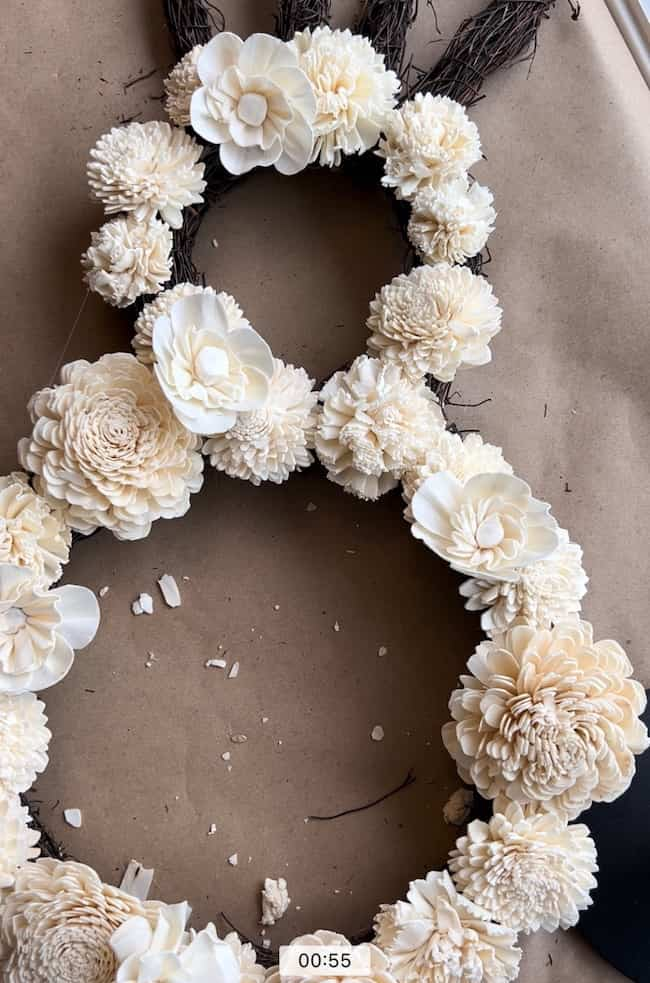
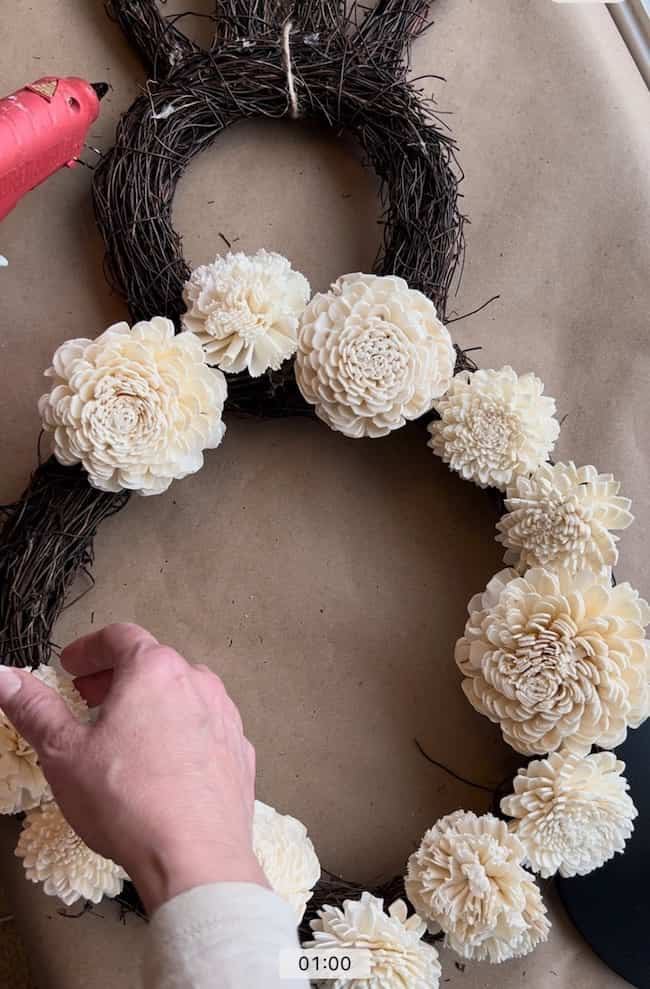
I first planned out the arrangement of my flowers around the head body of the bunny. I used a hot glue gun to adhere the flowers to the grapevine wreath.
If you like this wood flower spring craft, you might also enjoy this spring floral art project I made using these wood flowers.
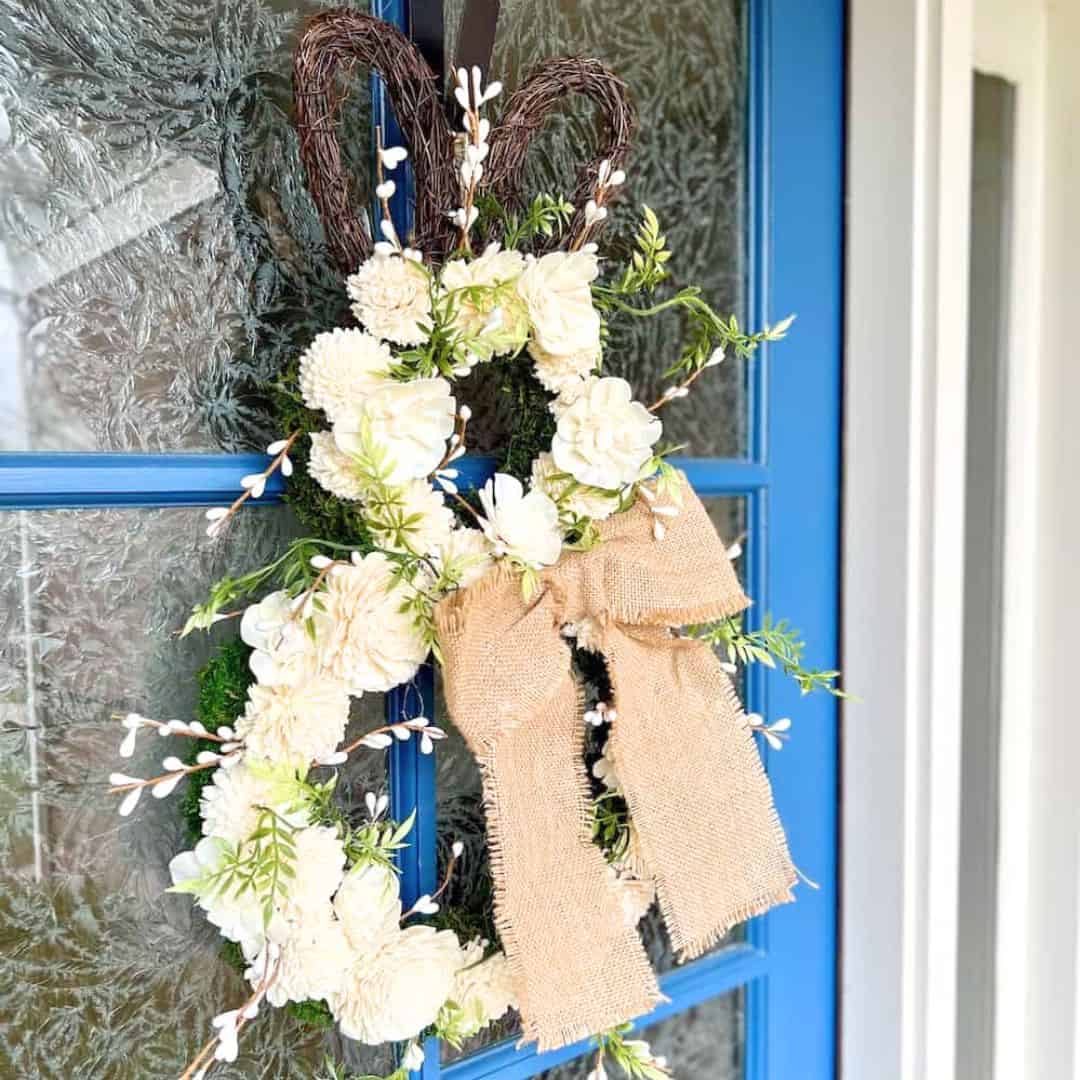
I left the bunny ears as is, leaving the natural grapevine exposed to provide a little contast to the floral head and body.
3. After the flowers were attached, I covered the sides of the exposed areas of the grapevine wreath with moss.
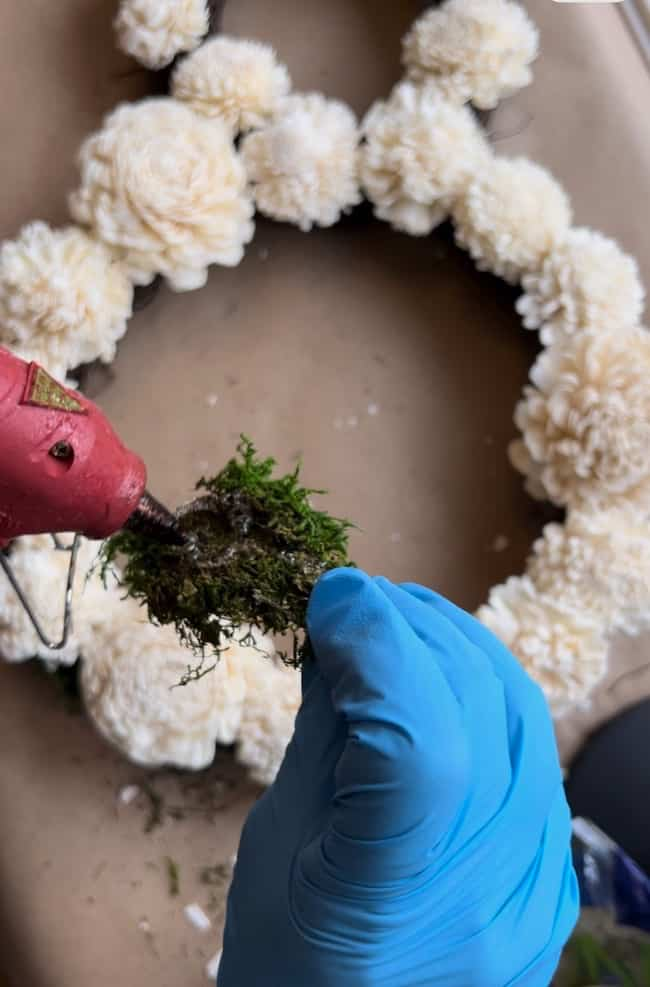
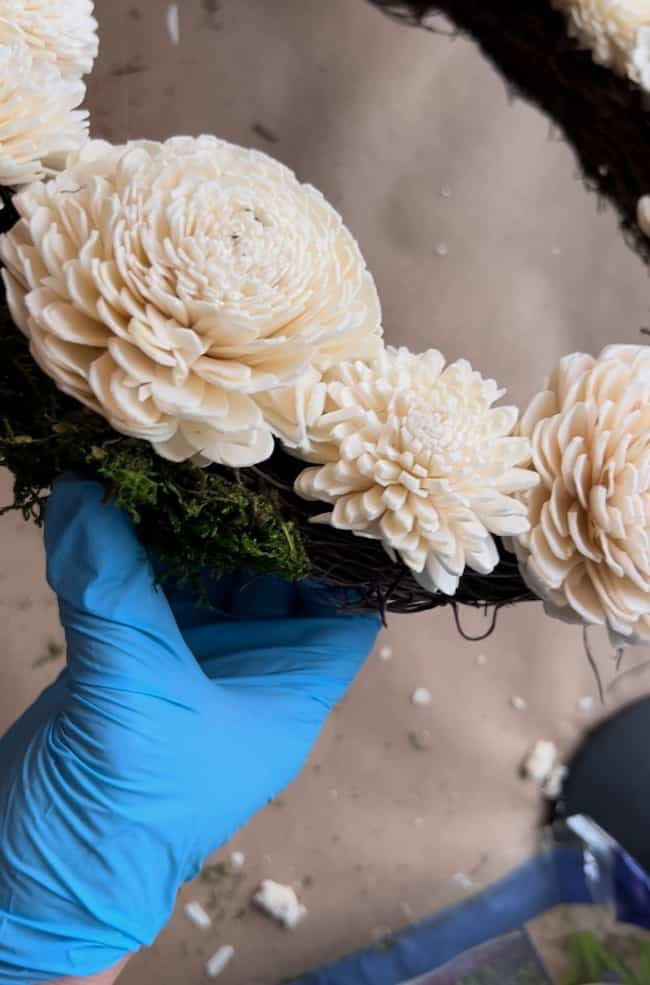
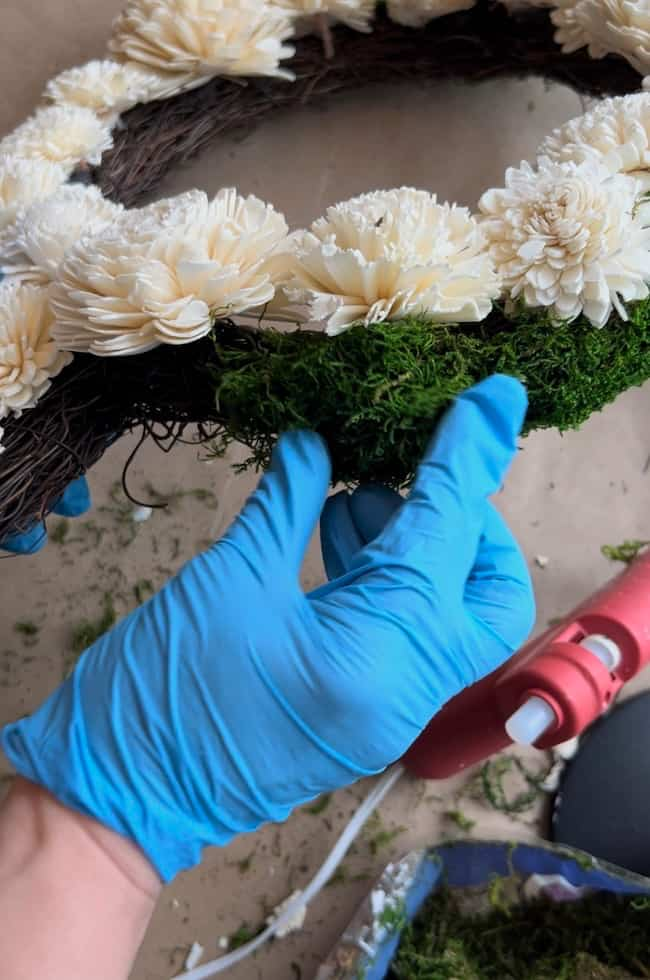
I simply added a small amount of hot glue and filled in the gaps around the flowers on the front of the wreath.
I then covered the exposed sides of the wreath form with the moss. It was very easy to tuck the pieces of moss in and around the wood flowers. I do recommend wearing rubber gloves for this messy process.
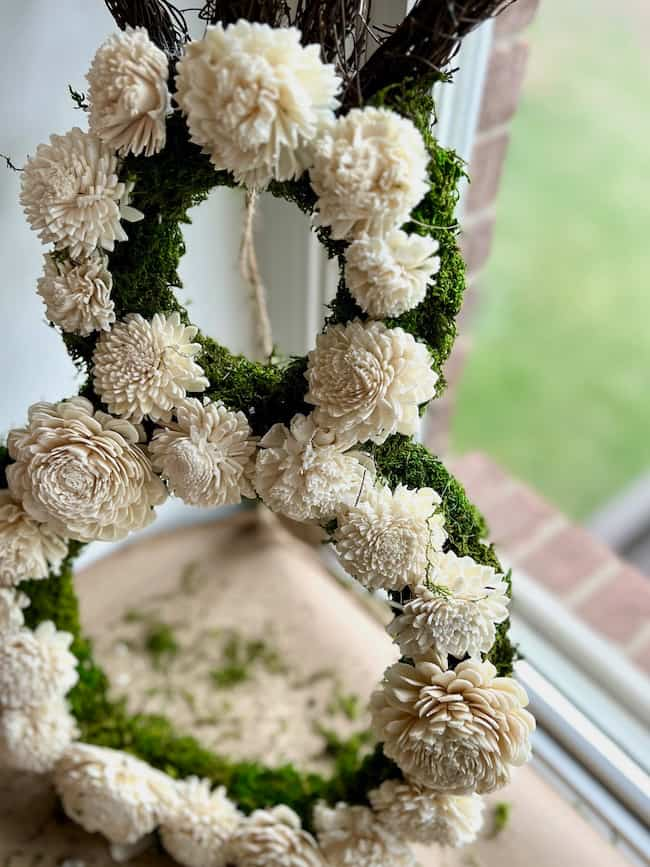
4. Tuck small pieces of a faux spring vining plant into the flowers around the bunny wreath. This touch of spring greenery softens the look of the wreath and adds a fresh touch.
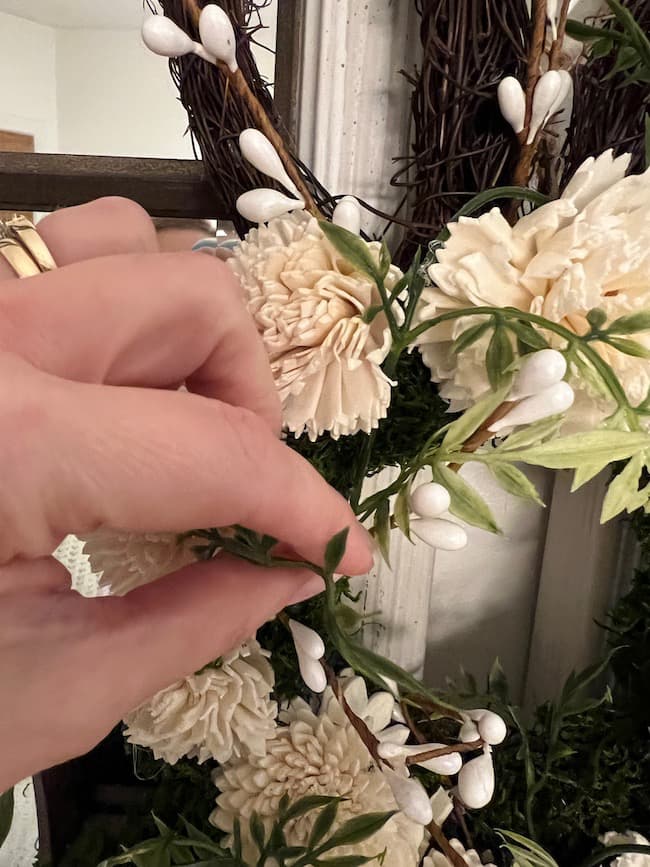
I used the hot glue gun to attach the vine pieces.
5. Finally, I added the small berry stems and burlap bow that I saved from the original deconstructed bunny wreath.
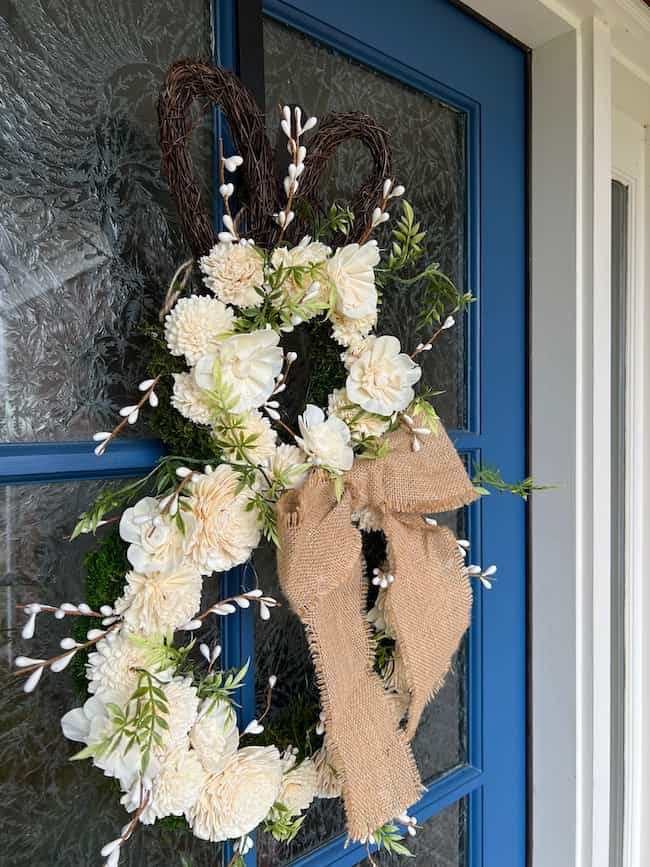
The small “pearlized” white berries tucked in around the wood flowers really dress up the bunny, and the burlap bow adds the perfect finishing touch!
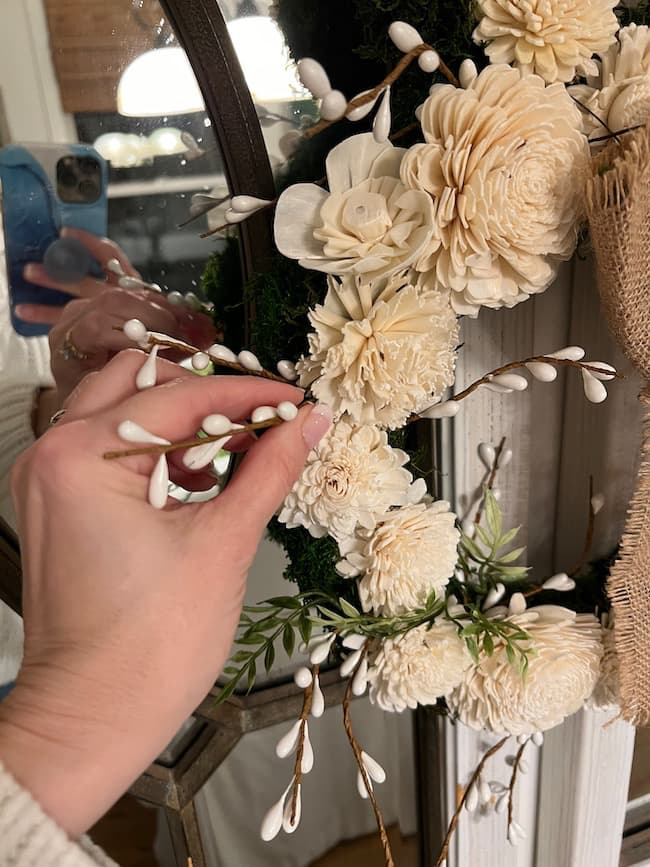
If you don’t have a pre-made burlap bow, you can tie your own basic bow using burlap ribbon.
I used the hot glue gun to attach the berry stems around the flowers. I attached the burlap bow to the neck of the bunny using a bit of hot glue in the center of the bow. You can also use floral wire to reinforce it if you prefer.
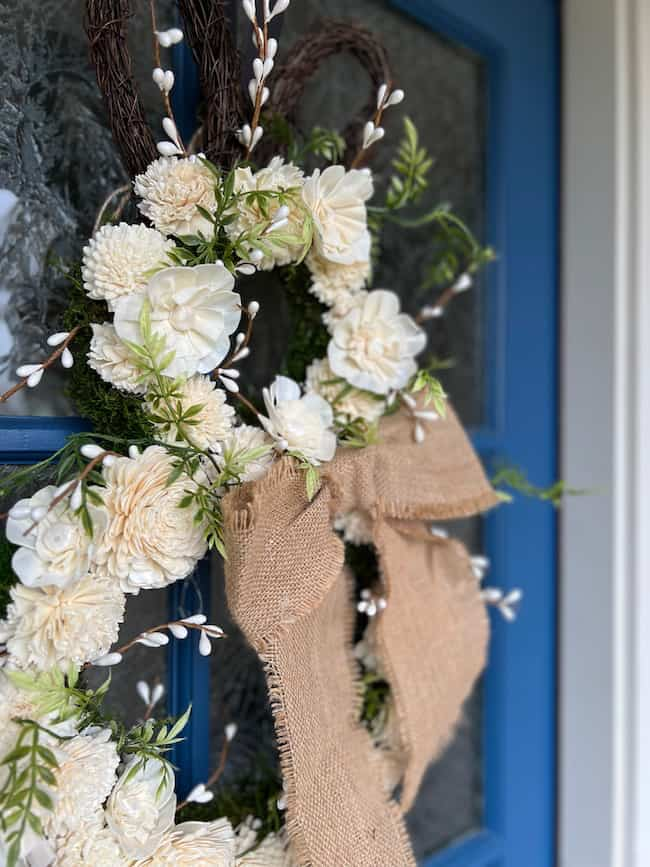
Now this little bunny is all dressed up and ready to greet our guests!
Other Ways to Decorate the Bunny Wreath Form:
There so many fun variations you can make to this simple bunny wreath idea.
- Add small Easter eggs around the bunny form.
- Glue colorful faux flowers around the wreath.
- Cover the bunny with fuzzy pom poms
- Cover the wreath form with colorful buttons.
- Embellish the bunny with wood slices for a rustic look.
- Wrap the bunny form in yarn.
Where to Hang the Spring Bunny Wreath:
This DIY bunny wreath is a nice neutral color, so he’s quite versatile and can be used to decorate a variety of places for spring!
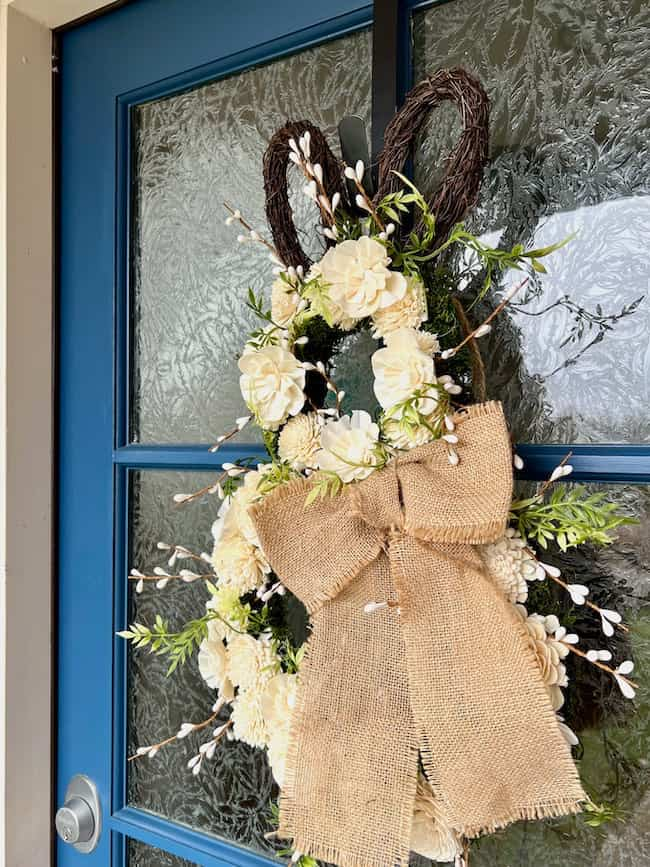
Of course I hung him on our front door to brighten up our front porch and greet our guests as they arrive. I love how pretty this little guy looks against out blue front door (painted Sherwin-Williams Endless Sea).
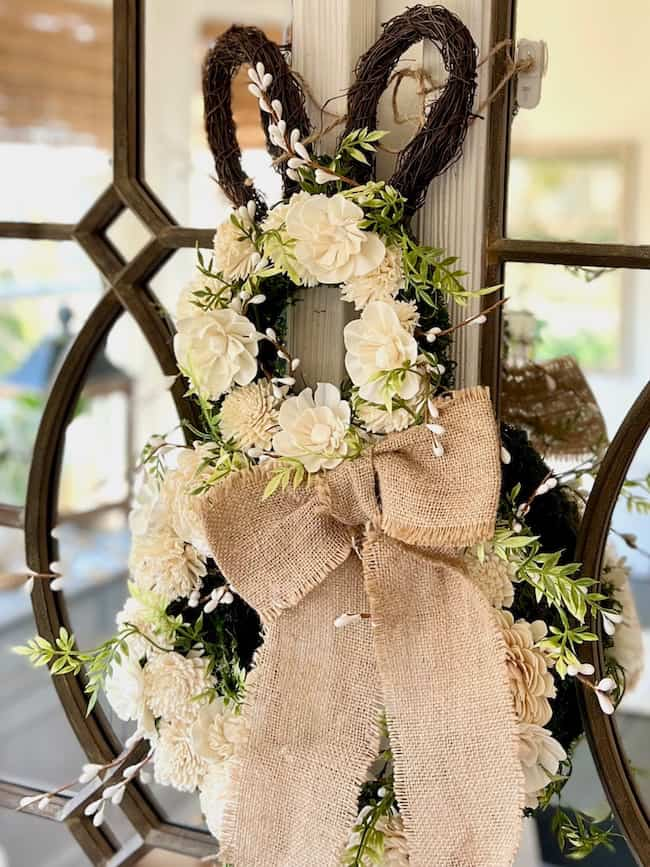
He’s also very cute layered over the twin mirrors on the wall in our breakfast area, where we can enjoy him in our kitchen.
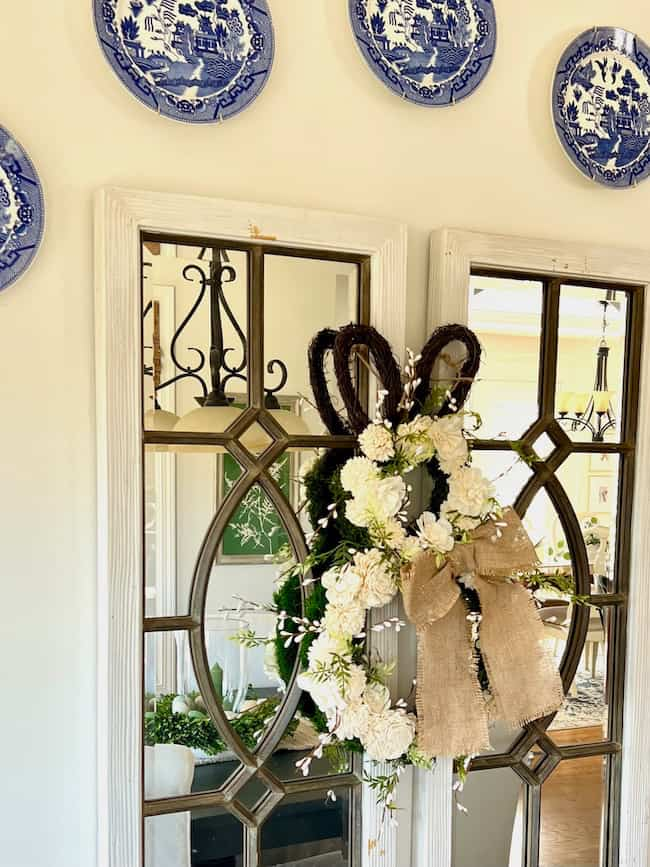
As you can see, this cute bunny wreath is quite the versatile piece of spring decor around our home!
I hope this simple DIY Easter bunny wreath idea inspires you to create (or recreate) your own DIY door decor for spring. Get your creative juices flowing and craft something special to welcome all who enter your home!
Happy Creating!


By the way, do you follow me on all the socials? If not, check out my Pinterest, Instagram, and Facebook and be sure to follow along so you don’t miss out on any of my decorating and DIY ideas.T
The Handcrafted Society
Now be sure to visit all of my creative blogging friends below! You’ll find so many fabulous spring and Easter wreath ideas! Just click each link and enjoy all of the handcrafted inspiration and Easter decorations!



Your bunny wreath is beautiful. I love the neutral colors that you used for the wreath. It can stay out for the spring season.
Thank you, Tammy! Yes, it certainly can!
That is one adorable bunny! Love the mix of flowers with the little berry/buds and the leaf tendrils! What fun to be crafting with you!!!
Thank you, Diane! He was fun to create!
This bunny wreath is adorable, Kim! I love how you used the wooden flowers. And, it looks amazing on each different door!
Thanks so much, Missy!
This bunny wreath is perfection, Kim! I love how you added the flowers and the moss to give it a gorgeous layered feel. It looks amazing against your blue door! Hugs, CoCo
Thank you, CoCo! That is so sweet!
Hi Kim! I adore this wreath! Wood flowers are the best and when you add them to the cutest wreath form ever, you’ve got a winner! I love it, and I’m pinning it now!
Thanks so much, Donna! I appreciate your sweet words so much!
Kim, your wreath came out adorable. Don’t you love those wooden flowers? They are so fun to work with. Thanks for sharing such a fun wreath.
Thank you, Wendy! Yes, the wooden flowers are great, and are perfect for spring!
Kim this the most darling bunny wreath! I love the wood flowers, the moss and the crowning touch of the big burlap bow! So perfect for spring indoors or outdoors! Pinning!
Oh, thanks so much, Michelle! He’s a fun little addition to our Easter decor!