From Brassy to Classy: A Simple Rub ‘n Buff Picture Frame Makeover
Do you have picture frames that need a new look? Transform shiny, brassy frames into elegant decor with a simple Rub ‘n Buff makeover.
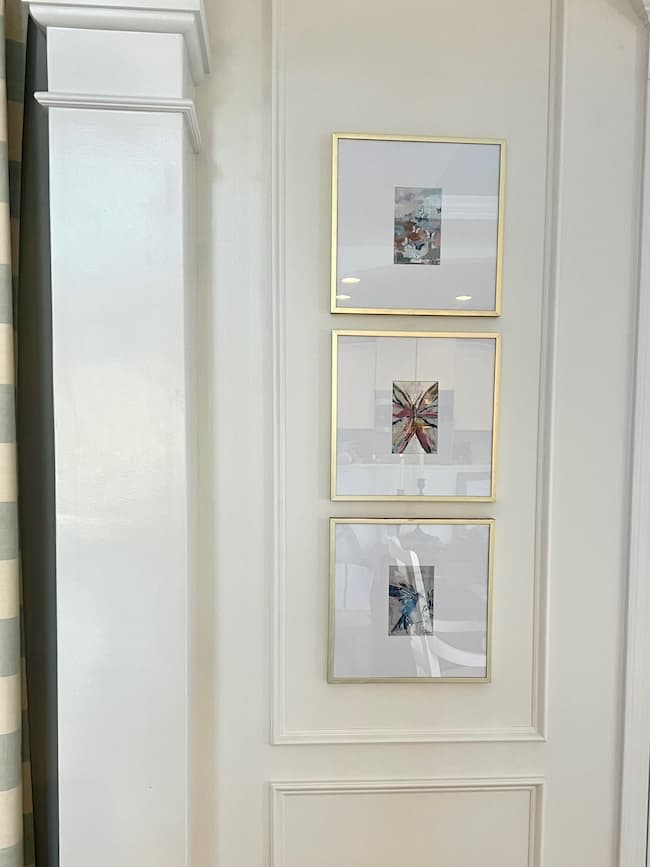
Rub ‘n Buff makes it quick and easy to give your picture frames a fresh new elevated look. Learn how I elevated my dining room wall decor with Antique Gold Rub ‘n Buff.
(This post contains affiliate links, so I may earn a small commission when you make a purchase through links on my site at no additional cost to you. As an Amazon Associate I earn from qualifying purchases.)
One of my favorite things about decorating our home is knowing that nothing has to be perfect or permanent, and I can always make little changes or updates if I’m not quite happy about something.
Today’s post is all about not being quite happy with one of those little details in our home, and fortunately there was a super quick and easy solution!
On one of our trips to Franklin, Tennessee last fall, I stopped in at a favorite artist gallery there and picked up some small notecards featuring her artwork. I had in mind that I would frame a little grouping of the notecards in our dining room.
We did a little makeover of our dining room last October, adding some picture frame moulding to the walls, painting the walls Benjamin Moore White Dove (OC-17)and the tray ceiling Benjamin Moore Little Falls (BM 1621). You can see the update in this post.
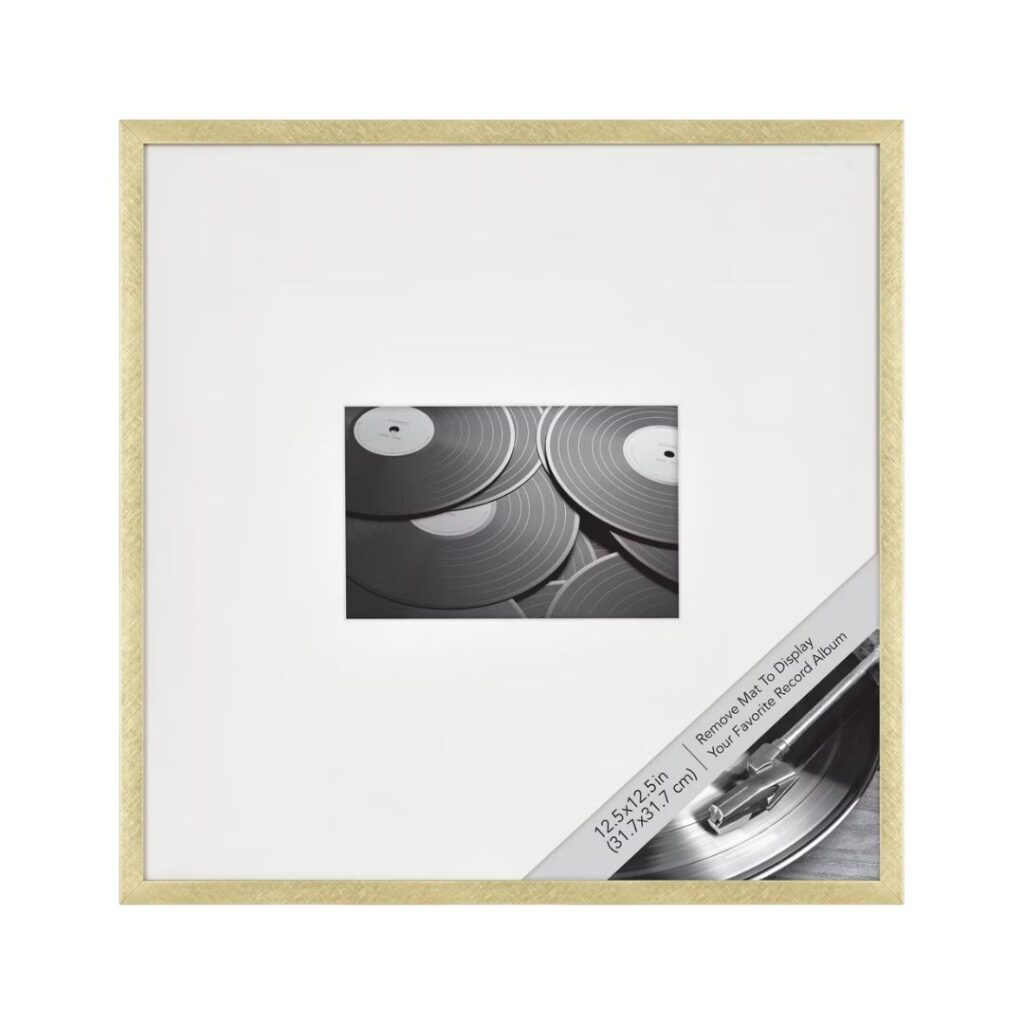
The notecards would add some pretty color in the newly painted dining room, so I headed to Target to pick up these inexpensive gold matted frames.
I have to admit that the color of the gold wasn’t my favorite when I purchased them. It was a little light, bright, and brassy, and while I liked the matte finish, I didn’t love the color.
But in typical Kim form, I purchased them anyway thinking I could always paint or tweak them later if I felt the need — and this week I definitely felt the need!
Thanks to the magic of a tiny little tube of Rub ‘n Buff, our little framed art gallery got an elevated makeover. The end result is a deeper, richer, more sophisticated look for our room.
How to Use Rub n Buff on Picture Frames:
Using Rub ‘n Buff on picture frames is a simple and effective way to give them a fresh, elegant look.
Materials Needed to Makeover the Frames:
- Picture frames to refinish (I used these.)
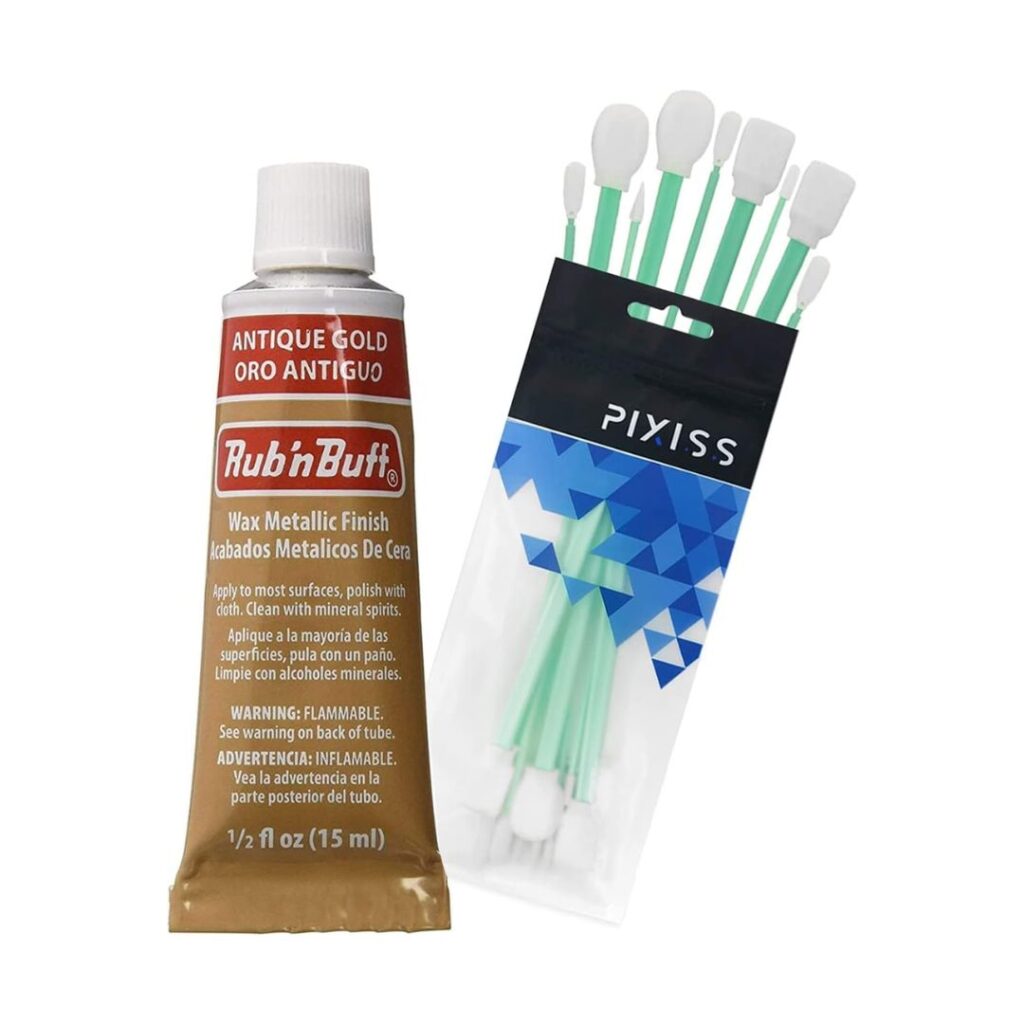
- Antique Gold Rub ‘n Buff
- Disposable gloves
- Paper or something to protect you work surface
- Plastic cups (to elevated your frame)
- soft rag or old t-shirt for buffing
1. Remove artwork and glass from your picture frames.
It’s much easier to apply the Rub ‘n Buff to the picture frame if you first remove the artwork and the glass. The glass in the frames I used for this project was not able to be removed, so I used a piece of card stock to protect the glass while I applied the product.
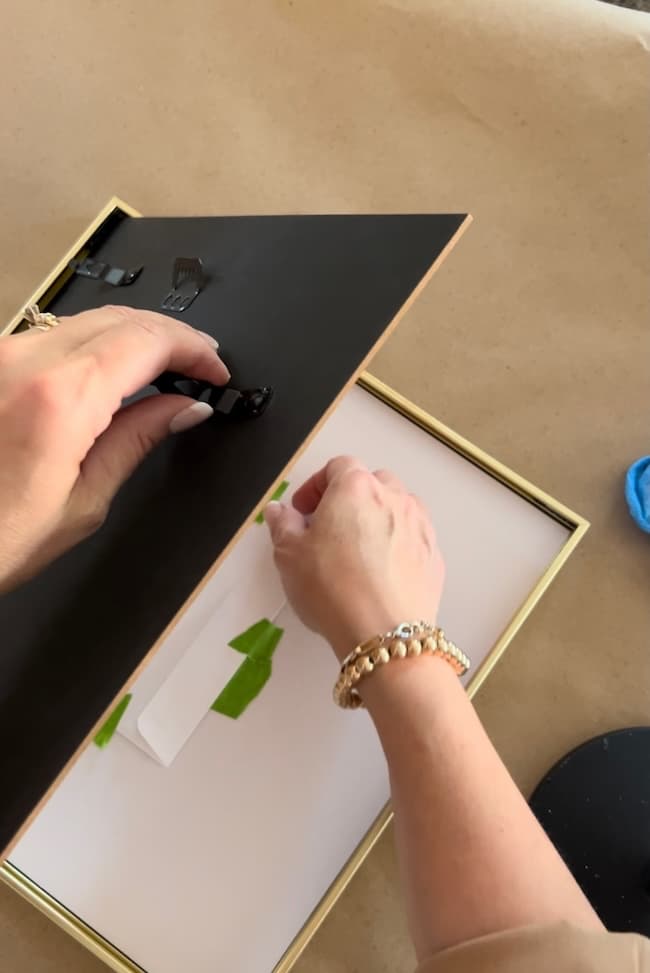
If you get any of the Rub ‘n Buff on the glass you can wipe it off with a paper towel, or if it’s dry use a razor blade to gently scrape it off.
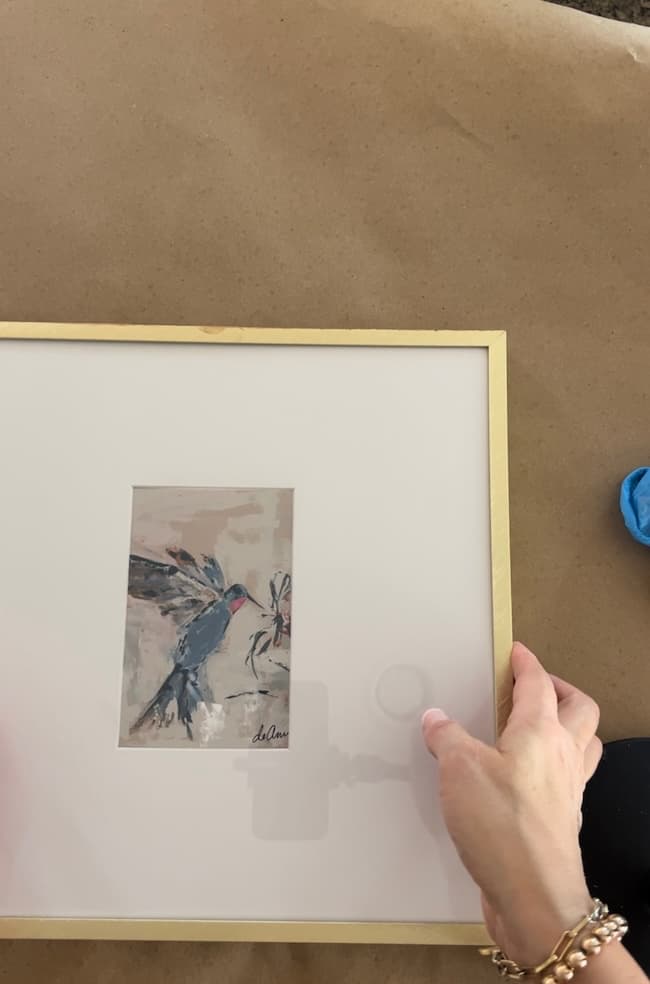
2. Cover your work surface to protect it from the Rub ‘n Buff.
Protect your countertop or work area with newspaper or a drop cloth to keep from getting a Rub ‘n Buff on it. I simply used my gloved index finger to rub the product on to the frame, so I had to be careful not to touch any surfaces. You can also use a foam brush to apply the Rub ‘N Buff if you prefer.
I also used 4 plastic cups to raise the frame off the table to be able to easily apply the Rub n Buff on all sides of the frame.
3. Apply the Rub ‘n Buff to the picture frame.
I began with the back side of the frame. Using disposable gloves to protect your hands, squeeze a tiny half-pea size amount of Rub n Buff onto your finger. I dabbed this onto the protective paper to remove excess.
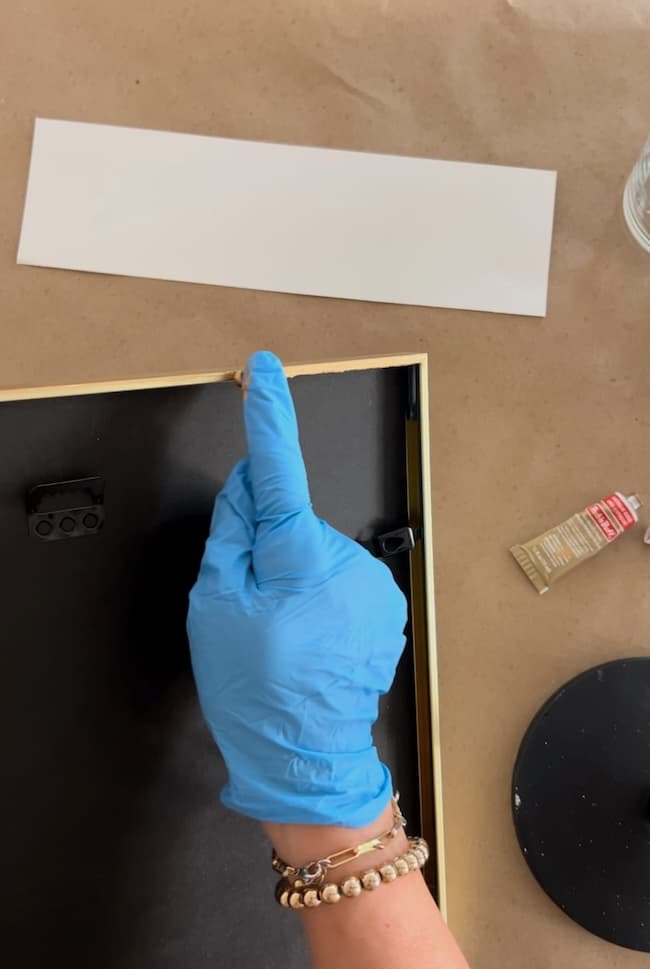
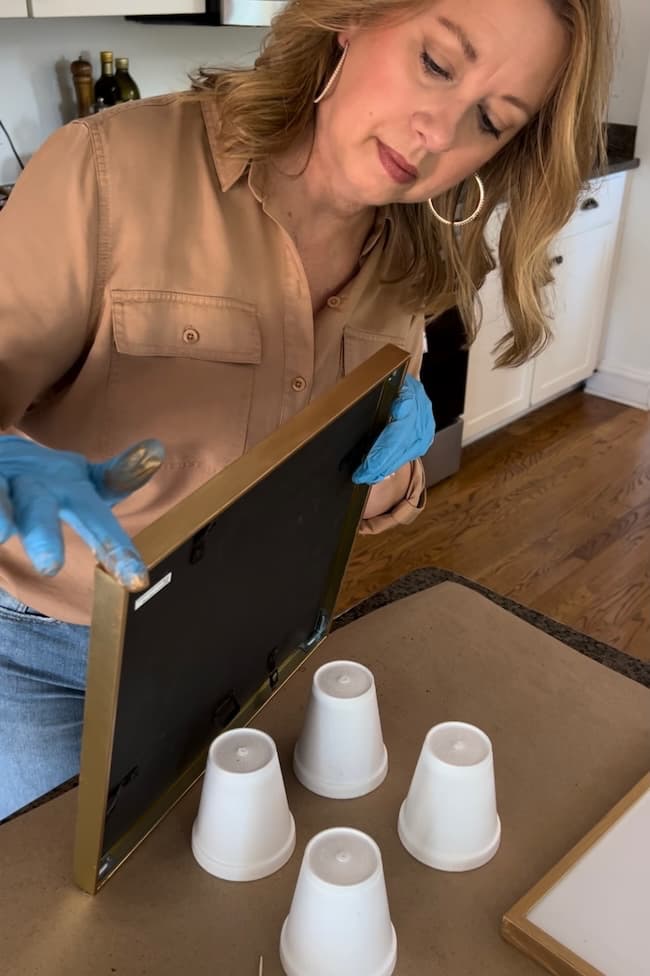
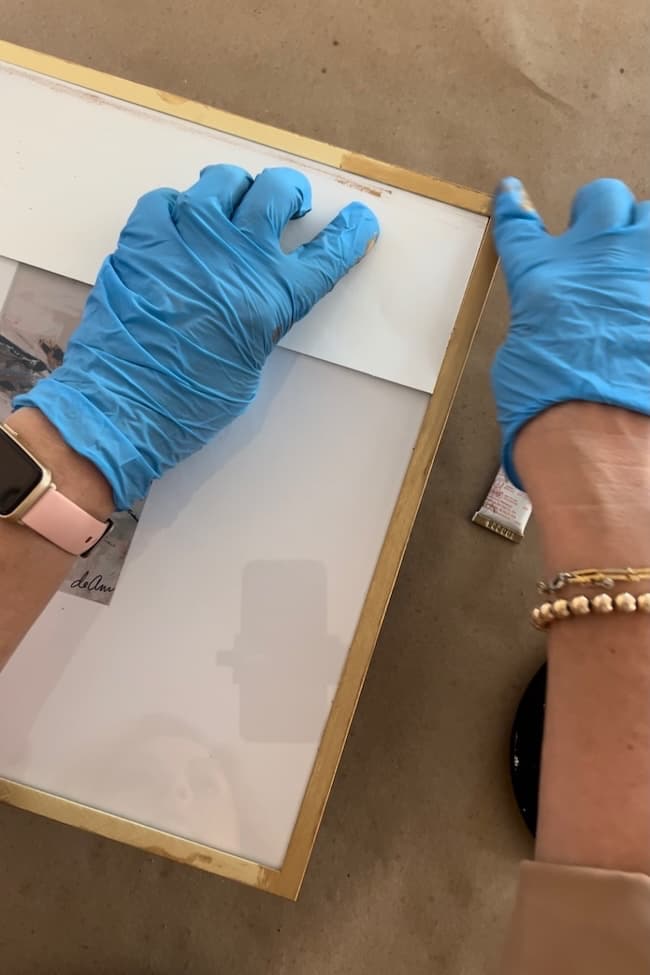
Apply the Rub N Buff to the frame using your glove-covered finger tip or foam brush. Just apply a small amount at a time for a smooth finish. You can always apply additional coats if needed as it dries.
4. Allow the Rub ‘n Buff to dry, and then use a soft cloth to gently buff.
After you’ve finish applying the Rub ‘n Buff, allow it to dry before buffing with a soft cloth. The project dries very quickly.
Once dry you can gently buff it to a subtle shine.
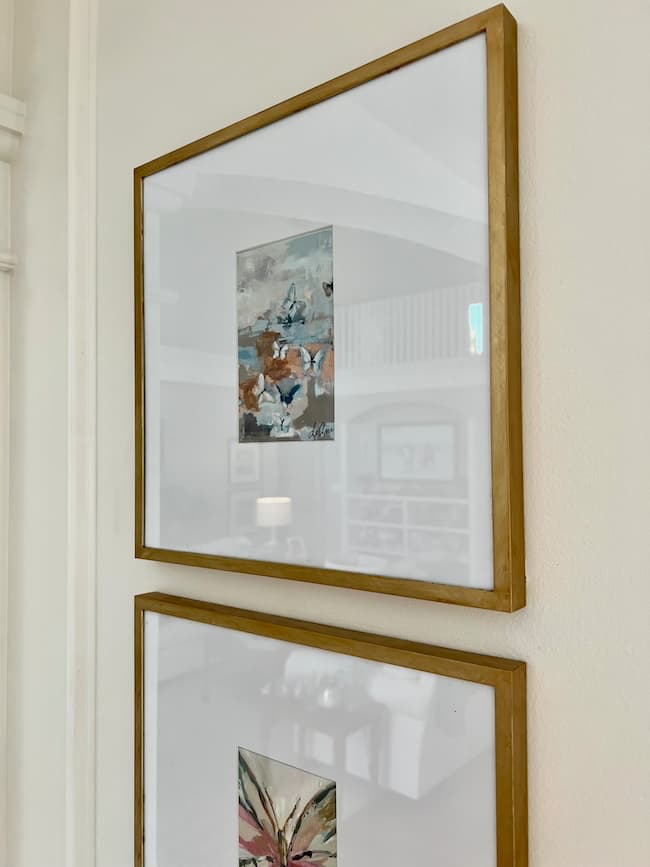
5. Reassemble your framed artwork and hang.
Once your project is finished you can reassemble the frame if you were able to take it apart. Rehang your artwork and enjoy!
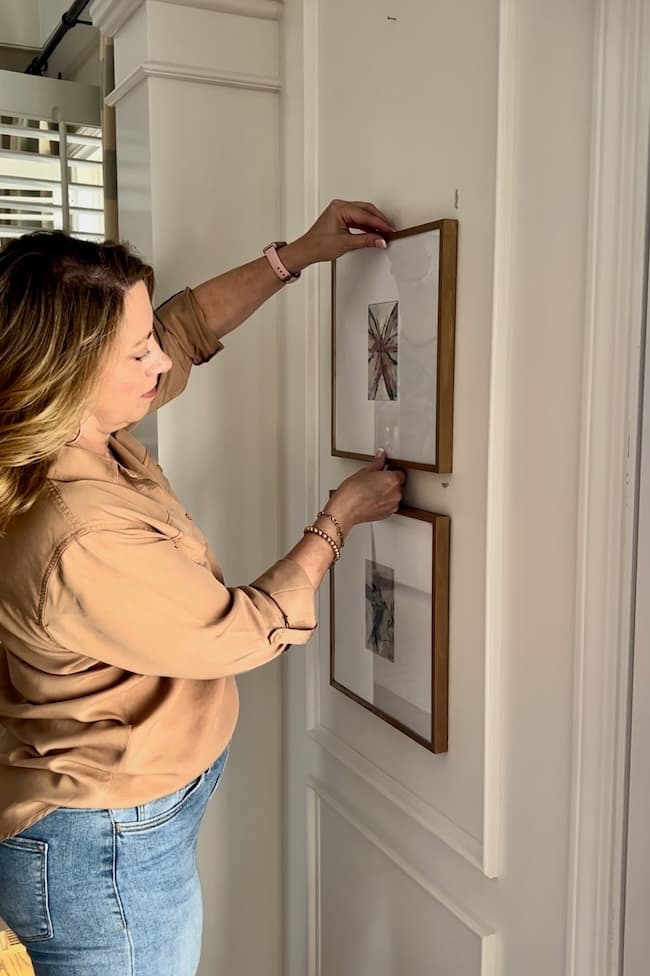
Since the frames were going in the exact same spot I was able to reuse the nails already in the walls.
Handy Tip for Handing Artwork: To keep art from shifting on the walls, I use a little bit of sticky mounting putty under the edge of the frames to keep them in place. The little gray spots you see on the walls is just the mounting putty. I just left it in place when I removed the frames from the wall to refinish, so they Sticky Tack was already in place when I rehung the frames.
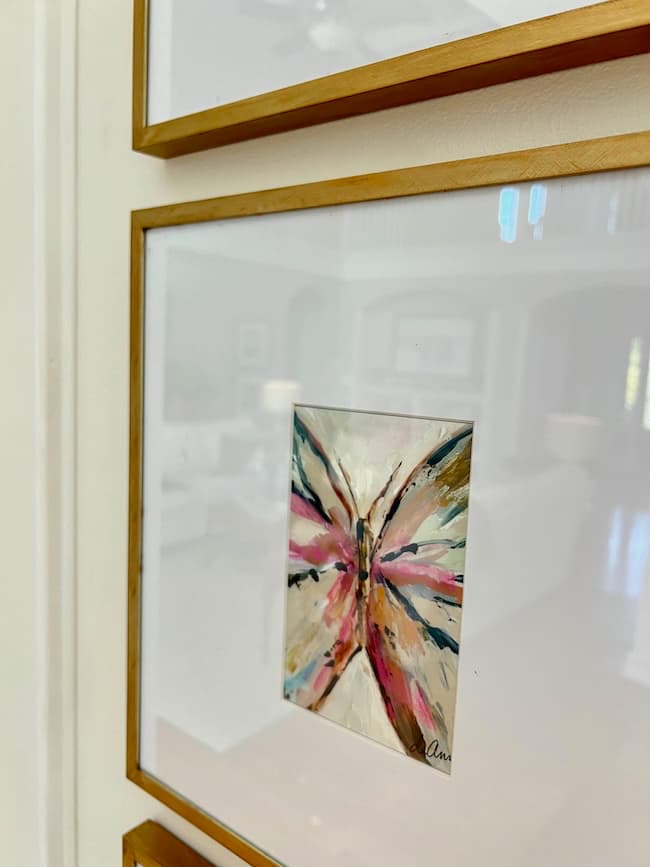
I’m so pleased with the result!! The Antique Gold finish adds such richness and depth to the frames and the artwork just feels more grounded and sophisticated in our room against the BM White Dove walls!

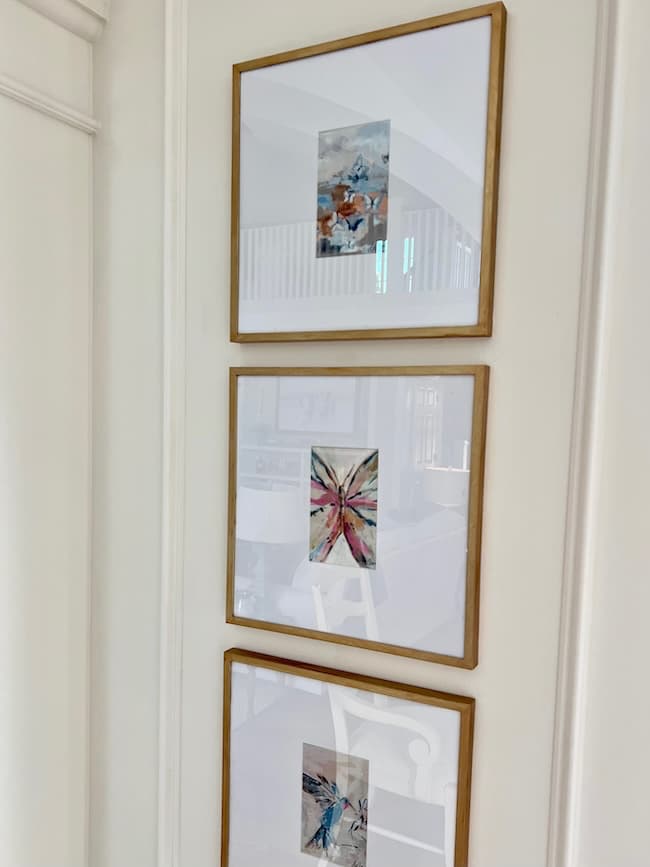
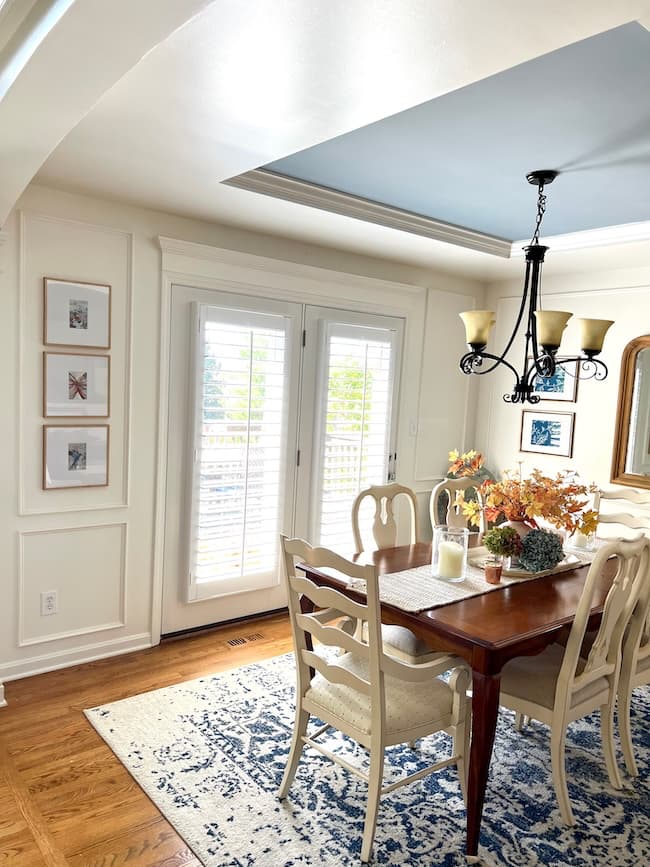
And that’s a wrap on my picture frame makeover! Who knew a little tube of Rub ‘n Buff could make such a big difference? I’m loving the elegant, refined look it’s added to my dining room!
Now, I’m eyeing the brassy gold frames in our bedroom. They’re up next for a little Rub ‘n Buff makeover!! Do you have some picture frames that need a little Rub ‘n Buff magic? I’d love to know in the comments!
Happy DIYing!




I have a few frames that need this touch! Thx for the great idea.
I have more that need some updating!
I knew that I recognized the art, of which I do own a canvas. Gotta get me some of her notecards! And the frames look high-end. Would not have guessed Target. Thanks for the diy!
Oh, Linda, I would love to own a canvas one day! I’m really pleased with the updated frames!