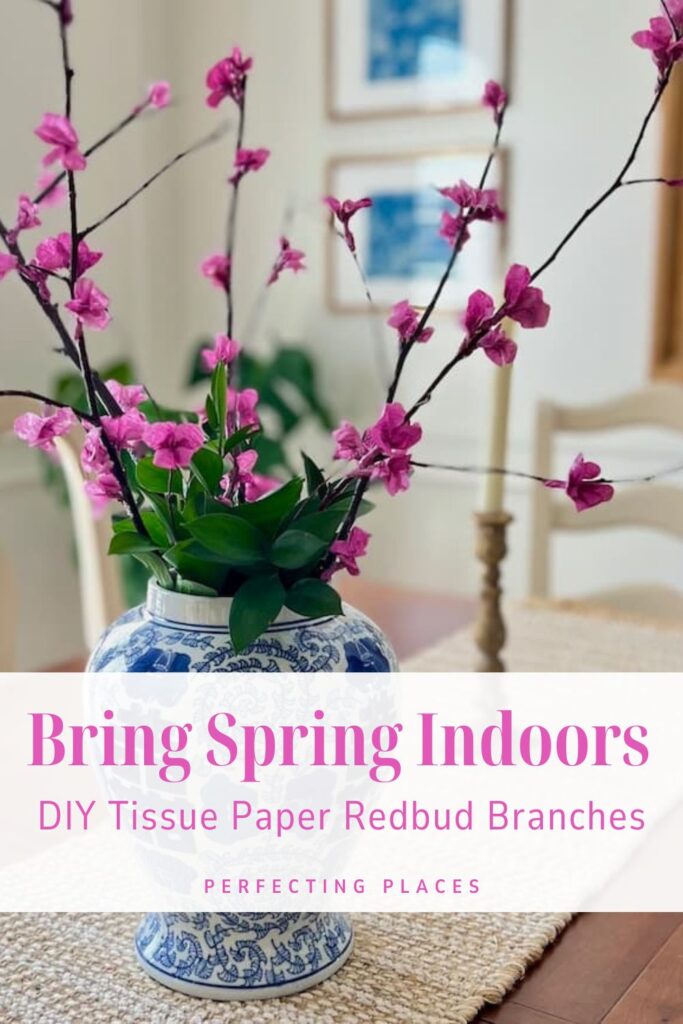
DIY Tissue Paper Flowering Branches: Capturing the Beauty of Redbud Trees
I’ve got a fun and easy DIY project to bring the vibrant colors of spring indoors: creating tissue paper flowering branches inspired by my favorite spring tree — the Eastern Redbud!
Don’t worry if you’re not a crafting pro—this project is super easy and budget-friendly. You just need a few simple materials and a little bit of time, and you’ll have beautiful spring blooming stems to add to your favorite vase!
(This post contains affiliate links, so I may earn a small commission when you make a purchase through links on my site at no additional cost to you. As an Amazon Associate I earn from qualifying purchases.)
I absolutely love springtime in Kentucky. One of my favorite things is driving down the highway and seeing all the beautiful purplish-pink blooms of the redbud trees lining the roads. It’s the perfect spring scene for me.
I’ve wanted to bring the look of these beautiful blooming branches into my home, and today’s project does just that! These fun and easy DIY tissue paper flowering branches were so much fun to make, and you can easily adapt this project to mimic any spring tree you love, whether it’s redbud, cherry, forsythia, or crabapple blossoms!
How I Made these Flowering Redbud Branches:
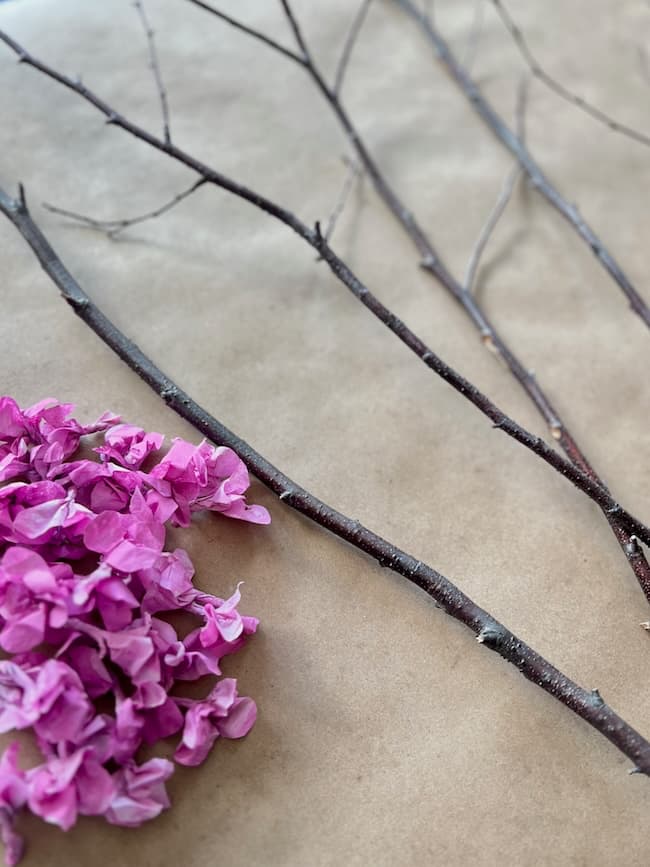
The first step of this project is to gather your supplies — starting with a trip outside to gather some branches from your yard. After a stormy winter, our yard was full of small branches from our trees — all just waiting to become part of my project!
Materials Needed:
- Small branches from your yard
- Gardening Snips (if you need to clip branches)
- White tissue paper
- Acrylic paint (purplish-pink, Apple Barrel “Diva Pink”)
- Paper plate for mixing colors
- Water
- Flat artist paint brush
- Plastic garbage bag to protect work surface
- Scissors
- Cutting mat and rotary cutter (optional)
- hot glue and glue gun
- hot glue finger protectors
Step 1: Coloring the Tissue Paper
I started with white tissue paper and wanted to match the redbud’s gorgeous deep pink hue. Mixing acrylic paints, I found that a bright pink (like Apple Barrel’s “Pink Diva”) combined with a bit of dark blue achieved the perfect purplish-pink shade. I considered simply purchasing pre-colored tissue paper in this shade, but I preferred the watercolor effect from painting it myself for a more realistic look.
Here’s how I did it.
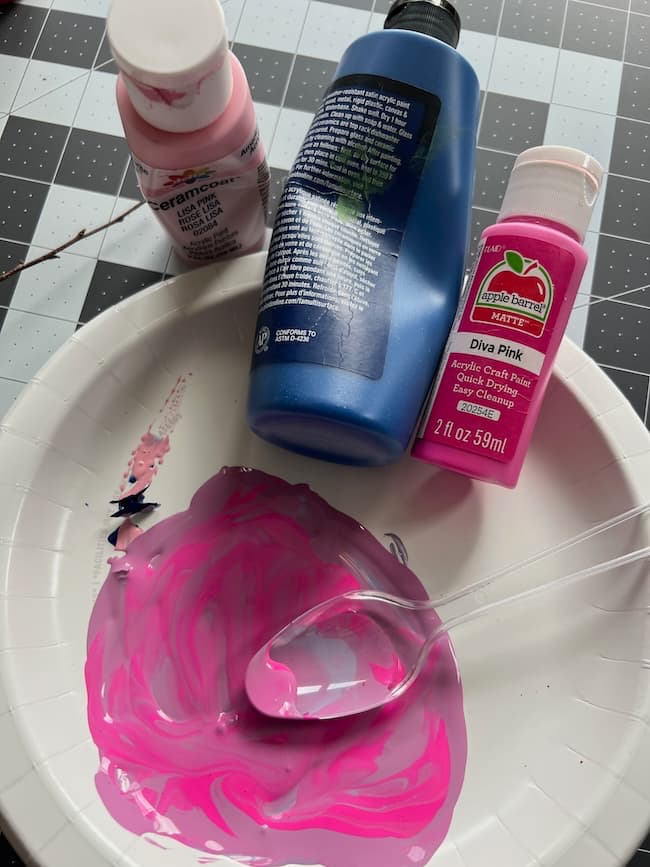
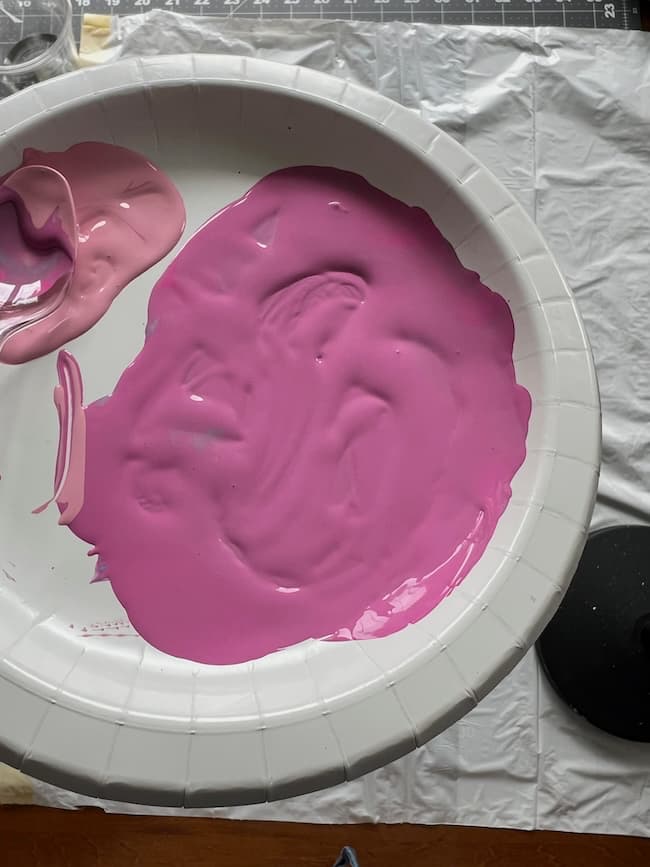
1. Mix the Paint: On a paper plate, blend the bright pink paint (such as Apple Barrel Diva Pink) with a small amount of dark blue paint until you reach the desired color.
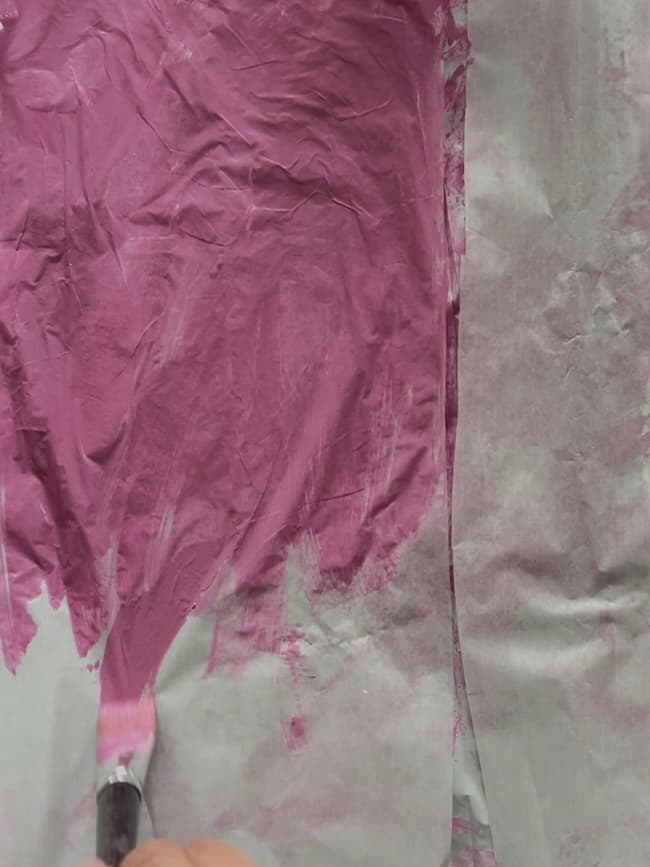
2. Prepare the Tissue Paper: Lay out the white tissue paper on a protected surface. I covered my work surface with a large garbage bag.
3. Paint the Tissue: Using a flat brush, apply the paint mixture, thinning it slightly with water for a watercolor effect. Be careful not to oversaturate the paper. This is a very easy process. The paint glides across the tissue paper easily.
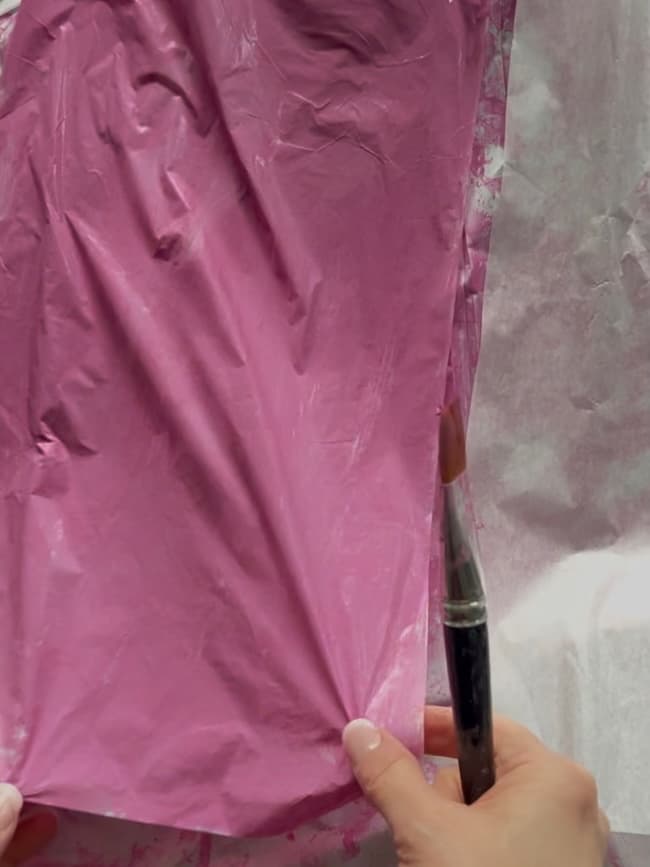
4. Dry the Paper: After painting, lift the tissue gently and reposition to prevent it from sticking to the plastic. Let it dry completely, which only takes about 20-30 minutes.
Step 2: Creating the Blossoms
Once the tissue paper was dry, it was time to create the blossoms:
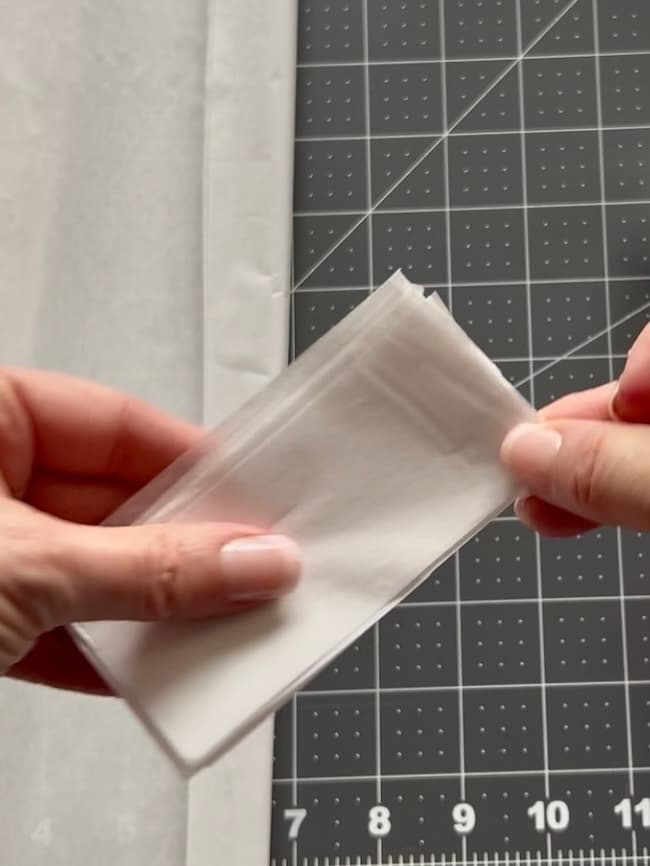
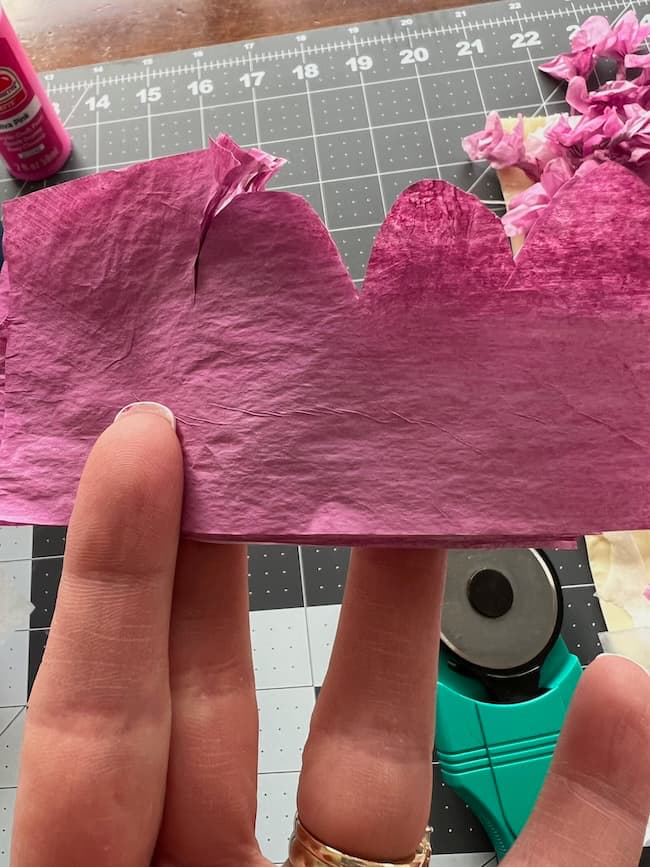
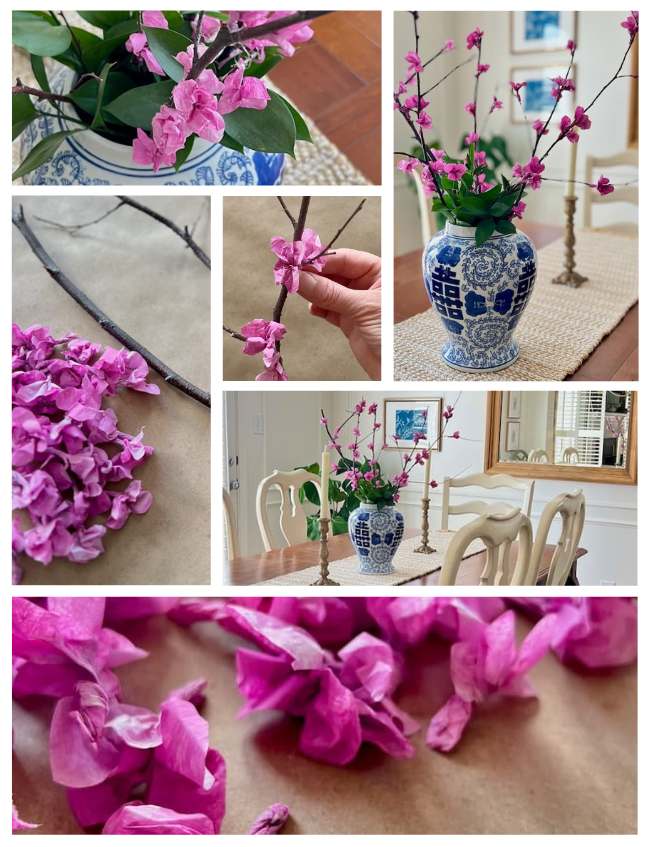
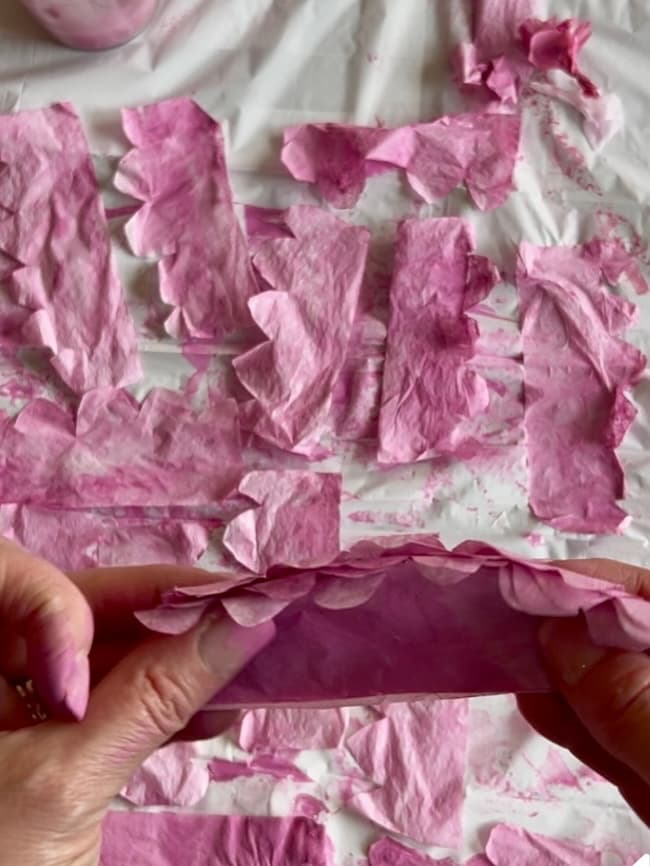
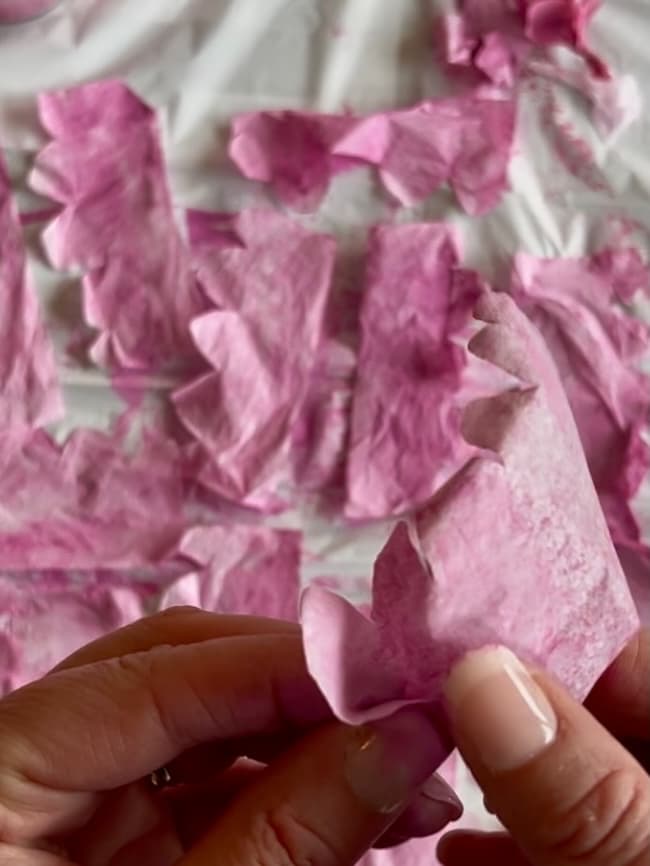
1. Cut the Tissue: Cut the tissue into 2-inch wide strips along its length. I used my cutting mat and rotary cutter to do this, but you could also simply use scissors. Then fold and cut each 2-inch strip into 4 pieces. Cut scallops along the top edge of your paper to create the petals.
(Note: In the photo on the left above, you’ll see that for my first few blooms, I cut the paper first and then painted it. For my second batch, I decided to try painting the sheet of tissue paper first and then cut it into shape. That’s why the white tissue paper looks out of order. My preferred method was painting the tissue paper first and then cutting.)
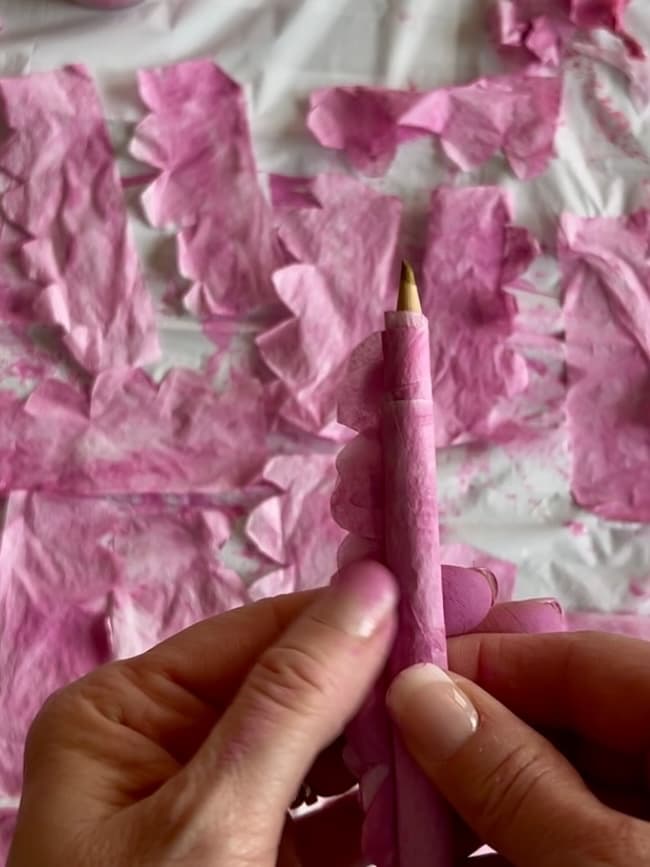
2. Shape the Petals: Stack several strips together, ensuring the painted sides are facing the same direction. With the strips aligned, use a pencil to roll the scalloped edge of the stack, giving the petals a natural curl. (You can see in these photos how I painted the paper after cutting it out in my first batch. It was much better to paint the paper first and then cut it.)
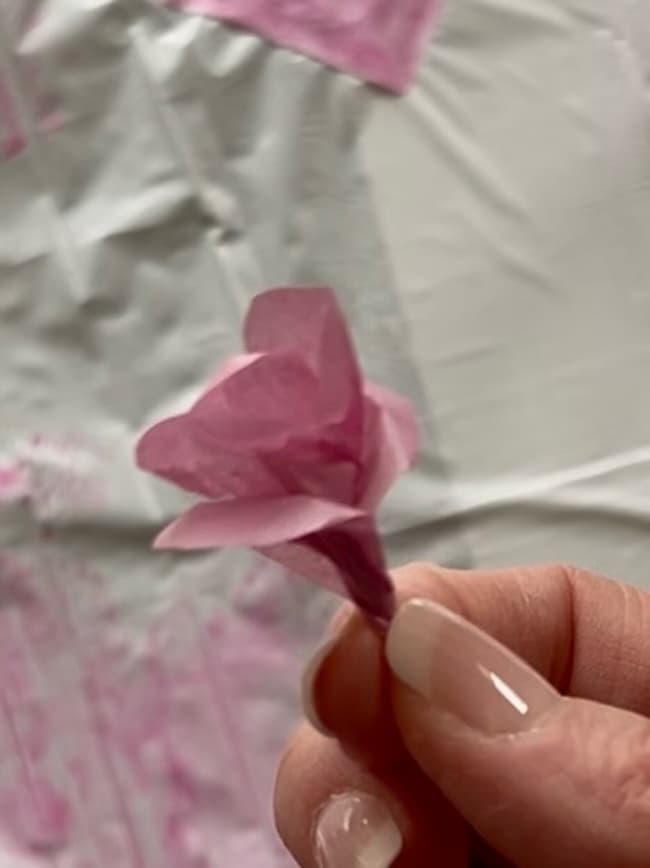
3. Form the Blossoms: After curling the edges, take each strip and, starting from one end of the straight edge, roll it loosely to shape into the bloom. Once rolled, twist the base to secure the flower shape.
Step 3: Assembling the Branches
With the blossoms ready, I attached them to the branches:

1. Plan the Arrangement: Lay out your branches and decide where each bloom will go, aiming for about 12 blossoms per branch.
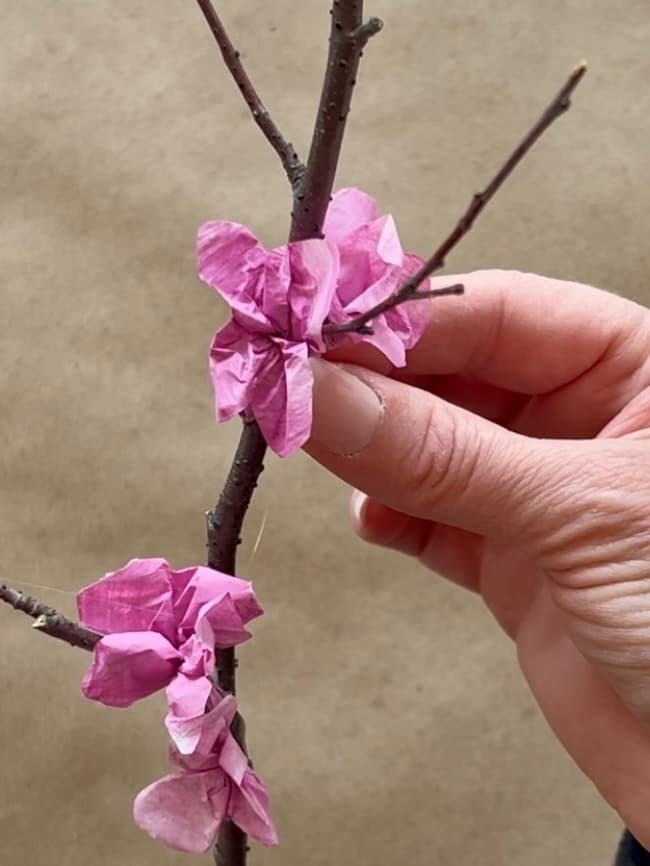
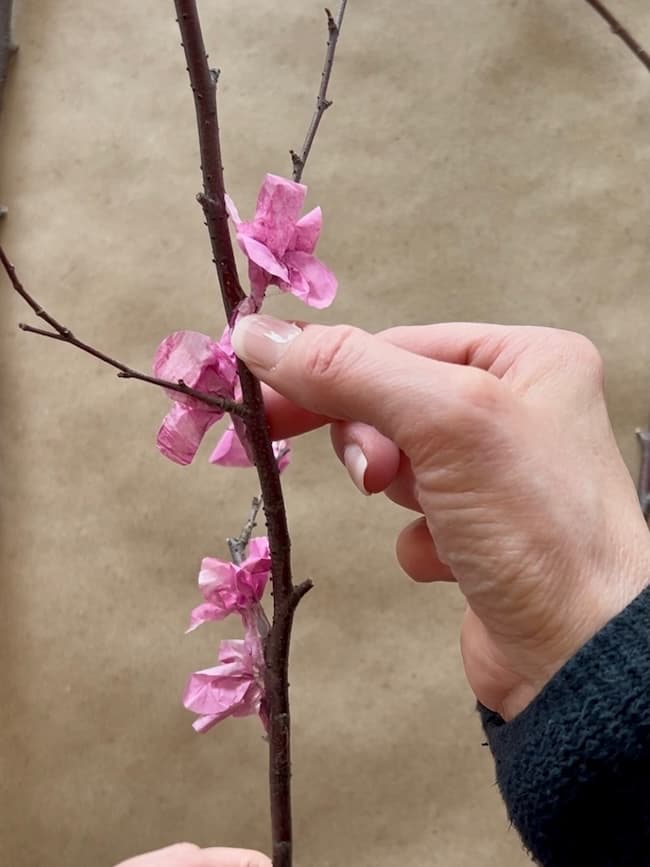
2. Attach the Blossoms: Apply a small dab of hot glue to the base of each bloom and press it onto the branch. Rotate the branch as you go to ensure an even distribution.
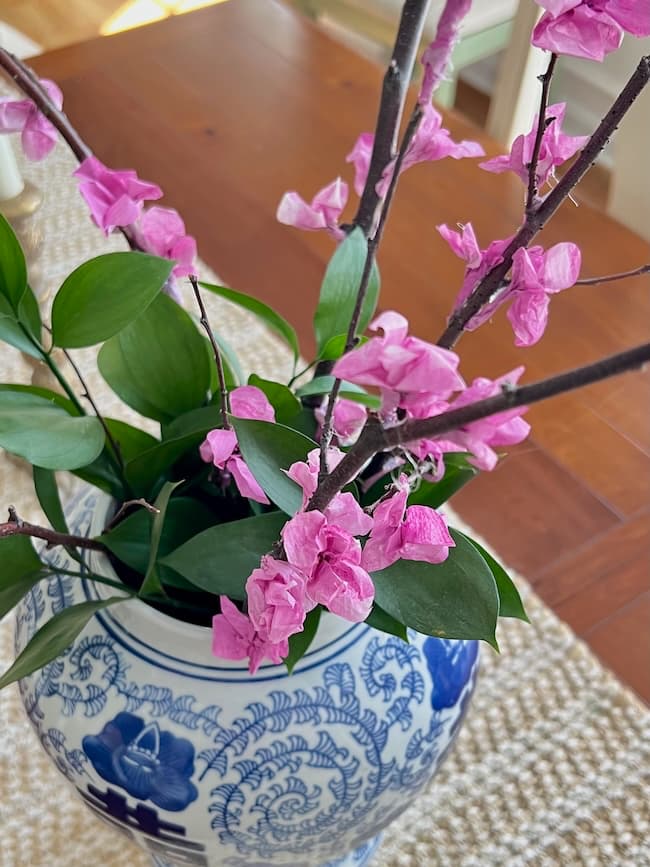
Step 4: Displaying Your Creation
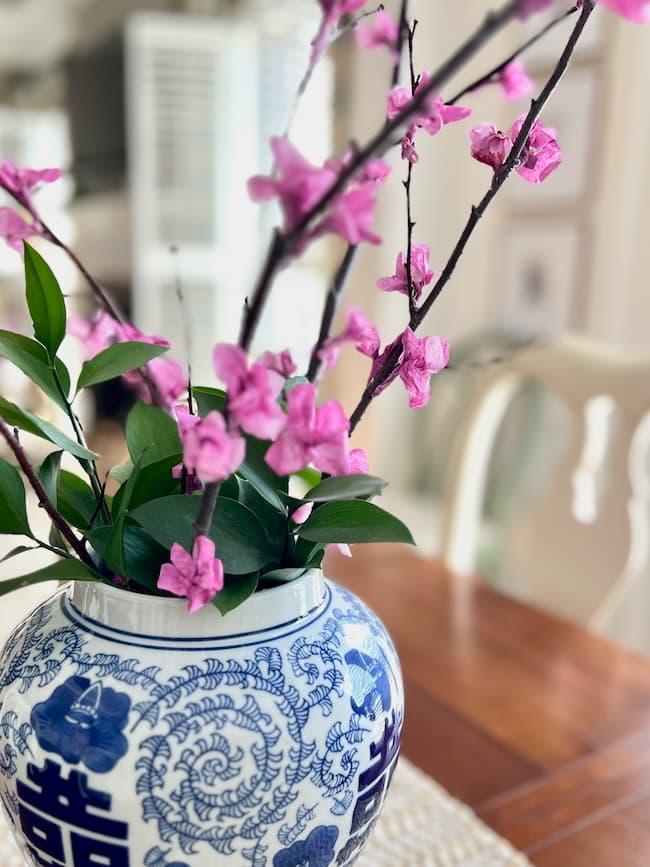
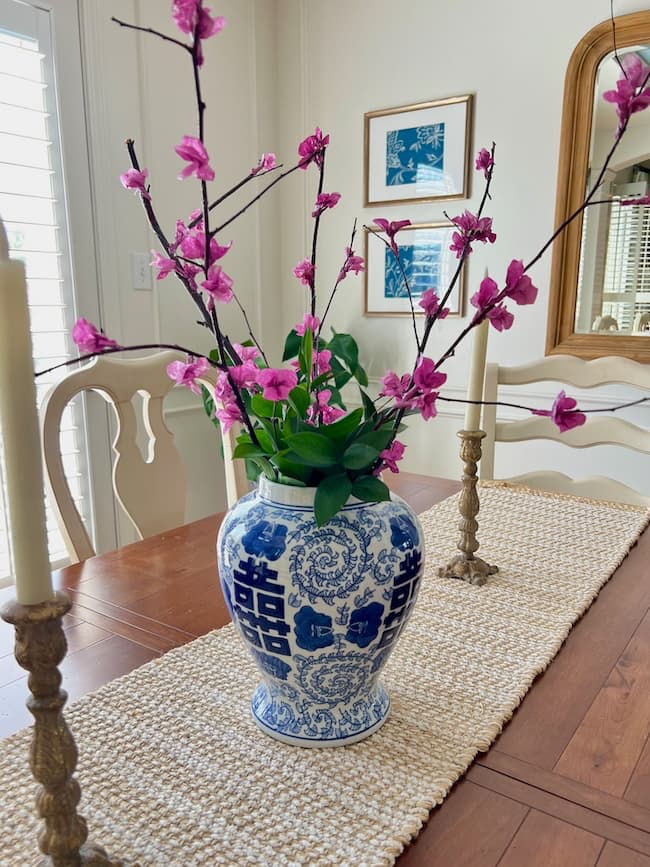
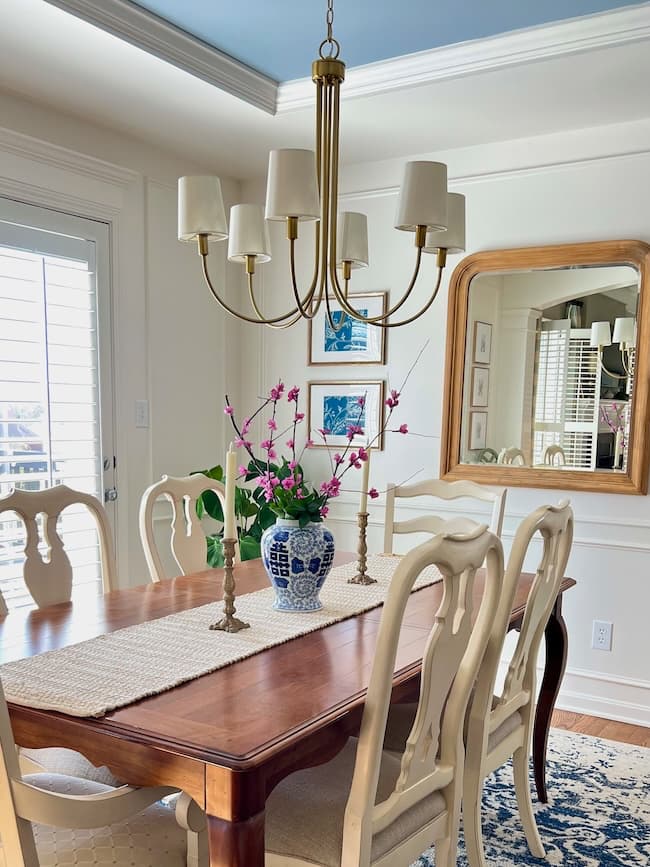
I loved how this project turned out! The branches were so pretty, and perfect for spring! I was excited to style them in one of my favorite blue and white vases for our dining room table. The purplish-pink blossoms looks beautiful in our blue and white room! They instantly brightened up the space, adding a fresh, springtime feel to the room.
I added a few stems of greenery at the opening of the vase, but you could use moss, or even make some extra moss-covered branches (like I did for this Easter egg tree.)
What I love most about this DIY is how simple and budget-friendly it is, yet it makes such a striking impact. Every time I walk past our dining table, the sight of these cheerful blooms brings a smile to my face. It’s a wonderful reminder of the beauty of spring and the joy of bringing a bit of the outdoors inside.

Branch Out with Different Blooms:
This DIY project isn’t limited to redbud branches. You can easily adapt this process to create the flowers of other spring-blooming trees by varying the colors of your tissue paper or paint. For instance, using yellow tissue paper can help you create vibrant forsythia branches, while white or light pink tissue paper is perfect for delicate cherry blossoms. White or pale pink tissue paper would be perfect for crabapple blossoms.
I hope this project inspires you to create your own tissue paper flowering branches and add a touch of spring to your home. It’s a delightful way to celebrate the season and personalize your decor with a handmade touch.
What’s your favorite spring-blooming tree? Share in the comments below—I’d love to hear from you!
Happy Spring Crafting!

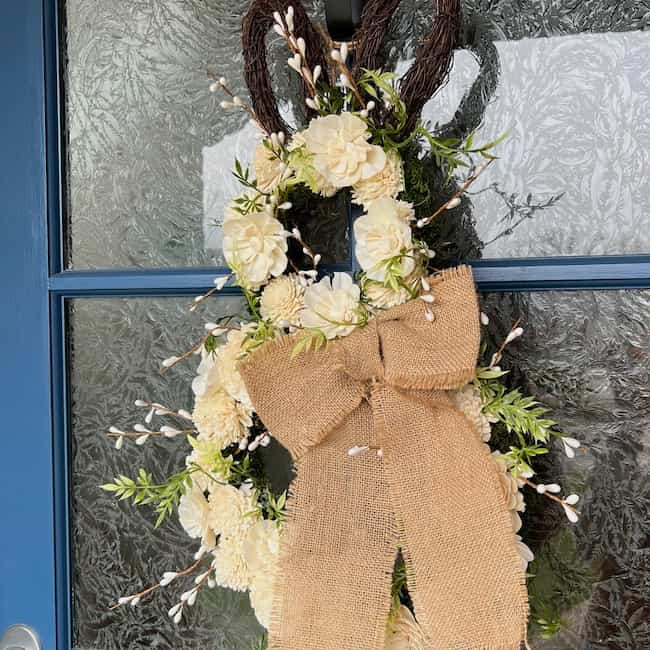
More Spring Crafts to Try:
If you love spring crafting, give these fun projects a try!


This is such pretty DIY home decor for Spring!! LOVE how it turned out…they truly look real!!
Hi Kim! These branches are so beautiful! I can’t get over how real they look! These are absolutely perfect for spring, and I will be sharing your post in my Seasonal Sentiments Monthly Rewind Newsletter on the 31st! Happy Spring!