DIY Decoupage Seashell Christmas Ornaments: A Unique and Classic Holiday Craft
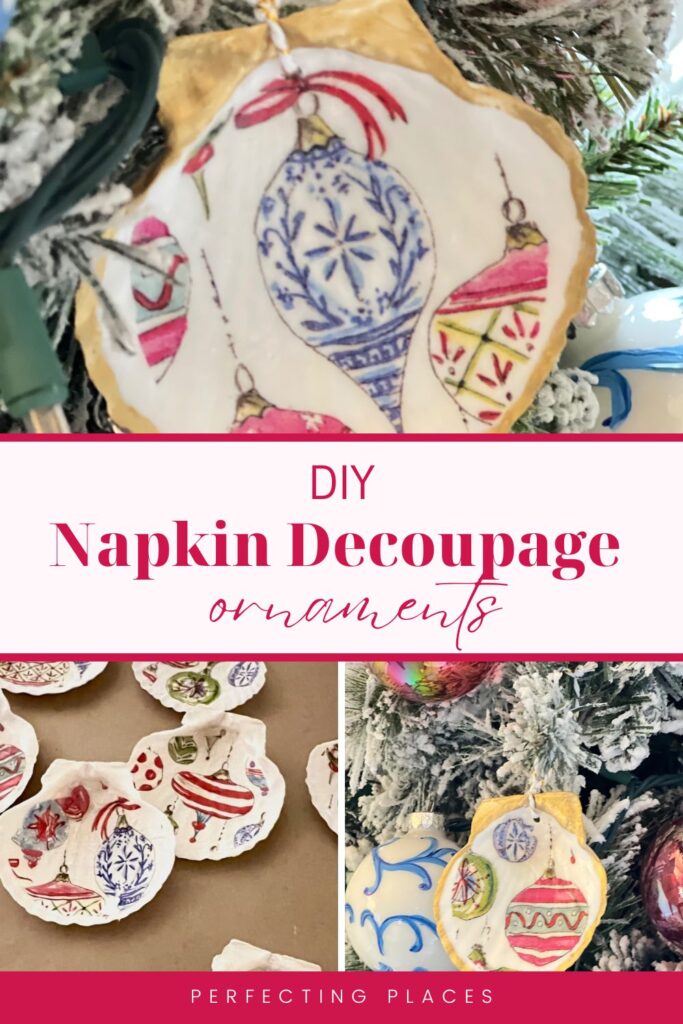
Looking for a creative way to decorate your Christmas tree this year? These DIY decoupage seashell ornaments are a simple and beautiful project! With colorful napkins, Mod Podge, and a few basic supplies, you can craft ornaments that are uniquely yours and perfect for the holiday season.
In this post, I’ll guide you through the easy steps to make these ornaments, share the materials I used, and show you how they’ve added a fun and personal touch to my tree. Whether for your own decor or as thoughtful gifts, this project is sure to inspire your holiday crafting!
(This post contains affiliate links, so I may earn a small commission when you make a purchase through links on my site at no additional cost to you. As an Amazon Associate I earn from qualifying purchases.)
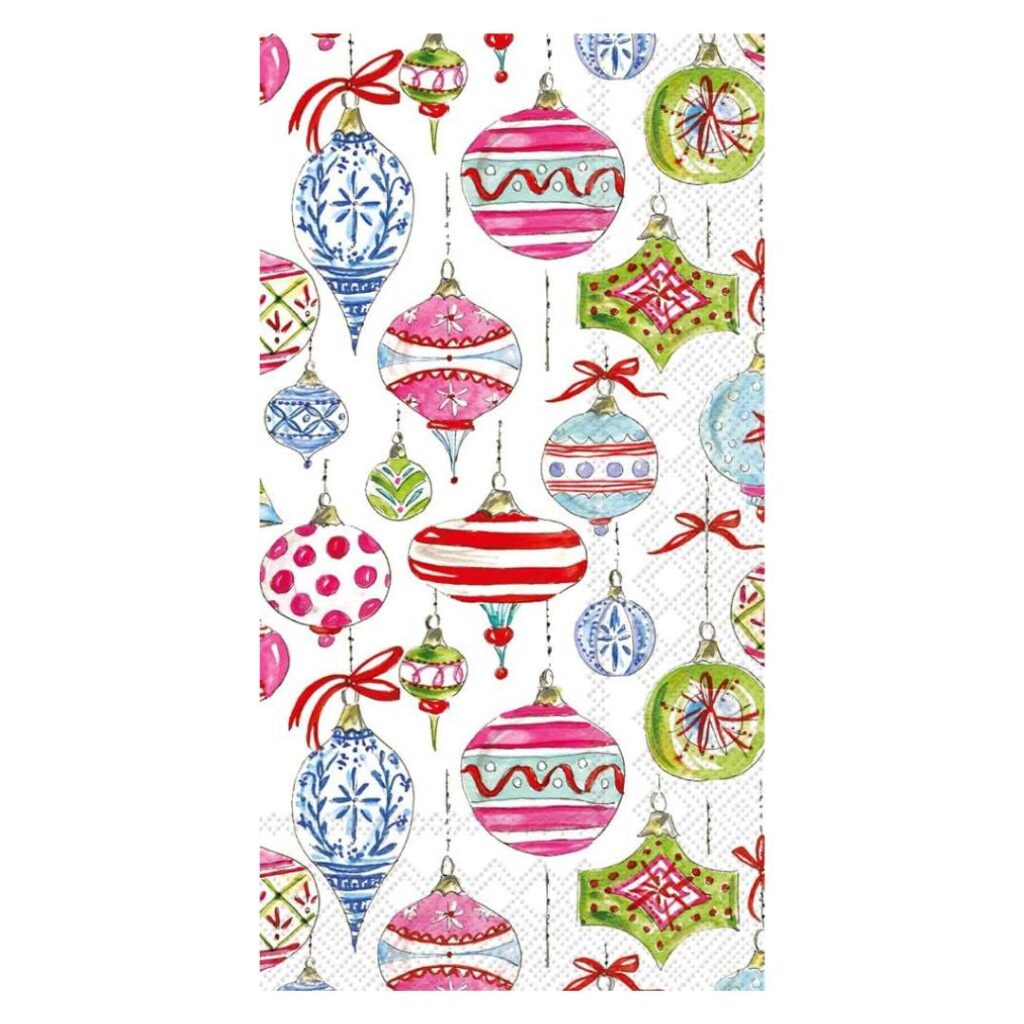
I LOVE pretty paper napkins! From dinner and cocktail napkins to paper guest towels for the power room, there are so many fun and festive patterns!
I also love an easy craft that results in something really unique and beautiful, and this project combines both of these things perfectly! So grab your favorite patterned paper napkins and let’s create something lovely for your tree!
How to Make DIY Decoupage Seashell Christmas Ornaments
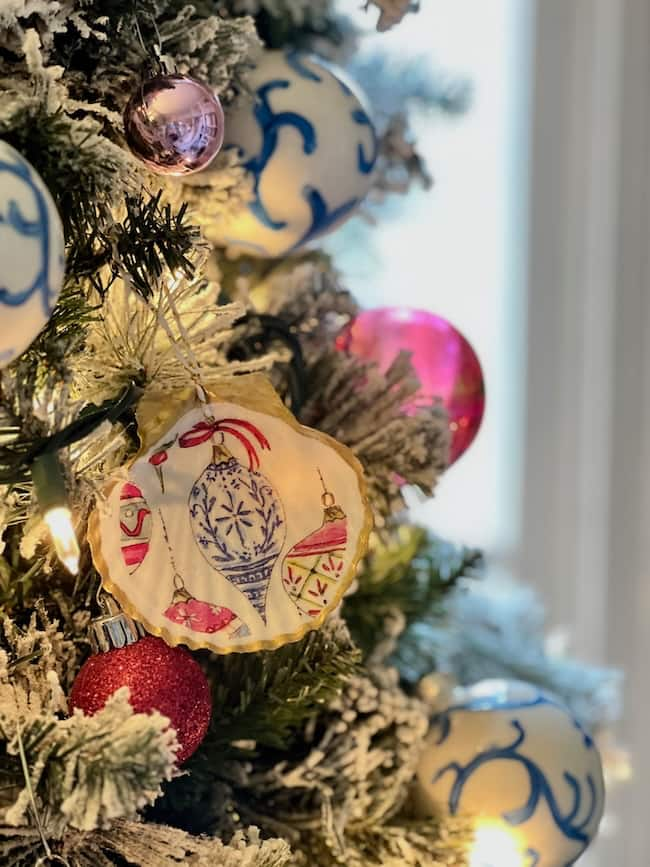
This is such a fun ornament to make with just a few simple materials. You’ll be adding paper printed napkins to sea shells to create ornaments for Christmas tree!
Supplies Needed:
- Seashells with pre-drilled holes (I purchased mine from Amazon)
- Decorative Christmas napkins (any size: cocktail, dinner, or hand towel napkins)
- Scissors
- Gloss Mod Podge
- 1-inch foam brush
- Small artist paintbrush
- Gold acrylic paint
- 1/8″ Ribbon or thin gold twine (.5 – 1mm) for the hanger
Step-by-Step Instructions:
Step 1: Gather Your Materials
Ensure you have all your supplies ready before starting the project. Using pre-drilled seashells makes it easy to attach a hanger later.
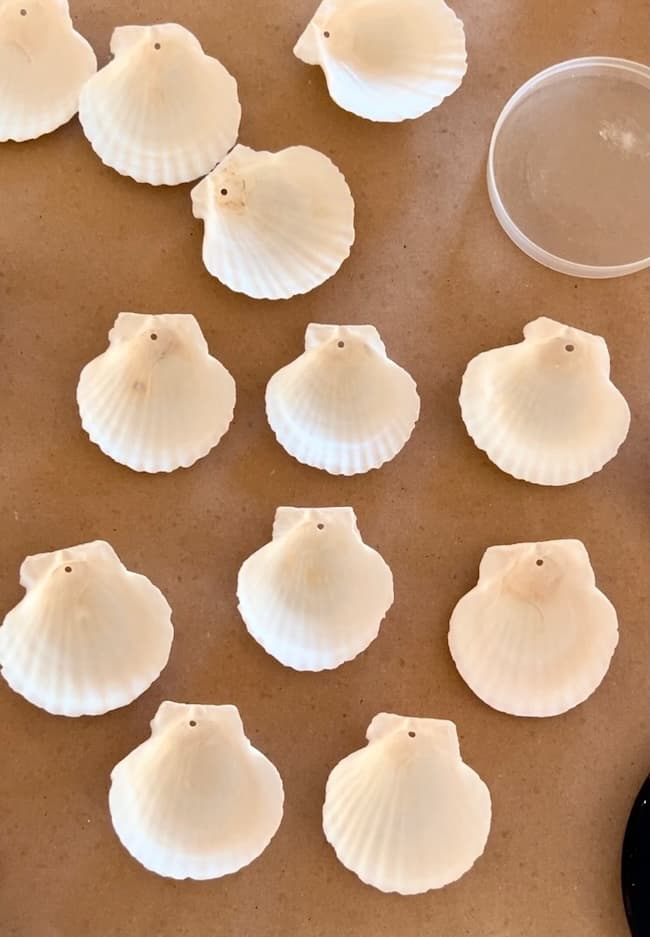
I like to use brown craft paper to protect my work surface.
Step 2: Prepare the Napkins
Select your favorite patterned Christmas napkins. This is the fun part! You get to customize your ornaments with colors and patterns you love.
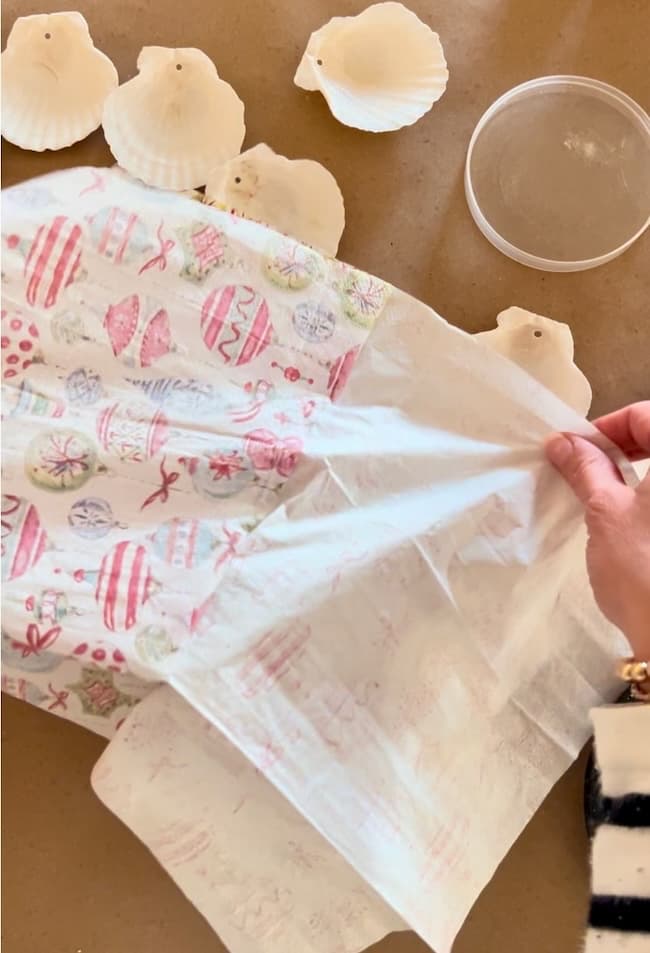
Very Important Tip: Separate the napkin layers until you are left with only the top printed layer. Most napkins are 2-ply or 3-ply, so it’s essential to remove the plain, unprinted layers. You only need the layer that the design is printed on.
Step 3: Cut the Napkin to Fit the Shell
Use sharp scissors to cut a section of the napkin that fits inside your seashell.
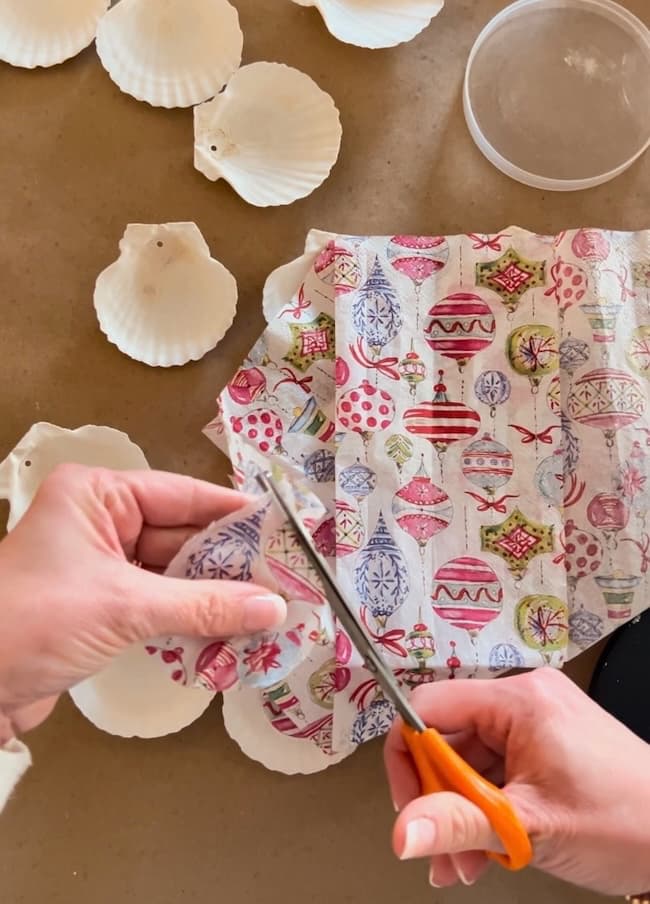
You can either cut around specific designs on the napkin or simply trim a section that covers the inner surface of the shell. This is what I did, because I wanted several of the colorful ornaments on my napkins to be shown.
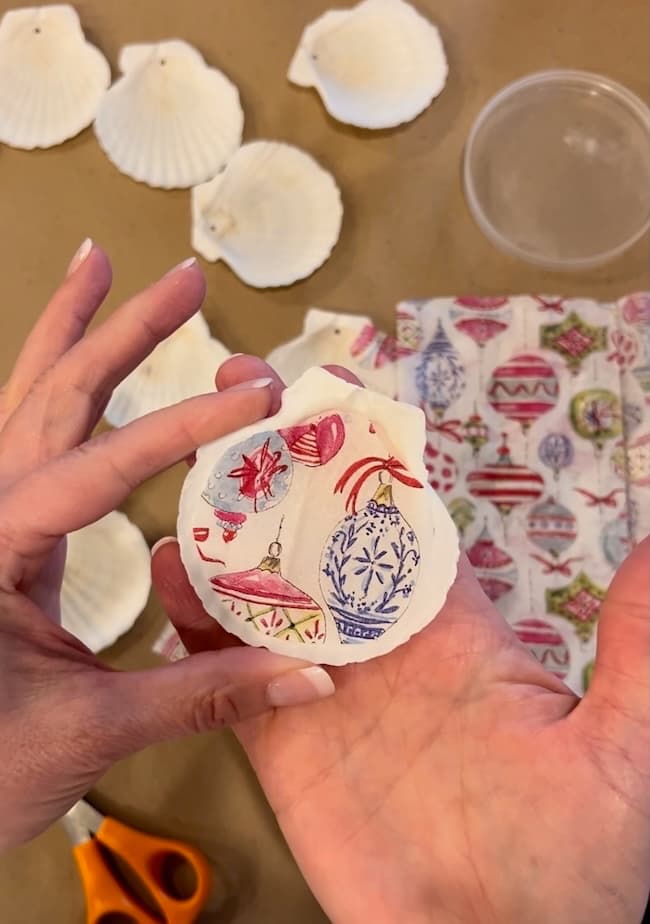
Step 4: Apply Mod Podge
Use the foam brush to apply a thin layer of Mod Podge (Gloss finish) to the inside of the shell.
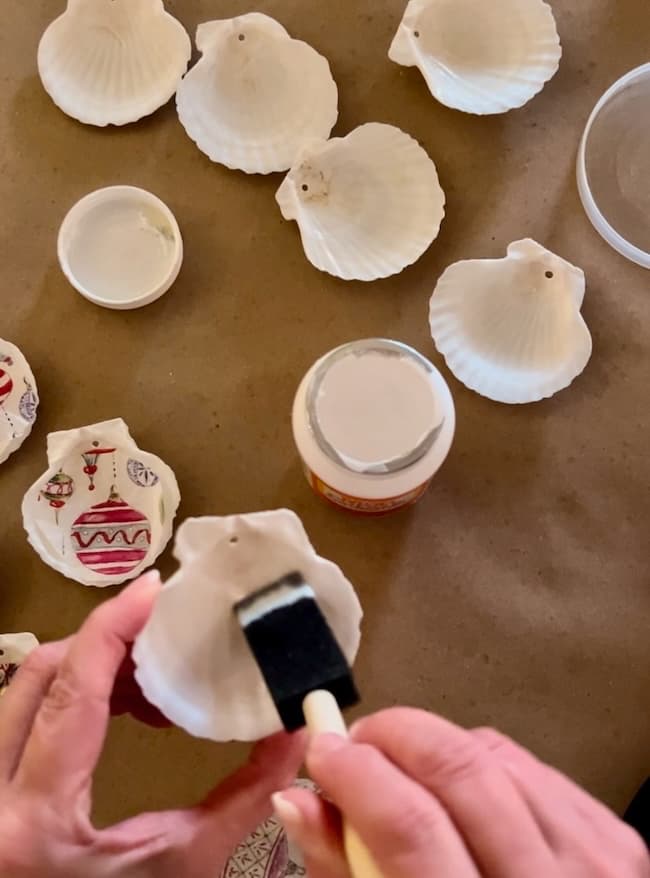
Let the Mod Podge sit for a minute or two until it begins to set up (but not completely dry).
Step 5: Attach the Napkin to the Shell
Carefully place the prepared napkin over the layer of Mod Podge.
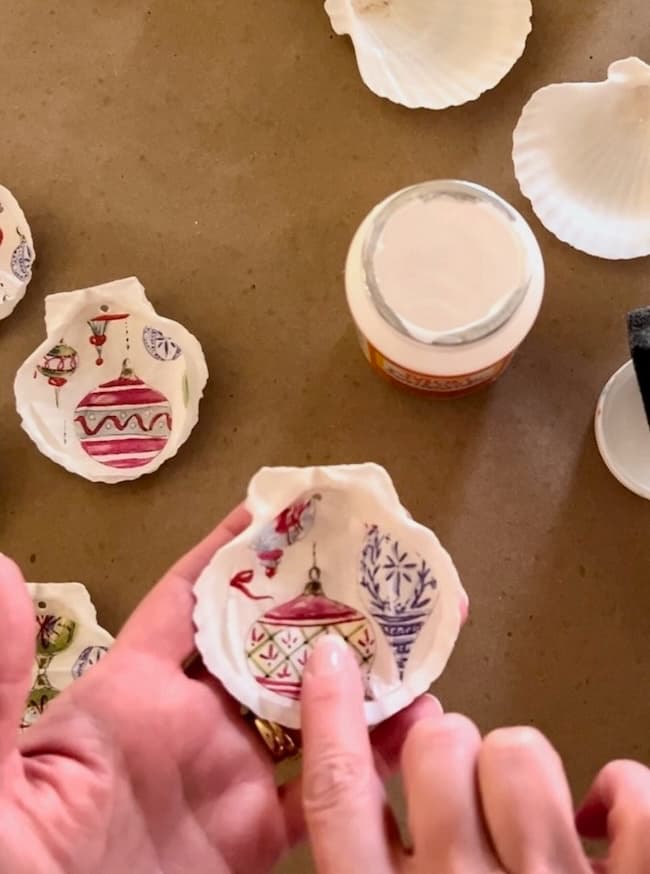
Gently smooth out any wrinkles or bubbles with your fingers, pressing the napkin into the ridges of the shell to showcase its texture.
Be patient and use a light touch to avoid tearing the delicate napkin.
Step 6: Seal the Napkin
Apply another thin coating of Mod Podge over the napkin to seal and protect the design.
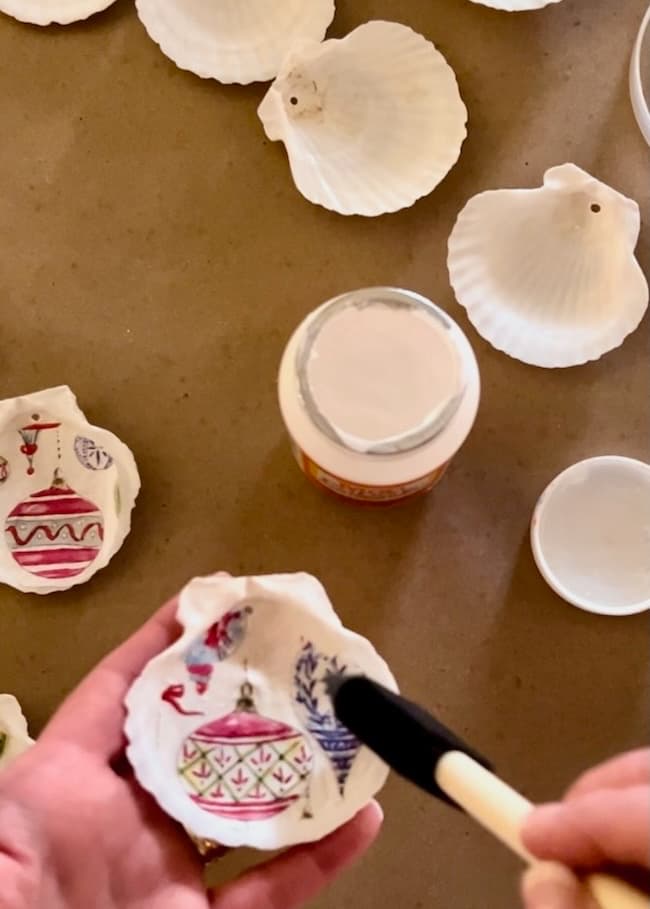
Allow the shell to dry completely before proceeding to the next step.
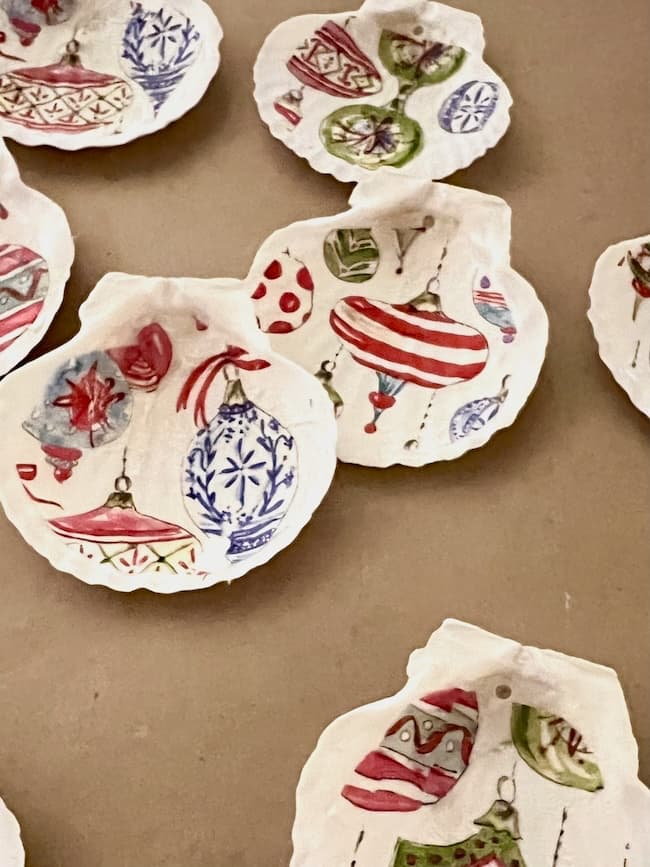
Step 7: Paint the Edges
You can skip this step if you prefer; however, if you want a framed look for your shell ornament it really elevates the look!
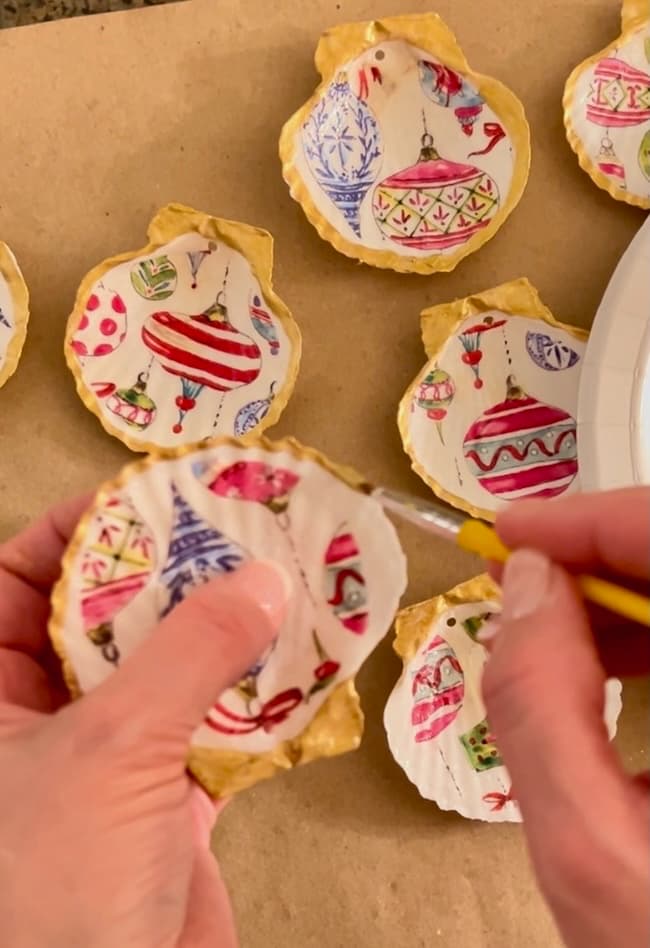
Use a small artist paintbrush and acrylic gold paint to frame the napkin design by painting the edges of the shell.
Apply the paint with a steady hand and light touch for a clean, polished finish.
Let the paint dry completely.
Step 8: Add the Hanger
Thread narrow ribbon or twine through the pre-drilled hole in the shell. Tie a secure knot to create a loop for hanging.
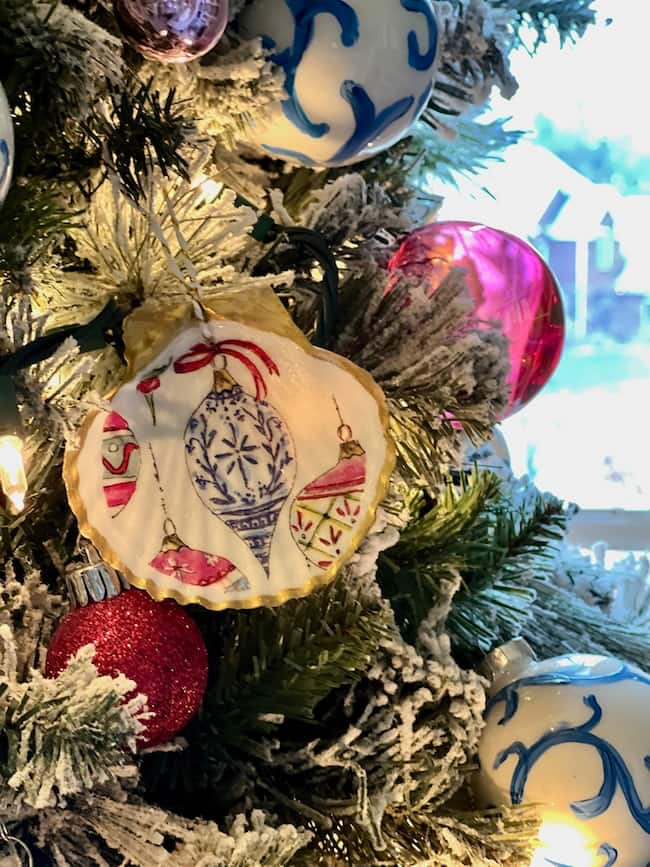
Step 9: Decorate Your Tree
Your new seashell ornaments are now ready to hang on your Christmas tree!
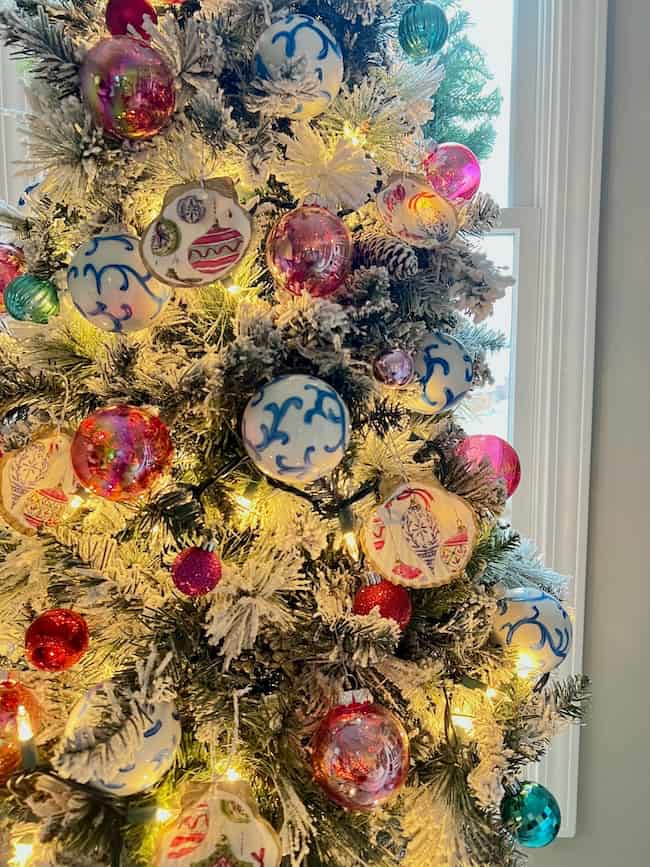
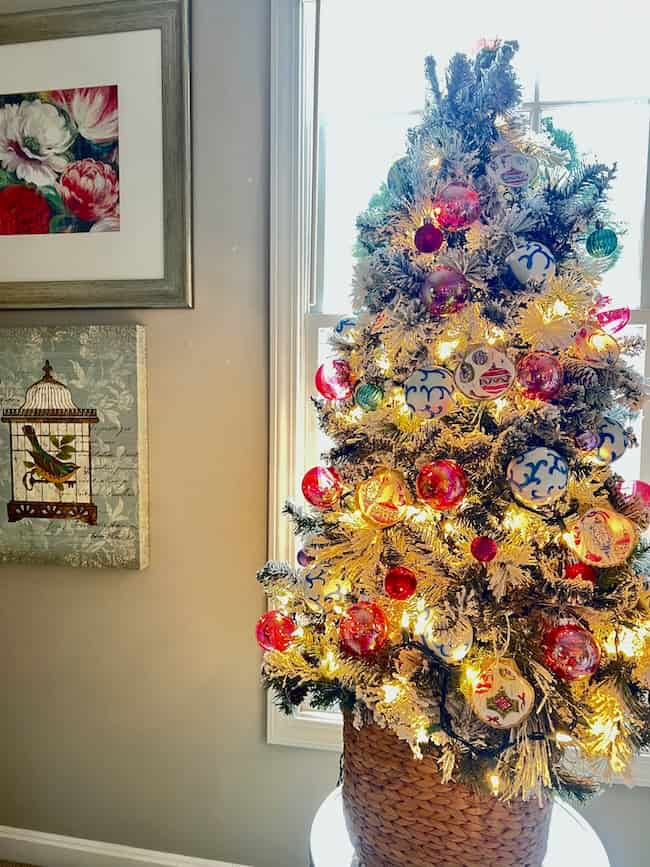
I’ve added my new decoupage seashell ornaments to a small tree in my office area. This little tree sits in front of the window facing the front of our house, and it’s one I’ve written about before. It started as a bit of a skimpy tree, but I stuffed it with leftover flocked garland pieces to give it a fuller, more festive look.
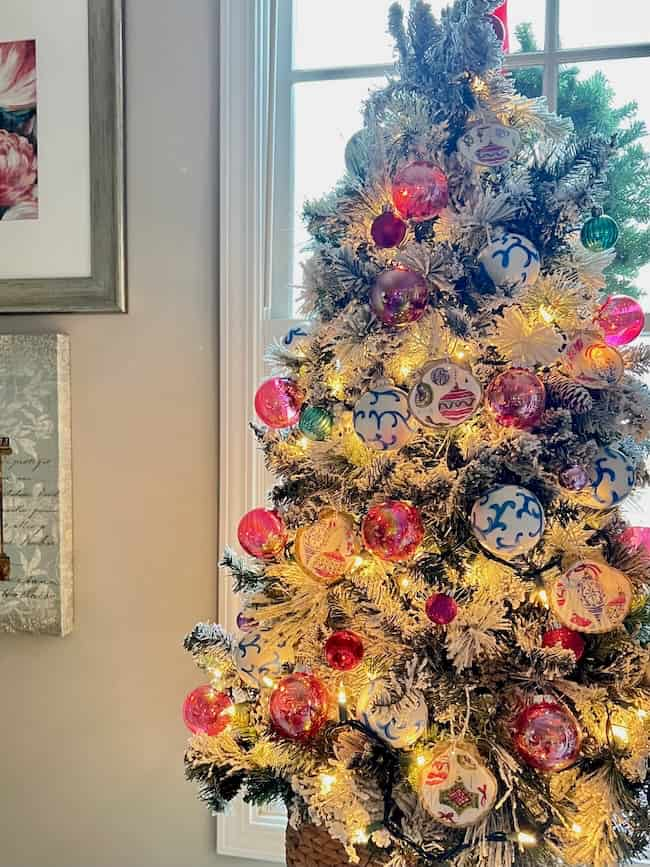
This year, I decorated it with these decoupage ornaments, made using colorful napkins featuring printed ornaments in pinks, blues, and greens. They coordinate beautifully with some older ball ornaments I hand-painted in a blue-and-white Chinoiserie style.

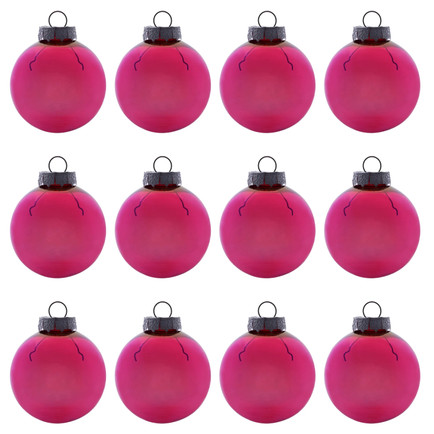
To tie it all together, I added the prettiest pink iridescent ornaments I found at Walmart.
The combination of these ornaments creates such a fun and unique look that feels perfectly me! This little tree is full of special DIY pieces that reflect my personal style, making it a cheerful and meaningful addition to my office space.
The best thing about this project is how customizable it is! You can choose napkins in any color scheme or design to match your style—whether you love a formal, elegant look, something fun and whimsical, or even a rustic vibe. The options are endless!
And if seashells aren’t your thing, this same technique works beautifully on other surfaces, too. Try it on a wood slice for a rustic feel, or even on a plain white or clear ornament for a different twist.

I hope this inspires you to create something special for your own tree. Whether it’s a big family tree or a smaller one like mine, these handmade touches are such a joyful way to make your holiday decor personal and unique — and they make a perfect handmade gift!
Have you worked with decoupage napkins before? Let me know if you decide to give this project a try!
Happy crafting!


By the way, do you follow me on all the socials? If not, check out my Pinterest, Instagram, and Facebook and be sure to follow along so you don’t miss out on any of my decorating and DIY ideas.

