Paint a Vase for a Fall DIY Makeover
Do you love an easy fall DIY makeover? Paint a vase to give it a fresh update for fall and showcase your pretty fall branches!
It doesn’t take a lot of money, time, or effort to complete this fall DIY vase makeover! It was so easy and I used items I already had on hand — even one you might be a little surprised by!
(This post contains affiliate links, so I may earn a small commission when you make a purchase through links on my site at no additional cost to you. As an Amazon Associate I earn from qualifying purchases.)
So, I’ll let you in on a little secret.
Mr. Perfect is pretty easy to please when it comes to decorating our home. He’s pretty easy going about most things in life, but when it comes to home decor, he almost always defaults to my design ideas for our house, and he’s always been a willing partner in my makeover adventures! He’s the best!!
So, when he actually speaks up and voices an opinion about a piece of furniture or piece decor that he likes, I pay attention.
Many years ago, way back when TVs were large clunky boxes, we purchased an entertainment armoire for our living room to house the large clunky box of a TV!
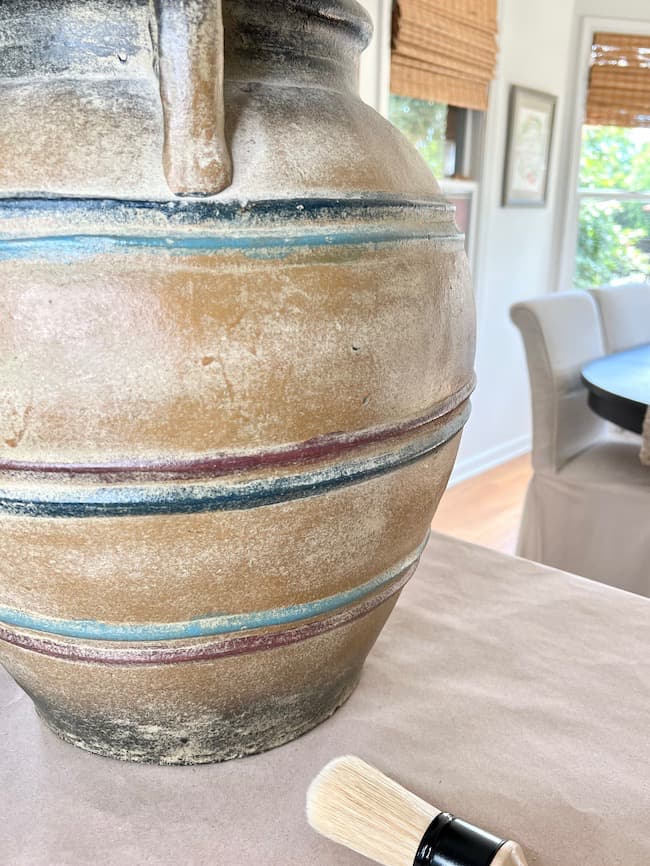
Our living room at the time had a vaulted ceiling, so we purchased this large vase to display on top of the armoir along with some other pretty things.
That TV and armoire are long gone from our home, and the vase was relegated to a dark corner of our basement living area.
Well, it turns out that Mr. Perfect has always been quite fond of this large vase! Who knew?
The vase needed a little extra love and a fresh update to bring back upstairs into the living room this fall.
But, I had to tread lightly, since this is the one decorative item that Mr. Perfect actually had an opinion about. (Fortunately, he trusts me!)
We are both so pleased with how it turned out!
And the best part – I didn’t spend a thing but just used what I had on hand!!

If you’d rather purchase a vase instead of paint, these rustic ceramic vases are gorgeous!
What kind of paint do you use on vases?
There are many different types of paint you can use to makeover an old vase. Making sure the vase has plenty of texture is the key to a rustic look.
You could add texture by painting on joint compound all over the vase.
You could use textured spray paint to spray on more texture along with your new color.
But in our case, our vase already had a lot of texture to it, and the raised rings added a lot of interest already.
So, I simply used some old white chalk paint for our overall white paint color to lighten the color of the vase.
How do you paint over an old vase?
I wanted a rustic, weathered Old World look for our vase, and wanted to eliminate all of the different colored rings.
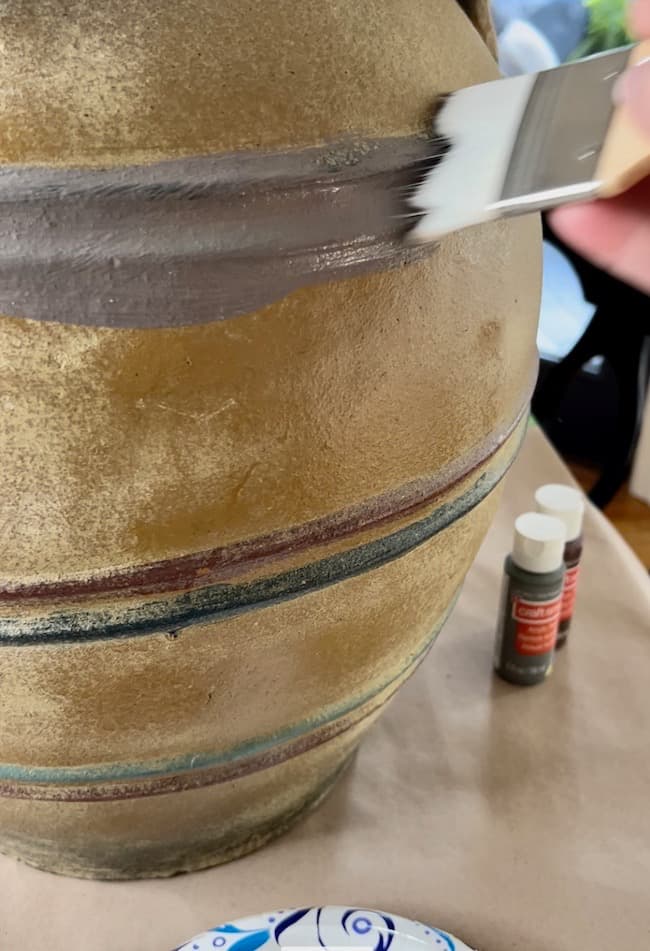
I started my mixing some brown and gray acrylic paint together to cover the blue and red stripes. I just wanted a dark neutral color. It would be covered with a light coat of white chalk paint, so I just wanted to cover the blue and red so those colors wouldn’t show through the white.
I brushed on my dark brown mixture to quickly cover the stripes.
After the paint dried (about 20 – 30 minutes), I was ready to paint on the white chalk paint.
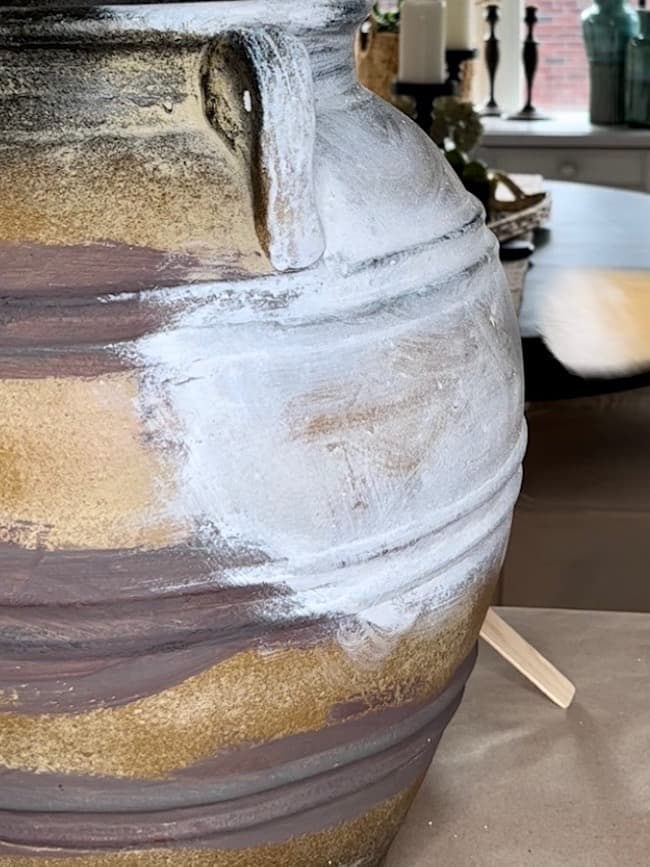
I wanted some of the original brown color of the vase to show through. Our old vase already had a neutral base color that would be perfect to show through a light coating of white chalk paint.
It was so easy to add the white chalk paint! I brushed the chalk paint on in a light haphazard manner. I used very little chalk paint so some of the brown in the vase would show through, and used a paper towel to blend and remove any excess paint along the way.
Next came the fun part – aging the vase!!
Supplies:
Click on the photos below for links to the products.
Using Coffee to Age Paint:
Yes, you read that correctly! After the white chalk paint dried, I made a thick paste of coffee grounds with a tiny bit of water added. I wore a glove and basically smeared the coffee paste all over the white painted vase.
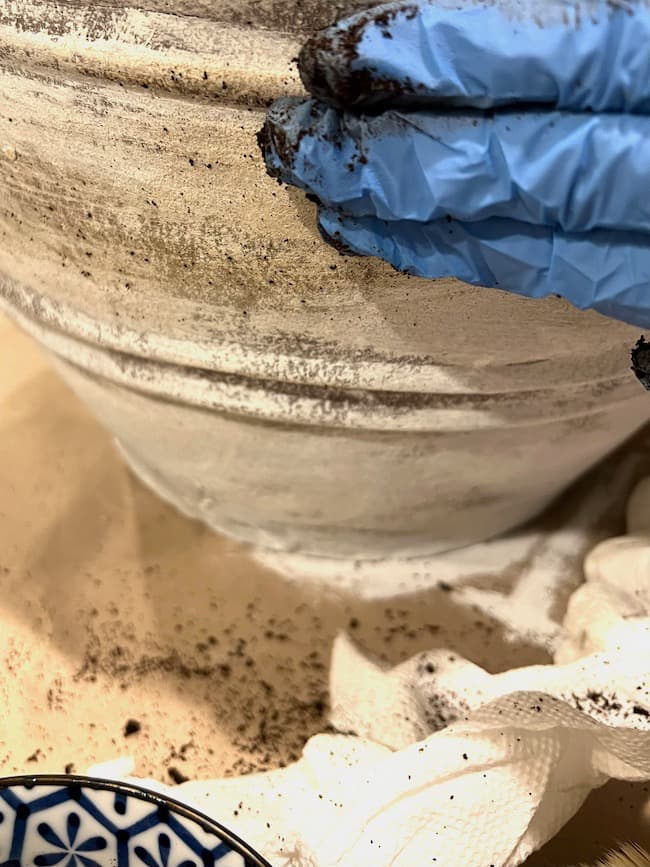
The result was an amazing Old World weathered and time-worn vase!
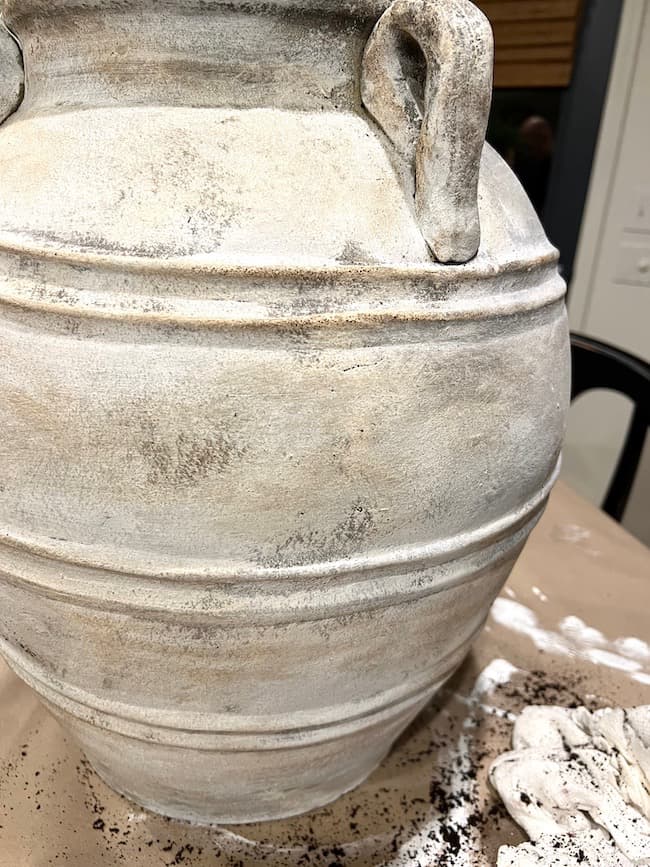
You could definitely stop at this point if you want you vase to be lighter. However, I wanted just a touch more warmth for our vase.
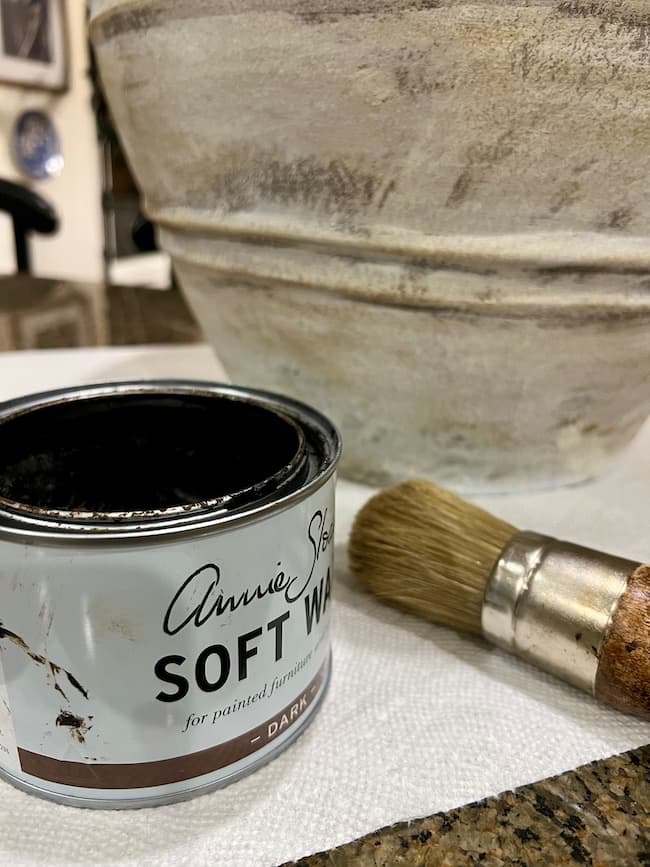
I added a little dark wax with a wax brush and removed the excess with a cloth.
The result was just beautiful!!
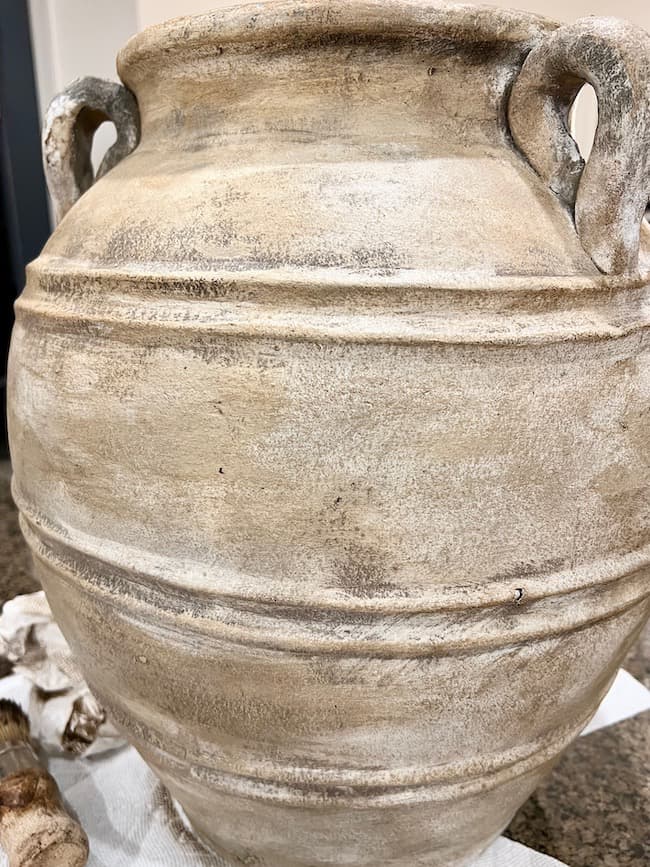
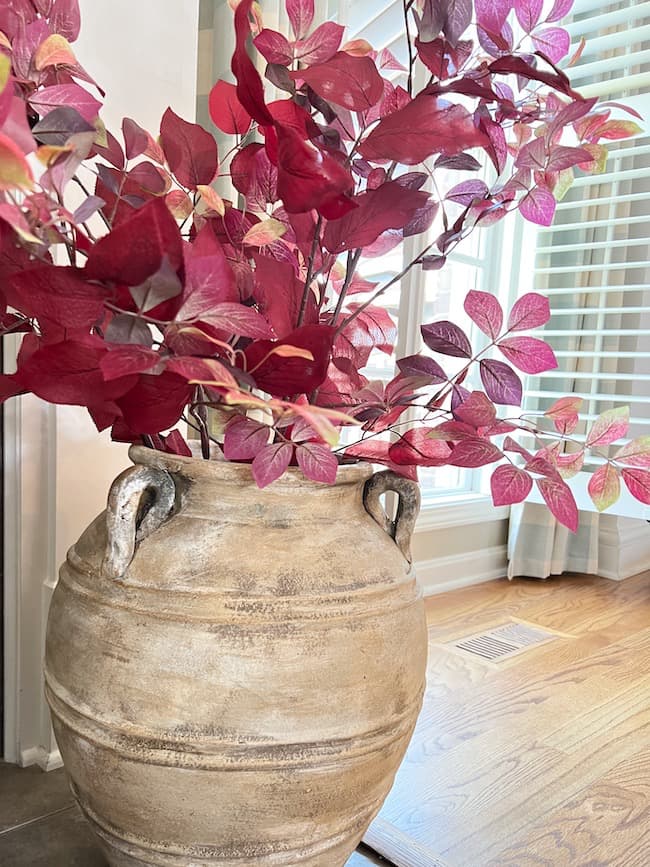
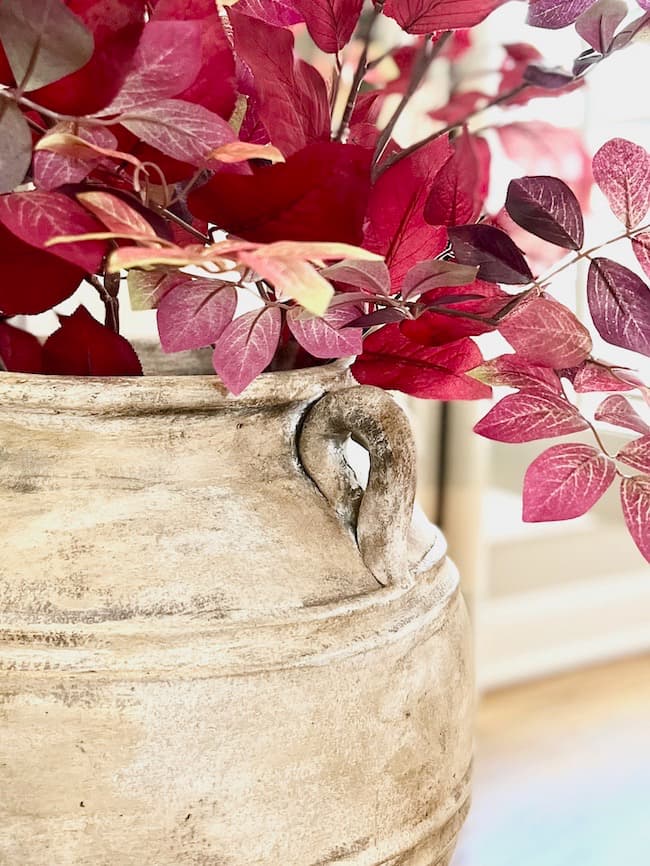
It’s the perfect large textured vase to use beside our fireplace this fall!
I added some beautiful fall branches for a gorgeous fall look!
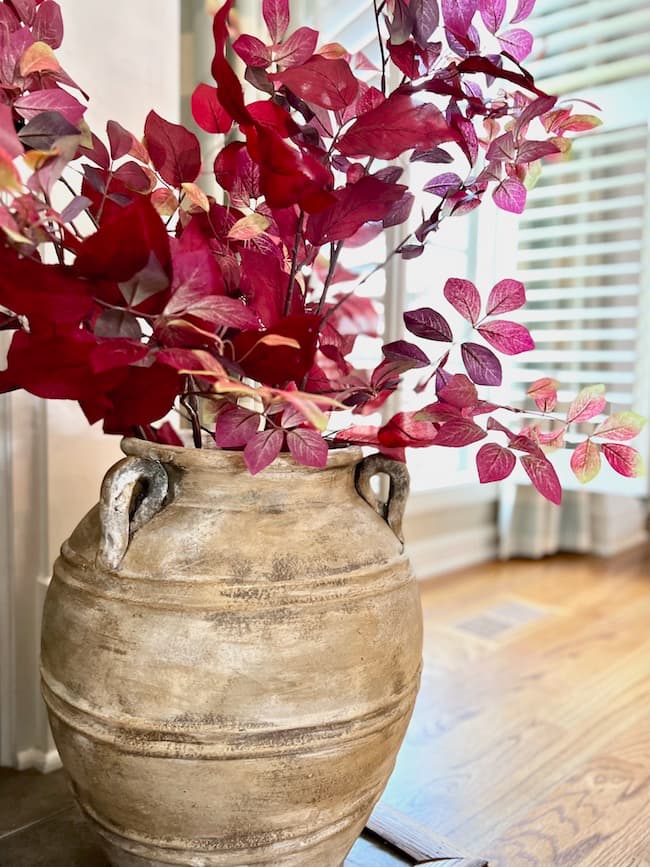
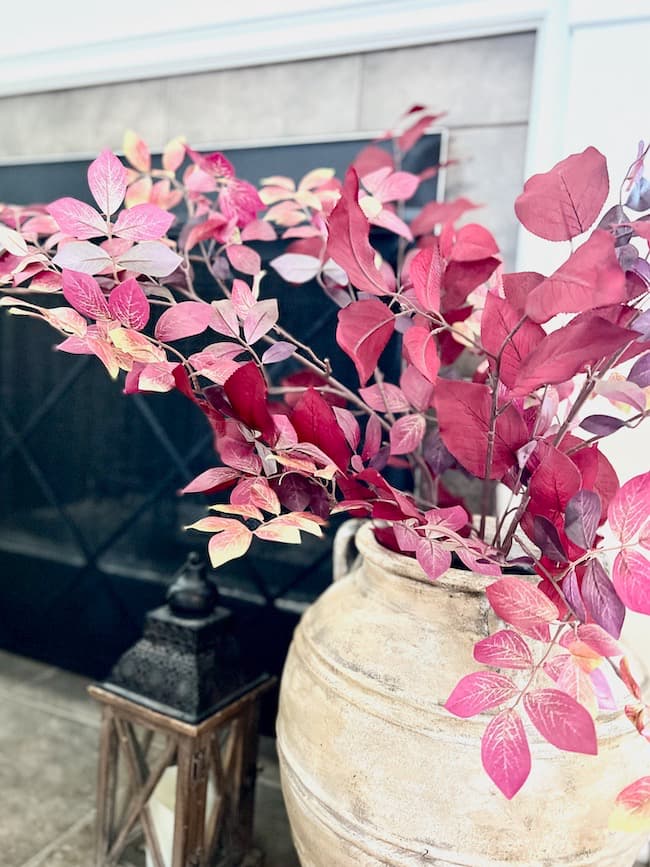
And guess what?
The best part is – Mr. Perfect loves it!!
Fall Branches
Save this idea by pinning it to your favorite Pinterest board! Follow me on Pinterest for more great home decor and DIY ideas!!
Pin It for Later!!
For more fabulous fall decor finds and other decorating favorites visit my Shop My Favorites page!!


It looks amazing! Such a great idea to use coffee grounds.
Thank you so much, Renae! They were fun to use — and always plentiful around our house!!
Absolutely stunning transformation Kim!
Thank you so much, Diane!!
Kim, I LOVE this makeover!! It looks just like Pottery Barn!! I’m going to add it to my weekly rewind post on Sunday!
Oh, thank you so much, Jennifer!! I am honored to be included!! Have a Wonderful weekend!
This is a fantastic makeover. I love it so much!
Pinned!
Thank you so much, Cindy!!
Kim, it looks like you bought it at Pottery Barn! So pretty and the coffee grounds added so much interest! Perfect for Fall displays!
Oh, thank you so much, Donna!! I was so pleased with how it turned out and how well the coffee worked!!
You did a great job on this! I’m painting a vase this week.
Thank you, Kim!! It was a lot of fun to make!
I love this pot, Kim. You did a fantastic job on it. Thank you for linking up.
Thank you so much, Wendy!! Congratulations on joining as a host at the Fabulous Friday link party! I’m so excited to hear all the fun things you all are planning!!
I love this makeover, Kim! So clever to use coffee grounds! I am excited to feature your post at this week’s Tuesday Turn About link party. Thank you so much for sharing!
Thank you so much, Lynne! I’m so honored and blessed! Thank you for hosting such a great link party!!
Love this Kim, you did such a great job!
Thanks so much, Wendy!!