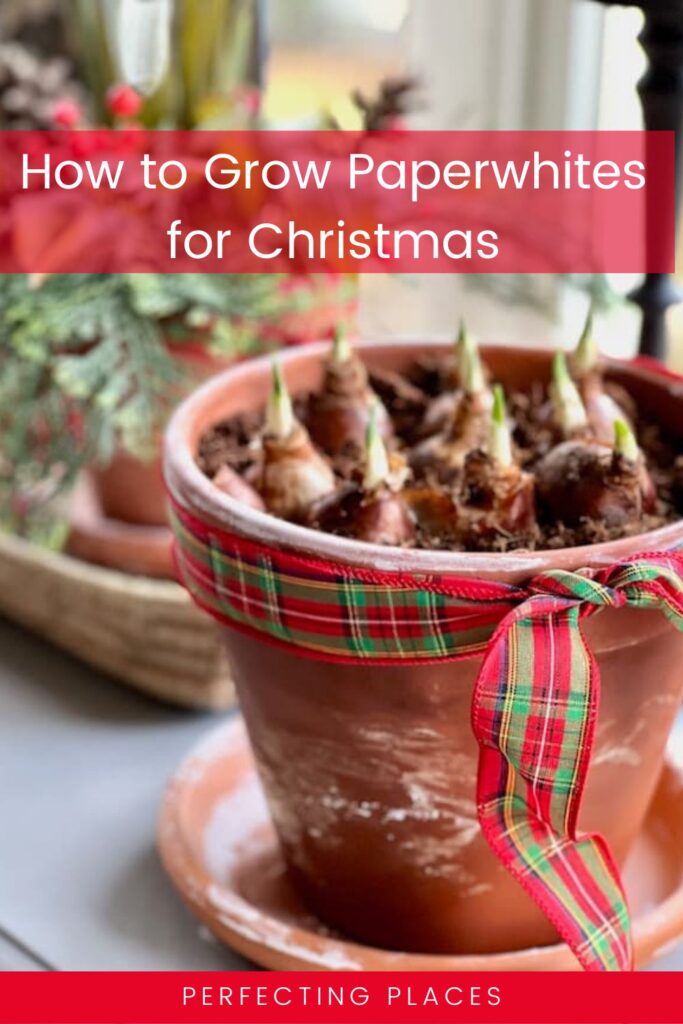
How to Plant Paperwhites in a Cute DIY Aged Pot
Have you ever forced paperwhite bulbs to bloom at Christmas? Today, I’m sharing how to plant paperwhites in DIY “aged” terracotta pots for a lovely Christmas look.
I love the look of paperwhite blooms during the winter months. These delicate white blooms brighten a gloomy winter day and, if planted in time, are the perfect addition to your Christmas decor!
(This post contains affiliate links, so I may earn a small commission when you make a purchase through links on my site at no additional cost to you. As an Amazon Associate I earn from qualifying purchases.)
I’m a hopeful kind of girl! I love to look forward to and anticipate something amazing!
But, I’m also a practical kind of gal who loves a backup plan.
I usually have a Plan B in mind for most things I do.
Forcing bulbs to bloom at Christmas is really all about hope — we hope they’ll grow, and we hope they’ll bloom just in time for Christmas!

I love all the gorgeous red, white, and pink fresh poinsettia blooms during Christmas, but it’s also fun to force Paperwhite Narcissus and Amaryllis bulbs to grow and bloom for the holiday season.
This November I decided to plant some paperwhites in “aged” terracotta pots for my kitchen buffet, so today I’m sharing all about how to plant paperwhites!
How to Plant Paperwhites to Bloom for Christmas:
Plan ahead.
First, you need to plan ahead. Forcing dormant bulbs to grow and bloom indoors during the winter months takes a bit of planning, especially if you want them to bloom in time for Christmas.
Paperwhites usually take about 4-6 weeks to grow and bloom, so you should plant them before Thanksgiving if you want them to bloom for Christmas. Of course, Paperwhites are beautiful flowers to use in your home decor anytime time of year, but especially during the winter months. You might even consider planting new ones every two weeks to have continuous delicate blooms all winter long.
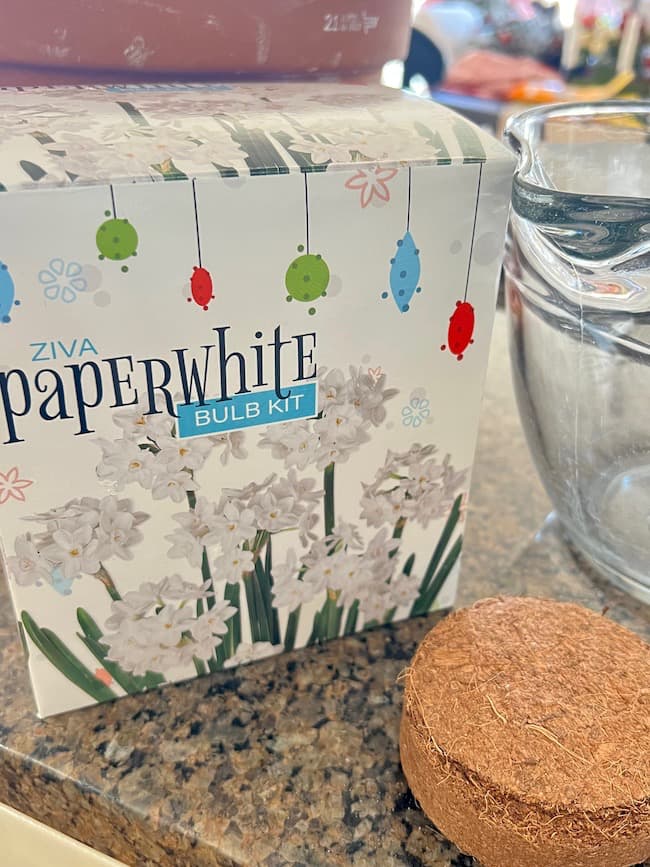
You can usually find kits for growing Paperwhites in local nurseries, garden centers, and big box stores such as Lowes or Home Depot starting in late October. The kits are easy to use. They come with their own pots for planting and require rehydrating a disc of soil.
Choose your container.
You can choose to use the pots that are included with the kits, or use your own.
I planted ours in terracotta pots that I “aged” with a DIY technique that I’ll explain later in the post.
You can also grow paperwhite flowers in a vase or shallow container or dish with no soil at all. Place the bulbs in a bed of pebbles, decorative stones, or glass beads to stabilize them, and add just enough water so that the water level touches the bottom of the roots, but not the bottom of the bulb. Simply add more water as the water starts to evaporate. Larger vases are perfect for this because they can support the tall stems as they grow.
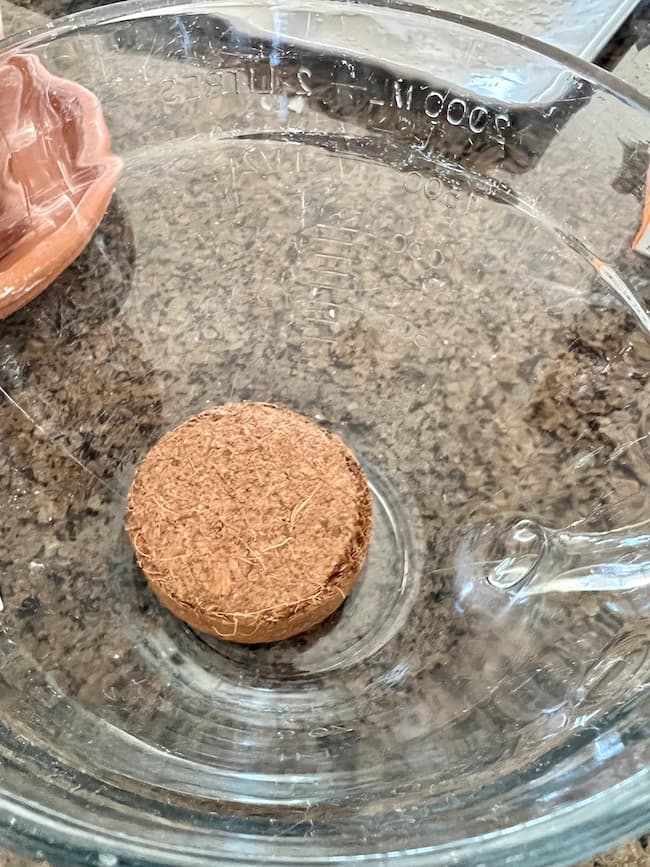
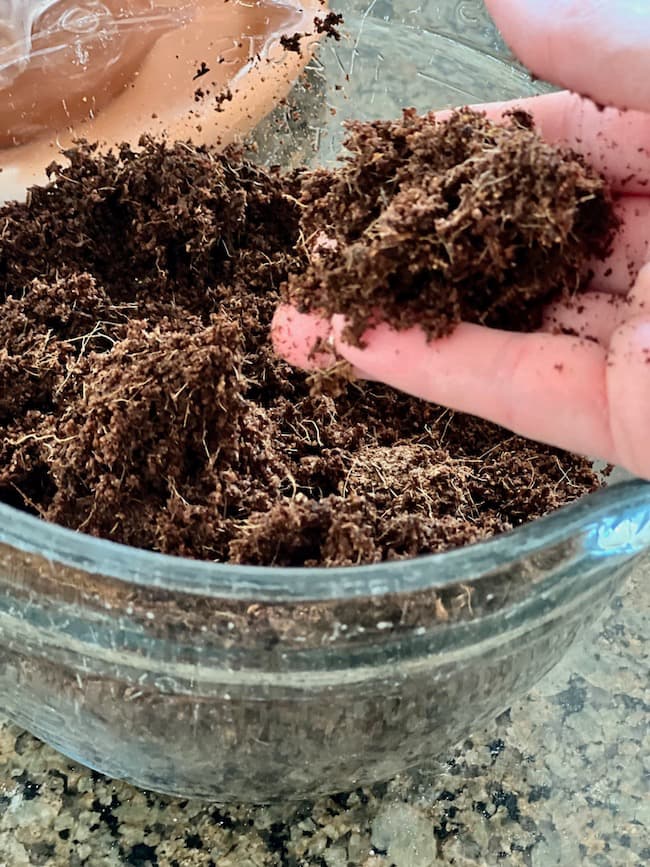
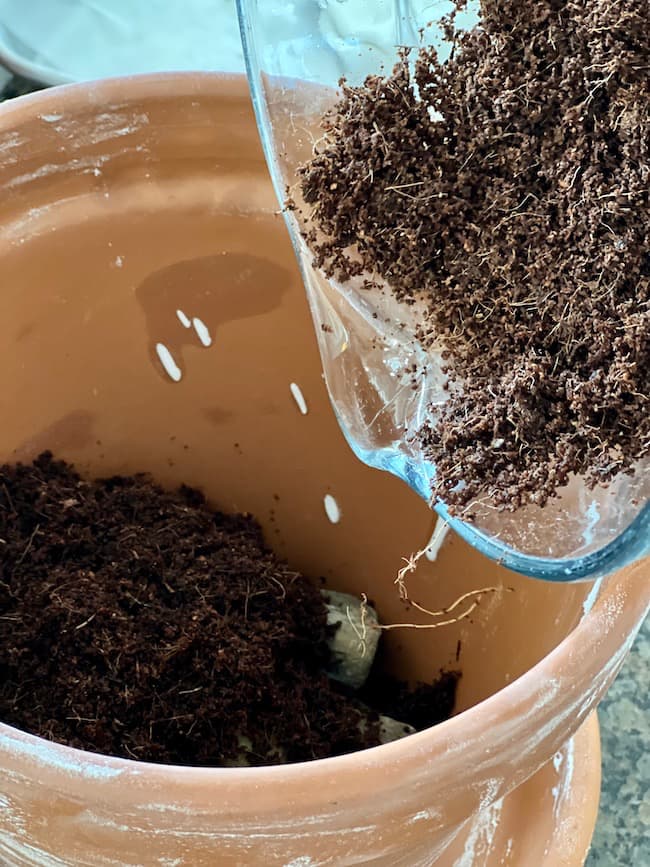
If you decide to plant the bulbs in a pot, use well-drained soil. I simply used the soil discs that came in the growing kits that I purchased. I rehydrated them with water according to the package directions, and it provided the perfect amount of soil for my pot.
Planting the Bulbs in Soil:
After adding the rehydrated soil to the clay pot I arranged the paperwhite bulbs on the top of the soil packed tightly together. The soil should cover the bottom half of the bulbs. Make sure to place the base of the bulbs in the soil with the pointed end at the top of the bulb sticking up.
Don’t overwater the soil. The rehydrated soil should be fine when you first plant and then water weekly if the soil becomes dry to an inch from the top.
Amount of Sunlight:
Paperwhites love a sunny location.
Place your plants in a spot with bright light, but indirect light. As the flower stems start to grow you might need to rotate your pot around to help the plants grow straight. They tend to grow toward the sun.
Staking your plants:
It might be necessary to stake your plants as they start to grow. Paperwhites are known to grown very tall and a stake will help to keep the stems and the blooms upright. Use twine or jute to secure the stems to the stake.
You can also create an alcohol solution with a mixture of alcohol and water to essentially stunt the growth of the stems while still maintaining all of the blooms. You can use vodka, whiskey, or rubbing alcohol mixed with water. If using vodka or other hard liquor use a ratio of 1 part alcohol to 7 parts water. If using rubbing alcohol use a ratio of 1 part alcohol to 10-11 parts water. You can switch to this mixture once the green shoots are 1-2 inches tall. Do not use beer or wine because the sugar content is detrimental to the plant.
How to DIY “Aged” Terracotta Pots:
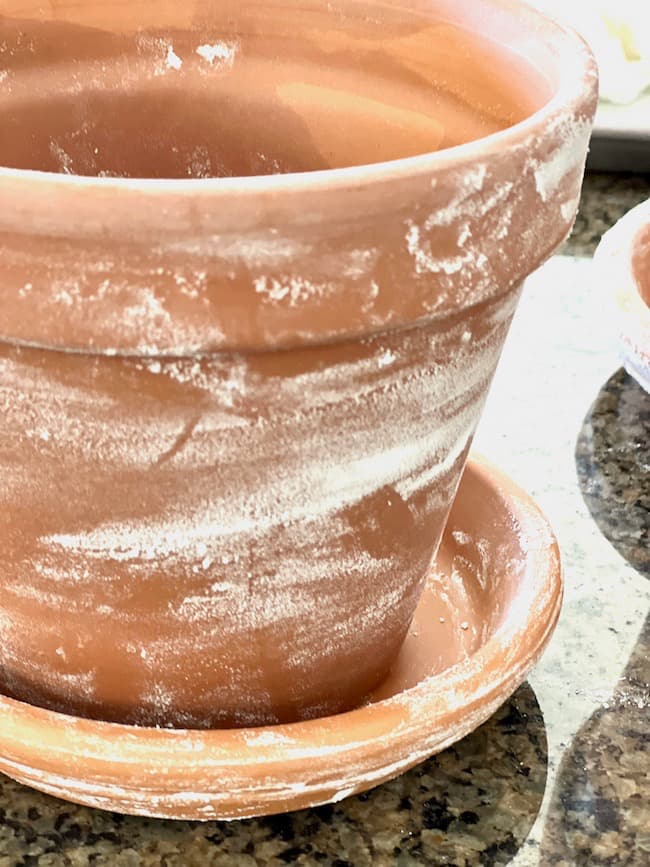
I love an aged terracotta pot with a beautiful natural patina. I, however, didn’t have one on hand for this project, so I decided to do a faux aged look on my pots.
My process was very simple using just baking soda and water. You might find some online sources using salt to age terracotta pots; however, if you plan to use live plants in your pots, the salt will damage them.
Baking soda is safe to use with live plants.
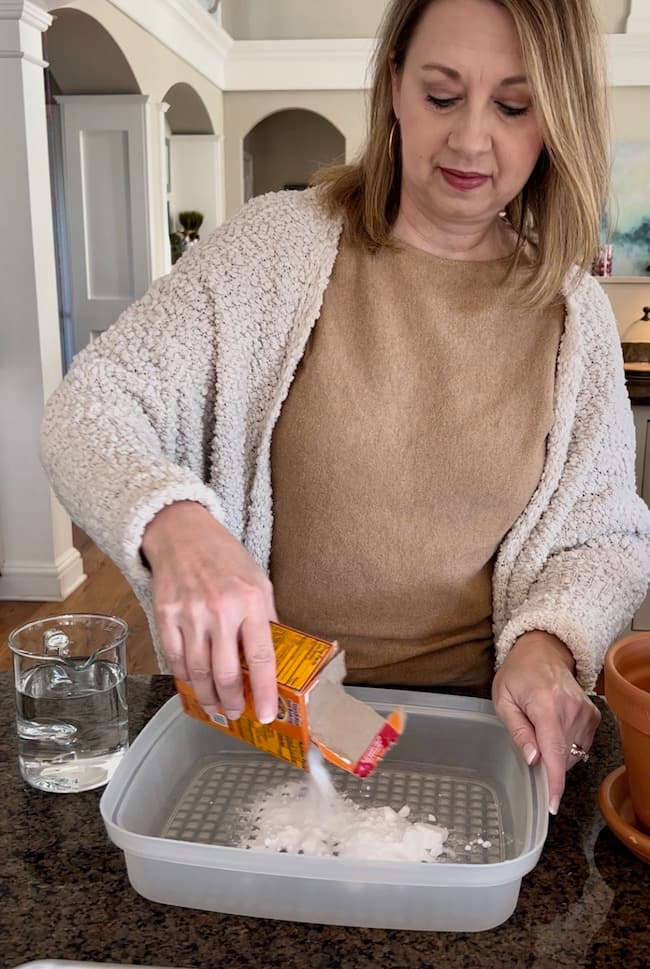
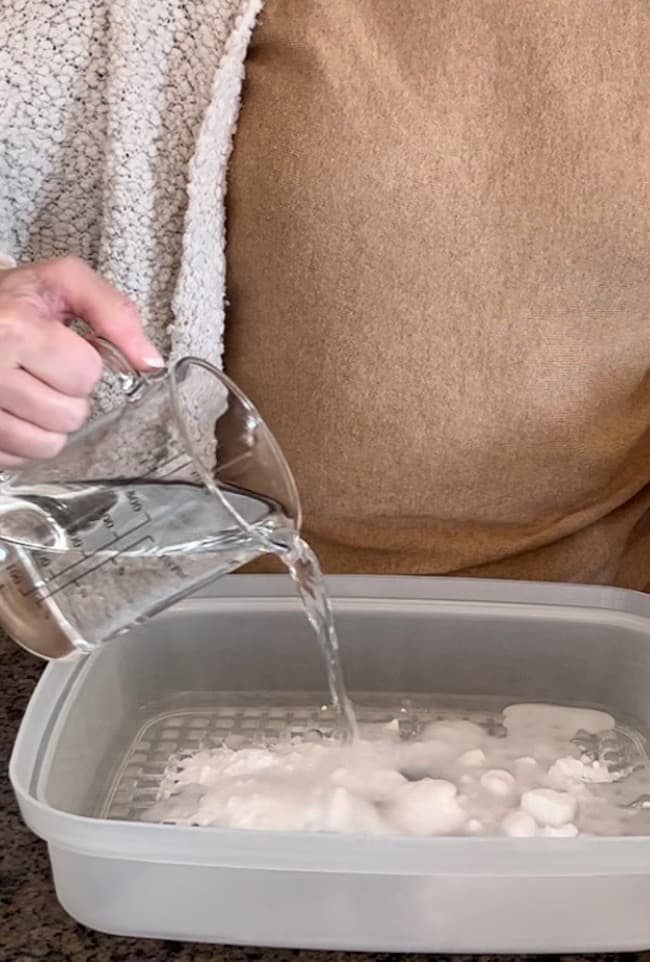
Simply make a paste of baking soda and water. The baking soda and water will separate and you can keep stirring it as you apply it to the pot.
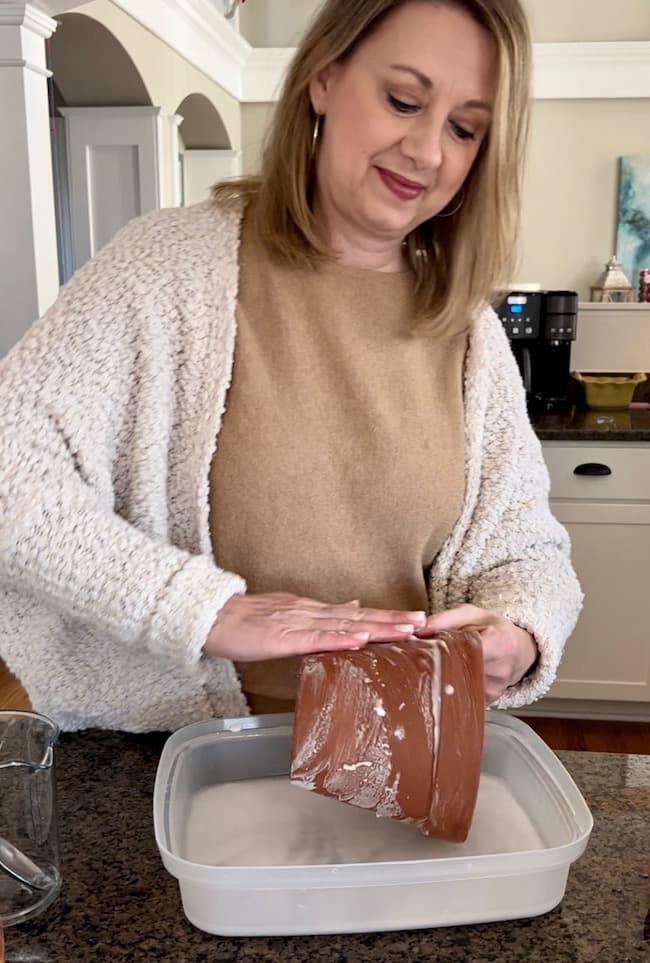
Rub the baking soda mixture all over your pot.
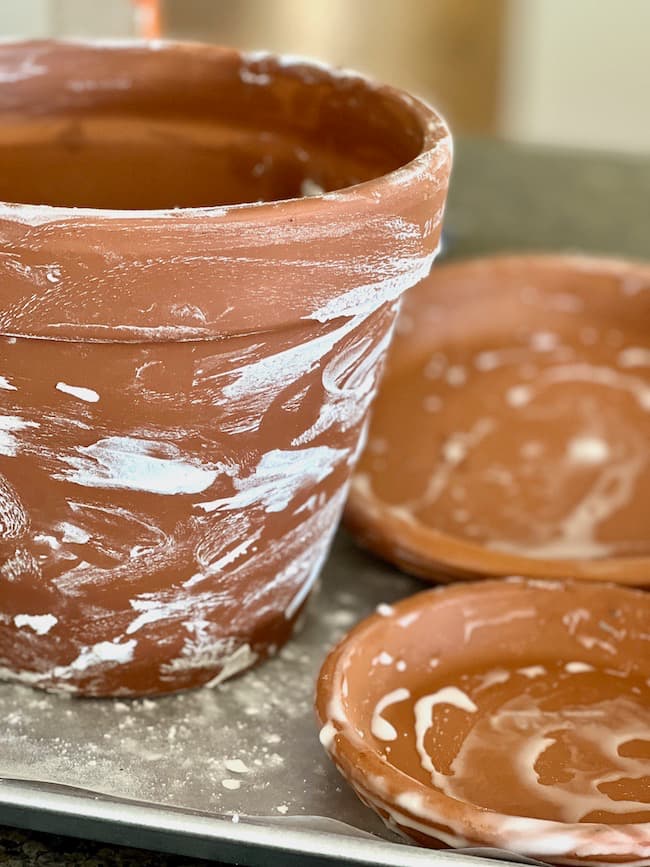
Once it dries, you can brush off as much excess as you like.
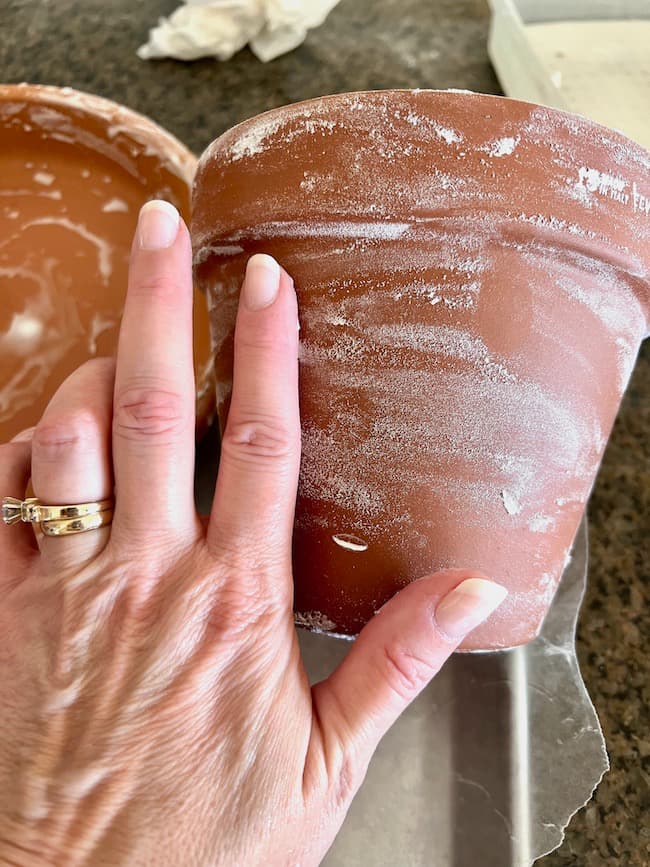
One thing to note, the baking soda will brush off very easily, so this process should only be used on a pot that you won’t handle a lot. You need to handle it carefully or the dried baking soda will rub off.
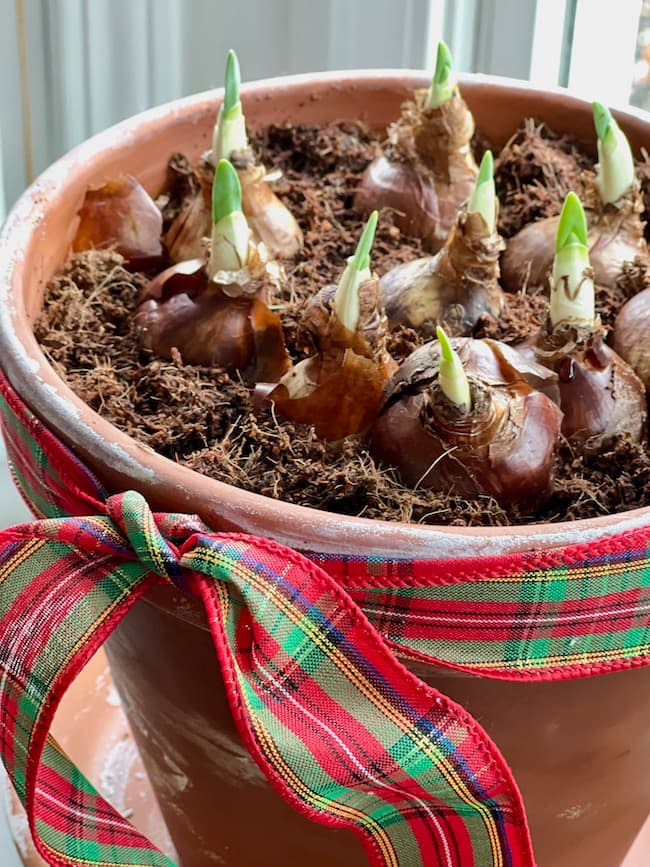
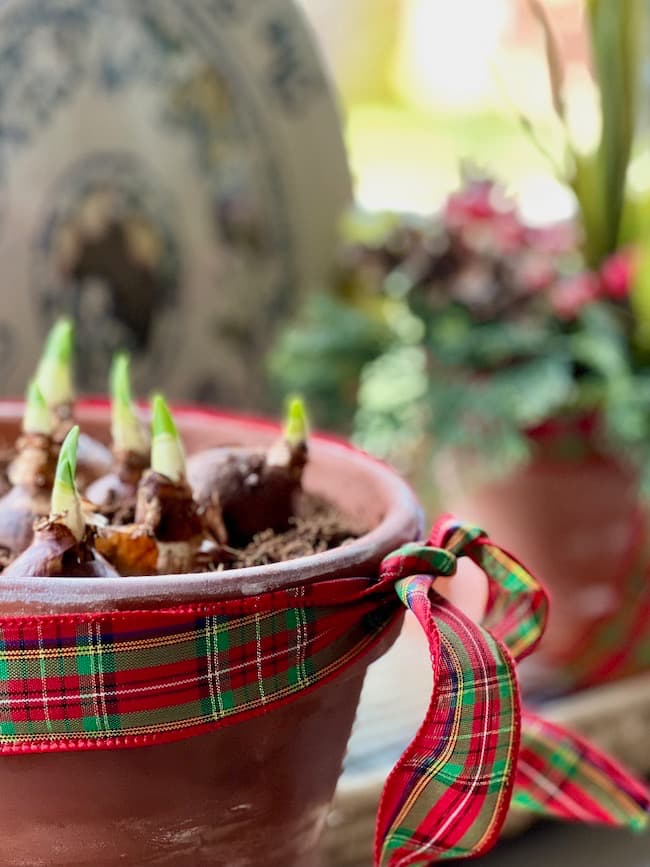
After preparing the pots, I added the soil and paperwhite bulbs.
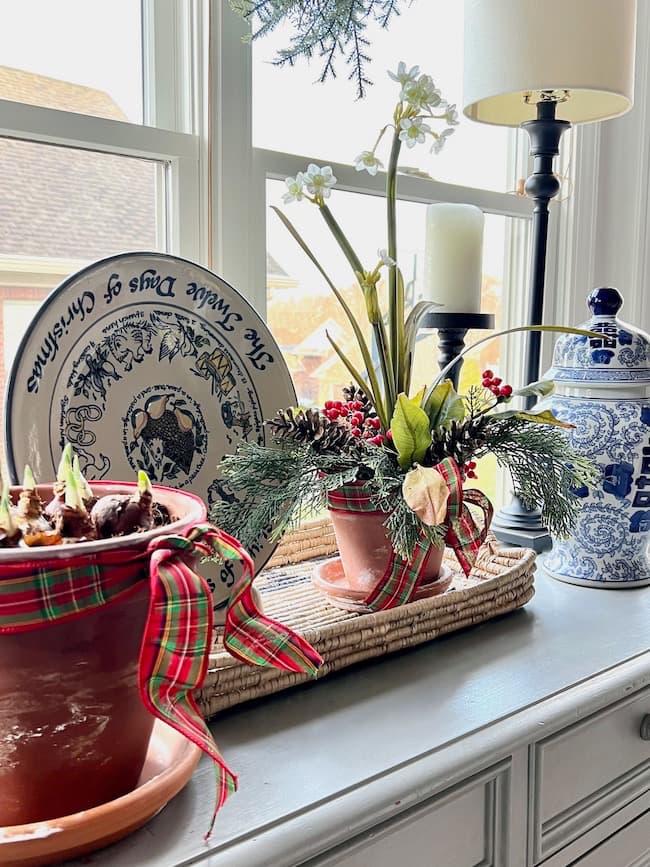
I finished off with a red tartan plaid ribbon, which in my opinion, is the perfect Christmassy touch to this pot of paperwhites and I placed it in a sunny window! You can see more of my love for tartan plaid in this Christmas home tour!
I’m so hopeful that my paperwhites will produce a lovely display of delicate bright white blooms in a few weeks! It’s fun to watch them grow!
The bloom time for the paperwhites is about 1-2 weeks. That may seem a little short, given all the time and work invested in growing them.
It’s a great idea to start forcing a few new ones each week during the December and January to have beautiful blooming plants throughout the winter months.
Create a Faux Paperwhite Arrangement:
While I’m certainly hopeful that my paperwhite bulbs will grow and produce lovely Christmas blooms, I also put “Plan B” into place.
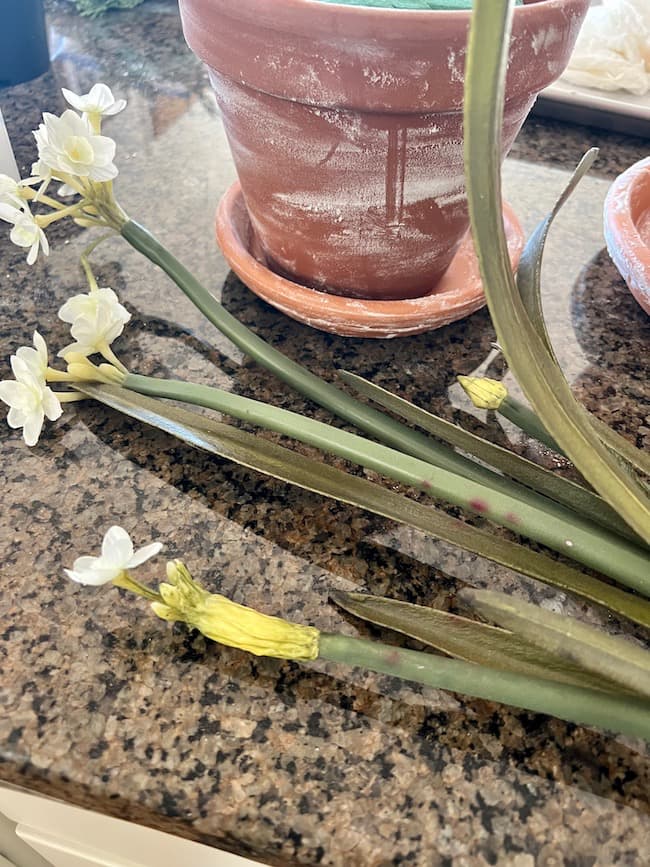
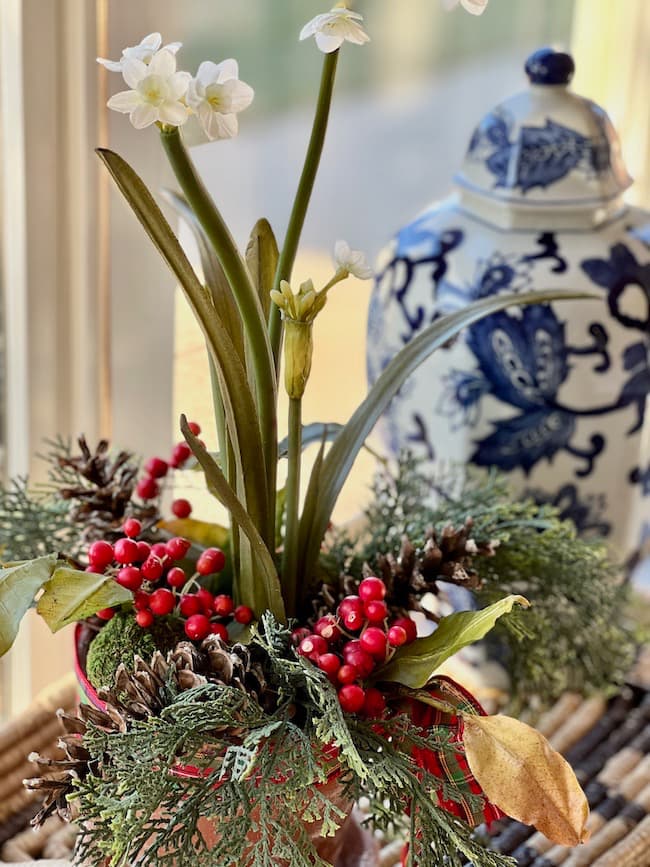
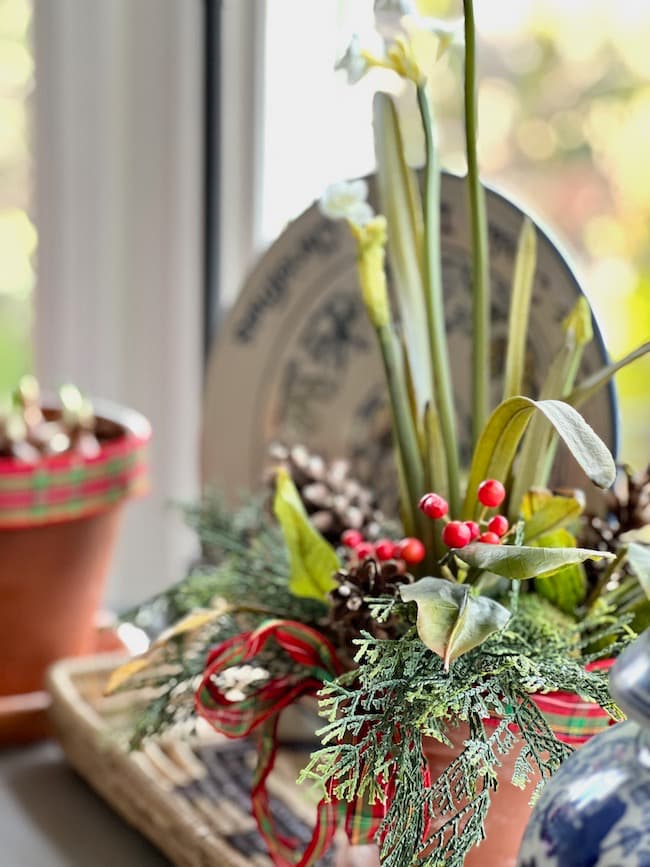
I have a lovely little faux paperwhite plant, with bulbs, roots, and all. I decided to “plant” it in my smaller terracotta pot. I can enjoy it while the real bulbs grown and bloom. Plus, it’s my backup just in case the real ones don’t turn out quite as I hoped.
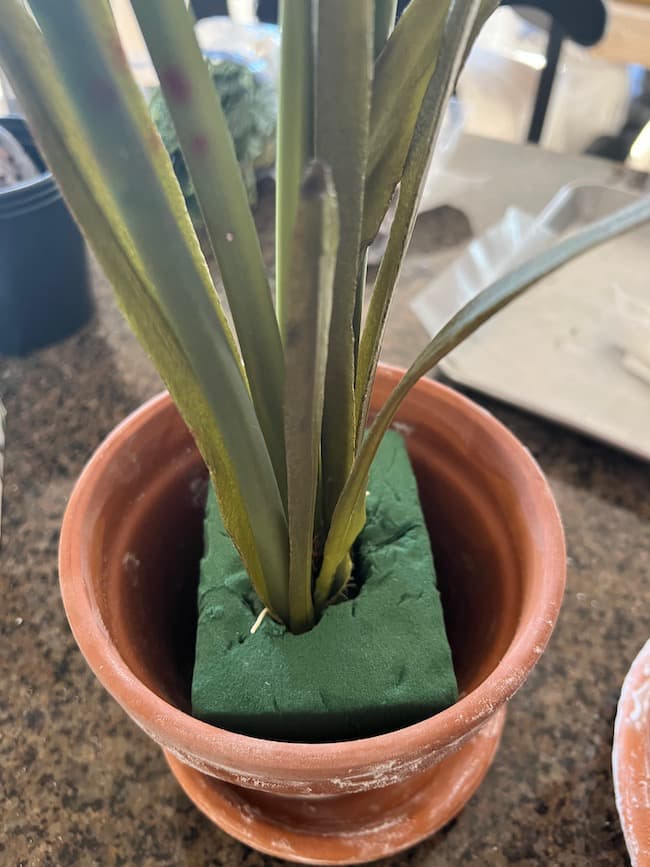
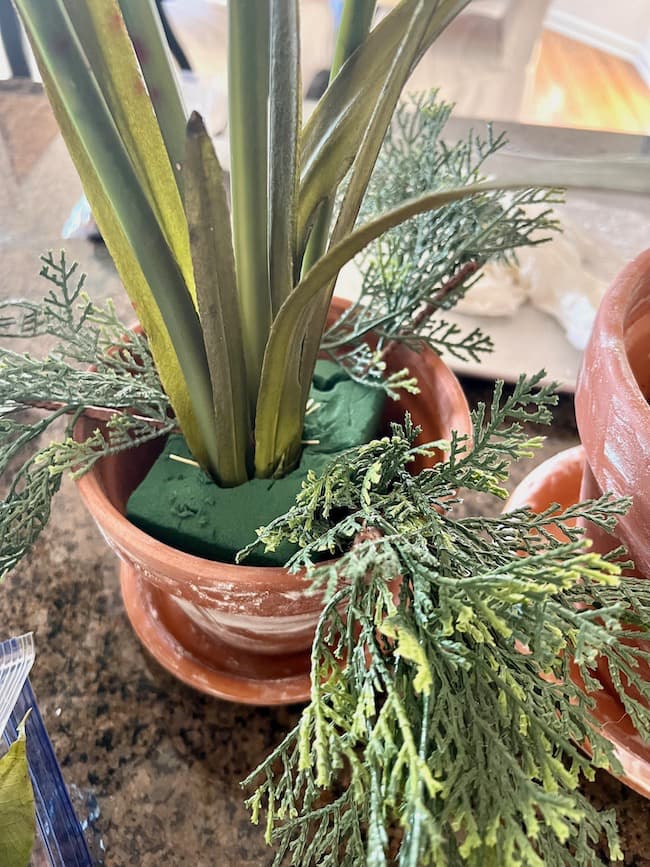
I added some floral foam to the small pot, and then inserted the faux paperwhite plant.
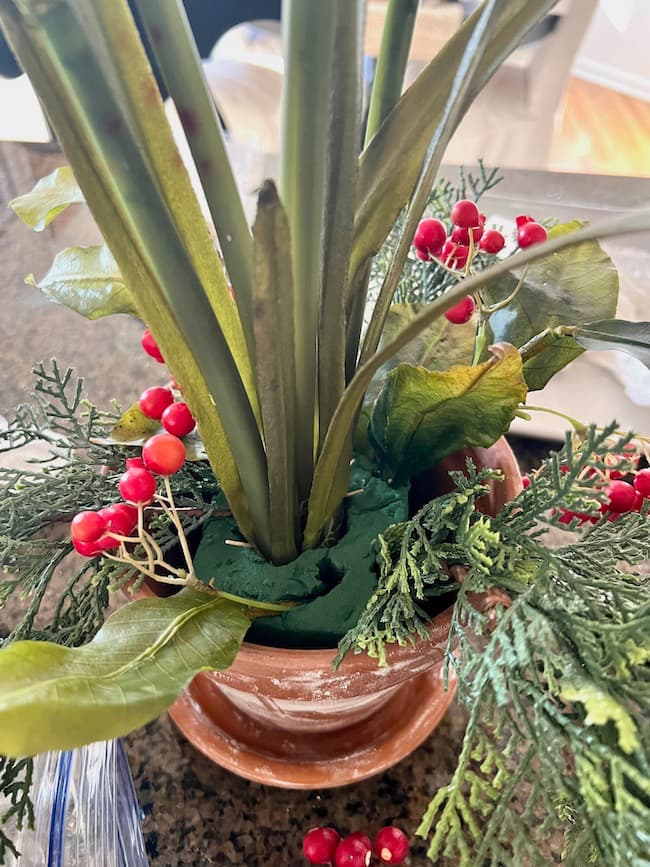
I filled in around the base of the plant with lots of faux greenery and red berries, and of course finished off the look with a tartan plaid bow!
The key is to use realistic faux plants, and these are just perfect. I’ve had this collection of paperwhites, greenery, and berries for many years, and they still look great!

That’s the beauty of investing in some quality faux greenery and florals. They don’t go out of style and you can use them for years to come! I share some favorite faux greenery in this post.
Shop the Look

Paperwhites bulbs make great gifts for the holidays, whether you gift a Paperwhite growth kit or do the planting yourself in a pretty pot or container.
Do you like to grow paperwhites?
I hope this inspires you to do a little bulb forcing this winter. It’s a wonderful way to have a little bit of springtime in the midst of cold winter temperatures.
Pin It for Later
By the way, do you follow me on all the socials?? If not, check out my Pinterest, Instagram, and Facebook and be sure to follow me on all the socials so you don’t miss out on any of my holiday decorating and DIY ideas!

I love this idea. So pretty. I would love to share this on my Saturday newsletter.
Thank you so much, Renae!! That’s so sweet of you!! I’m honored!
Great tips Kim! Your bulb pots are darling! 🙂 Thanks for the instructions and inspiration!
Thanks so much, Barbara!!
Thanks for such an informative and pretty post! I hope your paperwhites bloom at the perfect time! If not, your faux ones look amazing! Love the texture you added to the pots!
Kim your pots came out so pretty! And I have never grown paperwhites for Christmas. I hope yours bloom in time!
I have always wanted to plant paperwhites but have just never gotten around to it. Your pretty pots are inspiring me to give it a try!
Thank you, Missy! You should give them a try!