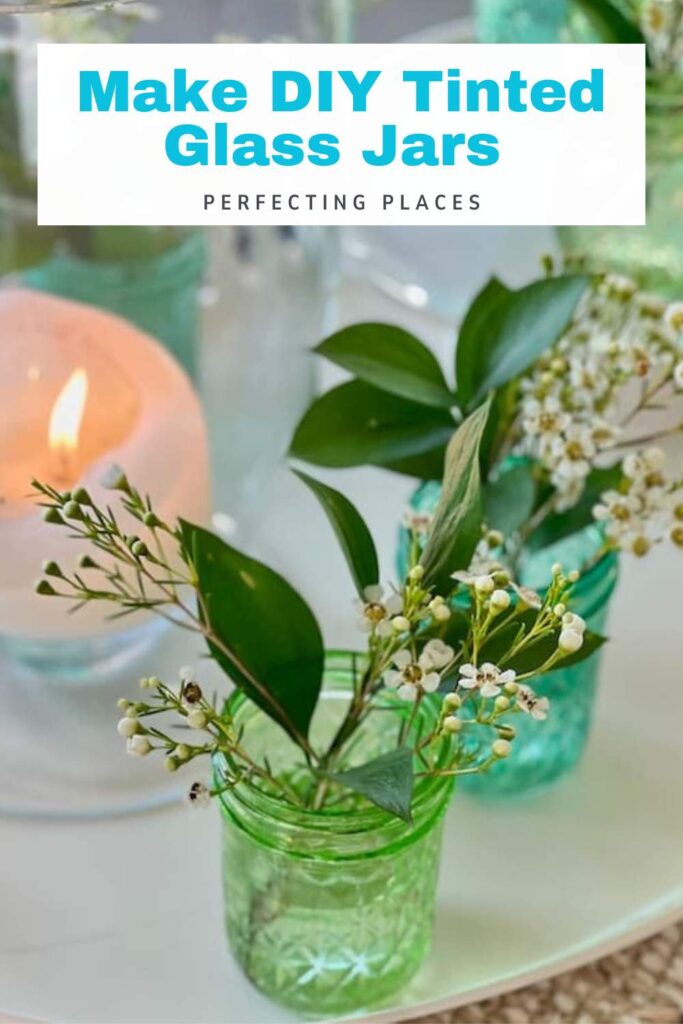
Tinting Glass Jars with Mod Podge – A Stunning DIY Makeover
Ever wondered how to tint glass jars at home? With just Mod Podge and food coloring, you can create beautiful colored glass bottles that look like vintage finds—perfect for decorating or upcycling old jars!
This simple method gives plain glass a soft, translucent tint in any color you like. Whether you’re using mason jars, recycled bottles, or thrifted glassware, it’s an easy way to add a custom touch to your decor!

(This post contains affiliate links, so I may earn a small commission when you make a purchase through links on my site at no additional cost to you. As an Amazon Associate I earn from qualifying purchases.)
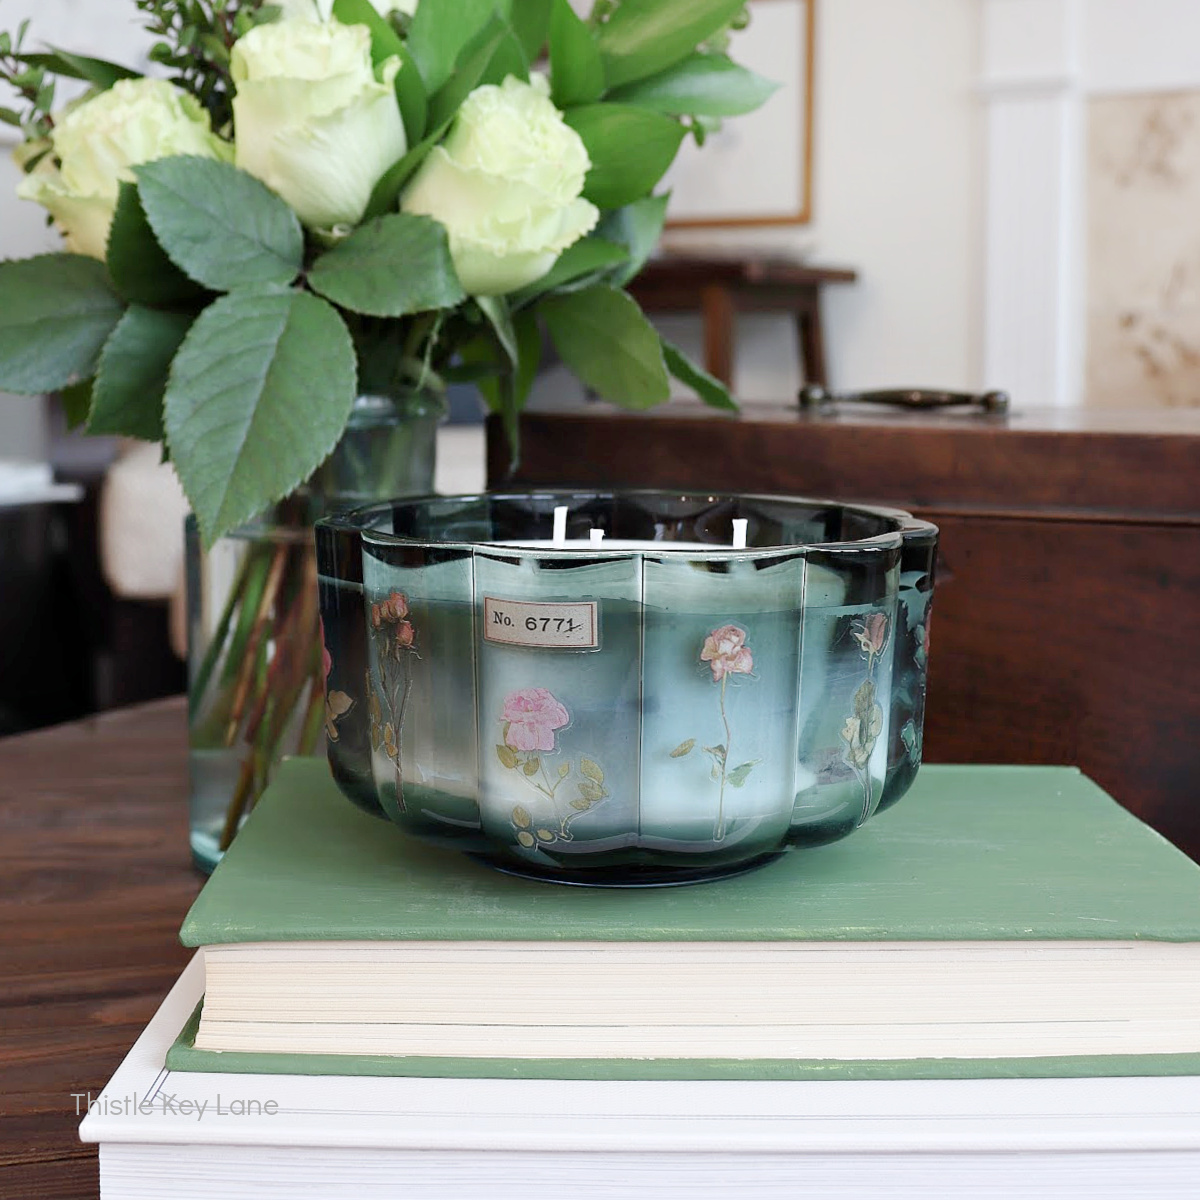
Today’s tinted glass project is such a fun and easy DIY, and there are so many ways to use it! Decorating with glass adds a beautiful, reflective shine to any tabletop or vignette, and I’ve always loved the timeless look of vintage jars.
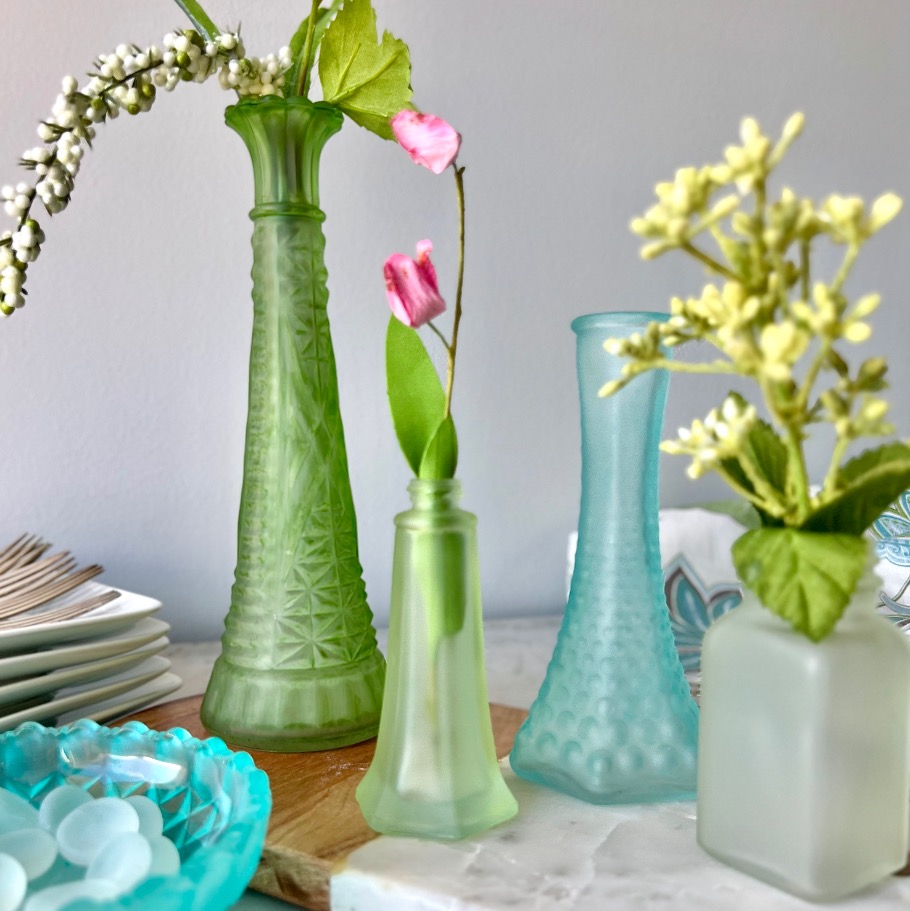
If you’ve been around here for a while, you know I’m all about shades of blue and green—but the best part about this craft is that you can customize it to match any color scheme! Whether you’re decorating for a party, shower, or special event, you can mix and match shades to get the perfect look.
Before we jump into my project, today you’re in for an extra special treat! I’m joining my creative blogging friends in the Handcrafted Society for our monthly blog hop, and today it’s all about glass!
What’s the Handcrafted Society? The Handcrafted Society is a special group of my very talented blogging and crafting friends who come together each month to share one another’s beautiful creations centered around a specific theme or craft medium for the month. This month, we’re all exploring unique ways to work with glass objects—so be sure to check out all the inspiring projects at the end of this post!
How to Tint Glass Jars with Mod Podge and Food Coloring
You’re going to love how simple this project is to create for such beautiful results!
What Kind of Glass Jars Work Best?
The best part about this project? You don’t have to spend a lot to get that beautiful tinted glass look! Thrifted vases, empty food jars, mason jars, and even old florist vases collecting dust under your kitchen sink are perfect for this DIY.
If you’re creating a vignette or centerpiece, try mixing different sizes and shapes for added interest. The jars I’m using are small mason jars with a cutwork design, which adds a little extra dimension to the finished look. While you can use a variety of sizes, I stuck with what I had—a pack of mason jars—and I love the way the design catches the light!

Supplies You’ll Need for Tinted Glass Jars
Here’s what you’ll need to get started:
- Glass jars – Any size or shape! I used small mason jars with cutwork design.
- Mod Podge (Gloss Finish) – This gives the glass a nice sheen.
- Liquid food coloring – Choose the colors you want for your jars.
- Plastic spoon or stir stick – For mixing the Mod Podge and food coloring.
- Small paintbrush (foam brush works well) – To help with even application.
- Craft paper or newspaper – To protect your workspace.
- Disposable gloves (optional) – If you want to keep your hands clean.
- Fresh flowers and greenery – Perfect for styling your finished jars as centerpieces.
- Scissors – For trimming flowers and greenery.
That’s it! With just a few basic supplies, you’ll be able to transform ordinary glass jars into beautiful, colorful decor pieces.
Mixing the Mod Podge: How to Mix the Perfect Tinted Mod Podge
Getting the right consistency for your Mod Podge and food coloring mixture might take a little trial and error, but here’s what worked best for me!


At first, I added too much water, which made the mixture too runny and took longer to build up color. After experimenting, I found that starting with about two tablespoons of Mod Podge and adding food coloring a few drops at a time worked best. If the mixture is too thick, you can add a few drops of water to thin it slightly—but don’t overdo it.
This is also where you can play around with color mixing! I created blue glass, green glass, and a mix of blue-green for a variety of shades. Just experiment until you find the perfect depth of color you like. I also found that keeping the Mod Podge mixture slightly thicker made the process go faster, while a small amount of water helped with smooth coverage.
Coating Your Jars: The Best Technique for Even Coverage and the Perfect Color
To apply the tinted Mod Podge, I started at the top of the jar and worked my way down, saving the rim for last. I applied a thin, even coat around the entire jar before finishing the rim.


Depending on how deep you want your color, you may need more than one coat. I found that adding at least one more layer helped me get the richer color I wanted. You can also layer different colors at this stage if you want a more unique, blended look—just apply another thin coat in a slightly different shade.

As the Mod Podge dries, most streaks will even out, but I did notice that bubbles tended to collect in the cutwork design on my mason jars. To fix this, I used my foam brush to smooth out any bubbles as they formed. A regular paintbrush might help avoid some of the bubbling, as the foam brush created a little extra texture in those detailed areas.
Letting the Jars Dry: What to Expect
Let each layer of color dry for a bit before adding another coat—it doesn’t have to dry completely, but letting it set helps build a more even color. The good news is that Mod Podge dries quickly, so you won’t be waiting long between coats!

Before adding flowers or using your jars for styling, make sure the Mod Podge is completely dry to avoid any smudging or tackiness. Once dry, your beautiful tinted glass jars are ready to display!
Important Note: This tinted glass technique is not permanent or waterproof, so the color will wash off if exposed to water or soap. If you plan to use these jars as vases for fresh flowers, you can safely add water inside since the tint is on the outside of the glass. However, keep in mind that these are best for decorative use only and shouldn’t be washed or submerged in water.

How to Style Your Tinted Glass Jars
I wanted to show how you can use multiple tinted glass jars to create a beautiful centerpiece—perfect for a bridal shower, rehearsal dinner, or any party where you want to add height, color, dimension to your table. Using different-sized jars is a great way to build interest, but even with my matching jars, I was able to create a layered look by grouping them at varying heights on trays and pedestals.


For a soft spring look, I kept the floral arrangements simple. I picked up bouquets of white wax flowers and fresh greenery from Trader Joe’s and placed just a few sprigs in each petite vase. The result — a simple, but elegant centerpiece that shows off the beauty of the tinted glass.

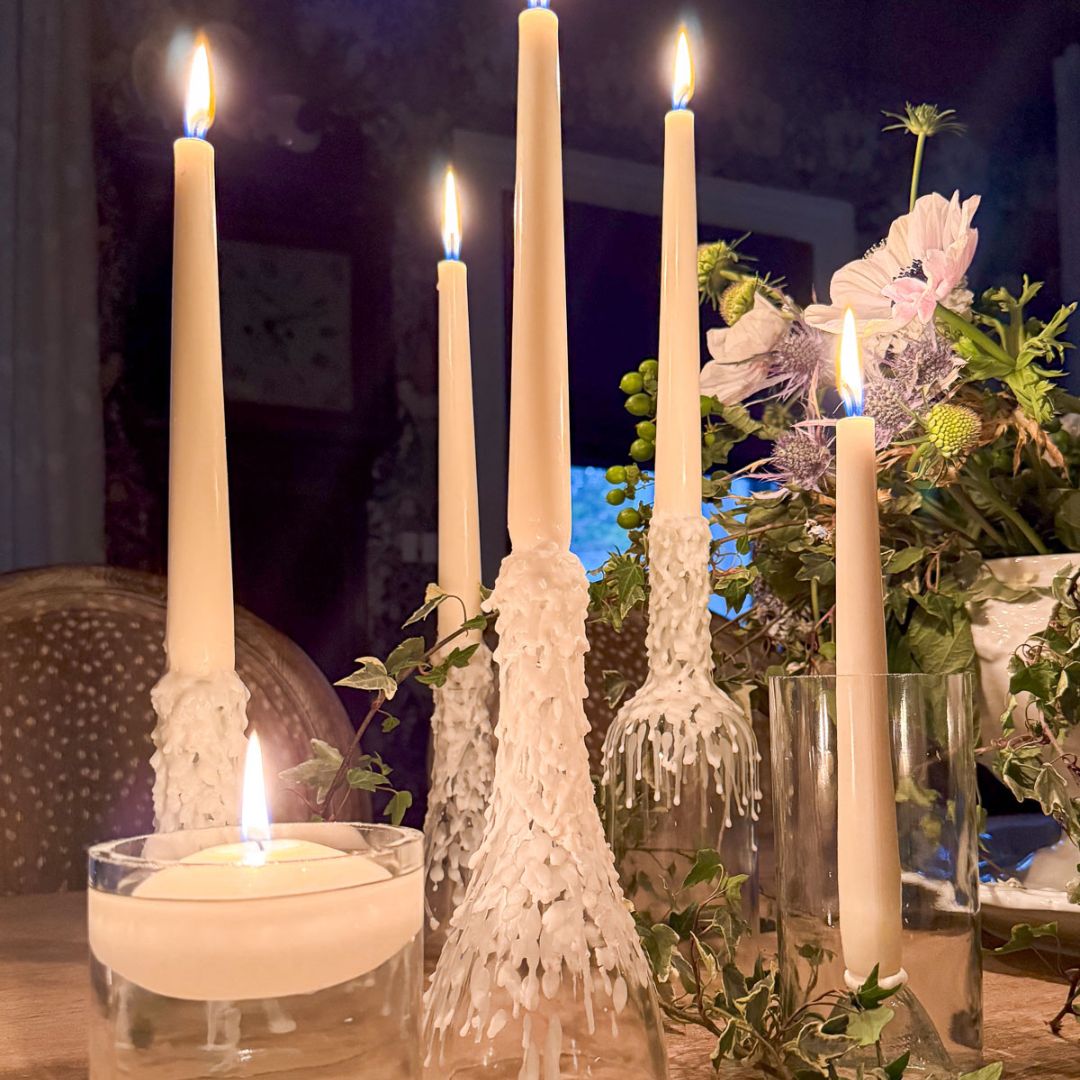
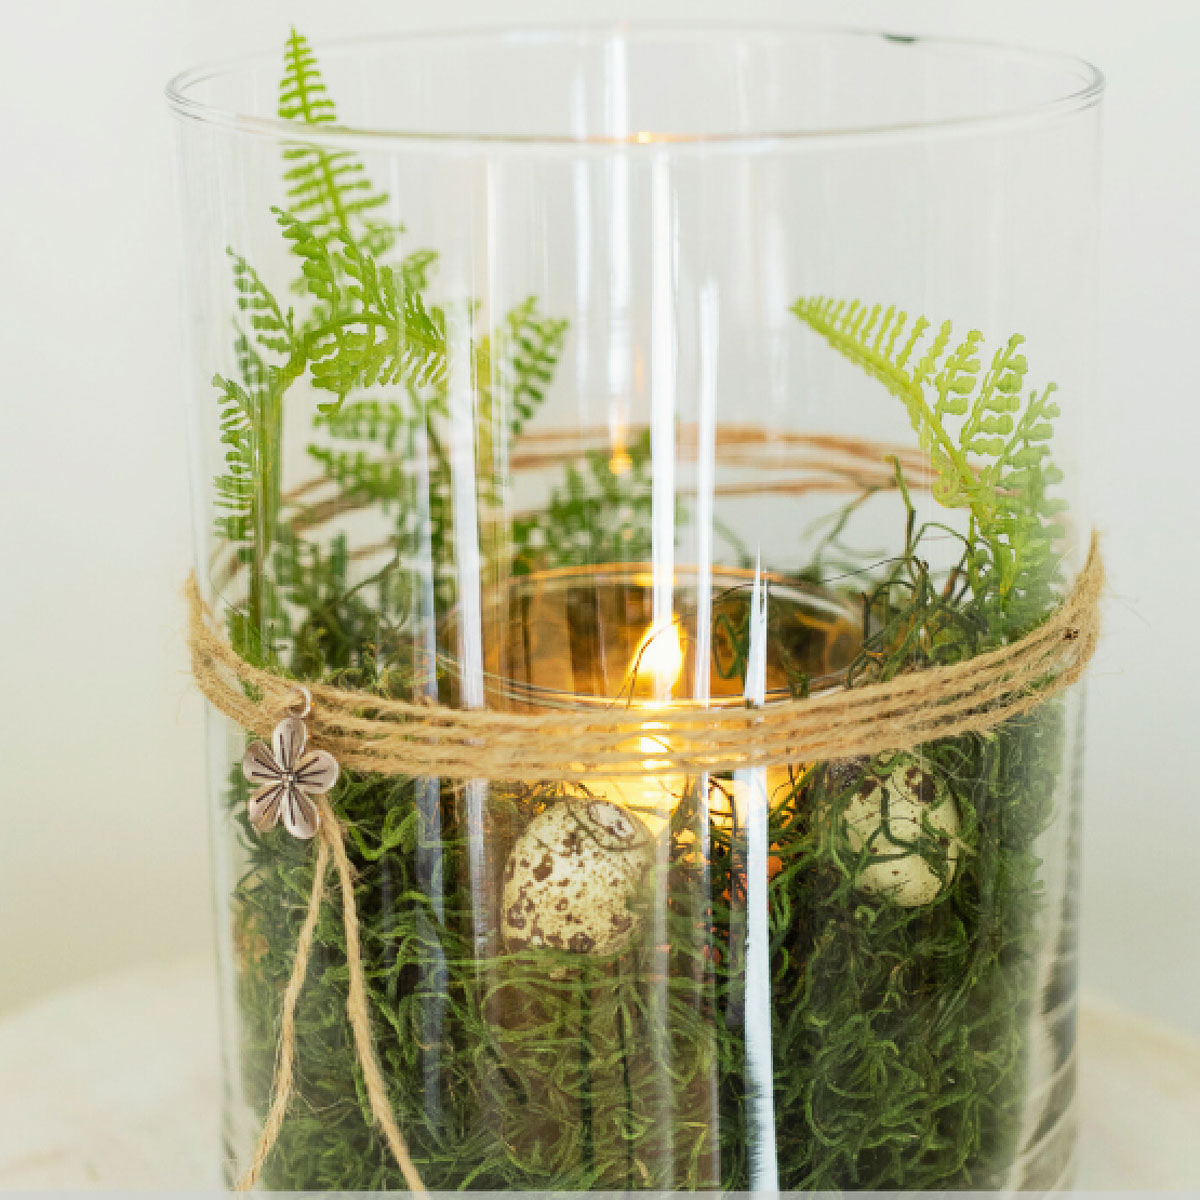
I added a tall hurricane vase with a pillar candle as an anchor piece and scattered small votive candles around the display, bringing in warm candlelight to reflect off the colored glass. You can get as creative as you like—try weaving a cheesecloth or scarf in a coordinating color through the arrangement for a soft, romantic feel and even more texture.


More Fun Ways to Use Tinted Glass Jars
One of the best things about this tinted glass DIY is how easily you can customize it for any season, celebration, or color scheme. Whether you want soft pinks for a baby shower, warm amber tones for fall, or icy blues for winter decor, you can mix the perfect shade to match your style and event!

These jars make beautiful centerpieces for weddings, rehearsal dinners, and special events, but they’re also great for everyday decorating. Try styling them on a windowsill to catch the light, grouping them on a mantel for a colorful display, or adding them to displays on bookshelves or accent tables. The possibilities are endless—just get creative with different jar sizes, colors, and arrangements to make them uniquely yours!


I hope this tinted glass DIY inspires you to try it for yourself! It’s such a fun and easy way to add a pop of color to your decor, whether you’re styling a simple vignette, creating a centerpiece, or just looking for a creative craft to try. With so many color possibilities and ways to use these jars, you can customize them for any season or occasion!
And don’t forget—there’s even more glass-inspired creativity waiting for you! Be sure to check out all the other amazing projects from my Handcrafted Society friends linked below. You won’t want to miss these beautiful and creative ideas!
Happy Crafting!


The Handcrafted Society
My friends have created some fabulous projects this month that you won’t want to miss. Please check out these amazing creations below!


These tinted glass jars are so pretty, Kim! I love the way the light shines through them. They would be such a fun project to make with friends and in a variety of different colors for different tablescapes too. I can’t get over how easy they were to create! Hugs, CoCo
Thanks so much, CoCo! That’s a great idea!
Hi Kim, I had no idea you could mix Mod Podge and food coloring to paint glass! These turned out so cute! Using mason jars is genius when you need a single centerpiece for many tables, or you’re making a grouping on a large table! Thanks for sharing this great idea! Pinning now!
Thank you, Donna! I agree — it’s perfect for special occasions when you need several centerpieces!
Absolutely gorgeous Kim! Love the wide variety of shades on the same jars with the same flowers — really ties the whole centerpiece together! Truly gorgeous!!!
Thank you so much, Diane!
Your jars look lovely, Kim!! Perfect colors for Spring. The centerpiece you created with them is also quite stunning. Fun, budget-friendly craft!
Thanks so much, Rachel! You’re so sweet!
Kim – I’m just loving how you’ve taken a simple glass jar and given it such a spring feel that makes it the perfect vessel for spring decor. I’m so excited to be joining all of you creative ladies! You’re inspiring.
Thank you so much, Lynn, and welcome to the group! I’m so glad you’ve join us!
Kim, these are so beautiful. I love the colors. How fun to do this project with stuff you have on hand. I want to make some of these for my home. Love it!
Thank you, Tammy! You should definitely try them!
Kim, These are so sweet! I love the colors!
Thanks so much, Amy!
Hi Kim – These would look so pretty lined up on a window sill! They are the perfect way to bring some cheerful color into a room. Thank you for the tutorial with great step by step instructions. Always fun to participate in the HCS with you!
Thank you, Anna! I agree about the window sill! I love the way they catch the light!
I love the translucent effect of these glass pieces…beautiful! I also love the different shades of blue and green. Another fabulous project, Kim! Pinned!
Thank you, Missy! Blues and greens are my favorites!
I never would of thought of food coloring, but my goodness these jars turned out so pretty. I can’t wait to try this project and have plenty of jars to experiment with. Thanks for the excellent tutorial Kim!
Thank you so much, Michelle! I love the way they turned out and would like to try some other colors!
These are super cute Kim I would of never thought of using food coloring, so creative.
Thanks so much, Wendy! They were so fun to make!